This page is under construction

The recommendations I give for each mission are my own Preference

By no means are they absolute and everyone can adjust as they see it fit.
<tabber>
1=
Story 1[]
Walkthrough
Cutscene Unlocked : The Far East Branch
Once the scene finishes, you'll be standing in the Entrance of Den in front of the Mission Counter. If you talk to the operator, Hibari she will tell you to see your instructor, Tsubaki who is nearby you. She will tell you to go to the Laboratory, Where Dr. Sakaki will have you undergo a quick check. You can now take the Elevator and explore the Den, when you're finished go to the Laboratory and enter the door to the farthest.
Cutscene Unlocked : Medical Check
You'll wake up in your room, where you can check the terminal. It contains the Archives, which upon reaching Story 3 will contain Cutscenes unlocked during your progress of the game. Exit your room and take the elevator to the Entrance. Talk to Hibari to learn that you have 3 missions unlocked.
Free Mission Unlocked : Tutorial 1

Free Mission Unlocked : Tutorial 2

Story Mission Unlocked : Devil's Tail
Clear the Tutorial Missions to get yourself familiarized with the game.
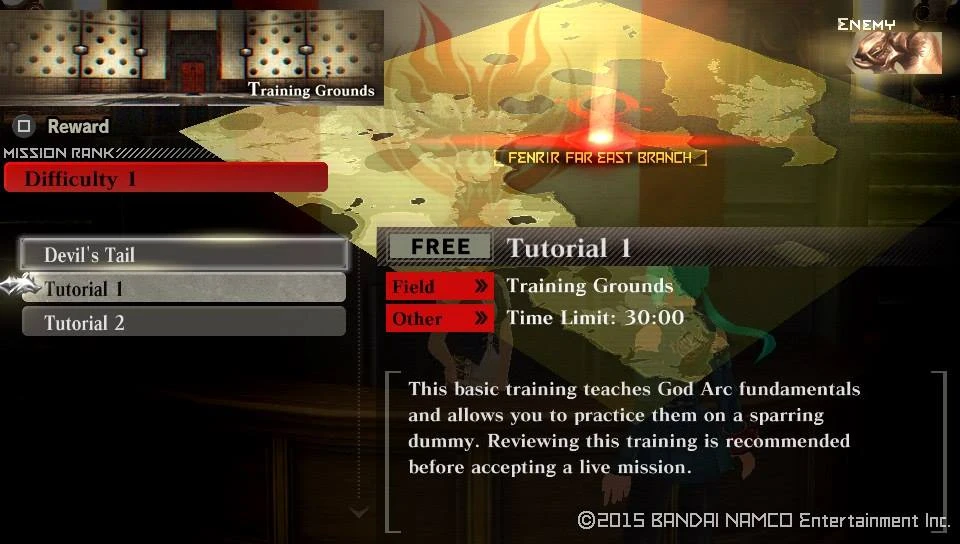
| Tutorial 1 | ||
|---|---|---|
| Information | ||
 |
||
|
Target Aragami |
Details | |
|
| |
| Notes | ||
|
Objective: Follow the Instructions of Tsubaki and clear the tutorial On this tutorial mission you cannot bring any team members. Targets do not reward materials when devoured after being killed, however they grant Aragami Bullets. Recomended loadout: Anything will do. | ||

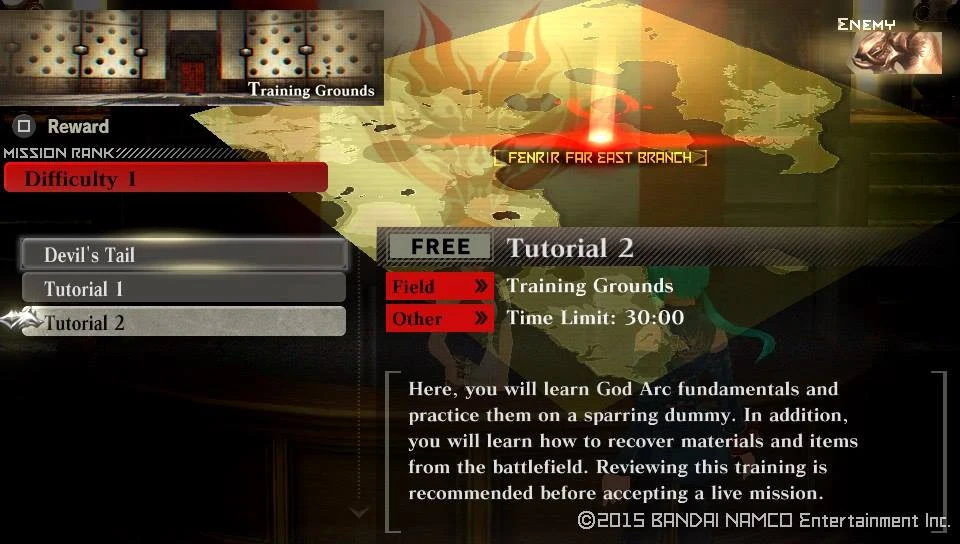
| Tutorial 2 | ||
|---|---|---|
| Information | ||
 |
||
|
Target Aragami |
Details | |
|
| |
| Notes | ||
|
Objective: Follow the Instructions of Tsubaki and clear the tutorial On this tutorial mission you cannot bring any team members. Targets grant 3x Simulated Metal upon being devoured. Recomended loadout: Anything will do. | ||

Once you are ready, talk to Hibari and take on your first Story Mission: Devil's Tail. Go to the gate of the Den and watch the cutscene.
Cutscene Unlocked : Mission with Lindow
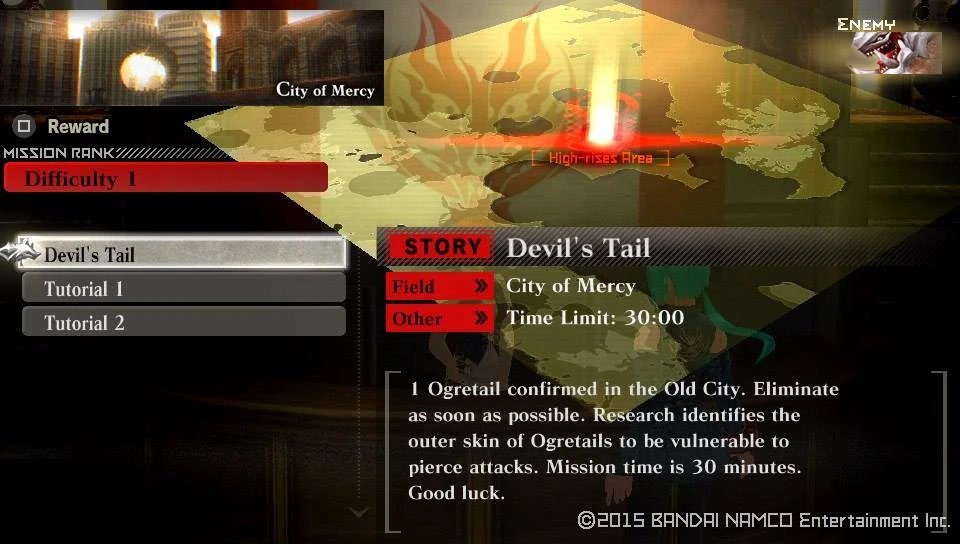
| Devil's Tail | ||
|---|---|---|
| Information | ||
  |
  | |
|
Target Aragami |
Details | |
|
| |
| Notes | ||
|
Objective: Find and eradicate your first Aragami. On this mission only Lindow accompanies you. Recomended loadout: Anything will do. | ||
Completing Devil's Tail will unlock yet another cutscene as well as advance your story counter by one.
Cutscene Unlocked : Lecture : Aragami
|-|
2=
Story 2[]
Walkthrough:
With Devil's Tail complete you will gain Lindow as a valuable member of your team. Additionally you get the alternative characters for Federico and Annette, however they can only accompany you on Free Mission at the moment, but in turn they do pack a serious punch when called upon.
Team Member Unlocked : Lindow

Team Member Unlocked : Federico ( Alt )

Team Member Unlocked : Annette ( Alt )
Additonally to unlocking them as allies in combat, you unlock Personal Abilities in the Terminal, allowing for customization of your team mates. To do so, you have to spent Ability Points on their skills to learn, which are earned by taking said team members onto missions with you. Each character can hold up to 4 additional abilities above the ones they already possess.
Personal Ability Unlocked : Lindow

Personal Ability Unlocked : Federico ( Alt )

Personal Ability Unlocked : Annette ( Alt )
Least, but not last new missions are available to take on at this moment.
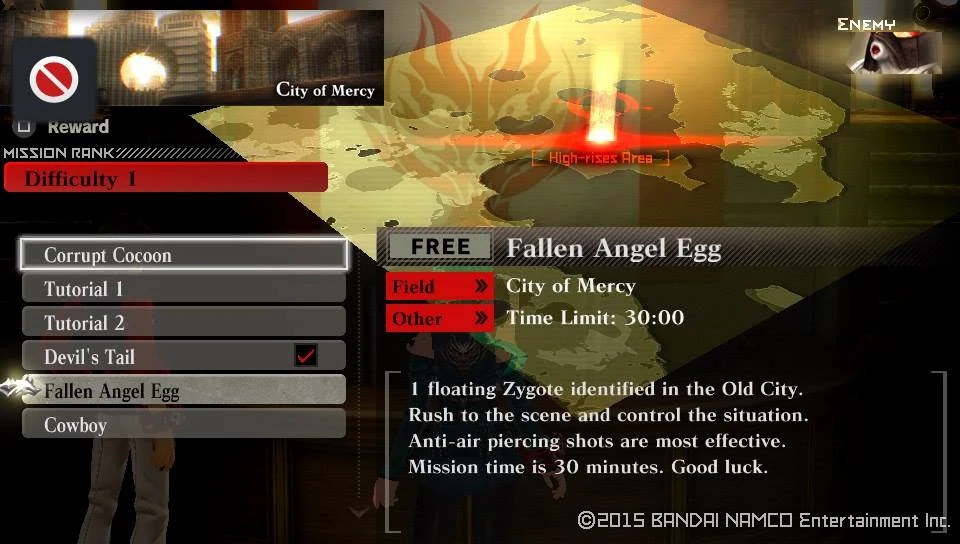
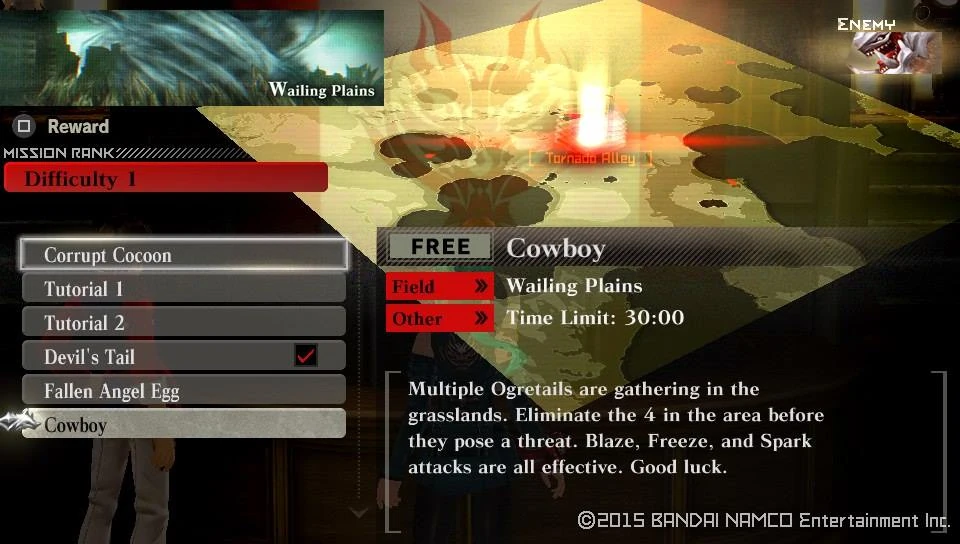
Free Mission Unlocked : Fallen Angel Egg

Free Mission Unlocked : Cowboy
| Fallen Angel Egg | ||
|---|---|---|
| Information | ||
  |
  | |
|
Target Aragami |
Details | |
|
| |
| Notes | ||
|
Objective: Find and eliminate your first flying Aragami. Recomended loadout: Get familiarized with your gun, or use jumping attacks to down it. | ||
| Cowboy | ||
|---|---|---|
| Information | ||
  |
  | |
|
Target Aragami |
Details | |
|
| |
| Notes | ||
|
Objective: Meet the first increase in difficulty amongst the missions. Focus on avoiding combat with the Vajra and taking down the Ogretails. Recomended loadout: Anything will do, as the Vajra is not a primary target. | ||
Once you are ready to advance the Story, do as Hibari suggested and talk to Lindow nearby the Mission Counter. He will praise you, put a word in for the next mission you are about to receive. Now you can take the next Story Mission.
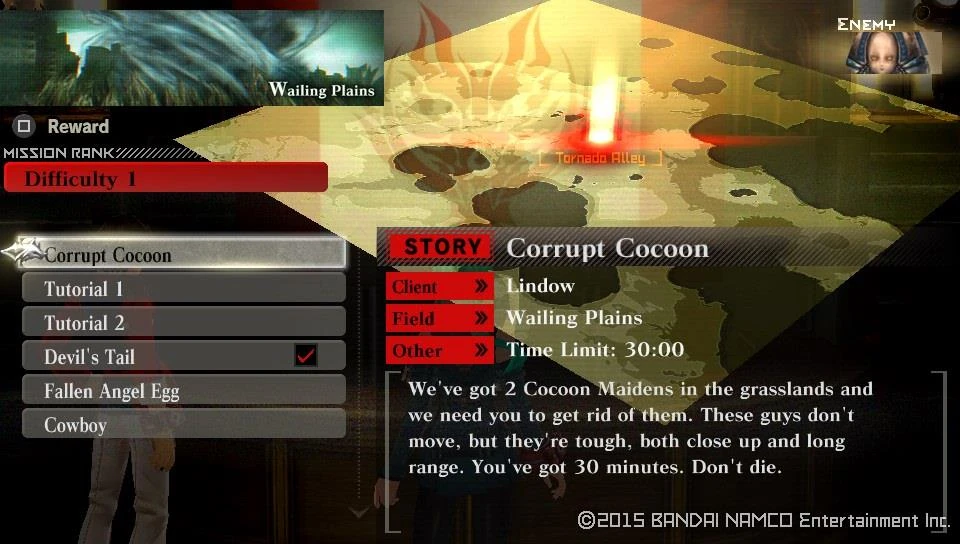
Story Mission Unlocked : Corrupt Cocoon
Start the mission to get a cutscene with the medic introducing the melee-ranged team-ups benefits to you.
Cutscene Unlocked : Mission with Sakuya
| Corrupt Cocoon | ||
|---|---|---|
| Information | ||
  |
  | |
|
Target Aragami |
Details | |
| ||
| Notes | ||
|
Objective: Assist Sakuya in taking out the two Cocoon Maidens. On this mission only Sakuya accompanies you. Recomended loadout: Anything will do. | ||
Completing Corrupt Cocoon will advance your Story counter by one. |-| 3=
Story 3[]
Walkthrough
As a reward for your earlier mission, you have gained your first medic to support you on missions.
Team Member Unlocked : Sakuya
Naturally along with that, the ability to personalize her abilities is also given.
Personal Ability Unlocked : Sakuya
Go to the Mission Counter and talk to Hibari. She'll inform you that a new mission has been unlocked for you.
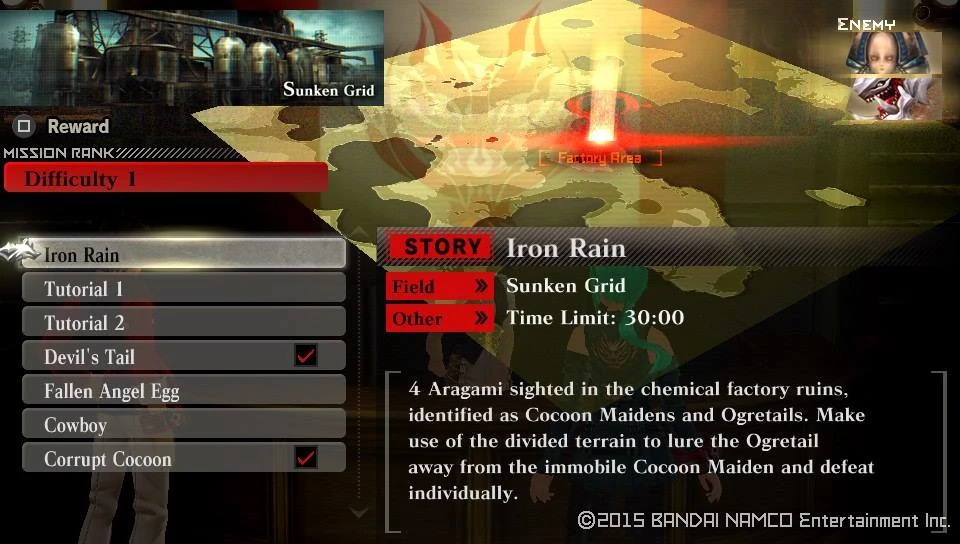
Story Mission Unlocked : Iron Rain
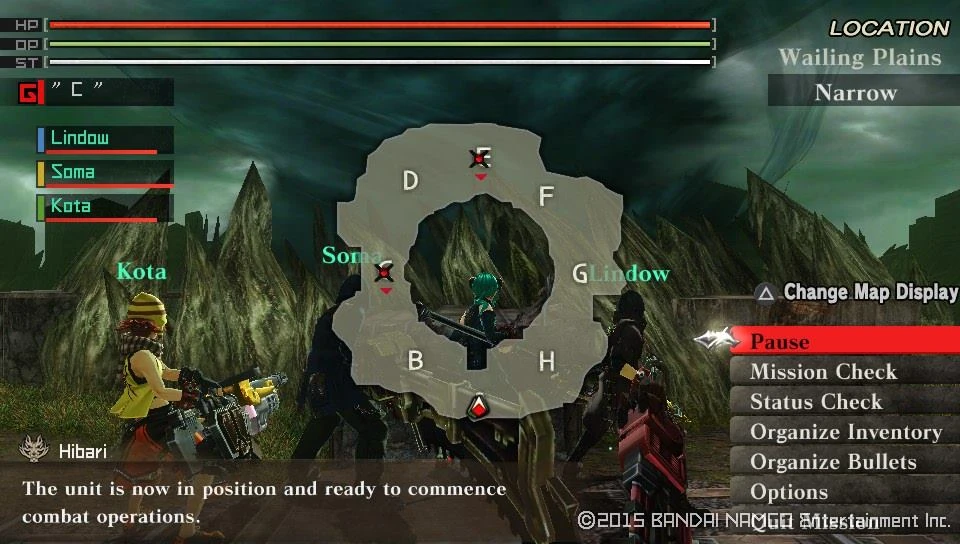
As you start the mission you'll unlock a cutscene, that should serve as a reminder not to let your guard down.
Cutscene Unlocked : Mission with Soma
| Iron Rain | ||
|---|---|---|
| Information | ||
  |
  | |
|
Target Aragami |
Details | |
|
| |
| Notes | ||
|
Objective: Assist Soma in clearing the Aragami. On this mission only Soma accompanies you. Recomended loadout: Anything will do, for handling the Aragami easier lure the Ogretails away, then pick off the Cocoon Maidens with ease. | ||
Completing Iron Rain will advance your Story counter by one.
|-|
4=
Story 4[]
Walkthrough
After the previous mission you'll unlock an additional member for your team to chose from.
Team Member Unlocked : Soma
Naturally just like all other previous members, this comes with gaining the Personal Abilites associated with him.
Personal Abilities Unlocked : Soma
If you go to check the missions with Hibari, you'll see that the next Difficulty became available with a training mission to start it off.
Difficulty 2 Missions Unlocked
By unlocking Rank 2, you have gained the ability to upgrade your equipment up to said Rank if you have enough materials for it. Also new crafting recipes were made available. Just as a new mission to boot.
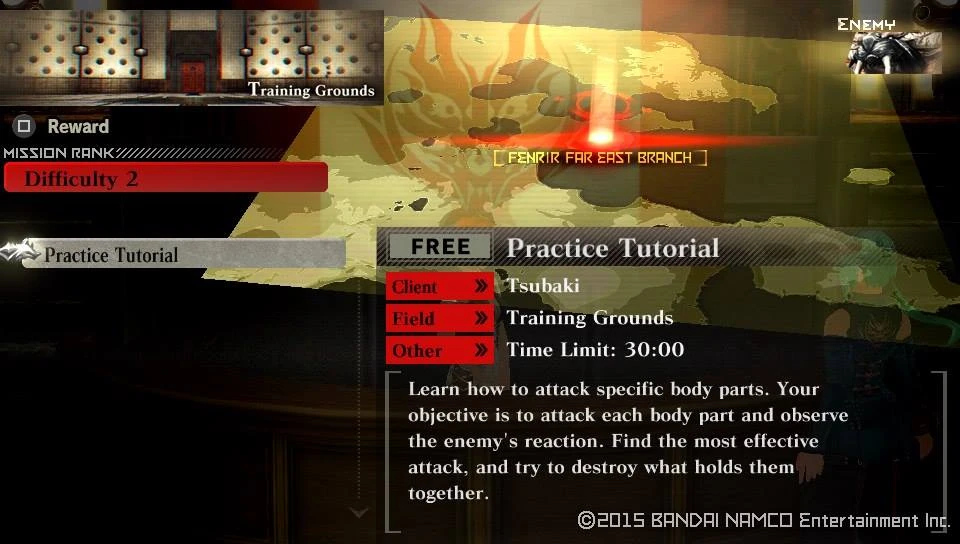
Free Mission Unlocked : Practice Tutorial
Go to the Mission Counter, where Hibari will inform you that Kota is worried about you. For now just complete the assigned training mission.
| Practice Tutorial | ||
|---|---|---|
| Information | ||
  |
||
|
Target Aragami |
Details | |
|
| |
| Notes | ||
|
Objective: Follow the Instructions of Tsubaki and clear the tutorial On this tutorial mission you cannot bring any team members. It is possible to kill the training Target, but it requires much stronger equipment that you have currently access to. Recomended loadout: Anything will do, The mission will end in around 5 minutes. | ||
After you've cleared the Training, go the the Elevator and head to the Rookies' Section, you can find him inside his room on the right of the corridor. Go inside and talk to him, he informs that Lindow wants to see you also.
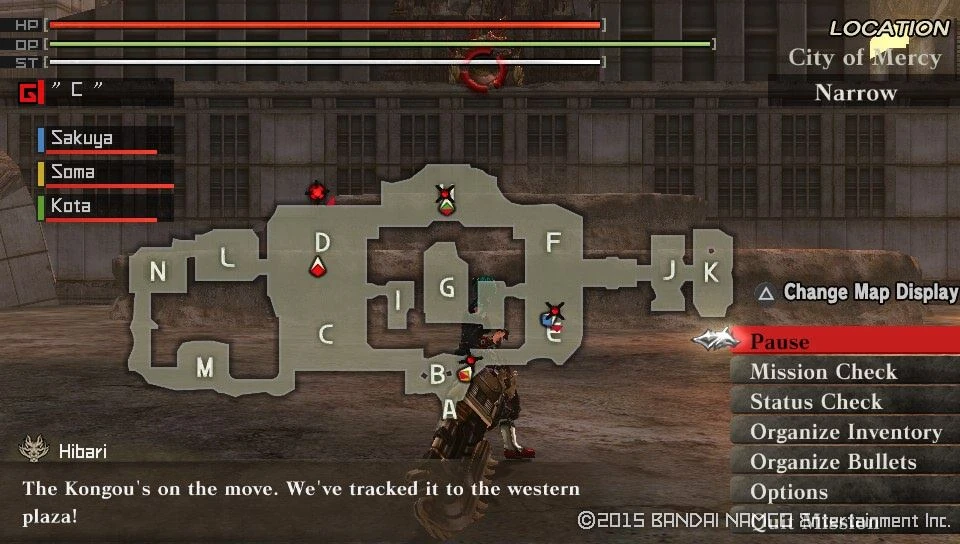
Once you're done talking, head for the elevator once more and this time go to Lindow's room and have a talk with him. Head over to Hibari and she informs you of an important mission popping up, to take down a Kongou
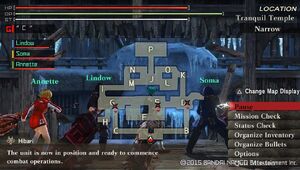
Story Mission Unlocked : Kongou Giant
Take it and head to the exit to trigger a cutscene involving your soon to be newest member of your squad.
Cutscene Unlocked : Mission with Kota
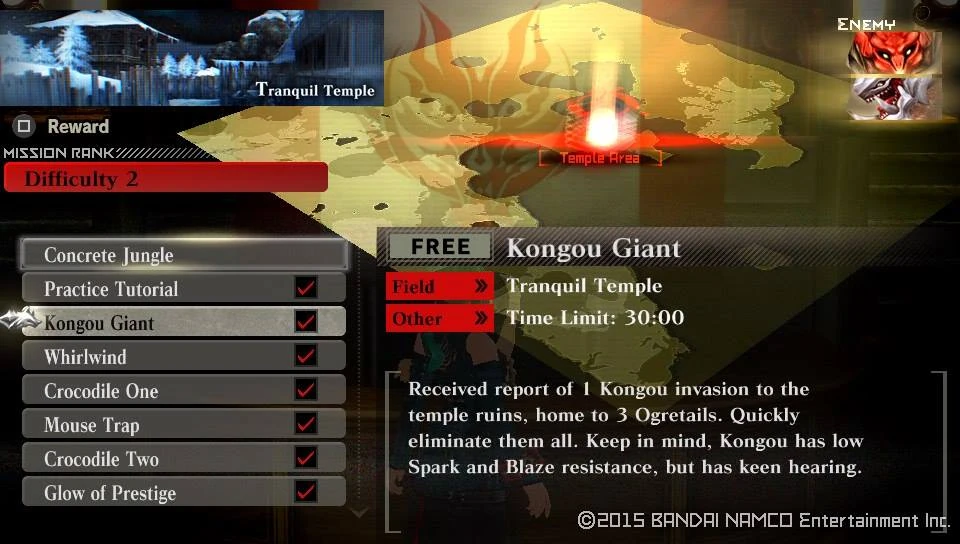


Clearing Kongou Giant will increase your Story counter by one as well as unlock a cutscene
Cutscene Unlocked : Lecture : Arcology
|-|
5=
Story 5[]
Walkthrough
Completing Kongou Giant nets yet another member for your team.
Team Member Unlocked : Kota
Further more Back-Up members have become available for you to bring to missions, they are:
Back-Up Member Unlocked : Gen

Back-Up Member Unlocked : Hibari

Back-Up Member Unlocked : Licca
A Back-Up has no meaningful impact on the mission, but rather gives you a large variety of support Skills upon completing one. Speaking of Supporting skills, your previous Team Members have theirs unlocked along with the Back-Ups and Kota's Personal Abilities
Personal Ability Unlocked : Kota

Personal Ability Unlocked : Gen

Personal Ability Unlocked : Hibari

Personal Ability Unlocked : Licca
Another major thing to note is that now you can access Urgent Missions. When completing a Rank 2 or higher mission there is a chance that you get a notification on such a mission being available. They are harder than regular missions, but at the same time more rewarding and grant an enhanced amount of AP to team members you bring.
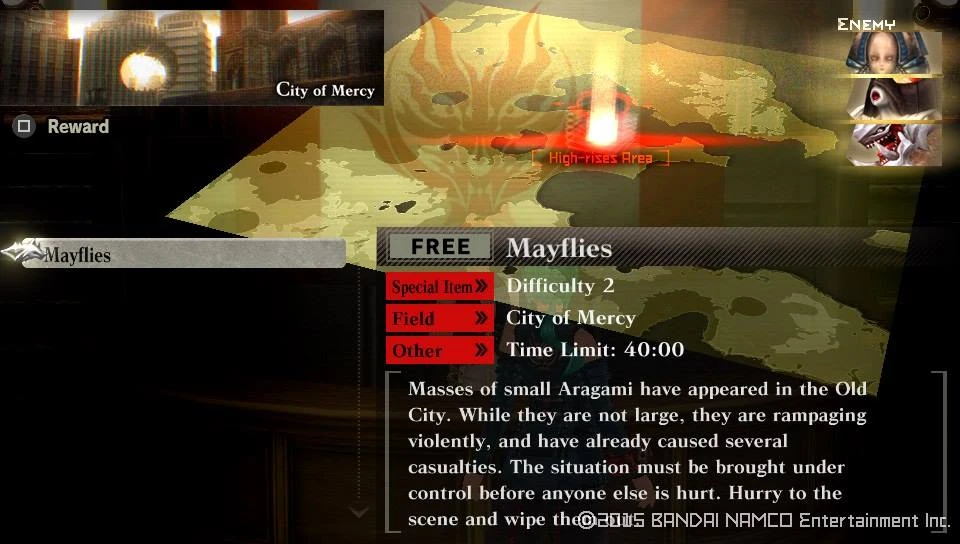
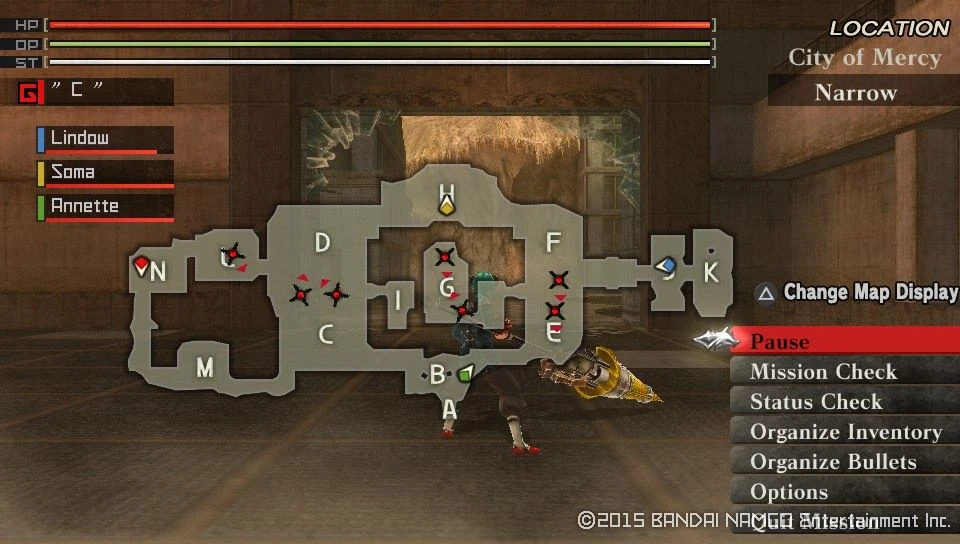
Urgent Mission Unlocked : Mayflies
| Mayflies | ||
|---|---|---|
| Information | ||
  |
  | |
|
Target Aragami |
Details | |
|
| |
| Notes | ||
|
Objective: Follow a divide and conquer strategy and vanquish the small fries. Recomended loadout: Anything will do. | ||
| Reward | Conditions | Probability |
| 500 | Automatic | 100% |
| Pixie Thorn | Automatic | 25% |
| Pixie Thorn | Automatic | 25% |
| Imploder | Automatic | 16% |
| Imploder | Automatic | 16% |
| Imploder | Automatic | 16% |
| Ogre Fang | Automatic | 14% |
| Ogre Fang | Automatic | 14% |
| Ogre Tail | Automatic | 14% |
| Ogre Tail | Automatic | 14% |
| Pixie Elastomer | Automatic | 12% |
| Pixie Elastomer | Automatic | 12% |
| Sensor | Automatic | 7% |
| Sensor | Automatic | 7% |
| Sensor | Automatic | 7% |
| Ogre Helm | Automatic | 3% |
| Ogre Helm | Automatic | 3% |
| Ogre Helm | Clear under 3. min | 10% |
| Sensor | Clear with 30+ Endurance | 3% |
| Sensor | Clear with 30+ Endurance | 3% |
| Sensor | Clear with 30+ Endurance | 3% |
| Ogre Helm | Clear with 30+ Endurance | 3% |
| Ogre Helm | Clear with 30+ Endurance | 3% |
| 500 fc | "Reward Credits Up" Lv1 or higher | 30% |
| Restore Pill | "Get Consumable Items" Lv1 or higher | 100% |
| Restore Pill II | "Get Consumable Items" Lv1 or higher | 50% |
| O-Ampule | "Get Consumable Items" Lv1 or higher | 50% |
| OG: Restore Post | "Get Consumable Items" Lv1 or higher | 33% |
If you check in with Hibari at the Counter, you'll learn that the following missions have become available for you:
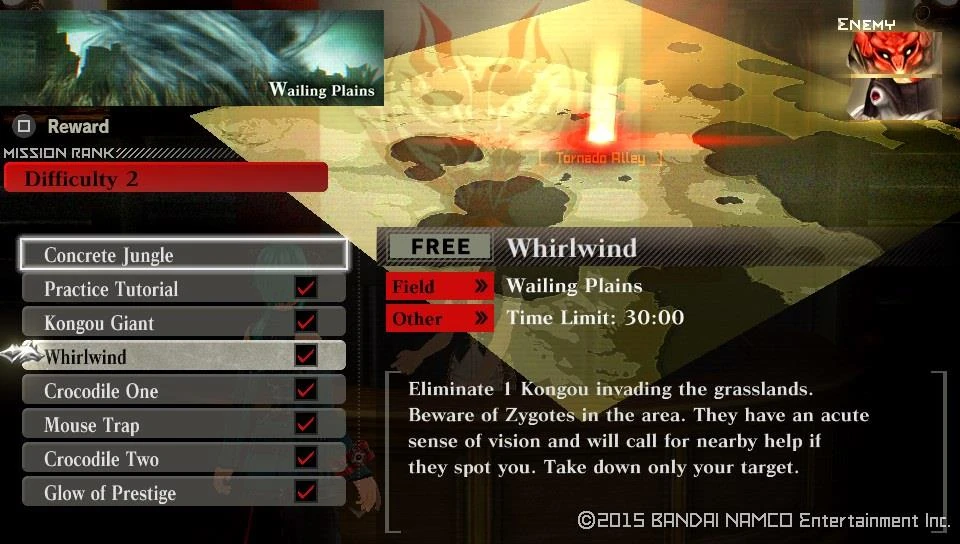
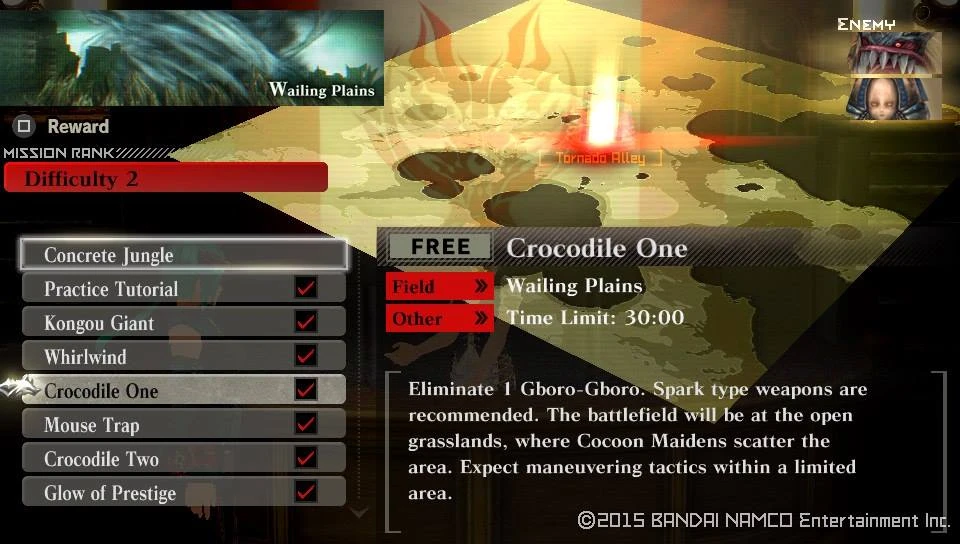
Free Mission Unlocked : Whirlwind

Free Mission Unlocked : Crocodile One

Story Mission Unlocked : Mousetrap


| Crocodile One | ||
|---|---|---|
| Information | ||
  |
  | |
|
Target Aragami |
Details | |
|
| |
| Notes | ||
|
Objective: Take down your second Medium class target, a Gboro-Gboro The Gboro by default move sluggishly, but when it has a target it can become surprisingly fast so keep an eye out. It likes to dash into its targets or literally just rampage around. Furthermore it boasts long range attacks, but those leave it vulnerable to punishment while they are performed. Since the Gboro-Gboro is vulnerable to Piercing weapons and Bullets, your best bet is to bring Team Members that specialize in dealing such damage. Recomended loadout: Spark elemental weapons and Piercing bullets. The bonds that can be shattered are as follows:
| ||
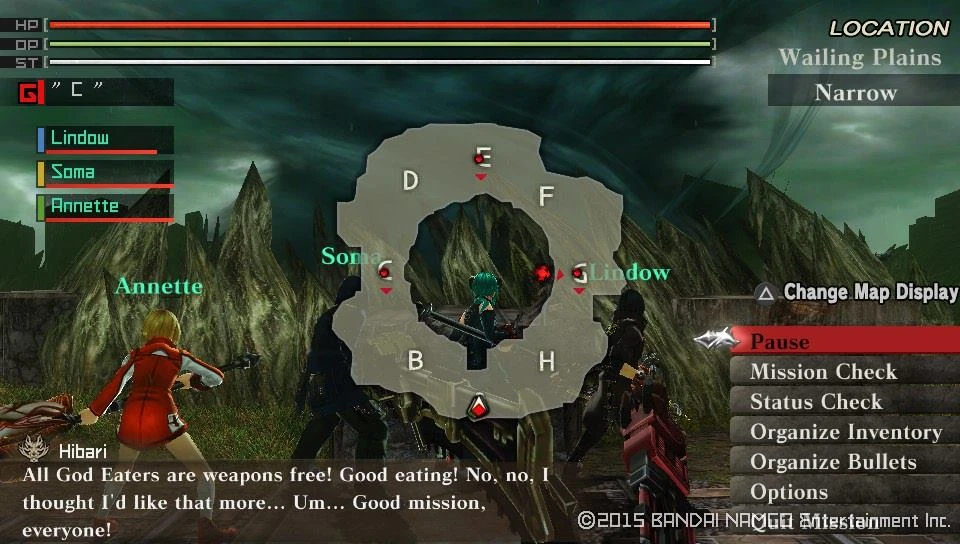
| Mouse Trap | ||
|---|---|---|
| Information | ||
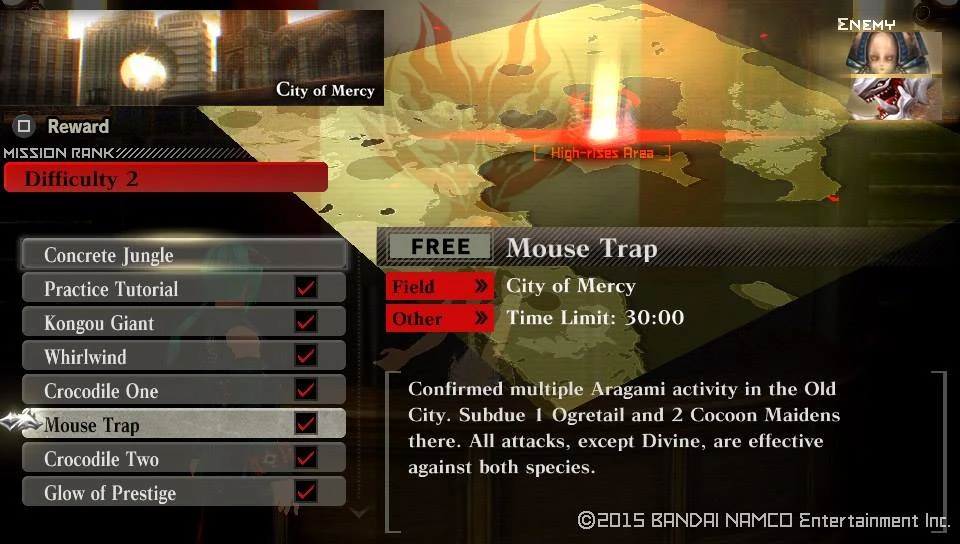  |
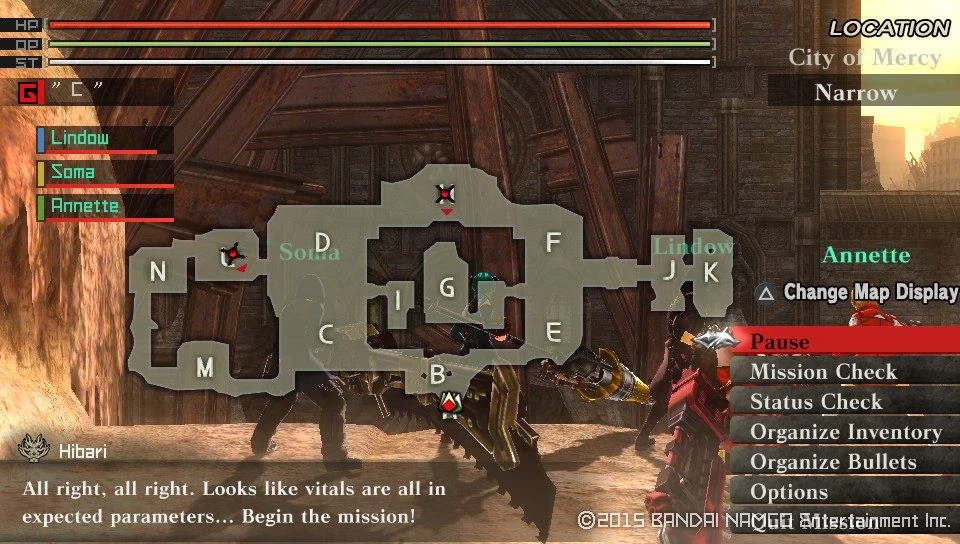  | |
|
Target Aragami |
Details | |
|
| |
| Notes | ||
|
Objective: A simple punitive mission, nothing fancy. Recomended loadout: Anything will do. | ||
Once you've gotten around to clear Mouse Trap, the next Story mission will pop up at the Mission Counter.
Story Mission Unlocked : Crocodile Two
As you start the mission, you'll unlock a cutscene
Cutscene Unlocked : With Lindow and Sakuya
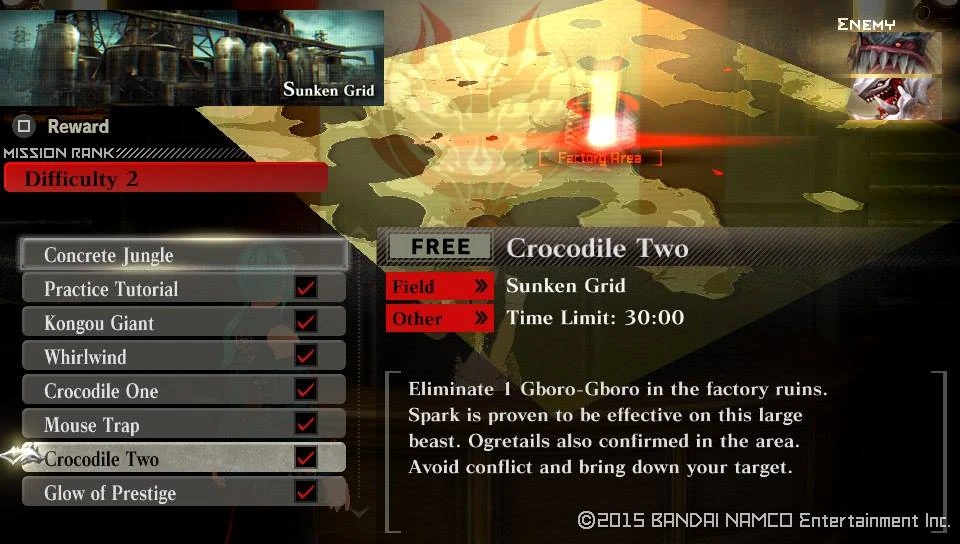


Completing Crocodile Two will increase your Story counter by one.
|-|
6=
Story 6[]
Walkthrough
You can start off by going to the Mission Counter and finding a Story mission at your disposal
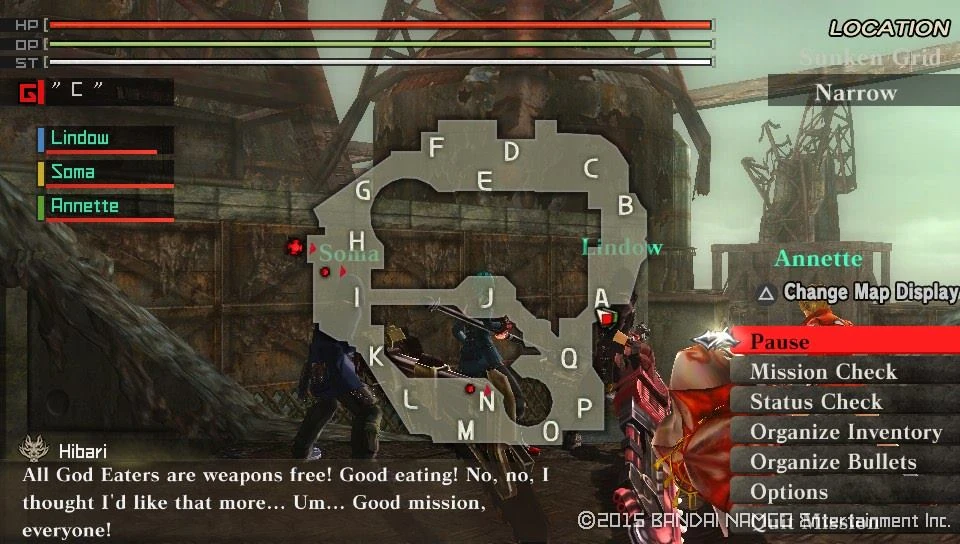
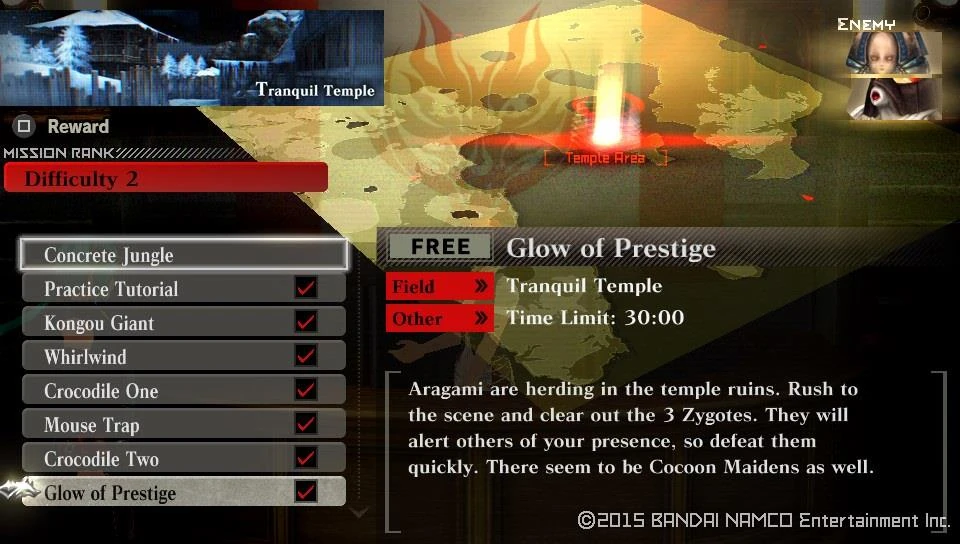
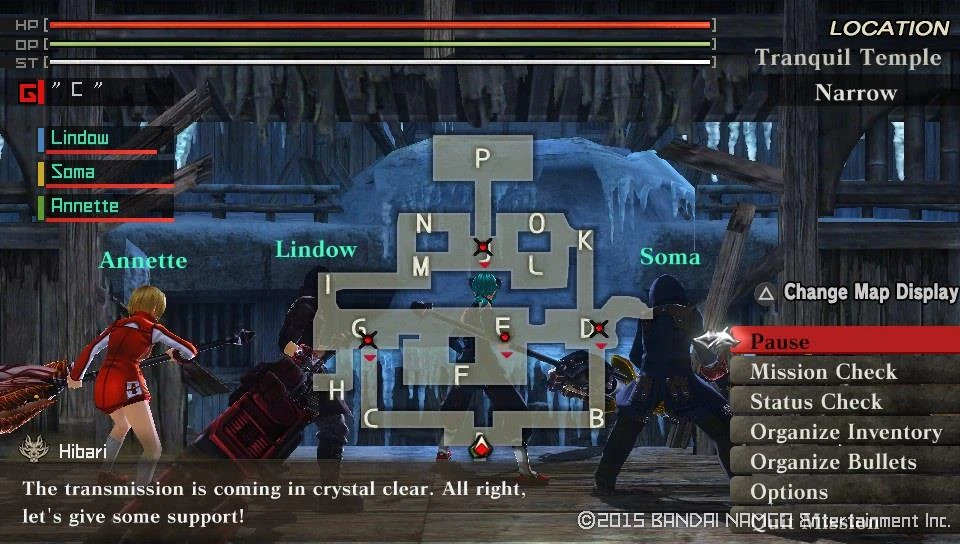
Story Mission Unlocked : Glow of Prestige
| Glow of Prestige | ||
|---|---|---|
| Information | ||
  |
  | |
|
Target Aragami |
Details | |
|
| |
| Notes | ||
|
Objective: Sweep the area and return with the spoils. Recomended loadout: Anything will do. | ||
When you return to the Counter, you'll see that the next op has been posted already
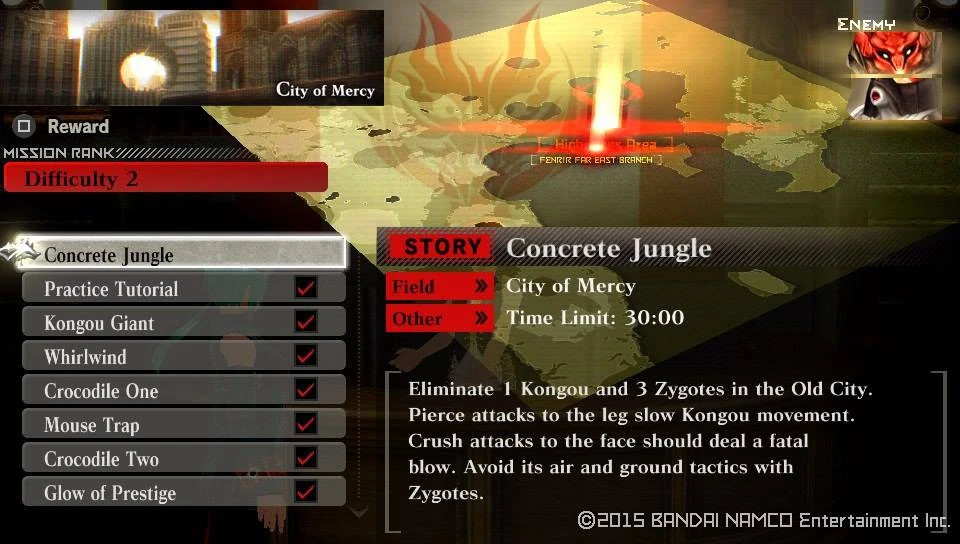
Story Mission Unlocked : Concrete Jungle
When you feel ready and properly equipped start the mission and be rewarded with a cutscene
Cutscene Unlocked : A Group Mission


When clearing the previous mission, you'll unlock a Cutscene along with increasing your Story counter by one.
Cutscene Unlocked : Disturbing Date
|-|
7=
Story 7[]
Walkthrough
Check the Terminal to learn that you have gotten new allies ready to invite on Free Missions.
Team Member Unlocked : Tatsumi

Team Member Unlocked : Karel

Team Member Unlocked : Shun

Team Member Unlocked : Brendan

Team Member Unlocked : Kanon

Team Member Unlocked : Gina
You'll also get access to each of their Personal Abilities too
Personal Ability Unlocked : Tatsumi

Personal Ability Unlocked : Karel

Personal Ability Unlocked : Shun

Personal Ability Unlocked : Brendan

Personal Ability Unlocked : Kanon

Personal Ability Unlocked : Gina
Go to the counter to learn from Hibari that a new mission is ready to be taken on.
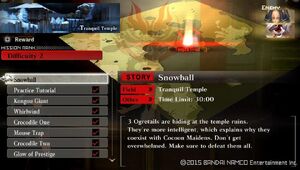
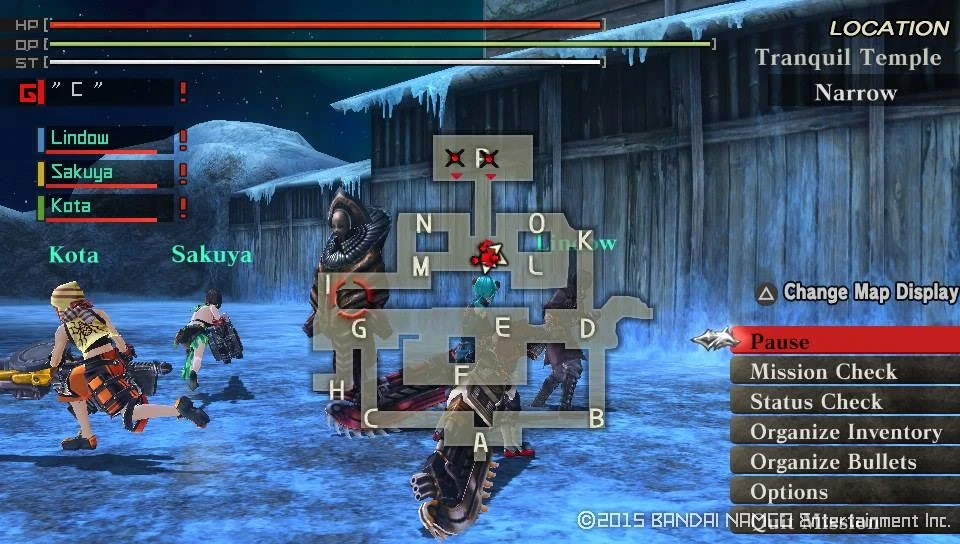
Story Mission Unlocked : Snowball
| Snowball | ||
|---|---|---|
| Information | ||
  |
  | |
|
Target Aragami |
Details | |
|
| |
| Notes | ||
|
Objective: Clear the area, a simple mission On this mission Lindow, Sakuya and Kota accompany you Watch out for the 3 Aragami surrounding you at the start of the mission, better take them out before turning your attention to the Ogretail, which will arrive in a short time due to being lured by the battle noise. Recomended loadout: Anything will do. | ||
Clearing this easy mission nets your first Aerial Predator Style
Predator Style Unlocked : Raven
Along with a Cutscene and an increase in Story counter.
Cutscene Unlocked : Shadows in the City
|-| 8=
Story 8[]
Walkthrough
To start off, there are no new missions to boot for now, but you can remedy that by talking to Soma first, who is standing near the Mission Counter. If you try to get a new mission now, Hibari will inform you that Lindow would like to see you, so head over to his quarters at the Senior's section.
Now you get the mission you've been most probably waiting for.
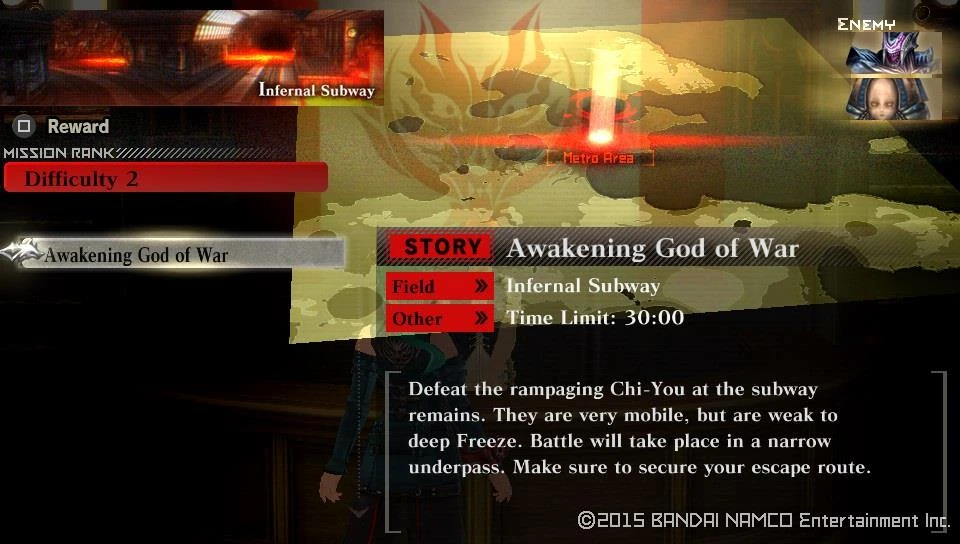
Story Mission Unlocked : Awakening God of War
It also starts with a Cutscene, to introduce your newest party member.
Cutscene Unlocked : Another New-Type
| Awakening God of War | ||
|---|---|---|
| Information | ||
  |
  | |
|
Target Aragami |
Details | |
|
| |
| Notes | ||
|
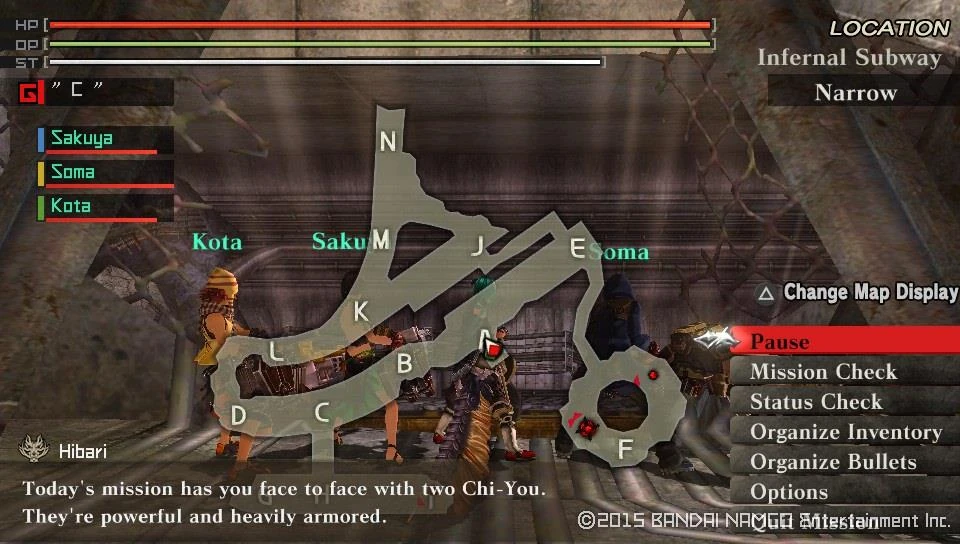
Objective: Meet your first Chi-You, a Medium sized flight capable Aragami. On this mission Sakuya, Soma and Kota will accompany you. While at mission start Hibari will say that you have to fight two Chi-You, it's just an error as there is only one present. A Chi-You has a hard armored body, while the Head and Claws are the weakpoints of its body, so use them if you plan to take it down fast. Be careful that this Aragami tends to move around and use a mixture of mid and close range attacks. Recomended loadout: Blaze or Freeze elemental weapons and Bullets are preferred. Also this is the first Aragami to have elemental Attribute itself, so bringing a Blaze elemental shield will reduce the explosives power it throws at you. Taking a Long Blade with Bomb-type Impulse edge covers all of the weakspots of this Aragami. The following parts can be unbounds:
| ||
Clearing this mission will reward you with another cutscene and increase your Story counter by one.
Cutscene Unlocked : Lecture : Coexistence
|-| 9=
Story 9[]
Walkthrough
Right off the bat, as you check the Mission Counter you are presented with 6 new missions, where one of them is marked as Story.
Free Mission Unlocked : Ocean Wall

Free Mission Unlocked : First Frost

Free Mission Unlocked : Snail's Shell

Free Mission Unlocked : Water Mill

Free Mission Unlocked : Setting Sun

Story Mission Unlocked : Green Purebreeds
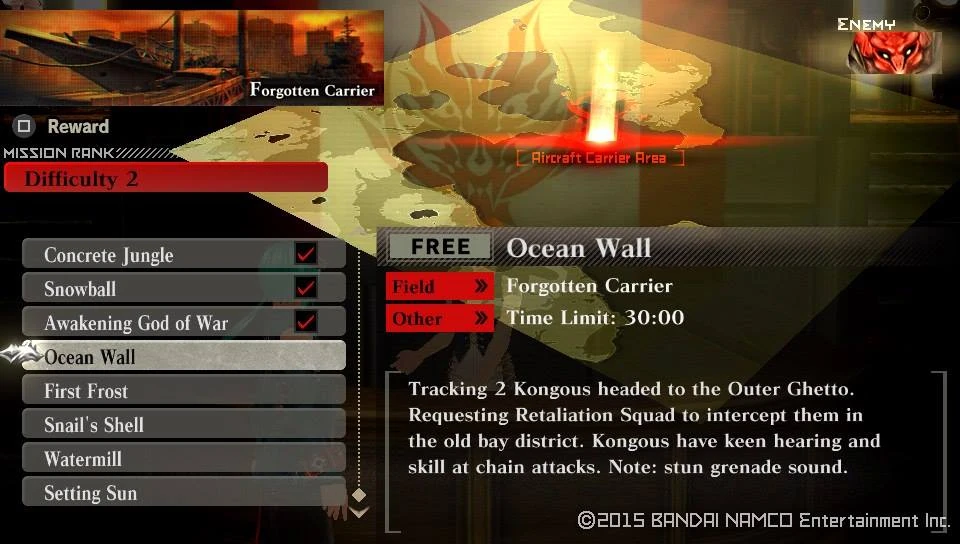
| Ocean Wall | ||
|---|---|---|
| Information | ||
  |
  | |
|
Target Aragami |
Details | |
|
| |
| Notes | ||
|
Objective: This will be your first mission to face two Medium class Aragami at the same time. Because Kongou have very keen hearing it might turn out that the second one will join the fight. Make sure that if that happens focus all your efforts on the weakened one. If it runs away do NOT chase, it will give you a momentary time to regroup and if required heal. Once the fleeing Aragami stops to feed, because of the sensitive hearing it will immediately rejoin the fight, with almost no health being regained in the process. Recomended loadout: Spark elemental Sundering or Piercing weapons and Bullets are recommended. | ||
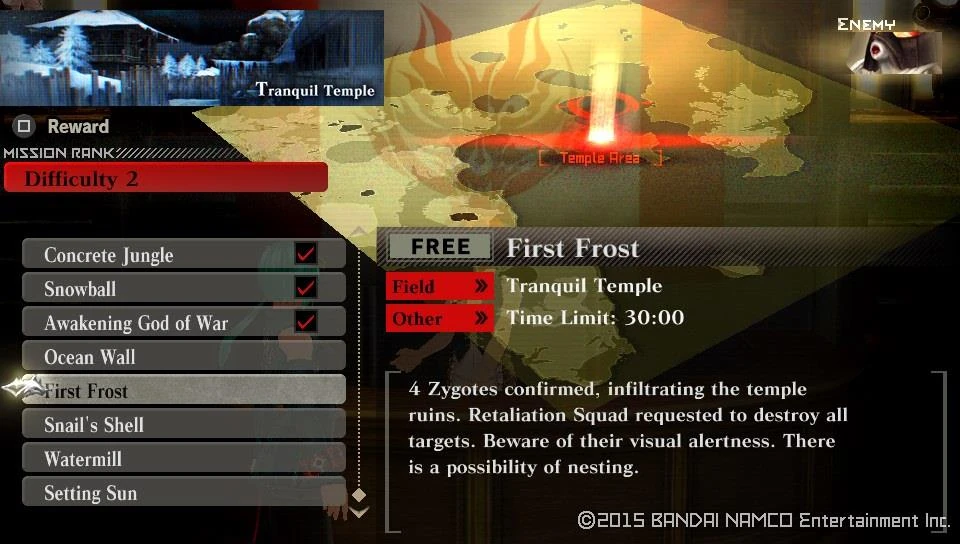
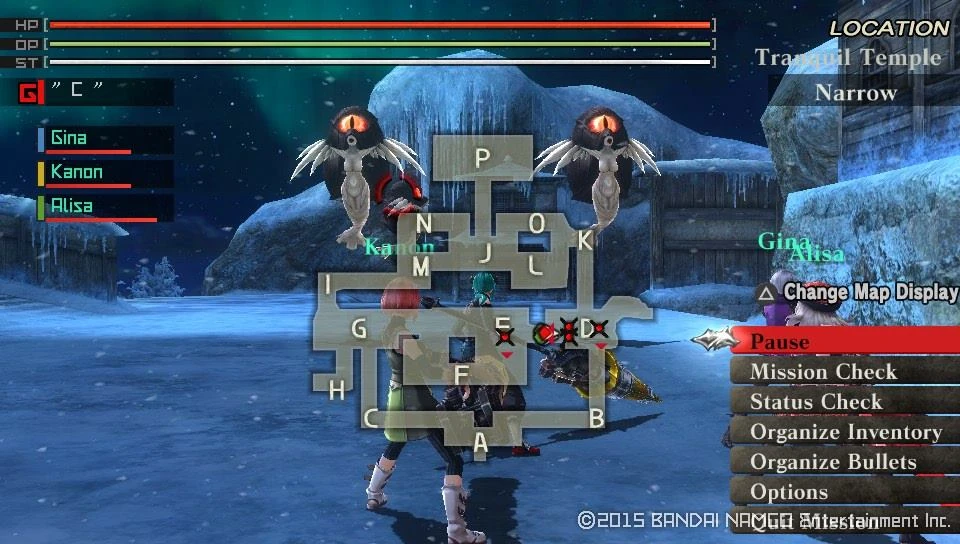
| First Frost | ||
|---|---|---|
| Information | ||
  |
  | |
|
Target Aragami |
Details | |
|
| |
| Notes | ||
|
Objective: Down the fliers and make short work of them. Recomended loadout: Anything will do. | ||
| Snail's Shell | ||
|---|---|---|
| Information | ||
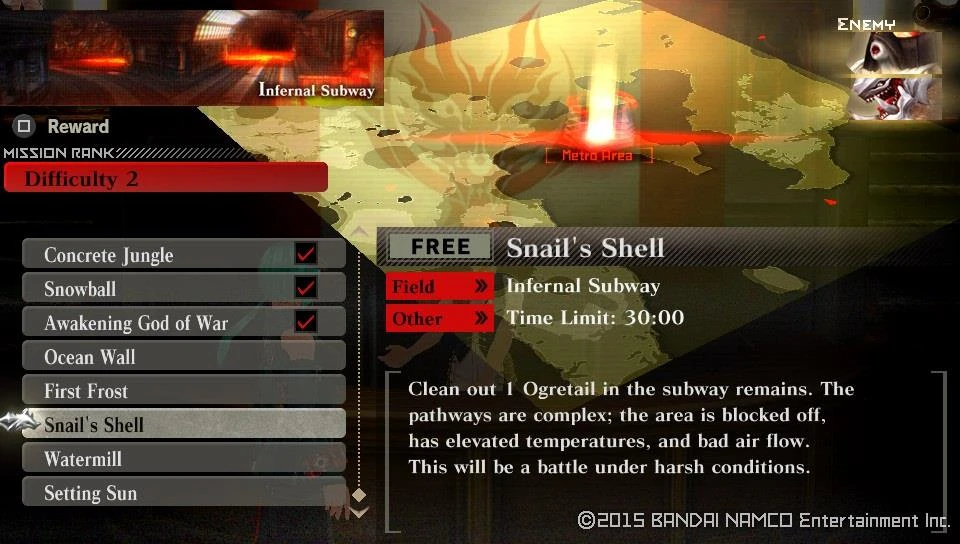  |
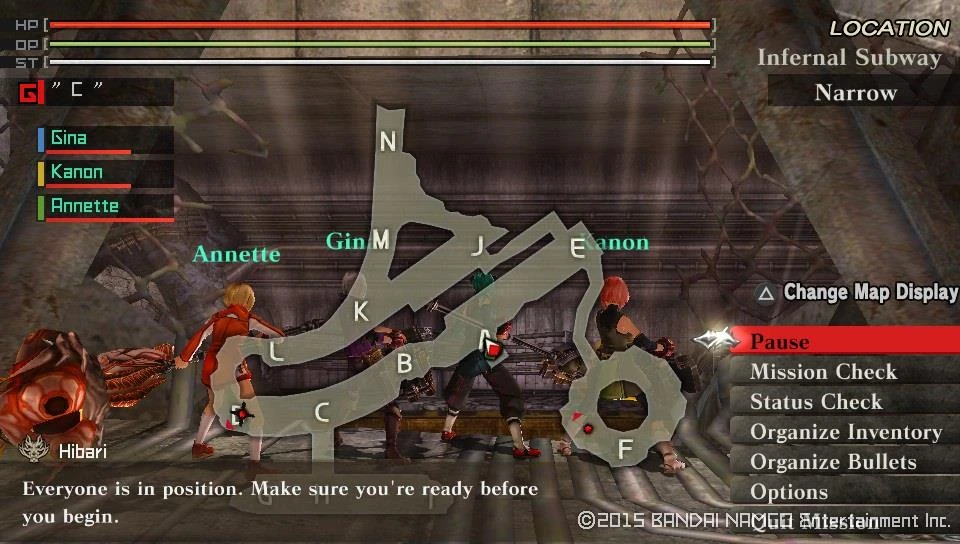  | |
|
Target Aragami |
Details | |
|
| |
| Notes | ||
|
Objective: Easy mission, make short work of it Recomended loadout: Anything will do. | ||
| Water Mill | ||
|---|---|---|
| Information | ||
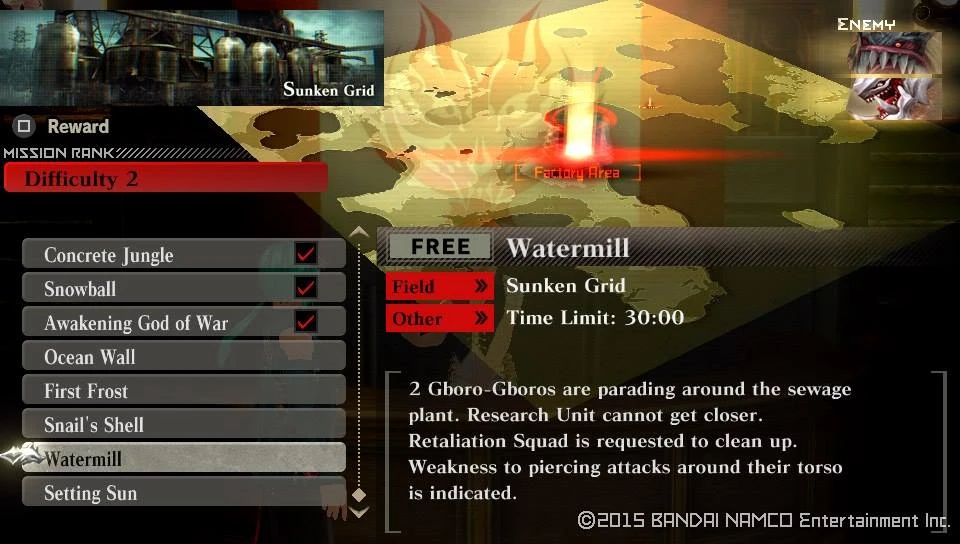  |
  | |
|
Target Aragami |
Details | |
|
| |
| Notes | ||
|
Objective: Defeat both Amphibian Aragami Similarly how there were two Kongou previously, this time there are two Gboro-Gboros. Divide and conquer is your friend here, since the map is rather large. Should they stick together just wait a bit until they separate and then lure them apart from each other. Recomended loadout: Spark Element Piercing weapons and Bullets are your friend, just like last time. | ||
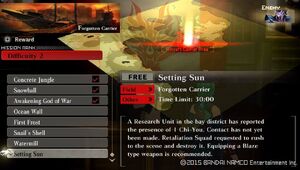
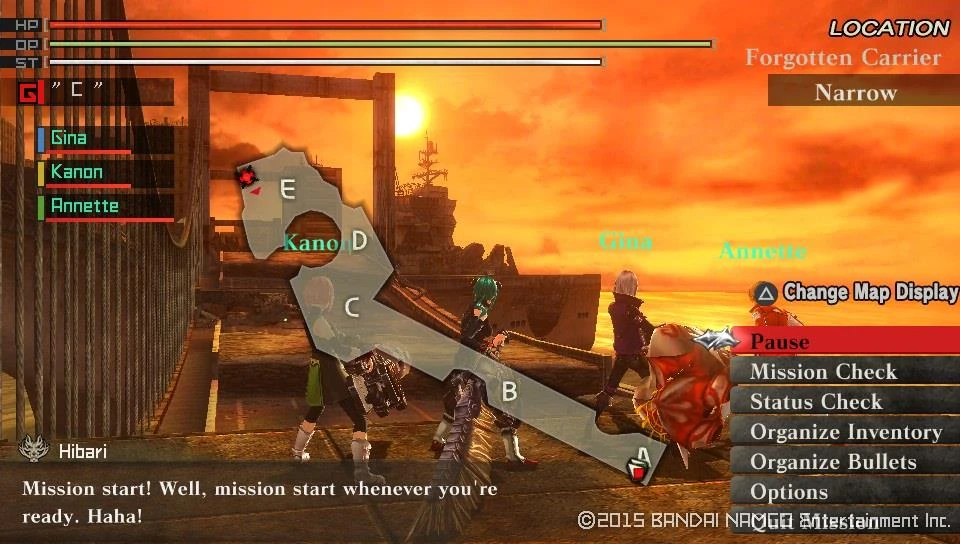
| Setting Sun | ||
|---|---|---|
| Information | ||
  |
  | |
|
Target Aragami |
Details | |
|
| |
| Notes | ||
|
Objective: Defeat the lone Ch-You, but be careful of the limited space on the carrier Recomended loadout: Blaze resistant gear, Blaze or Freeze elemental Long blades and Bullets | ||
Once you are done with the Free Missions and are ready to advance the story, do so and be rewarded with a cutscene
Cutscene Unlocked : Lindow's Request
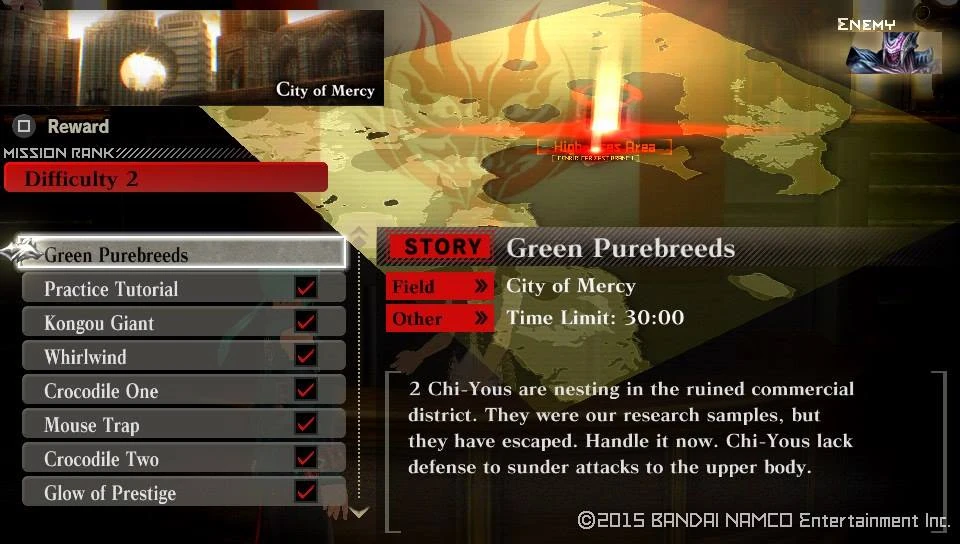
| Green Purebreeds | ||
|---|---|---|
| Information | ||
  |
  | |
|
Target Aragami |
Details | |
|
| |
| Notes | ||
|
Objective: The enemies start off divided, make use of that to your advantage. On this mission Lindow and Alisa are required, however there is 1 free slot for a team member. You can only choose one from Brendan, Kanon, Gina, Tatsumi, Shun or Karel.
| ||
Upon clearing the previous mission you'll earn a cutscene and another increment to your Story counter
Cutscene Unlocked : Lecture : Evolution
|-| 10=
Story 10[]
Walkthrough
Right off the bat you start with another ally becoming available.
Team Member Unlocked : Alisa
And she comes with her own set of Abilities to boot too
Personal Ability Unlocked : Alisa
Check in with Hibari and learn your new mission.
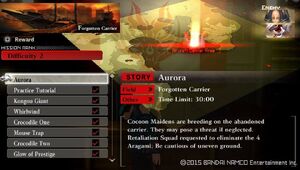
Story Mission Unlocked : Aurora


Clearing Aurora will increase your Story counter by one |-|
11=
Story 11[]
Walkthrough
Check in with Hibari and get your new mission assigned for you
Story Mission Unlocked : Rat Trap
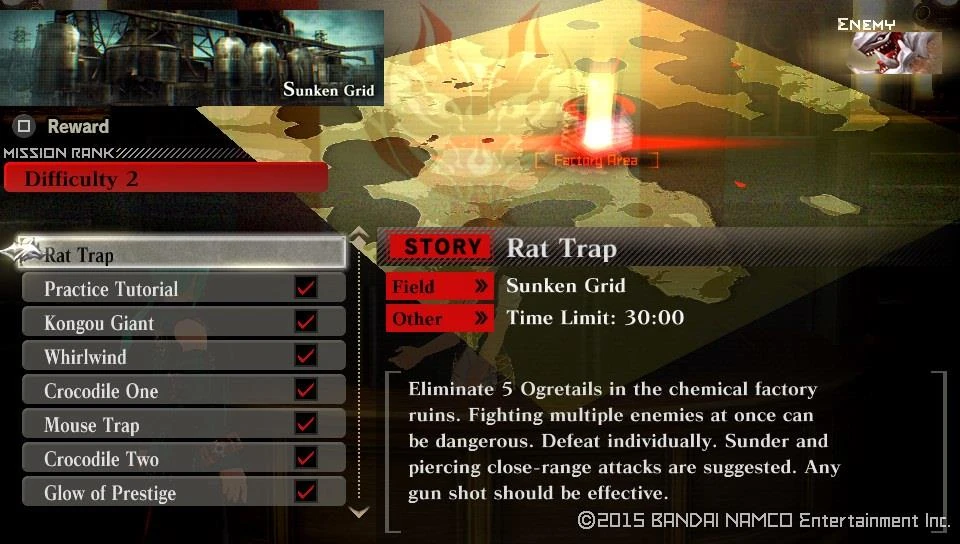
| Rat Trap | ||
|---|---|---|
| Information | ||
  |
  | |
|
Target Aragami |
Details | |
|
| |
| Notes | ||
|
Objective: Clear the infestation and return home. On this Mission Sakuya, Soma and Kota will accompany you Recomended loadout: Anything will do. | ||
Clearing Rat Trap allows you to gain access to the first Step-Devour
Predator Style Unlocked : Sturm
With this the Rank 2 missions and along by increasing your Story counter by one |-|
12=
Story 12[]
Walkthrough
To start off, you unlock a new Difficulty
Difficulty 3 Missions Unlocked
Not to mention one of the most known missions in said rank
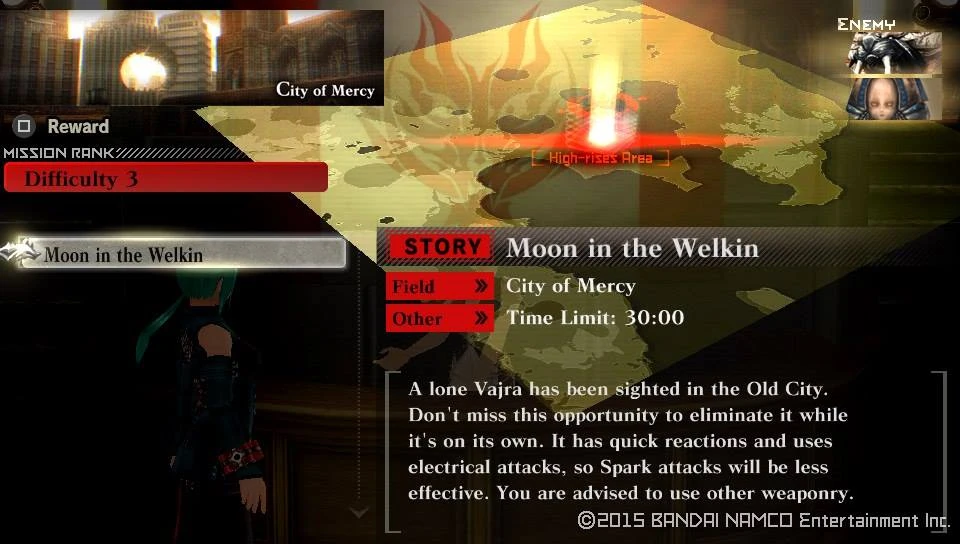
Story Mission Unlocked : Moon in the Welkin
| Moon in the Welkin | ||
|---|---|---|
| Information | ||
  |
  | |
|
Target Aragami |
Details | |
|
| |
| Notes | ||
|
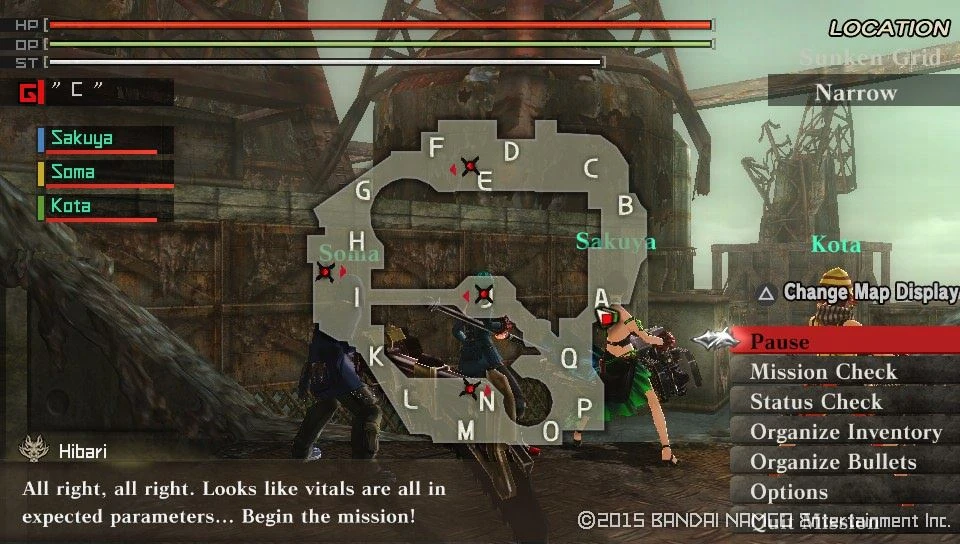
Objective: Hunt your first Large class Aragami, the Vajra On this mission Sakuya, Soma and Kota will accompany you. It's big, fast and packs quite a punch. Familiarize with the moves first before going it because if you mess up the Vajra deals a lot of damage. Important notice is that when enraged it gets even faster, stronger plus most of its attacks will now cause Sparks and Stun you. Also it becomes very vulnerable to Stun Grenades, but only as long it is enraged. Dealing enough Piercing damage to the torso, or Sundering damage to the front legs will make the Vajra fall and ready to be punished. Crushing damage to the head will make it stagger and reel back to two hind legs. Recomended loadout: Make sure to have Spark resistant shield and enough Restore Pills at hand. Blaze, Freeze or Divine attribute Long Blades will be your friend here for the following reasons. All parts can be unbound with ease.
| ||
Finishing this mission nets you a Cutscene and an increase in Story Counter
Cutscene Unlocked : A Moment of the End
|-| 13=
Story 13[]
Walkthrough
With the clearing of Moon in the Welkin you have earned the right to take on Rank 3 Urgent Missions.
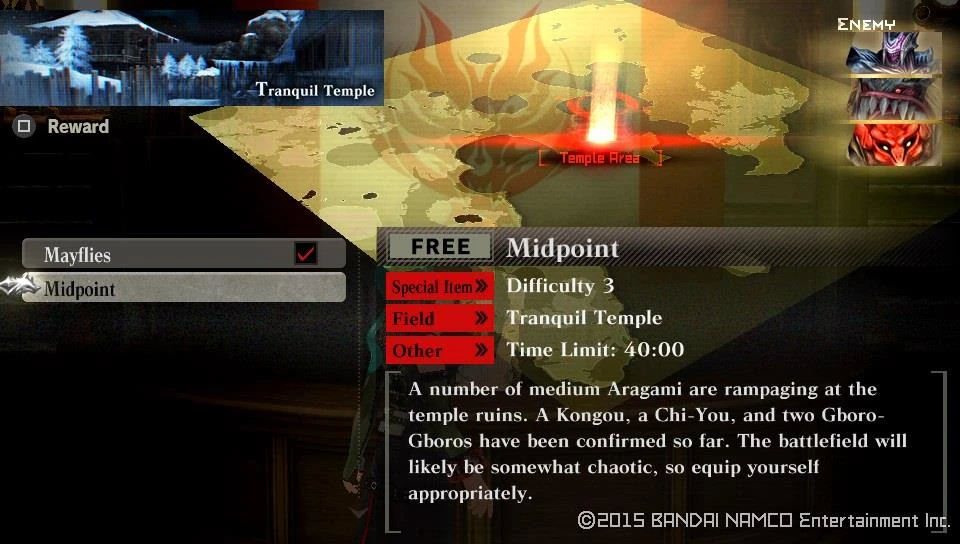
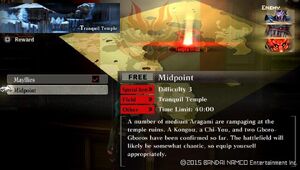
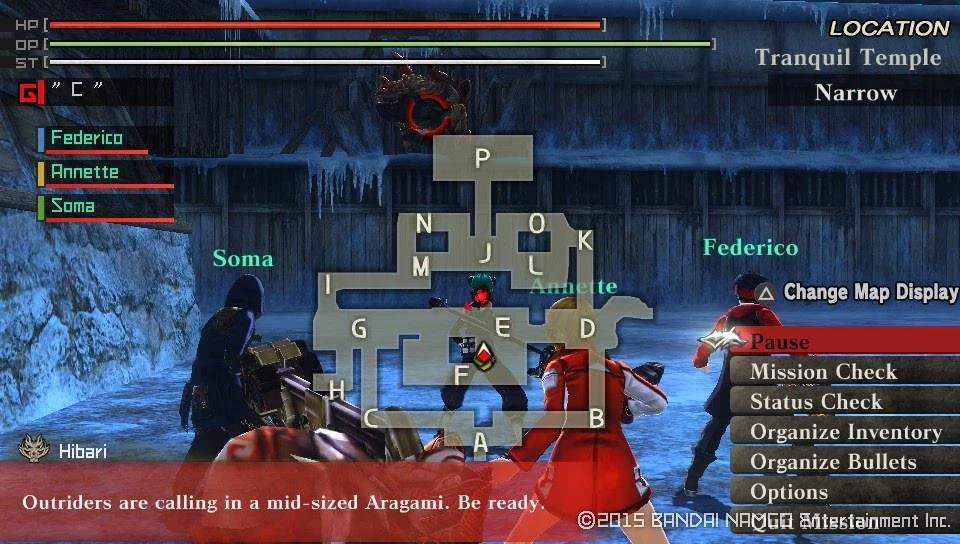
Urgent Mission Unlocked : Midpoint
| Midpoint | ||
|---|---|---|
| Information | ||
  |
  | |
|
Target Aragami |
Details | |
|
| |
| Notes | ||
|
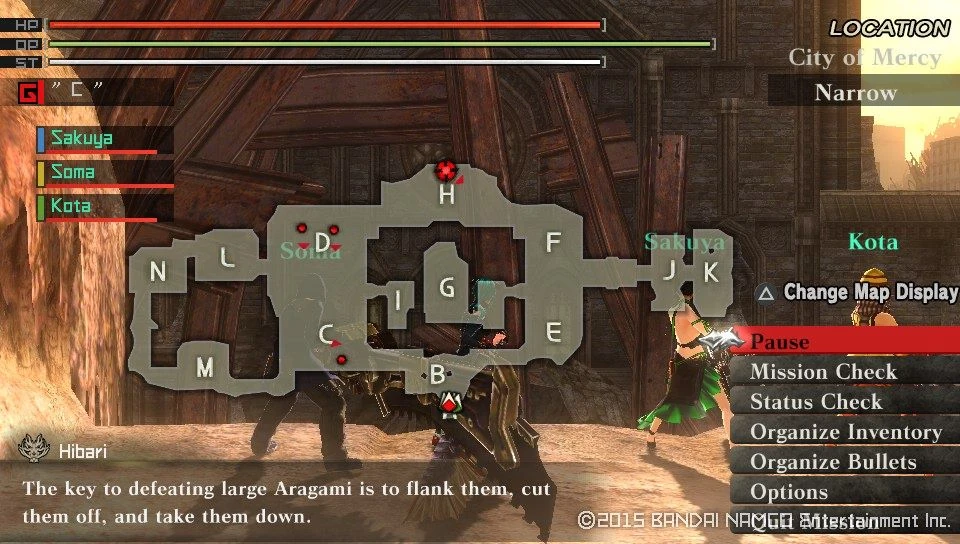
Objective: Stand your ground against the invading Aragami species. This Urgent Mission packs a punch if you don't watch the warning of the Operator. At the start of the mission you are briefed that all Aragami will appear on the middle of the map, albeit one at a time in 1 minute intervals. Your first goal is to lure the Kongou away before the 2nd target appears and take it down. From then on you will have to watch the mini-map constantly to see the patrol route the Aragami take and to engage only one at a time. Doing otherwise is the worst possible decision on this map. Recomended loadout: Spark elemental Long Blade and Piercing Bullets are recommended. Review each Aragami if you need strategy on combating them, but in short. The Long Blade covers all parts of the Chi-You and Kongou, while the Piercing Bullets will cover the weaknesses of the Gboro-Gboro. | ||
| Reward | Conditions | Probability |
| 2000 fc | Automatic | 100% |
| Simian Fragment | Automatic | 50% |
| Draconic Fang | Automatic | 50% |
| Draconic Fang | Automatic | 50% |
| Draconic Gun | Automatic | 38% |
| Draconic Gun | Automatic | 38% |
| Draconic Scale | Automatic | 34% |
| Draconic Scale | Automatic | 34% |
| Simian Trunk | Automatic |
27% |
| Simian Armament | Automatic | 27% |
| Simian Tail | Automatic | 27% |
| Avian Flesh | Automatic | 27% |
| Draconic Fin | Automatic | 24% |
| Draconic Fin | Automatic | 24% |
| Draconic Horn | Automatic | 16% |
| Draconic Horn | Automatic | 16% |
| Simian Larynx | Automatic | 6% |
| Simian Larynx | Clear under 10 min. | 10% |
| Draconic Fin | Clear with 30+ Endurance | 12% |
| Draconic Fin | Clear with 30+ Endurance | 12% |
| Draconic Horn | Clear with 30+ Endurance | 8% |
| Draconic Horn | Clear with 30+ Endurance | 8% |
| Simian Larynx | Clear with 30+ Endurance | 3% |
| Bronze F-Ticket | Break 1+ Bonds | 100% |
| Bronze A-Ticket | Break 1+ Bonds | 20% |
| 2000 fc | "Reward Credits Up" Lv1 or higher | 30% |
| Restore Pill | "Get Consumable Items" Lv1 or higher | 100% |
| Restore Pill II | "Get Consumable Items" Lv1 or higher | 50% |
| O-Ampule | "Get Consumable Items" Lv1 or higher | 50% |
| OG: Restore Post | "Get Consumable Items" Lv1 or higher | 33% |
For the first time instead of gaining new members you'll lose two, and not just that they are not available to chose from missions but are disabled.
Team Member Locked : Alisa

Team Member Locked : Lindow
This means that their Personal Abilities will also be locked down, unable to teach them anything.
Personal Ability Locked : Alisa

Personal Ability Locked : Lindow
On the other hand, a number of missions have become available.
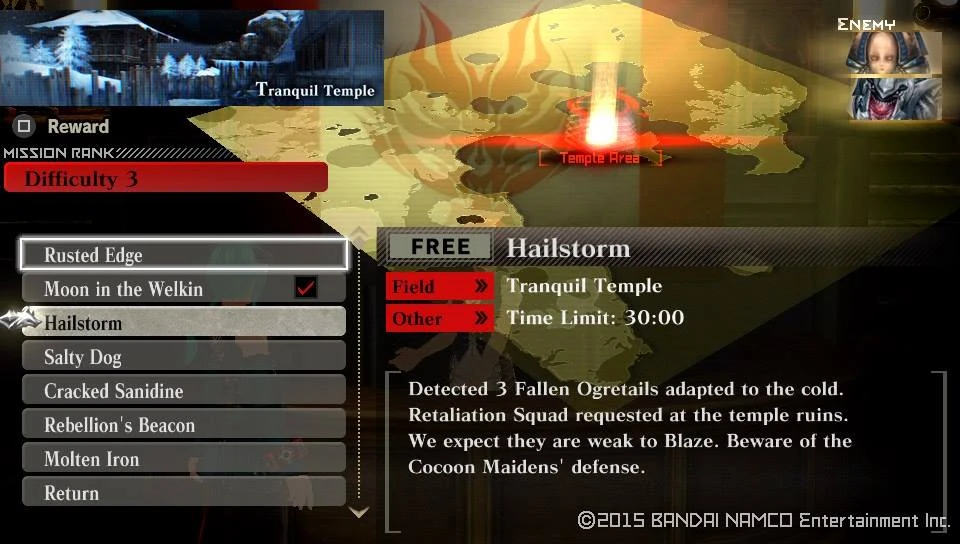
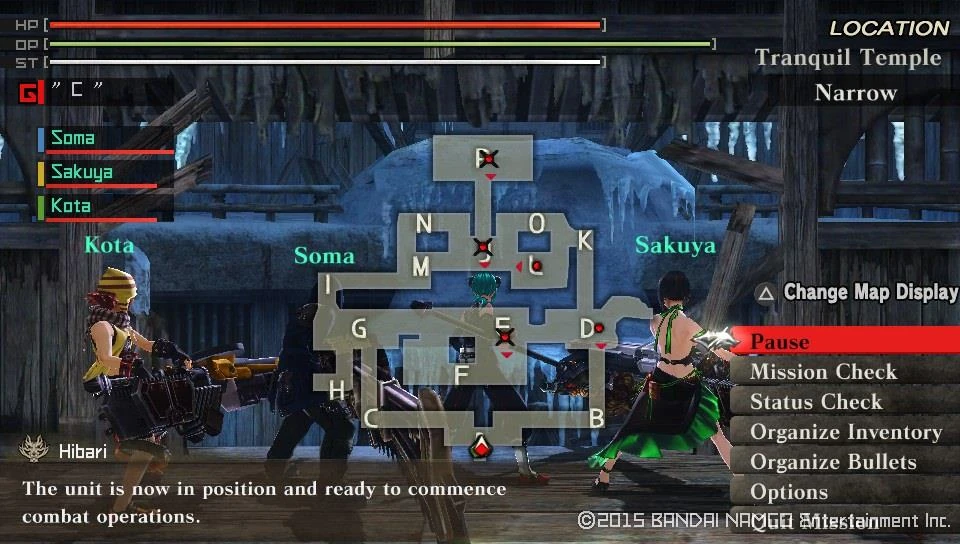
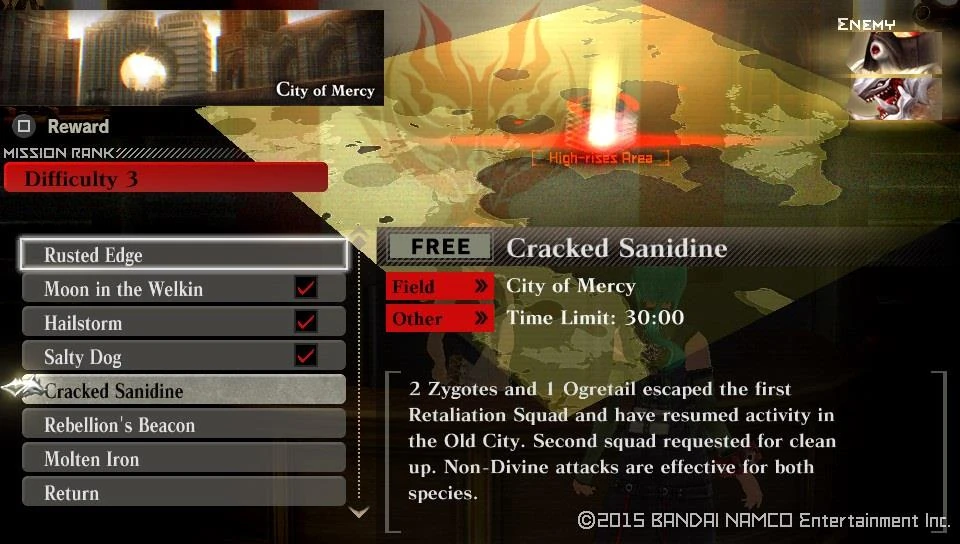
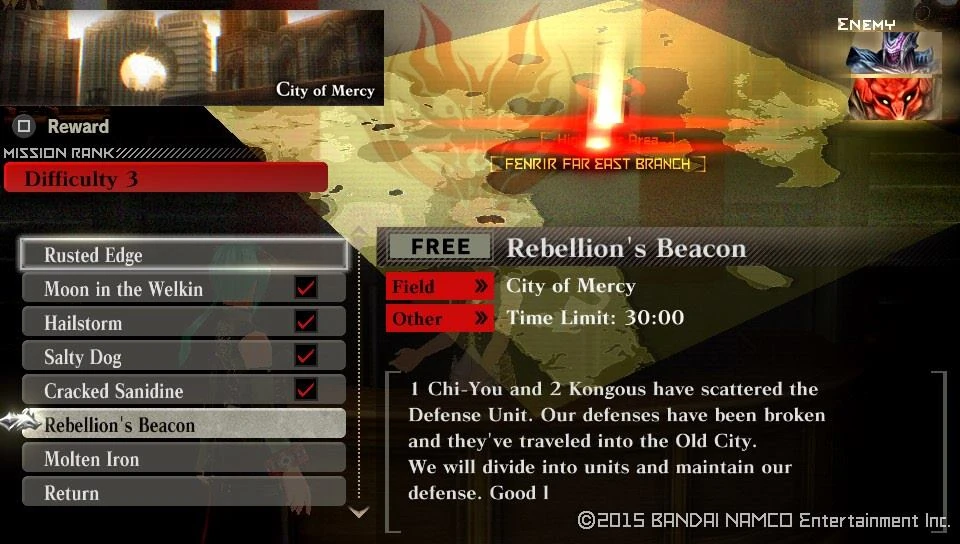
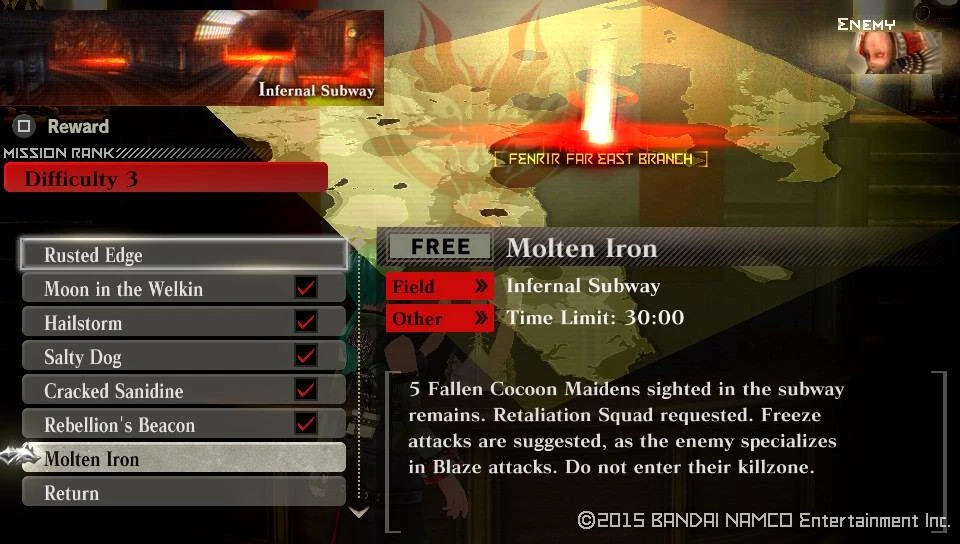
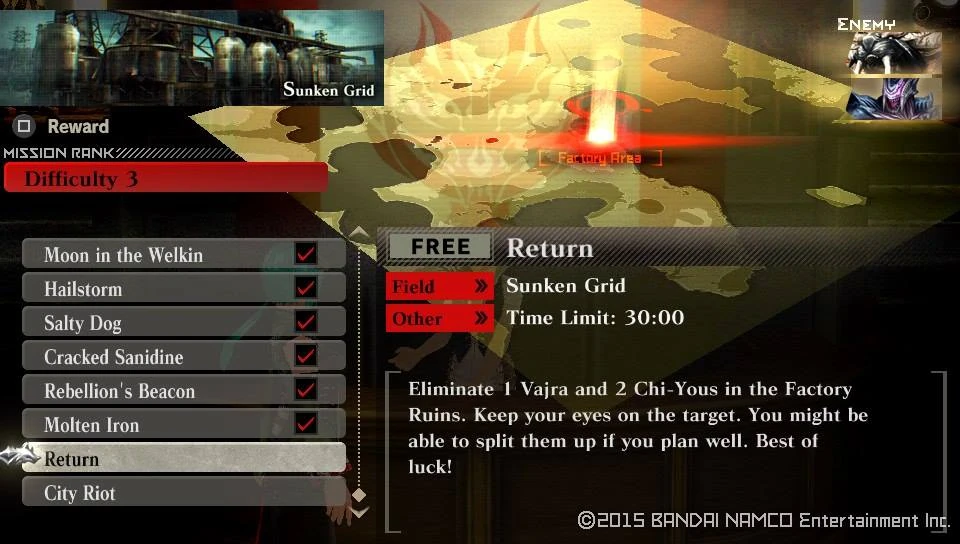
Free Mission Unlocked : Hailstorm

Free Mission Unlocked : Salty Dog

Free Mission Unlocked : Cracked Sanidine

Free Mission Unlocked : Rebellion's Beacon

Free Mission Unlocked : Molten Iron

Free Mission Unlocked : Return

Free Mission Unlocked : City Riot

Story Mission Unlocked : Rusted Edge


| Salty Dog | ||
|---|---|---|
| Information | ||
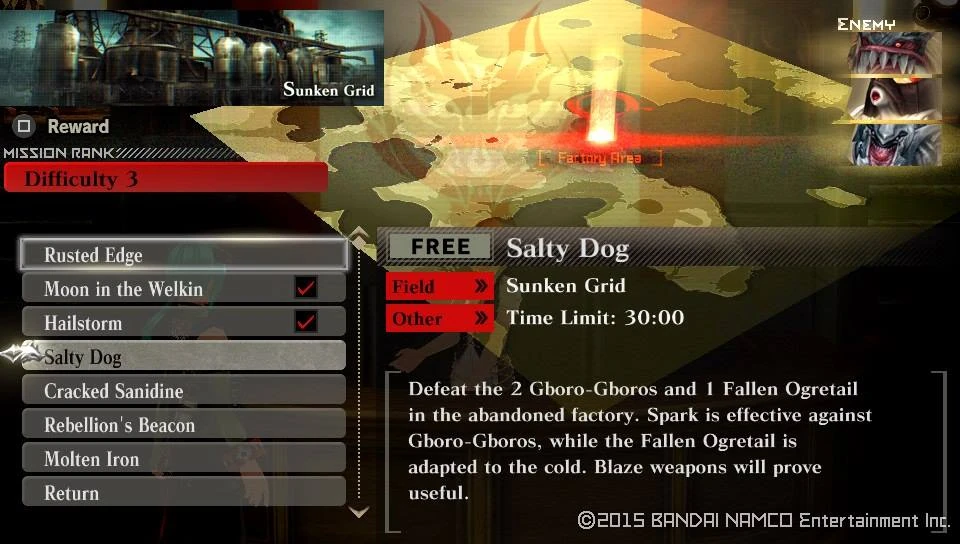  |
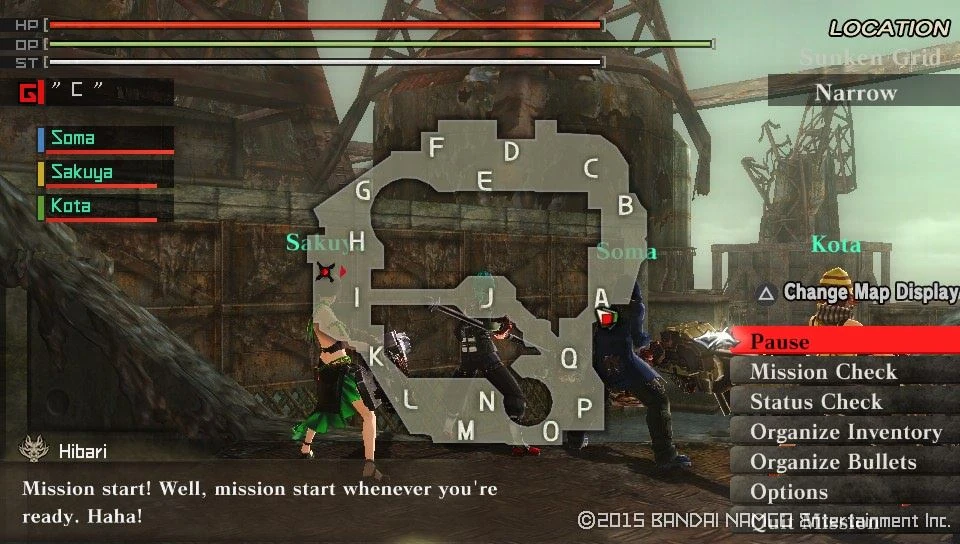  | |
|
Target Aragami |
Details | |
|
| |
| Notes | ||
|
Objective: Get rid of the Fallen species to encounter the real targets of this mission. Recomended loadout: Spark Elemental weapons and Piercing Bullets. | ||


After you are done with the Free missions and are ready to continue the story go and talk to Hibari, taking on the next mission.
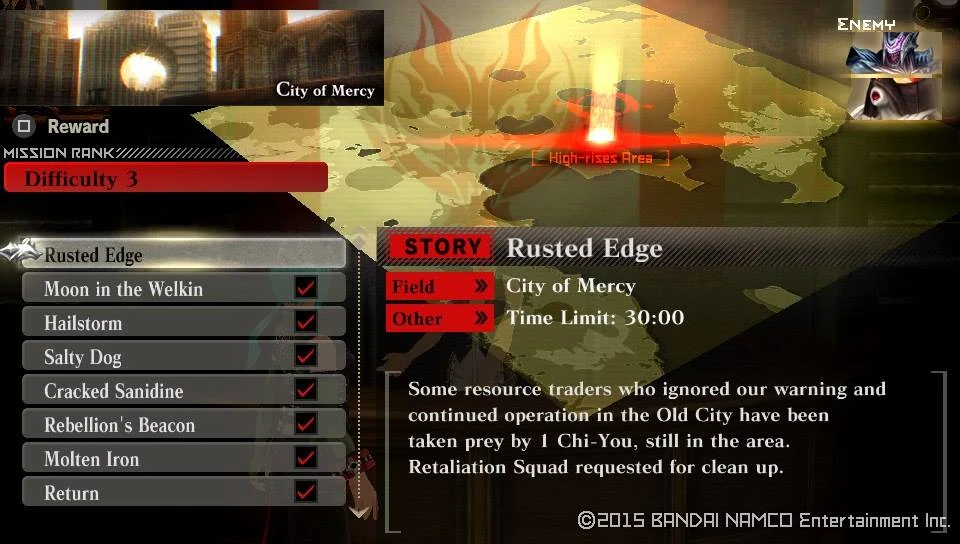
| Rusted Edge | ||
|---|---|---|
| Information | ||
  |
  | |
|
Target Aragami |
Details | |
|
| |
| Notes | ||
|
Objective: Eradicate all fliers. On this mission only Sakuya, Soma and Kota will accompany you. Recomended loadout: Blaze or Freeze Elemental Long Blade does the trick. | ||
Finish the mission to unlock a Cutscene
Cutscene Unlocked : Fading Hope
Return to check in at the Counter to learn your next destination already being determined
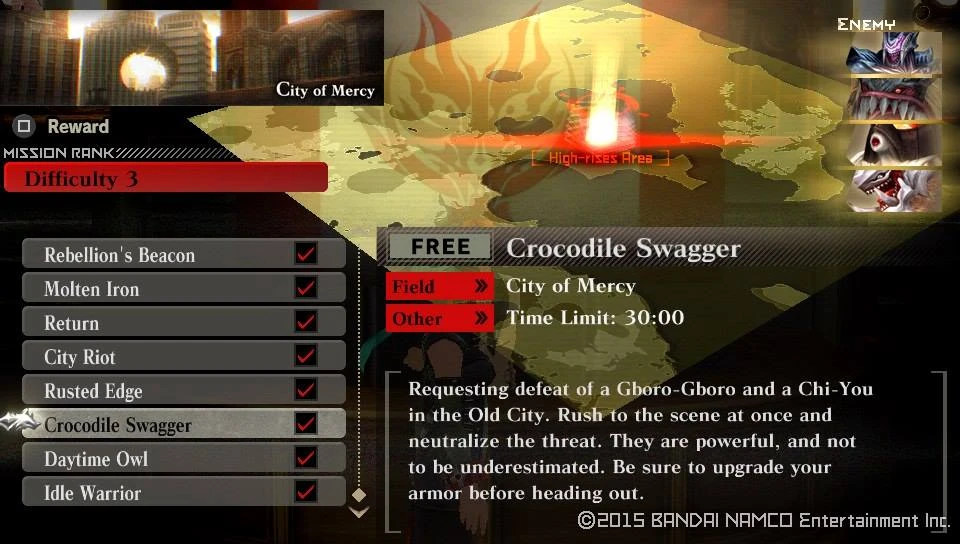
Story Mission Unlocked : Crocodile Swagger
| Crocodile Swagger | ||
|---|---|---|
| Information | ||
  |
  | |
|
Target Aragami |
Details | |
|
| |
| Notes | ||
|
Objective: Get rid of the Amphibian and the follow-up Avian. On this mission Soma, Sakuya and Kota accompany you. Recomended loadout: Blaze element Long Blades for the Chi-You and Spark elemental Piercing Bullets versus the Gbor-Gboro | ||
In reward for your mission accomplished, a Cutscene is in
Cutscene Unlocked : Confusion
Visit Hibari to learn that Alisa can now have visitors, but no new missions were posted as of yet. So let's go to to the Laboratory and enter the rightmost door to trigger a Cutscene.
Cutscene Unlocked : Resonance
Go see the Operator back at the Mission Counter to learn your next target has been designated
Story Mission Unlocked : Daytime Owl
Before embarking on it, another Cutscene will pop up
Cutscene Unlocked : Ending the Search
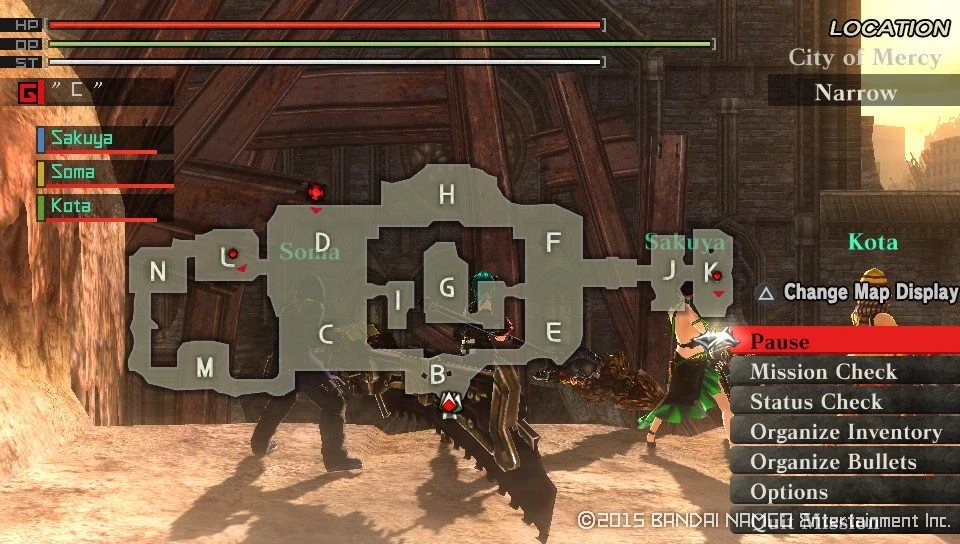
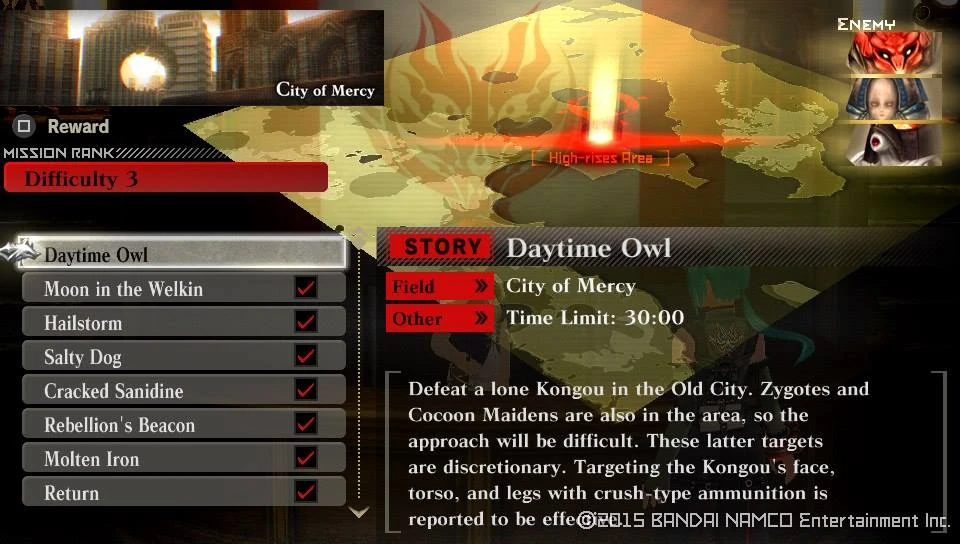
| Daytime Owl | ||
|---|---|---|
| Information | ||
  |
  | |
|
Target Aragami |
Details | |
|
| |
| Notes | ||
|
Objective: Disable the lone Kongou On this mission Soma, Sakuya and Kota will accompany you Recomended loadout: Spark Elemental Long Blade and Piercing Bullets. | ||
Clearing Daytime Owl will increment your Story counter by one.
|-| 14=
Story 14[]
Walkthrough
A pair of new missions is now ready to take one, one of them is Story related
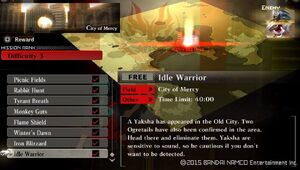
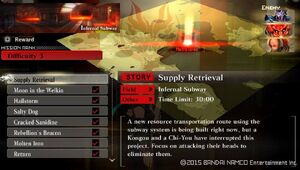
Free Mission Unlocked : Idle Warrior

Story Mission Unlocked : Supply Retrieval
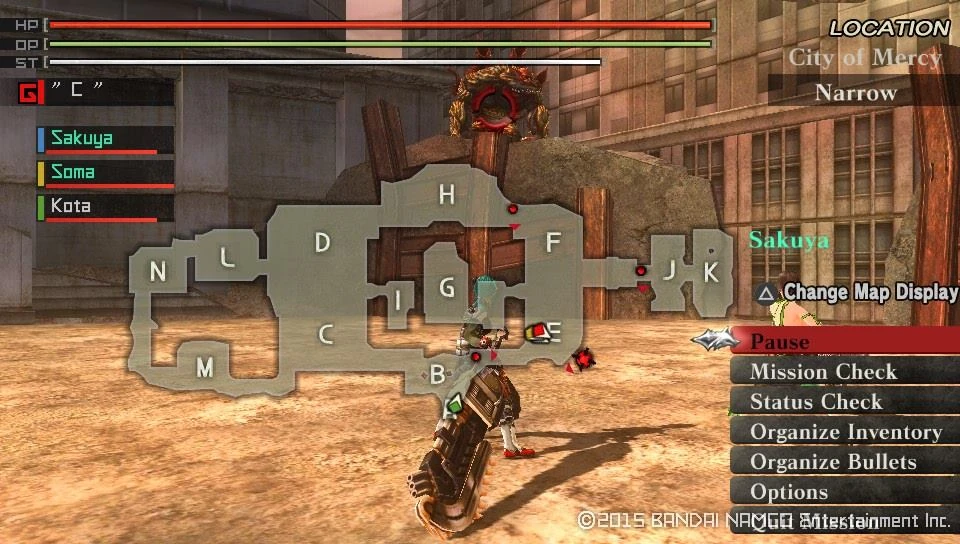
| Idle Warrior | ||
|---|---|---|
| Information | ||
  |
  | |
|
Target Aragami |
Details | |
|
| |
| Notes | ||
|
Objective: Meet another Medium Class Aragami, the Yaksha. This humanoid Aragami only a solely ranged damage dealer, opting most of the time to run away or using evasive attacks to stay in range of its targets. Be careful when it drops to one knee and starts powering up a shot, although its a very telegraphed attack it deals a lot of damage. Attacking the legs will cause it to drop on the knees where it becomes free pickings. Also unlike most Aragami, the Yaksha has only two unbindable spots, the Head and the Shoulder Pads. Despite this, this is the weakest of the Medium sized Aragami. Recomended loadout: Divine Resistant gear and Anything non-Divine elemental. Sundering and Piercing attacks work well on the legs/shoulders, while Crushing is good for the arms, torso and head. The unbindable parts are as follows:
| ||
After the novely of fighting a new type of Aragami wears off, go and have a shot at something you are more familiar with on the next Story mission


Clearing it will yield a cutscene to enjoy
Cutscene Unlocked : Sakuya & Tsubaki
Return to Hibari, who informs you that Alisa can have visitors again, head over to the Infirmary and check on her.
Cutscene Unlocked : Alisa's Trauma
Upon checking in at the Counter, the Operator informs you of the debut of a new Aragami, so embark on the next mission
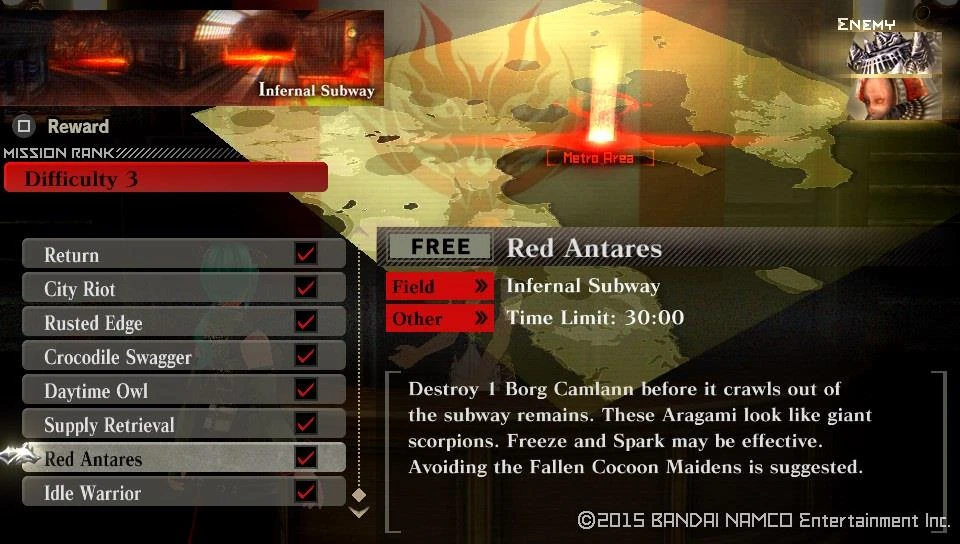
Story Mission Unlocked : Red Antares
Which starts off with a Cutscene beforehand
Cutscene Unlocked : Lindow's Memento 1
| Red Antares | ||
|---|---|---|
| Information | ||
  |
  | |
|
Target Aragami |
Details | |
|
| |
| Notes | ||
|
Objective: Another introductionory mission for a Large type Aragami, the Borg Camlann. On this mission Kota and Soma will accompany you, furthermore you can select someone in addition from the Defense Squad or the Reserve Squad. A large heavy armored scorpion-like Aragami will be your opponent this time, with a damaging tail that has surprising long reach and powerful charge attacks. Whenever it stands with shields raised, be careful of it because it can either lash out with the tail to perform a spinning swipe, launch into numerous stabs with said tail or simply charge ahead trying to trample you. Aside from the tail attacks, it is also able to fire spikes at you from the top of the head and the lower arms when raised together form a sturdy shield that protects the vulnerable head area. Repeated Piercing strikes at the front leg or Sunder attacks to the hind legs will down the Aragami for a few seconds. Whereas striking the head with Piercing attacks or shots will have a high chance to make it reel back in pain. Also keep in mind that enraging the Borg Camlann not only makes it faster and stronger, but the legs and the tail itself even hardens reducing much of the incoming damage and prolonging your attempts at unbinding these. Therefore it is best to unbind the front legs first, followed by the Shield and finally the tail. When it tries to flee, leave it since that also cancels the Enrage even before it would run out and thus increasing the damage it incurs. Recomended loadout: Freeze or Spark elemental Long Blades. The unbindable parts are as follows:
| ||
Clearing Red Antares rewards you with 3 Predator Styles at once for Charge, Air and Step/Combo/Quick each.
Predator Style Unlocked : Dragon

Predator Style Unlocked : Driving Jaw

Predator Style Unlocked : Scechshorn
Not to mention an increment to the Story counter and a Cutscene
Cutscene Unlocked : Lindow's Memento 2
|-| 15=
Story 15[]
Walkthrough
First of all, after the previous mission you have unlocked the ability to customize Predator Styles to your like, and some of the Control Units attachable to said styles.
Predator Style Customization Unlocked

Control Unit Unlocked : Blaze Resist +

Control Unit Unlocked : Freeze Resist +

Control Unit Unlocked : Spark Resist +

Control Unit Unlocked : Divine Resist +

Control Unit Unlocked : Powerstrike ( Melee )

Control Unit Unlocked : Powerstrike ( Bullet )
Once you are done setting up your Predator Styles and the Control Units attached to them go and talk to Hibari, to learn that another Large type Aragami had been spotted
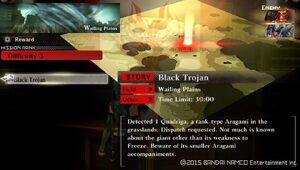
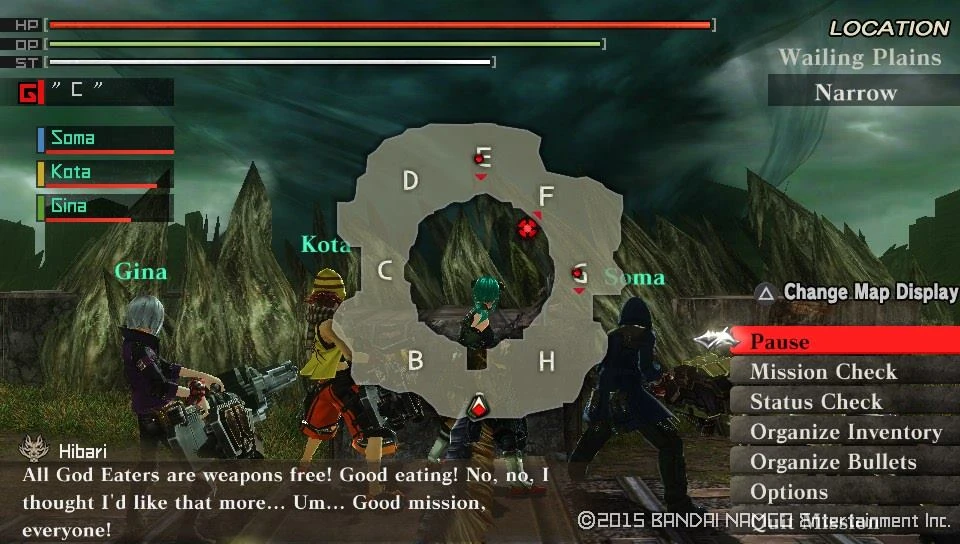
Story Mission Unlocked : Black Trojan
Before you could head out to take on the armored beast, a Cutscene awaits you before it.
Cutscene Unlocked : The Truth
| Black Trojan | ||
|---|---|---|
| Information | ||
  |
  | |
|
Target Aragami |
Details | |
|
| |
| Notes | ||
|
Objective: Defeat the heavy armored Aragami, the third Large sized one you have encountered so far. On this mission Kota and Soma accompany you, and 1 more from the Defense or the Reserve Squads. In general this Aragami is not fast, but watch out if it tries to trample you. Its body is heavily armored, where as the weakest parts are the Pods and the Exhaust. When the Chest compartment opens up to fire one of the Tomahawk missiles you better exploit the short timeframe to deal some serious damage to it. This Aragami excells in long range combat, but its not defenseless in close range either with the jumps and showering timed rockets around its body. When enraged during the charging/trampling attacks it will constantly shower its surroundings with explosives. The head, upper body, opened chest and the pods are weak to Piercing bullets so better bring one of those. To get the chest open reliably, use crushing bullets on the front legs (Caterpillars). When enraged the front legs harden to Crushing bullets, but overall the body will lose Elemental Resistance, increasing the damage it takes. When it braces the legs be on your guard for a number of attacks could be unleashed:
The Unbindable parts are as follows:
| ||
Finishing Black Trojan earns you a Cutscene and another rise to your Story counter
Cutscene Unlocked : The Power to Protect
|-| 16=
Story 16[]
Walkthrough
Just as the previous Cutscene suggested, you have gotten Alisa back as a Team Member.
Team Member Unlocked : Alisa
However there is an actual catch to that. When Alisa first joined, she had a special Item in her inventory. Called ' Distrust', which disabled her ability to heal, and transfer Aragami Bullets. Currently it is changed to 'Grief', She regained the ability to heal, but lost the ability to Guard. Furthermore while 'Grief' is active, she is unlikely to change her God Arc from ranged to melee, or to attack at all. At the same time, her healing is very limited and very rarely does so even when hovering around the brink of collapsing.
Go and talk to Hibari to learn that a couple of new mission became available
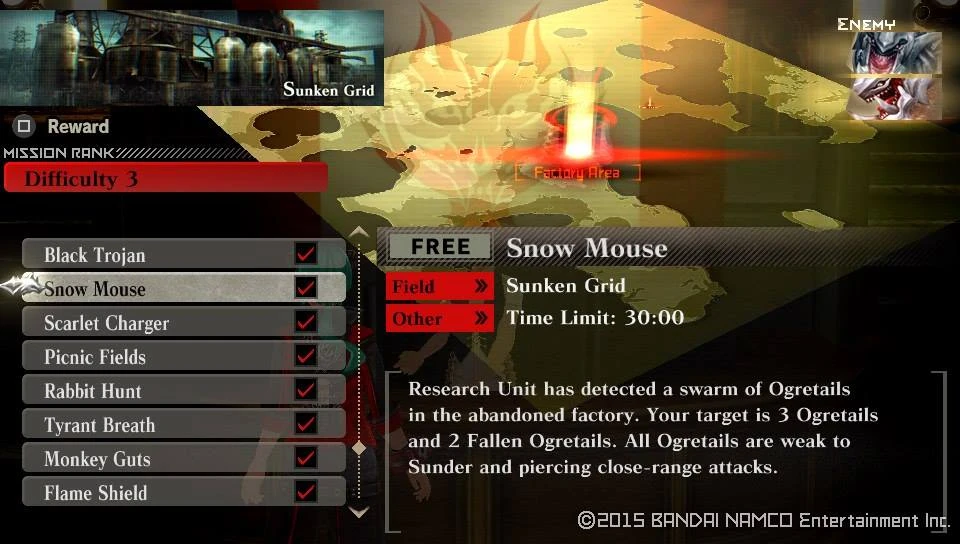
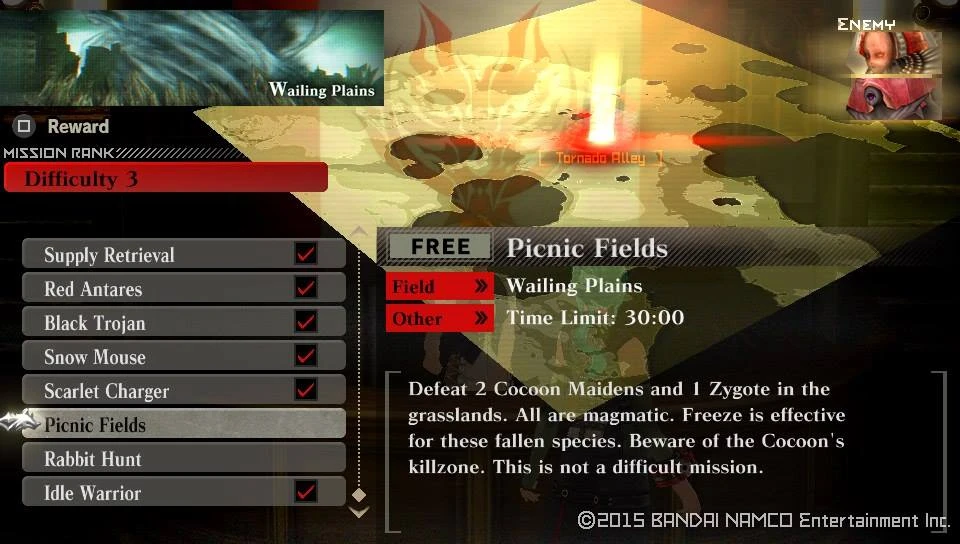
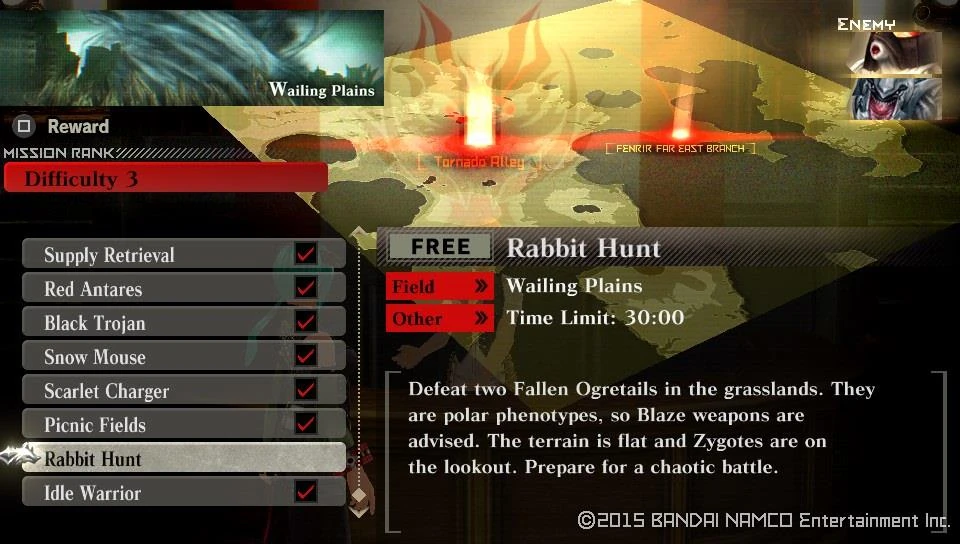
Free Mission Unlocked : Snow Mouse

Free Mission Unlocked : Scarlet Charger

Free Mission Unlocked : Picnic Fields

Free Mission Unlocked : Rabbit Hunt
| Snow Mouse | ||
|---|---|---|
| Information | ||
  |
  | |
|
Target Aragami |
Details | |
|
| |
| Notes | ||
|
Objective: Clean up the Ogres and their Fallen variants. Recomended loadout: Anything will do, but the Fallen are vulnerable to Blaze. | ||
| Scarlet Charger | ||
|---|---|---|
| Information | ||
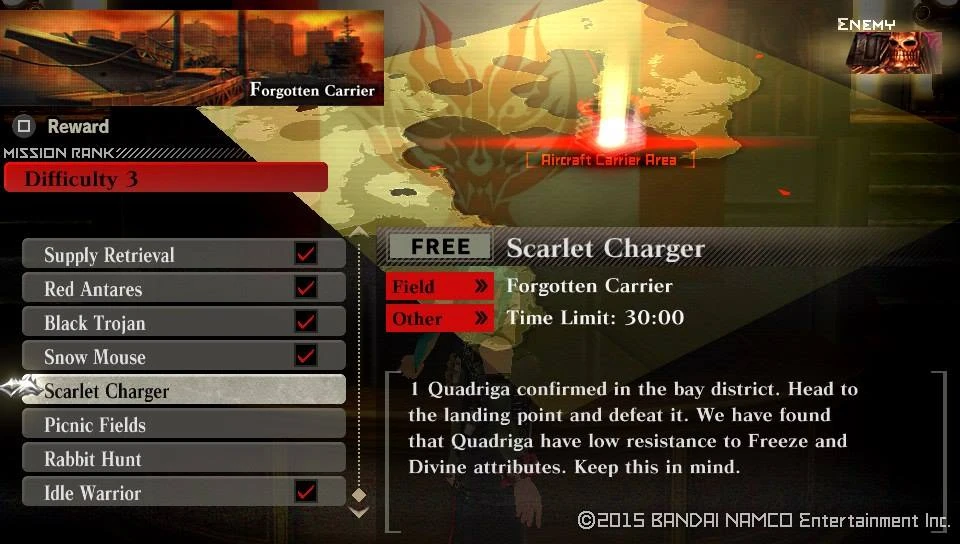  |
  | |
|
Target Aragami |
Details | |
|
| |
| Notes | ||
|
Objective: Smash the Quadriga before it can trample you. Recomended loadout: Freeze or Divine elemental Boost Hammer, Piercing Bullets | ||


Once you're done with the Free Missions go and seek Alisa. She will ask you to help her get back to feet by going on missions along side of you.
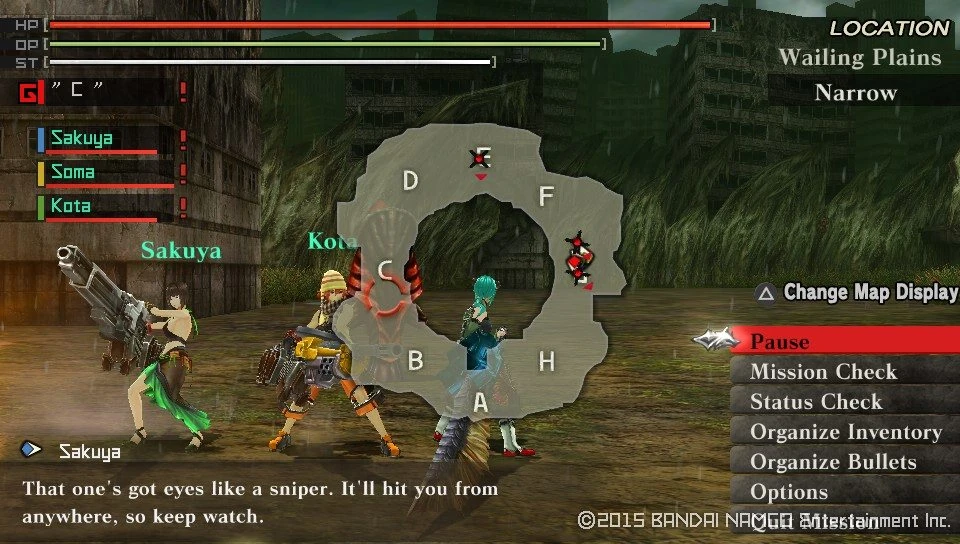
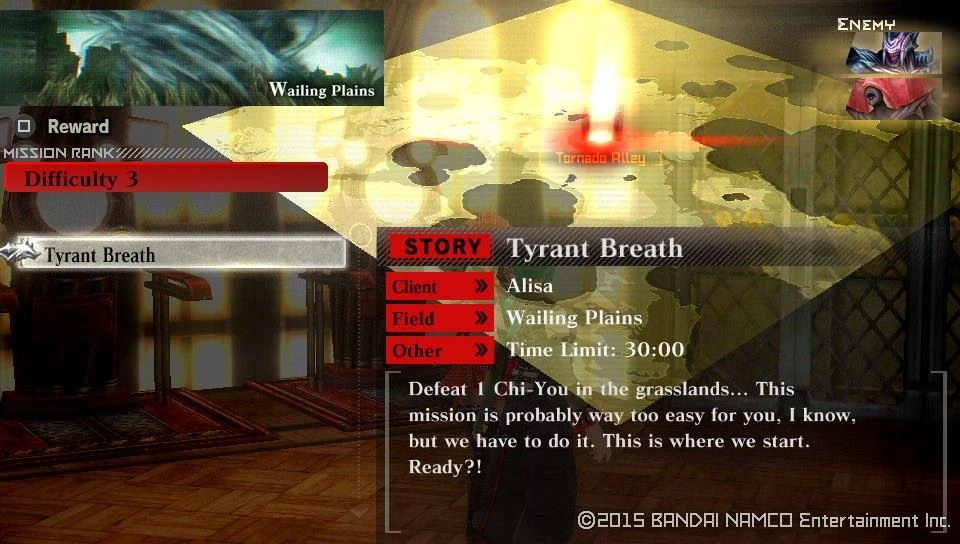
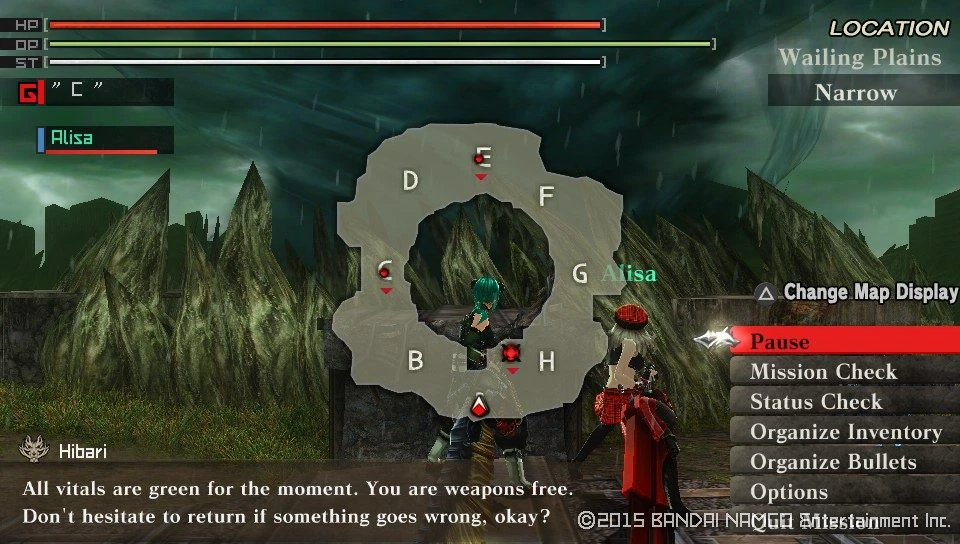
Story Mission Unlocked : Tyrant Breath
| Tyrant Breath | ||
|---|---|---|
| Information | ||
  |
  | |
|
Target Aragami |
Details | |
|
| |
| Notes | ||
|
Objective: Show Alisa how to beat the crap out of a Chi-You. On this mission only Alisa will accompany you. However due to 'Grief', the mission plays out as if you were doing it on your own. Recomended loadout: Blaze resistant Gear, Freeze Elemental Long Blade and Piercing Bullets. If you have troubles to keep up with a Chi-You on your own, bring lots of healing items, equip Upgrades that give you the skills of Item Speed and Item Effect. | ||
Complete Tyrant Breath to earn an increase to your Story counter.
|-| 17=
Story 17[]
Walkthrough
Nothing new comes up if you check, so just head over to Alisa and talk to her. This will invoke another request for a co-op mission.
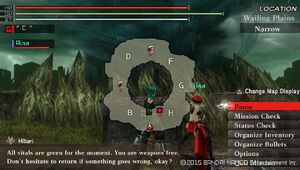
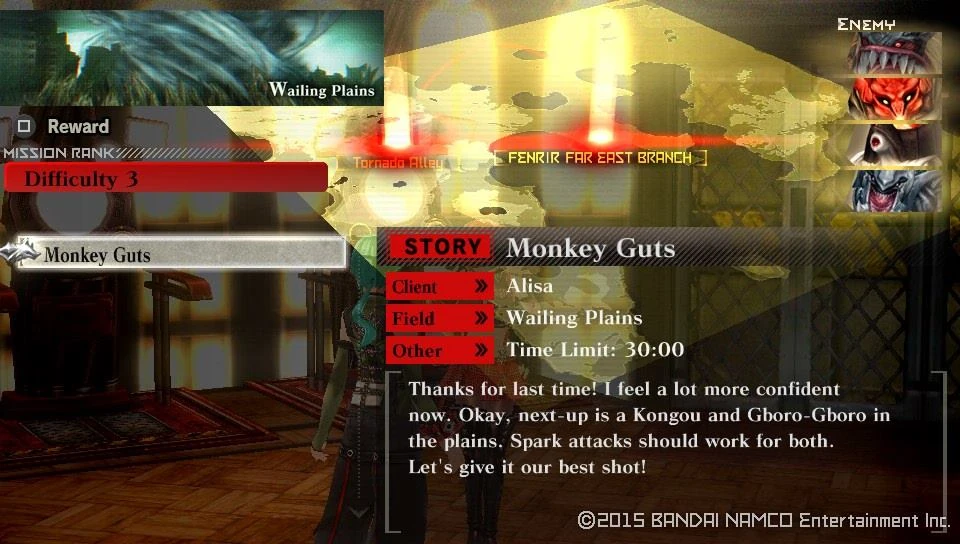
Story Mission Unlocked : Monkey Guts
Additionally her 'Grief' will transition into 'New Start', still retaining the aspect of her not guarding, but gaining the ability to transfer Aragami Bullets. She'll also start fighting from now on, although on rare occasions only, but at the same time will start normally healing when required.
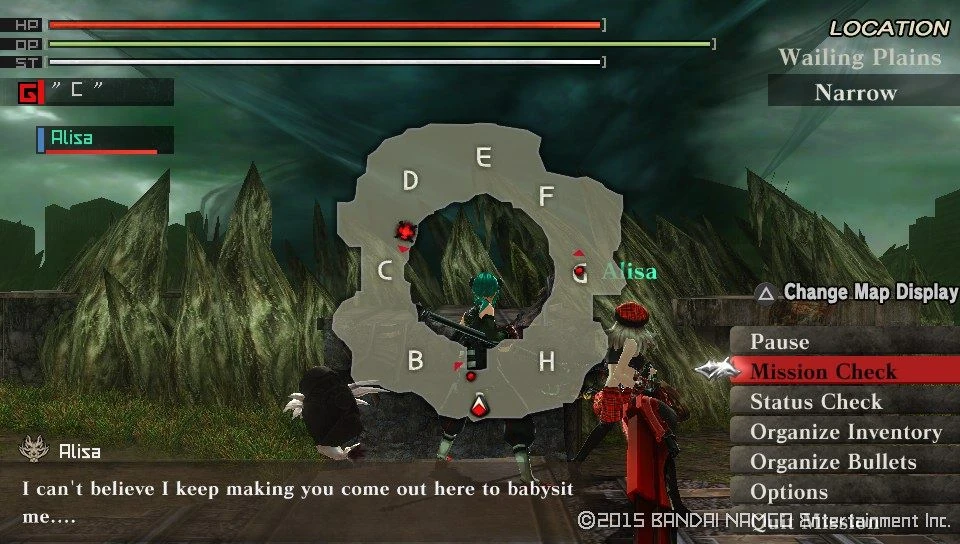
| Monkey Guts | ||
|---|---|---|
| Information | ||
  |
  | |
|
Target Aragami |
Details | |
|
| |
| Notes | ||
|
Objective: You've shown her how to handle a Bird, now it's time to show how to keep Monkeys and Fishes. On this mission only Alisa will accompany you. With 'New Start', she will help you more, but expect to go in for a Solo ride. Recomended loadout: Spark elemental Long Blade for the Kongou and Spark Elemental Piercing Bullets for both. If you required the extra recovery items from the previous mission do not forget to stock up and keep the Item Effect/Speed upgrades on you. | ||
Monkey Guts on completition will have you rewarded by an increase of Story counter.
|-| 18=
Story 18[]
Walkthrough
Once again, talk to Alisa to get your next request to fulfill with her.
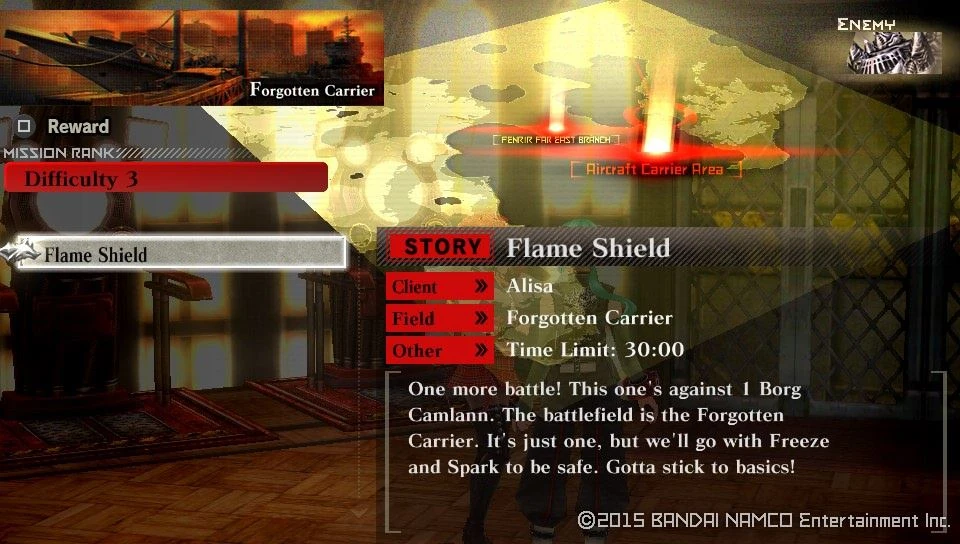
Story Mission Unlocked : Flame Shield
| Flame Shield | ||
|---|---|---|
| Information | ||
  |
  | |
|
Target Aragami |
Details | |
|
| |
| Notes | ||
|
Objective: You first (almost) solo adventure versus a Borg Camlann, makes new players hate this species because of this. On this mission only Alisa will join you, but she is still next to nothing due to 'New Start' limiting her abilities. Recomended loadout: Crossbow II (At least the 2nd upgrade, this is an Assault Gun), Type 61 Destoyer (Boost Hammer with Bind). They are recommended since they give you Defense, Item Effect and Bind skills. For shield go with the one that you are most proficient with. Bind will reduce the Attack strength of the Borg and Defense will naturally boost your survivability. Equip Item Speed and Health Upgrades and with plenty of healing items this mission should not be a problem. Just whack away at the shield of the Borg and watch it fall in mere minutes. | ||
Finishing this mission earns an increment to your Story counter
|-| 19=
Story 19[]
Walkthrough
Just as usual talk to Alisa to get the next mission ready to go.
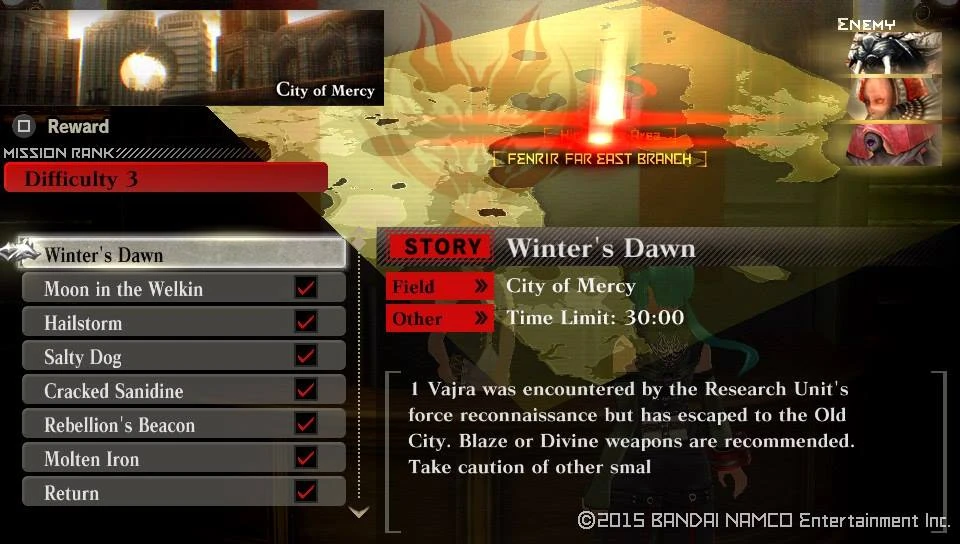
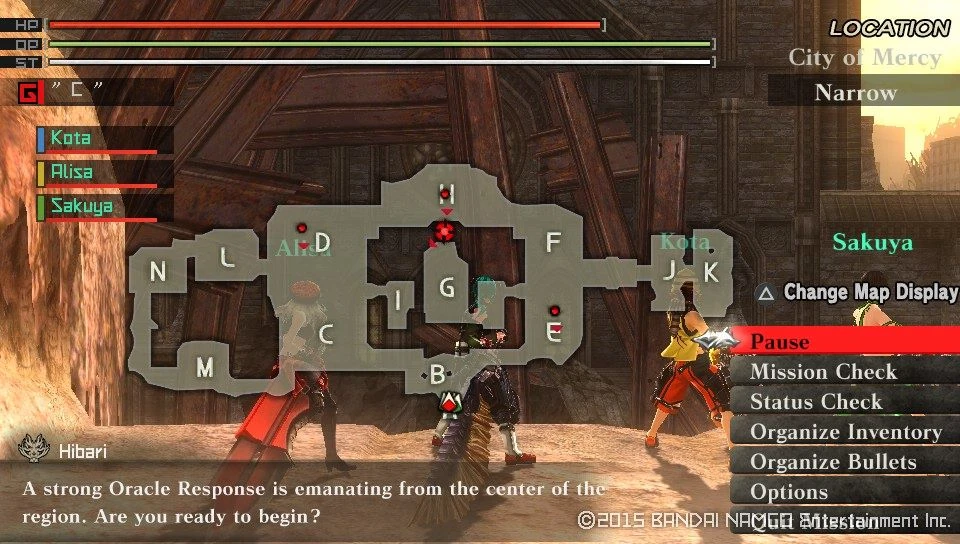
Story Mission Unlocked : Winter's Dawn
One very important thing is that the 'New Start' has been removed from Alisa, therefore she now fulfills her role to her maximum. That means normally attacking, defending and healing. The way she was intended to be.
Anyways, once you are read, go and take on the mission to get a cutscene for your reward.
Cutscene Unlocked : Alisa's Determination 1
| Winter's Dawn | ||
|---|---|---|
| Information | ||
  |
  | |
|
Target Aragami |
Details | |
|
| |
| Notes | ||
|
Objective: Eliminate the Vajra, lure it out of the confined church. On this mission Sakuya, Kota and Alisa will accompany you. Recomended loadout: Freeze Elemental Long Blade, Spark resistant gear. | ||
Complete the mission and be rewarded with a Cutscene and a Story counter increment.
Cutscene Unlocked : Alisa's Determination 2
|-|
20=
Story 20[]
Walkthrough
Talk to Hibari, who will ask you to go and help Kanon who had registered for a mission alone.
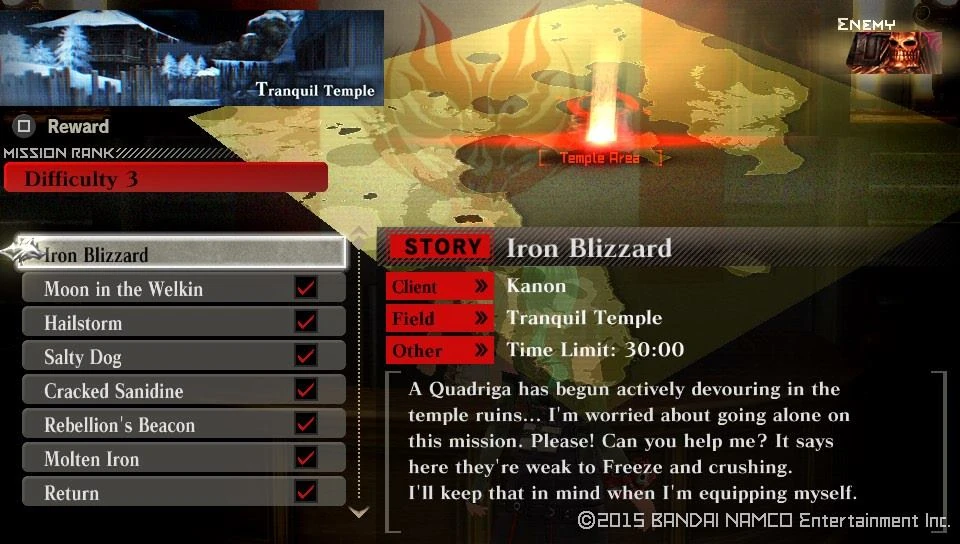
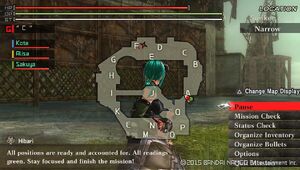
Story Mission Unlocked : Iron Blizzard
| Iron Blizzard | ||
|---|---|---|
| Information | ||
  |
  | |
|
Target Aragami |
Details | |
|
| |
| Notes | ||
|
Objective: Remember the mission with Alisa and the Borg Camlann? You'll probably wish back that once you are done with this one. One this mission you are accompanied only by Kanon. If you had taken her with you on any previous mission, Free mission then you would probably know that she loves to use radials and mortars. Shooting even when allies are in her line of fire with complete disregard. If you are a major melee player, you could just kick her out and solo the Quadriga without getting hindered by a trigger happy psychopath. Recomended loadout: The very same gear used to take on the Borg Camlann in solo is recommended here too, that is : Crossbow II, Type 61 Destroyer, Fire resistant shield, Item Speed and HP Upgrades. Make sure to bring a Blaze Resist + Control Unit preferably on your Combo Devour for easy access. And lots of healing items if required. | ||
Once your done with the last Rank 3 mission, you'll earn a Cutscene
Cutscene Unlocked : Sakuya & Alisa
This also means a new Rank had just been unlocked.
Difficulty 4 Missions Unlocked
What makes this also special not just because you're now getting tougher missions, but some Support Skills have unlocked as well for the Back-up Members.
Support Skill Unlocked : Abandoned Arc Rarity

Support Skill Unlocked : Abandoned Arc Parts
Starting from now on, when completing Rank 4 or higher mission you will earn at least 3 Abandoned Arc part, the aforementioned Support skills when selected will increase the reward number and chance to get rare ones respectively.
One more important thing to note, that Aragami will now gain an additional attack starting this difficulty (Well only true for the ones that you hav encountered so far) As well as the quality for the materials gathered/devoured will increase.
Once you are done with marveling at the new possiblities, go and talk to Hibari who will ask you to terminate an Aragami that you haven't encountered before.
Story Mission Unlocked : Storm Baptism
Upon starting the mission you'll earn a Cutscene also
1st Unit Leader 1


Clearing Storm Baptism nets you a pair of Predator Styles
Predator Style Unlocked : Steelfang

Predator Style Unlocked : Sharktooth
As well a Cutscene and Story increment
Cutscene Unlocked : 1st Unit Leader 2
|-| 21=
Story 21[]
Walkthrough
By clearing Storm Baptism, you earn the right for taking on Rank 4 Urgent Missions.
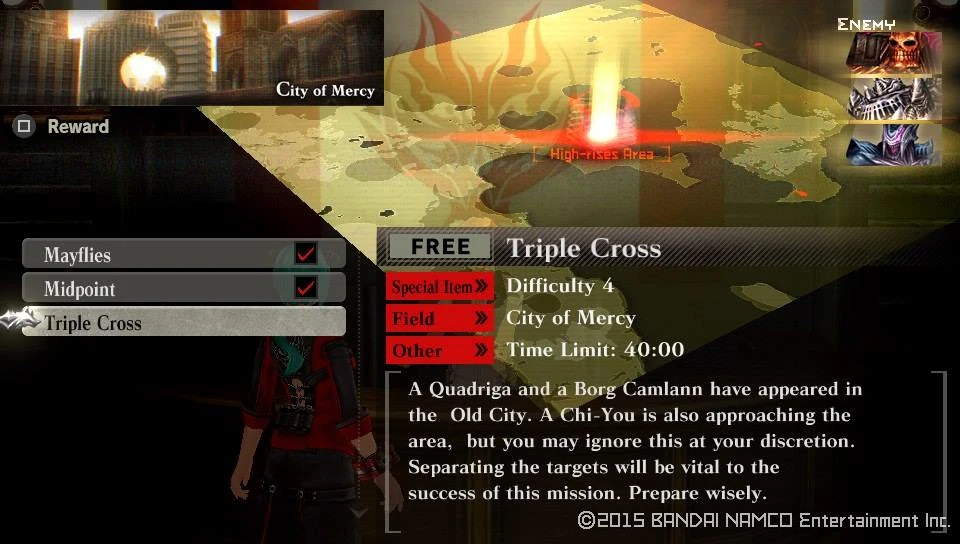
Urgent Mission Unlocked : Triple Cross
| Triple Cross | ||
|---|---|---|
| Information | ||
  |
  | |
|
Target Aragami |
Details | |
|
| |
| Notes | ||
|
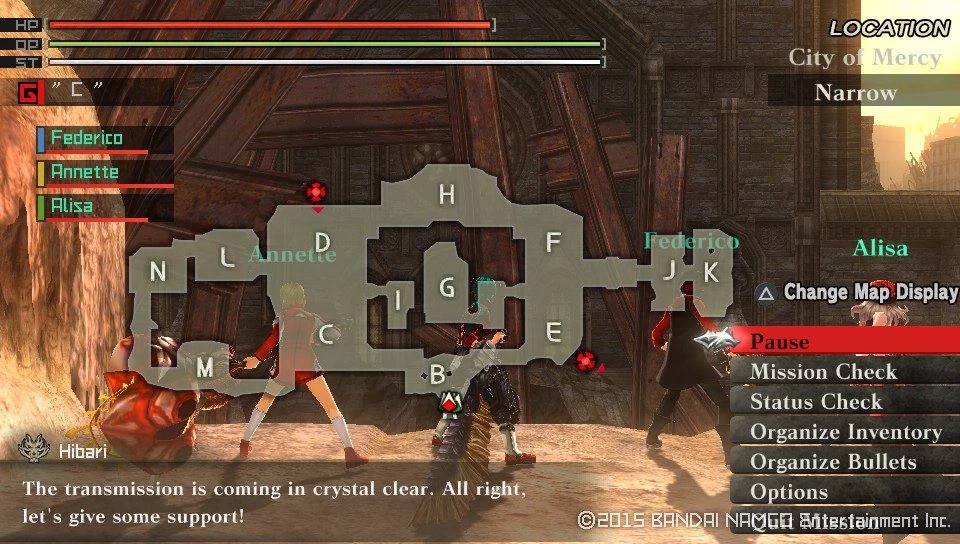
Objective: Two heavy armored Aragami are present on the map. The Quadriga sports better hearing so go for that one first. Recommended Team members are Alisa, Federico and Annette, due to their suvivability, ranged attack capacity and that they can pass Aragami Bullets empowering you, while Federico and Alisa are also healers. Recomended loadout: Freeze Elemental Long Blade covers all Aragami weak spots, Piercing Bullets also required. Or if you just want to smash through them fast, get the Boost Hammer/Assault combo I recommended earlier (Crossbow, Type 61 Destroyer) | ||
| Reward | Conditions | Probability |
| 2250 fc | Automatic | 100% |
| Knight Needle | Automatic | 48% |
| Knight Shield | Automatic | 41% |
| King Armor+ | Automatic | 40% |
| King Cranium | Automatic | 35% |
| Knight Armor | Automatic | 32% |
| King Gun | Automatic | 28% |
| Moly | Automatic | 27% |
| Knit | Automatic | 24% |
| Lucent Crystal | Automatic | 24% |
| King Pad | Automatic | 20% |
| Ignitor | Automatic | 20% |
| King Feeler | Automatic | 15% |
| Hardener | Automatic | 13% |
| King Grease | Automatic | 8% |
| Knight Redstone | Automatic | 4% |
| Fine Lubricant | Automatic | 4% |
| Fine Lubricant | Clear under 10 min. | 10% |
| King Feeler | Clear with 30+ Endurance | 7% |
| Hardener | Clear with 30+ Endurance | 6% |
| King Grease | Clear with 30+ Endurance | 4% |
| Knight Redstone | Clear with 30+ Endurance | 2% |
| Fine Lubricant | Clear with 30+ Endurance | 2% |
| Silver F-Ticket | Break 3+ Bonds | 100% |
| Silver A-Ticket | Break 1+ Bonds | 20% |
| 2250 fc | "Reward Credits Up" Lv3 or higher | 30% |
| Restore Pill II | "Get Consumable Items" Lv3 or higher | 50% |
| Restore Pill II | "Get Consumable Items" Lv3 or higher | 50% |
| O-Ampule | "Get Consumable Items" Lv3 or higher | 50% |
| OG: Restore Post | "Get Consumable Items" Lv3 or higher | 33% |
You'll also earn some new Control Units to try out and get some variety in.
Control Unit Unlocked : Oracle Absorbtion Up

Control Unit Unlocked : Enemy Draw Up

Control Unit Unlocked : Multi Devour Burst

Control Unit Unlocked : Debuff-Resitance

Control Unit Unlocked : Oracle Crusher
There will also be new Free missions popping up, for now sporting a lone Aragami each.
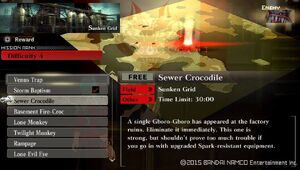
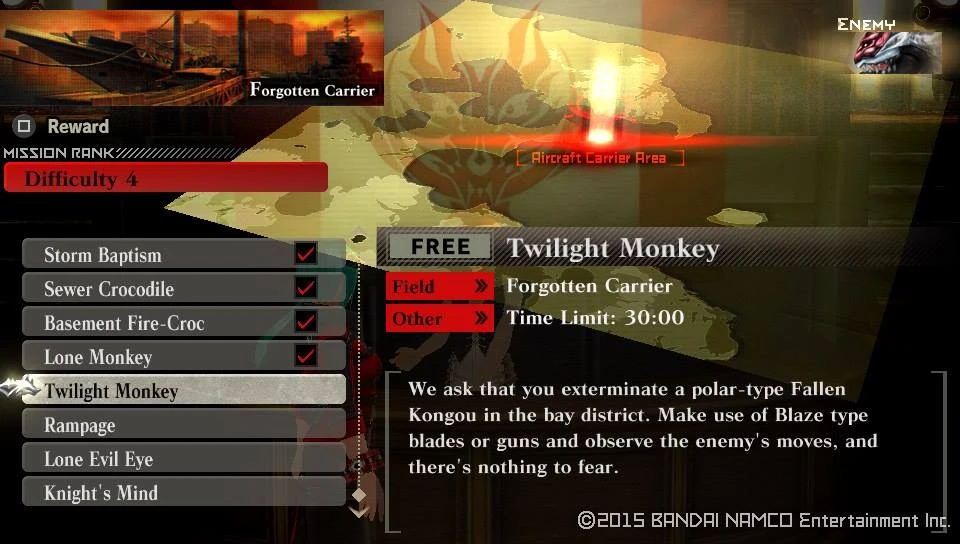
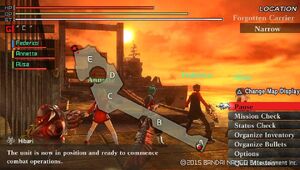
Free Mission Unlocked : Sewer Crocodile

Free Mission Unlocked : Basement Fire-Croc

Free Mission Unlocked : Lone Monkey

Free Mission Unlocked : Twilight Monkey

Free Mission Unlocked : Rampage

Free Mission Unlocked : Lone Evil Eye

Free Mission Unlocked : Knight's Mind
| Sewer Crocodile | ||
|---|---|---|
| Information | ||
  |
  | |
|
Target Aragami |
Details | |
|
| |
| Notes | ||
|
Objective: Be prepared to face a bit more nasty Gboro-Gboros from now on. Starting Rank 4, these Amphibians when trashing around will shoot from their cannons close range explosions at each spin. Gaining distance or simply guarding does the trick. Recomended loadout: Nothing else changed, Piercing weapons and Bullets with Spark Element are good to go. | ||


| Lone Monkey | ||
|---|---|---|
| Information | ||
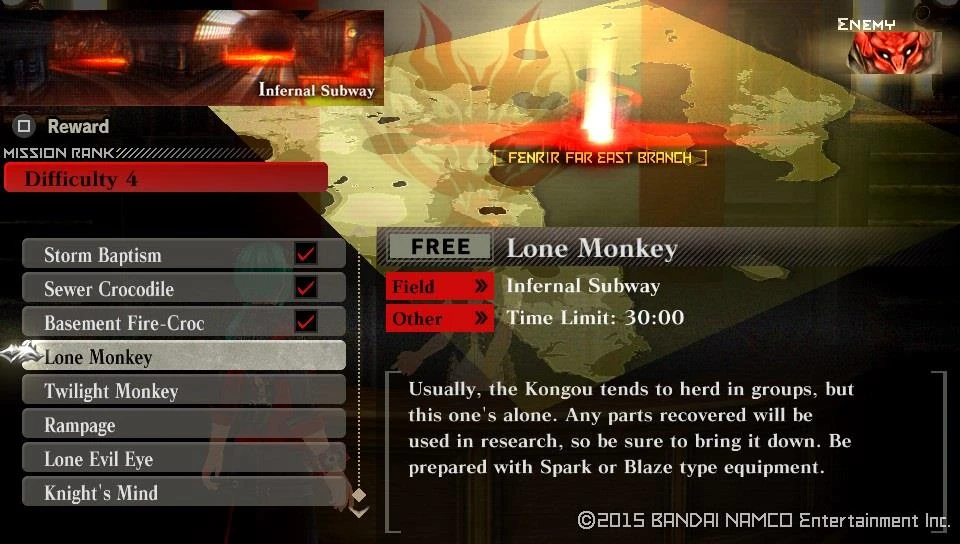  |
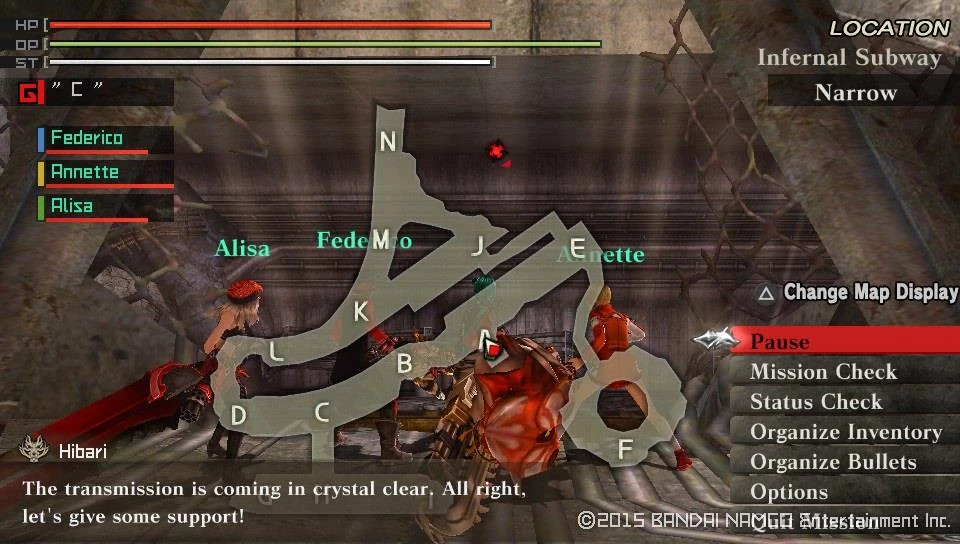  | |
|
Target Aragami |
Details | |
|
| |
| Notes | ||
|
Objective: The same as usual, Destroy the Aragami. Recomended loadout: Spark elemental Long Blades and Piercing Bullets are the key | ||


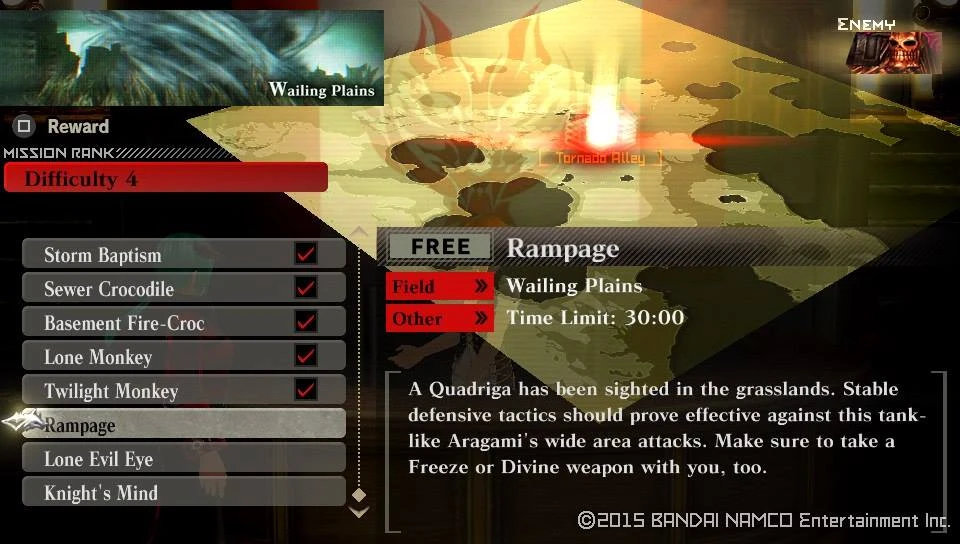
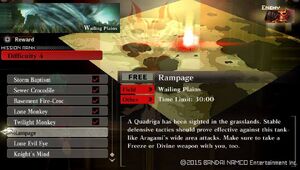
| Rampage | ||
|---|---|---|
| Information | ||
  |
  | |
|
Target Aragami |
Details | |
|
| |
| Notes | ||
|
Objective: Break through the armored shell of the Quadriga to seize the core. Compared to earlier Rank versions, this one became more dangerous. The back jump ability now gained a follow-up, where the Quadriga jumpes forward. During both jumps it will also release a salvo of rockets around it making it even more dangerous. Recomended loadout: Freeze Elemental Boost Hammer and Piercing Bullets work fine. | ||
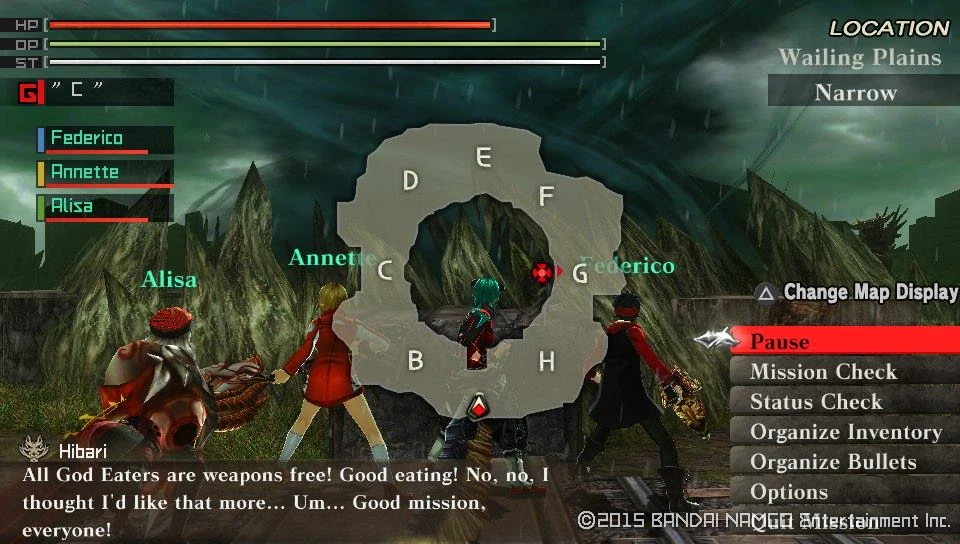
| Lone Evil Eye | ||
|---|---|---|
| Information | ||
  |
  | |
|
Target Aragami |
Details | |
|
| |
| Notes | ||
|
Objective: Show the pesky flier who is the boss by taking it down. Recomended loadout: Non-divine Elemental Boost Hammer and Crushing Bullets work perfectly. | ||
| Knight's Mind | ||
|---|---|---|
| Information | ||
  |
  | |
|
Target Aragami |
Details | |
|
| |
| Notes | ||
|
Objective: One Borg Camlann ready to be served. Recomended loadout: Freeze Elemental Long Blade works perfectly. | ||
Once you're done massacreing Aragami and head to a new mission, then head over to Hibari and take on the next Story Mission
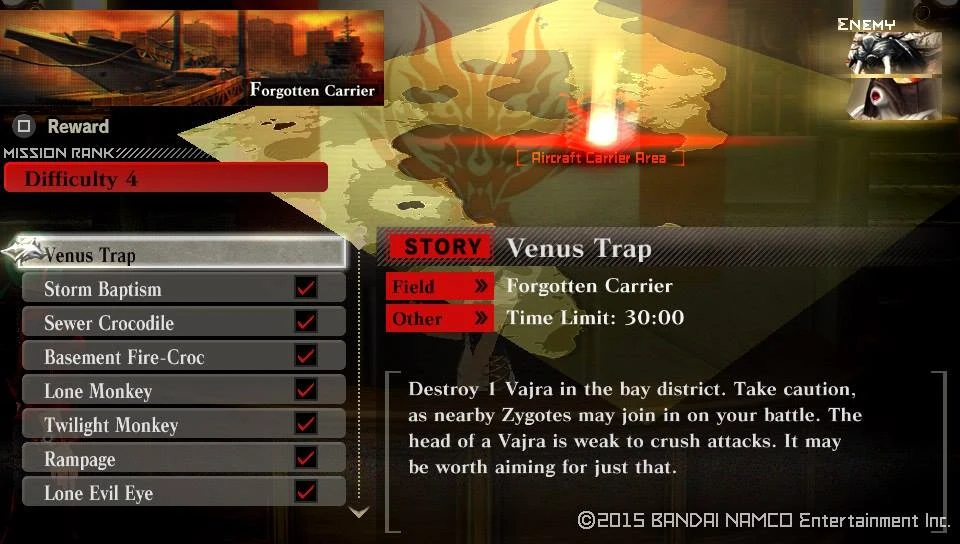
Story Mission Unlocked : Venus Trap
| Venus Trap | ||
|---|---|---|
| Information | ||
  |
  | |
|
Target Aragami |
Details | |
|
| |
| Notes | ||
|
Objective: Another Vajra ready to bite the dust. On this mission only members of the 1st Unit can accompany you, but it is up to you to chose them. Just be careful that the Lightning Torpedo attack (Where it gathers a large Spark element ball and shoots it out) became more dangerous, since from Rank 4 it will release a salvo of 5 instead of one. Recomended loadout: Spark resistant gear, Long Blade that is not spark elemental. | ||
Clearing the mission will net you a Cutscene
Cutscene Unlocked : Tsubaki's Encouragement
Head to Hibari and get the next mission going
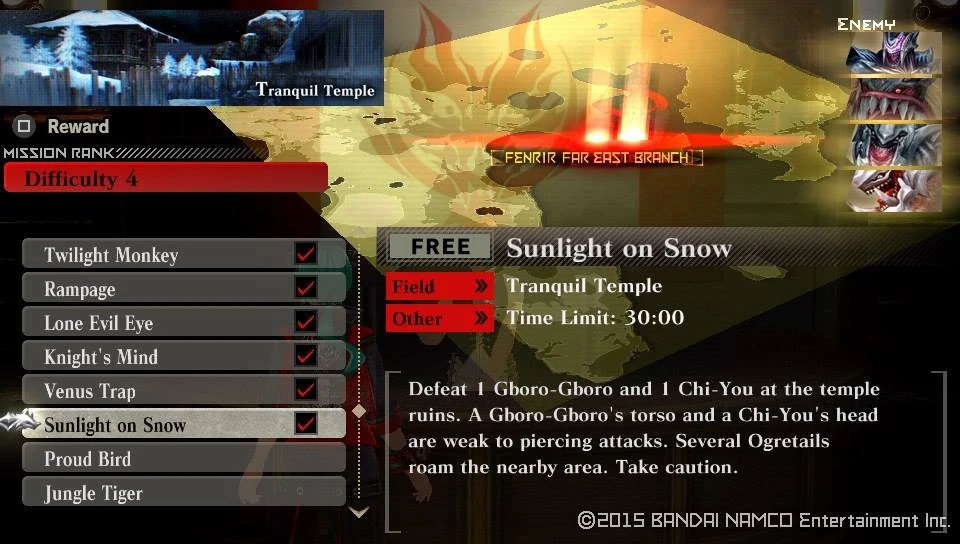
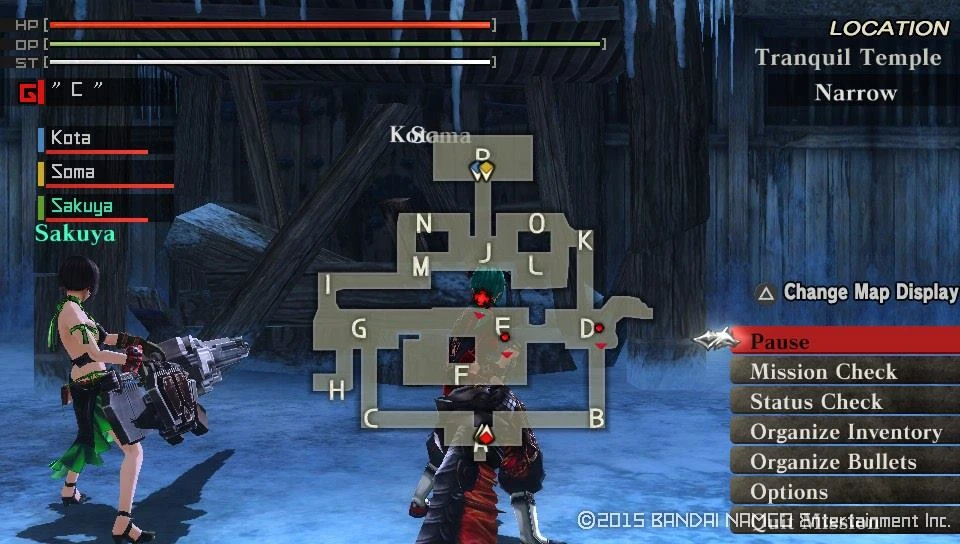
Story Mission Unlocked : Sunlight on Snow
Coming along with the start of it is a Cutscene
Cutscene Unlocked : Soma & Kota 1
| Sunlight on Snow | ||
|---|---|---|
| Information | ||
  |
  | |
|
Target Aragami |
Details | |
|
| |
| Notes | ||
|
Objective: Make filet out of the Amphibian and serve the Avian as the main dish. On this mission Kota, Soma and Sakuya will come along. Be on your guard when fighting the Chi-You, as his Bomb Ball attack turns into Multi Bomb Ball, where the large explosive bullet is preceded by a fast series of rapid smaller ones. Recomended loadout: Blaze elemental Long Blade for the Chi-You and Spark elemental Piercing Bullets for the Gboro. | ||
Finishing the mission earns an increment in Story counter and a cutscene
Cutscene Unlocked : Soma & Kota 2
|-| 22=
Story 22[]
Walkthrough
Go and have a chat with Hibari, who will inform you that the Director himself wants to see you. Therefore go to the Elevator and take it to the Executive's Floor and to the end of the corridor. You'll get a cutscene in return.
Cutscene Unlocked : A Strategic Move
Return to Hibari, who suggests for you to take a rest as for a while no new missions will be available, although there are currently a few new missions to undertake.
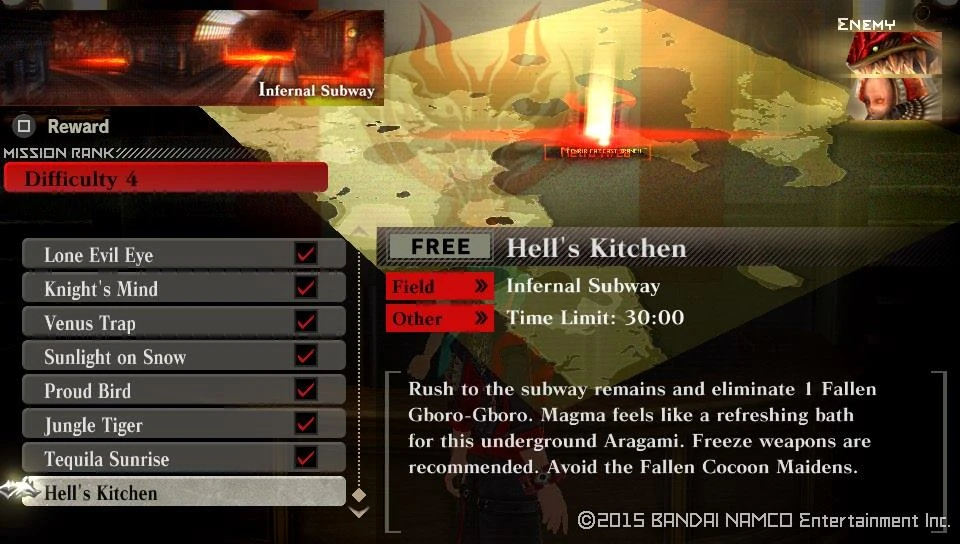
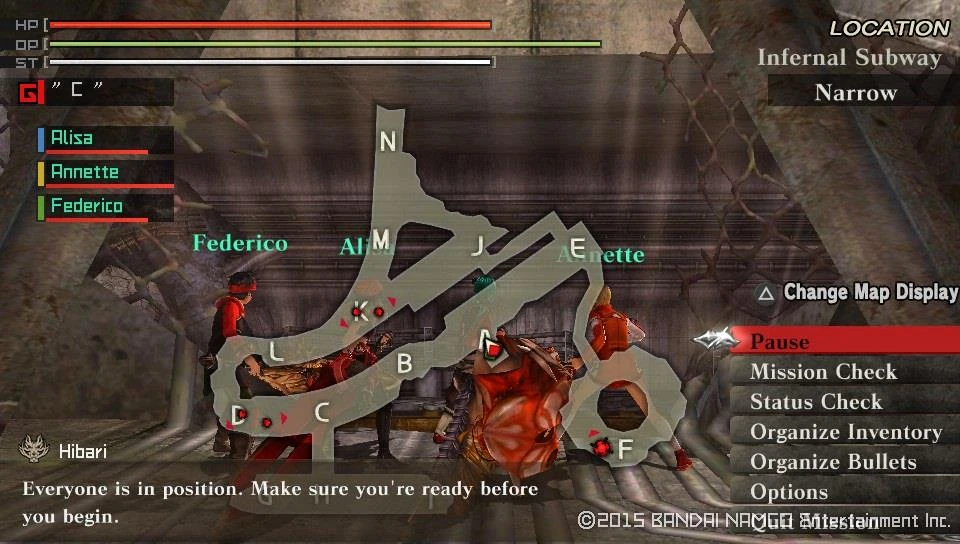
Free Mission Unlocked : Proud Bird

Free Mission Unlocked : Jungle Tiger

Free Mission Unlocked : Tequila Sunrise

Free Mission Unlocked : Hell's Kitchen
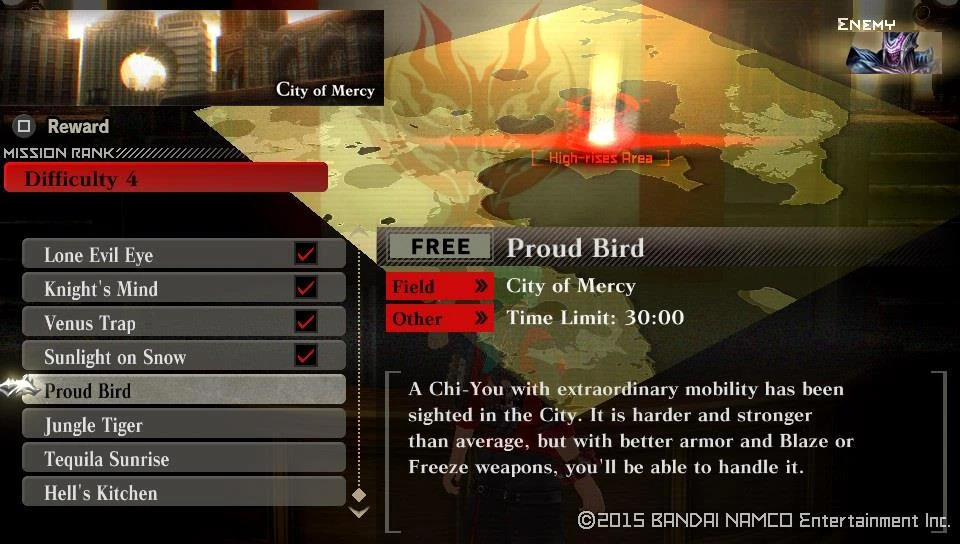
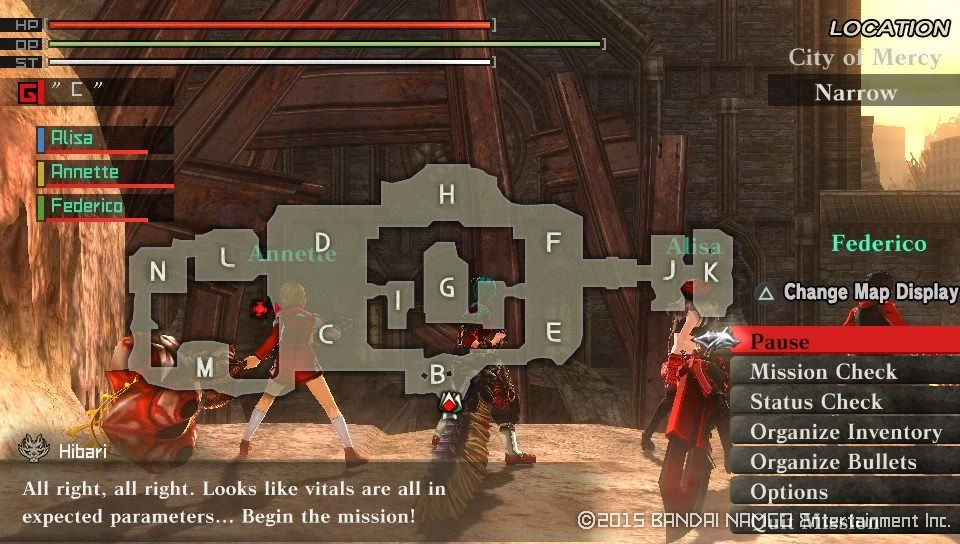
| Proud Bird | ||
|---|---|---|
| Information | ||
  |
  | |
| Target Aragami | Details | |
|
| |
| Notes | ||
|
Objective: Take down the Chi-You Recomended loadout: Blaze or Freeze elemental Long Blade does the trick | ||
| Jungle Tiger | ||
|---|---|---|
| Information | ||
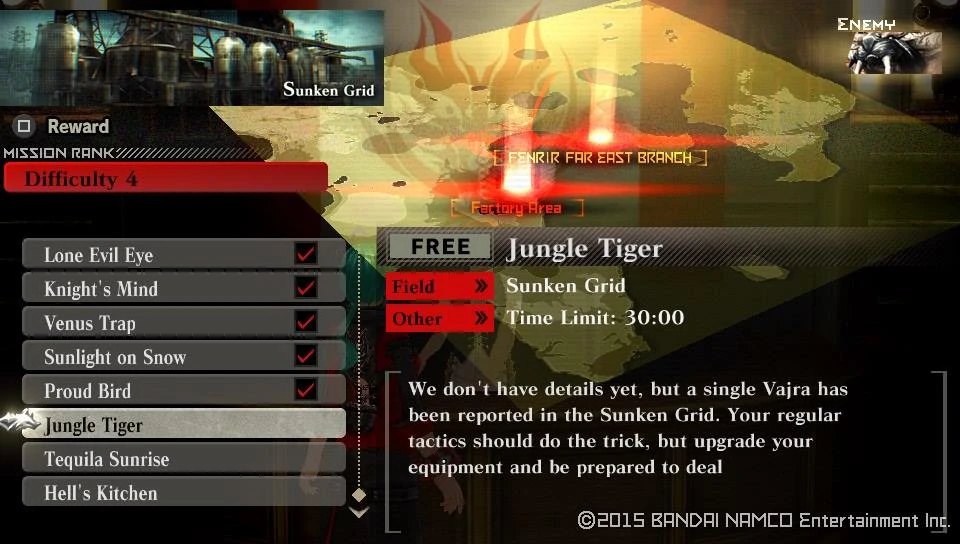  |
  | |
| Target Aragami | Details | |
|
| |
| Notes | ||
|
Objective: Slay the oversized feline and return with the core. Recomended loadout: Blaze or Freeze elemental Long Blade does the trick nicely. | ||
| Tequila Sunrise | ||
|---|---|---|
| Information | ||
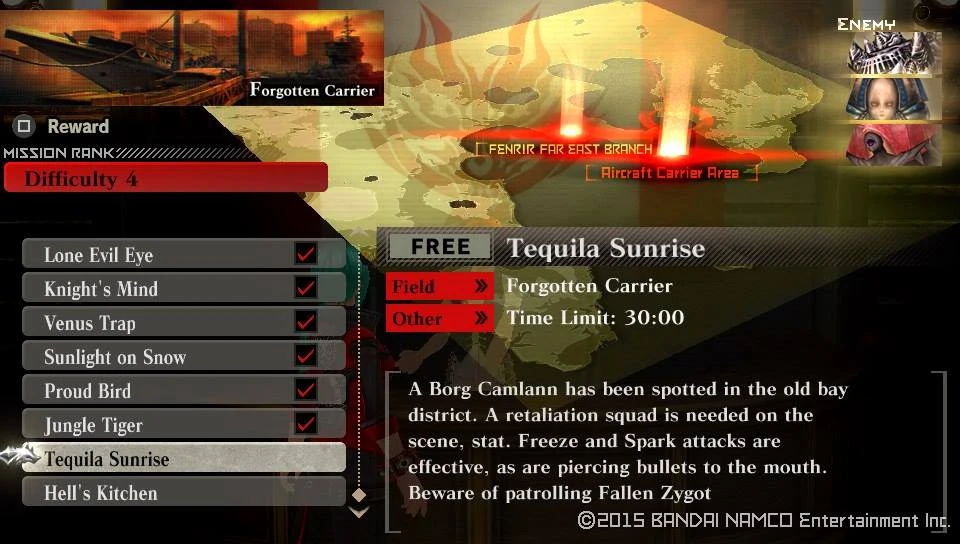  |
  | |
| Target Aragami | Details | |
|
| |
| Notes | ||
|
Objective: Ignore or squash the small fry, then mow down the Borg Camlann. Recomended loadout: Freeze or Spark element Long Blade does the job. | ||


When you decide that you had enough go to your room and use your terminal, it will unlock a cutscene.
Cutscene Unlocked : A Horrible Past
Talk to Hibari and get notified of your next mission.
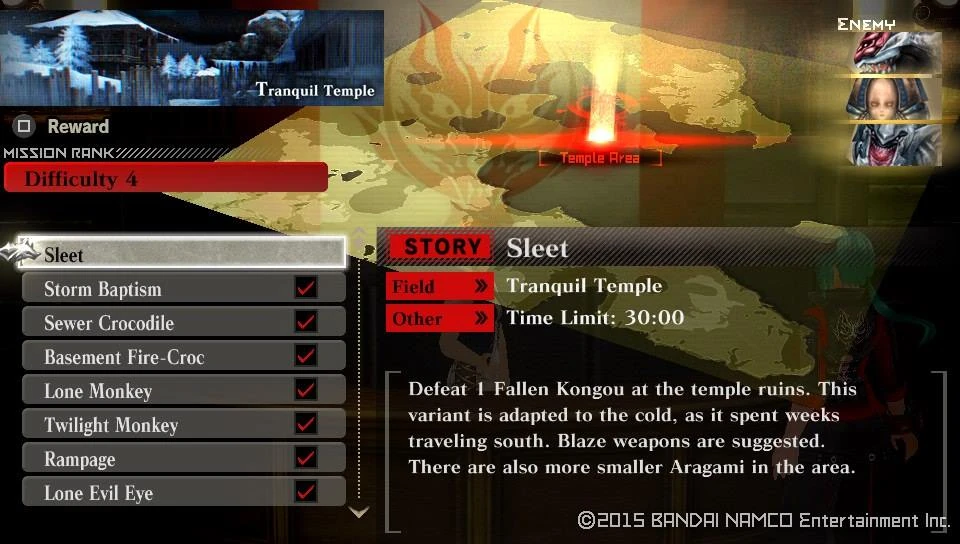
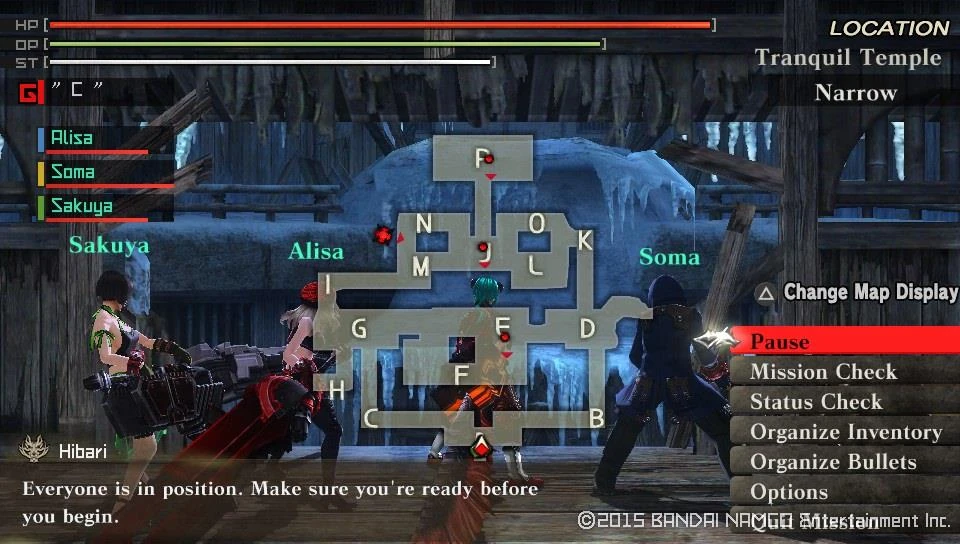
Story Mission Unlocked : Sleet


As you clear the mission you are rewarded by a Cutscene and an increase in your Story counter.
Cutscene Unlocked : Secrets
|-| 23=
Story 23[]
Walkthrough
Check the counter and see the new mission for yourself.
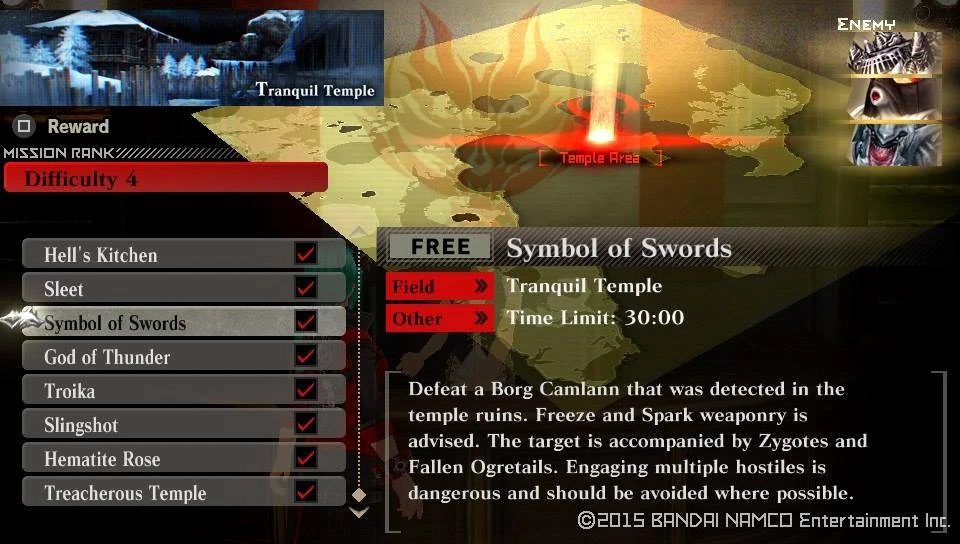
Story Mission Unlocked : Symbol of Swords
As you start it off, you are greeted with a cutscene
Cutscene Unlocked : Nightmares of Death
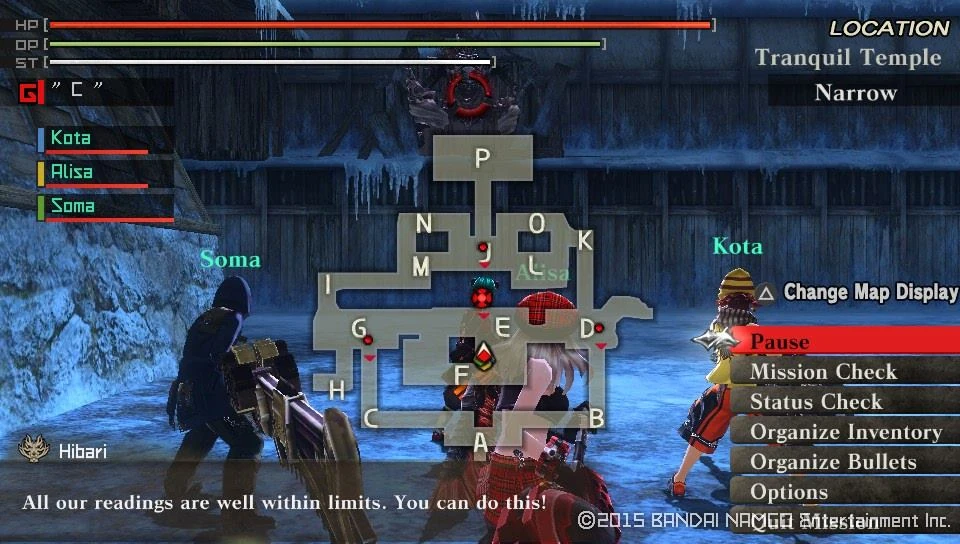
| Symbol of Swords | ||
|---|---|---|
| Information | ||
  |
  | |
| Target Aragami | Details | |
|
| |
| Notes | ||
|
Objective: Cut the oversized scorpion to ribbons, while taking care of the smaller threats. On this mission only Kota, Alisa and Soma accompanies you. Recomended loadout: Freeze or Spark elemental Long Blade is recommended | ||
Once you finish up here, an increment in the Story Counter ensues.
|-| 24=
Story 24[]
Walkthrough
If you talk to Hibari, you will be informed that Dr. Sakaki was looking for you, so head over to the Laboratory and speak with him in order to trigger a Cutscene.
Cutscene Unlocked : Top Secret Mission
Once this is done go and check back to the Mission counter to learn that you have a couple of new missions to undertake, one of them a Story, the last for Rank 4.
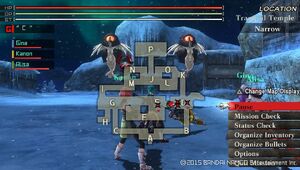
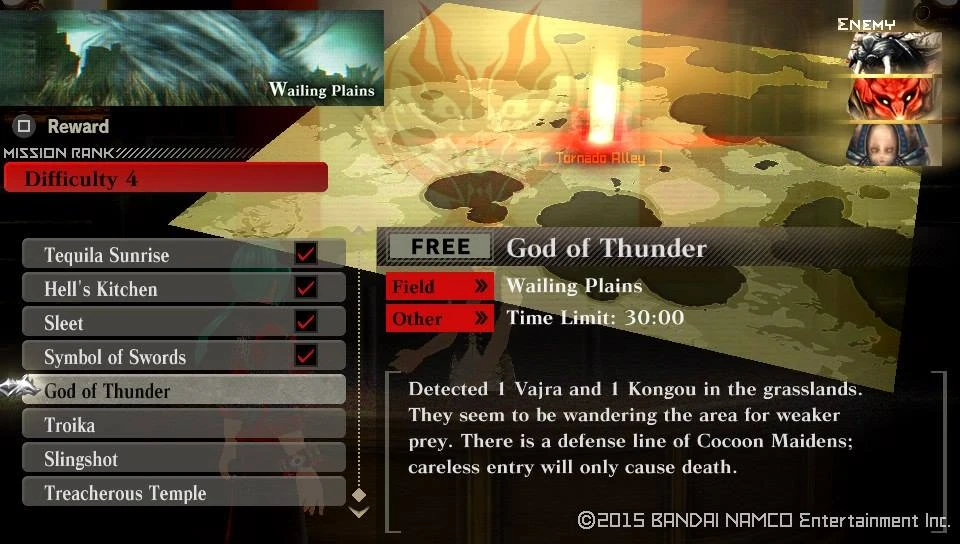
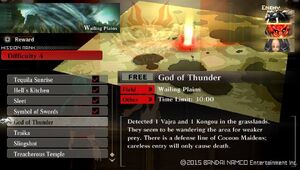
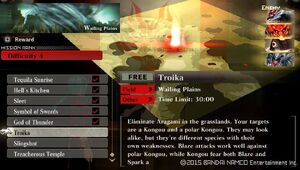
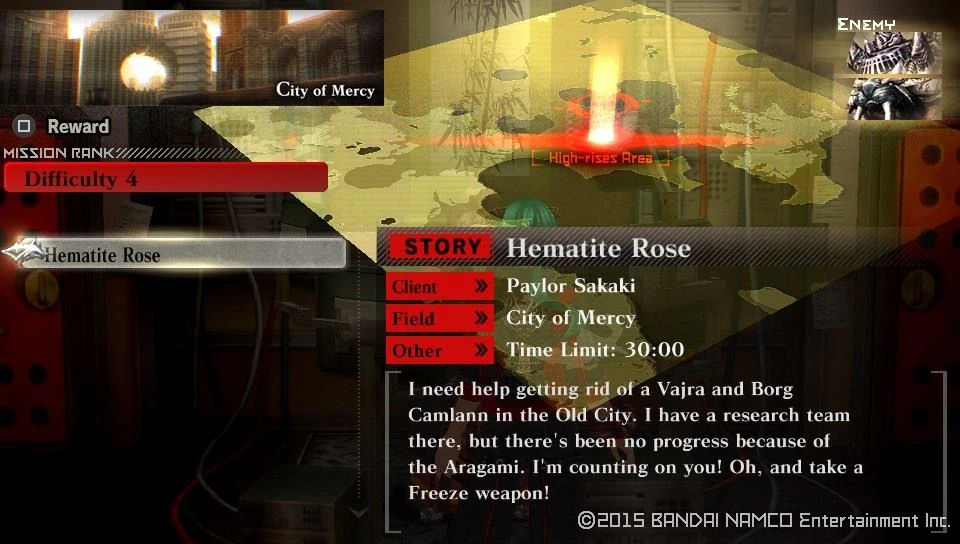
Story Mission Unlocked : Hematite Rose

Free Mission Unlocked : God of Thunder

Free Mission Unlocked : Troika

Free Mission Unlocked : Sling Shot

Free Mission Unlocked : Treacherous Temple

| Troika | ||
|---|---|---|
| Information | ||
  |
  | |
| Target Aragami | Details | |
|
| |
| Notes | ||
|
Objective: Two monkey team up against you, split your team and take them on. Recomended loadout: Blaze Element Long Blade and Blaze Element piercing Bullets do the trick | ||
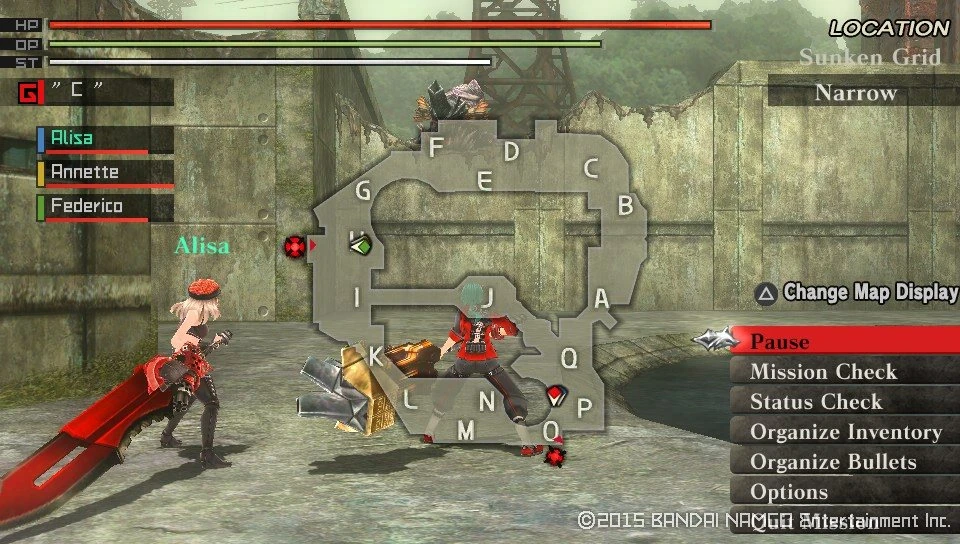
| Slingshot | ||
|---|---|---|
| Information | ||
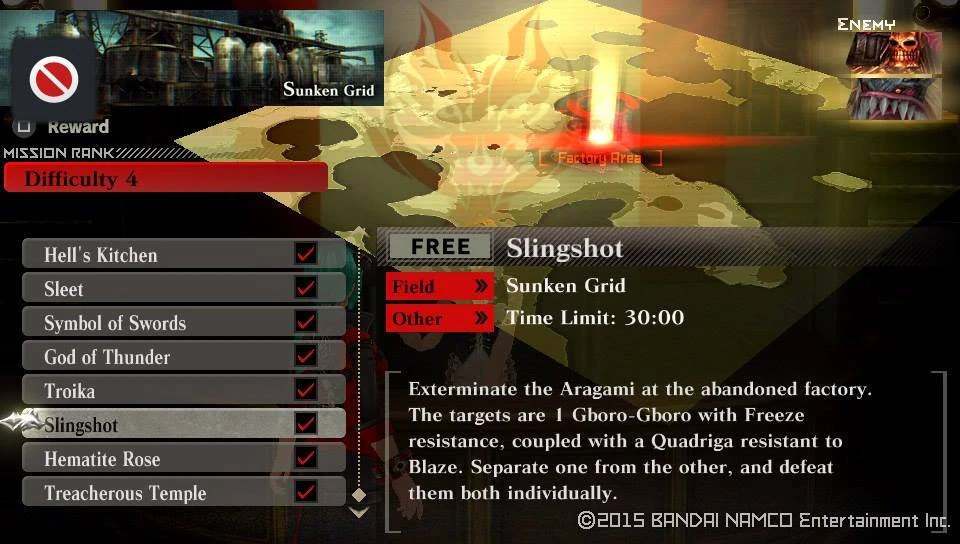  |
  | |
| Target Aragami | Details | |
|
| |
| Notes | ||
|
Objective: Your team is split up from the start, take on at the two Aragami at the same time Keep in mind that the 1st and 2nd players will face the Gboro, while the 3rd and 4th take on the Quadriga. Recomended loadout: Freeze Elemental Boost Hammer for the Quadriga, Freeze Elemental piercing Bullets for the Quadriga and Spark Elemental piercing Bullets versus the Gboro-Gboro | ||
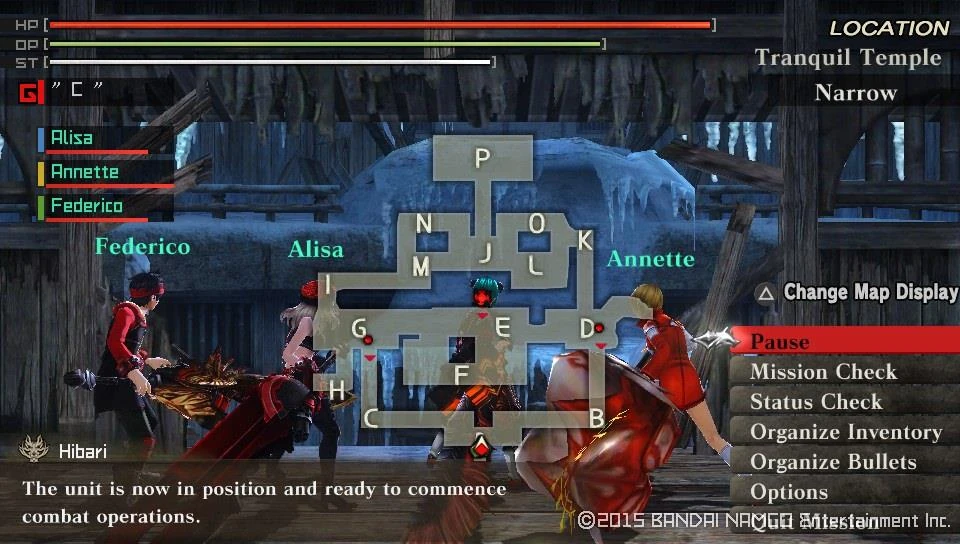
| Treacherous Temple | ||
|---|---|---|
| Information | ||
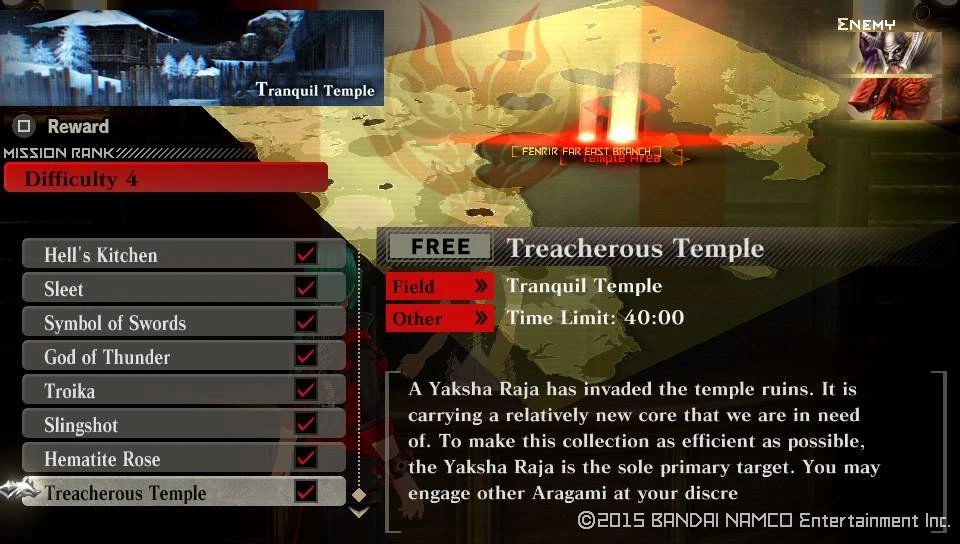  |
  | |
| Target Aragami | Details | |
|
| |
| Notes | ||
|
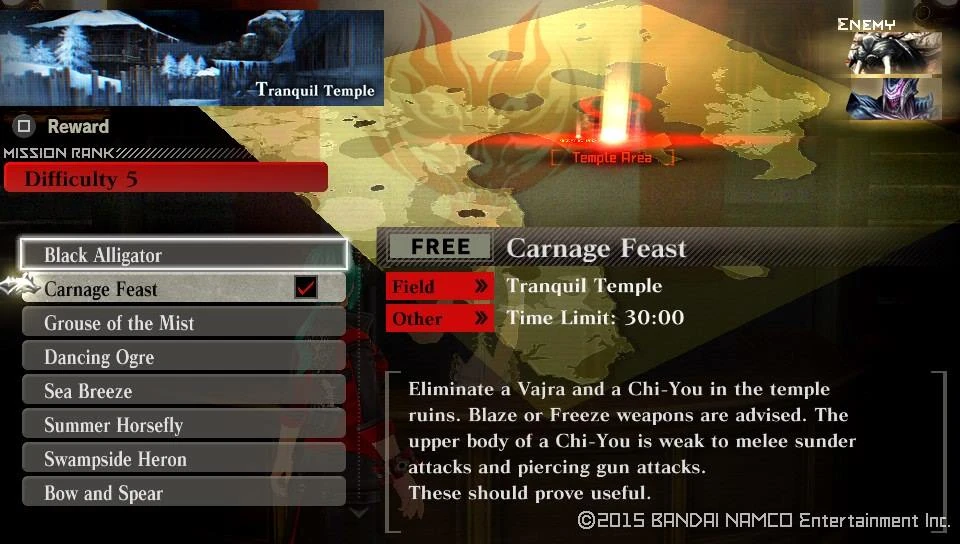
Objective: The first encounter with the 'king' of Yakshas. Despite sporting two extra arms adorned with large claws compared to its weaker kin, its not that hard to beat. Just watch out for the melee attacks and the charging moves and you'll be just fine. Other than that, treat it like any other Yaksha. Its easy to down it by repeatedly attacking the legs, or shooting the head. Also similarly to a Yaksha, it has a hightened hearing on par with a Kongou, however unlike said Simian, this Aragami will walk towards the sound of combat and start patrolling from there. Recomended loadout: Any Element can be used, except Divine. Sundering type of weapons are preferred when attacking the legs to down it, while Crushing attacks are working better on the head. For the Bonds that can be broken they are as the following :
| ||
Once your done with the Free Mission go and tackle the final Story mission for Rank 4
| Hematite Rose | ||
|---|---|---|
| Information | ||
  |
  | |
| Target Aragami | Details | |
|
| |
| Notes | ||
|
Objective: Chose your starting target carefully and eliminate both Large Aragami. On this mission Soma is mandatory and any two members from Unit 2 and Unit 3 Recomended loadout: Freeze Elemental Long Blade works wonders for both targets. | ||
Return to Hibari once you are done and you get informed that Dr. Sakaki is looking for you. Thereforehead over to the Laboratory and talk to him for unlocking a Cutscene.
Cutscene Unlocked : Aragami Girl 1
Talk to the professor once more and he will personally issue the next Story Mission for you, from the next Diffuculty to boot!
Difficulty 5 Missions Unlocked
Which starts off with a kicker already sending you to the Temples.
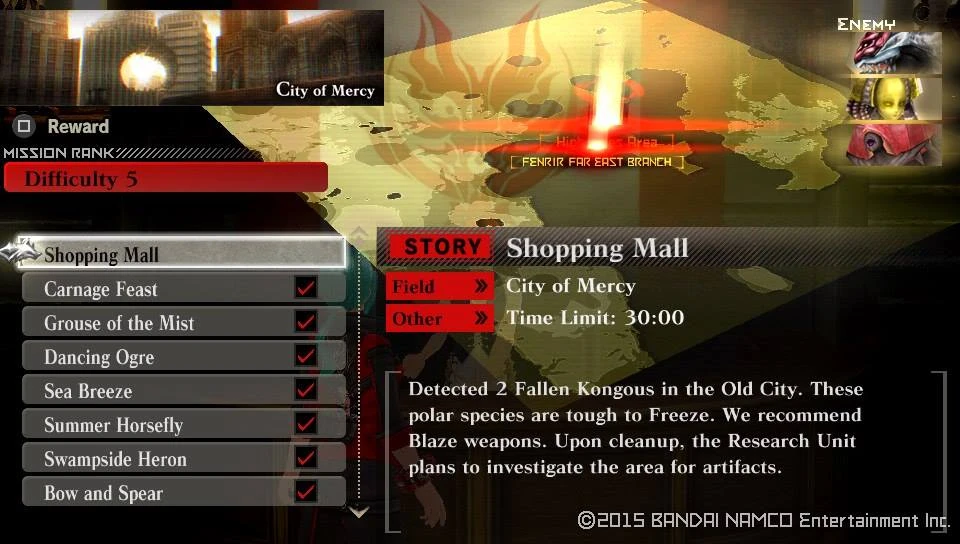
Story Mission Unlocked : Carnage Feast

For your troubles you'll earn two Predator Styles
Predator Style Unlocked : Mistral

Predator Style Unlocked : Hell's Claw
Just like a Cutscene and and increment to your Story counter
Cutscene Unlocked : Aragami Girl 2
|-|
25=
Story 25[]
Walkthrough
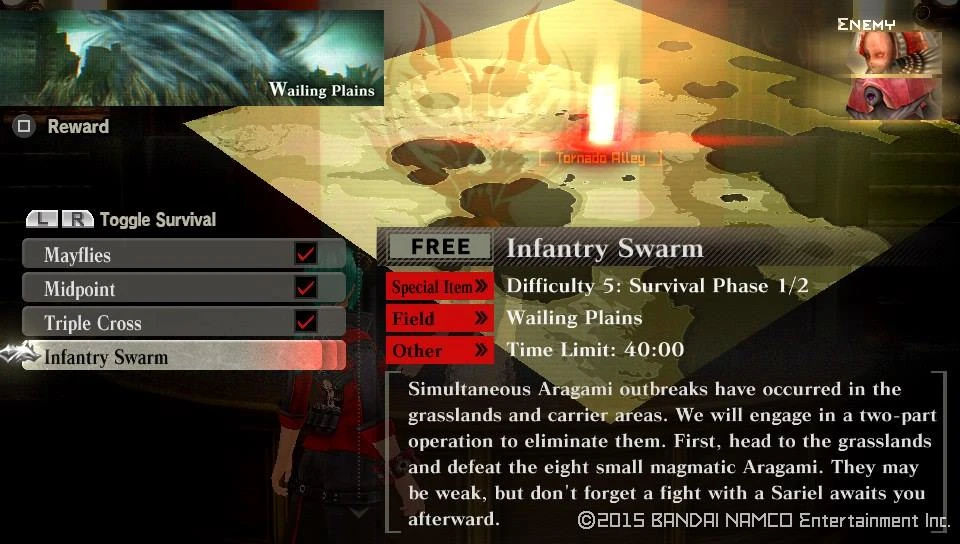
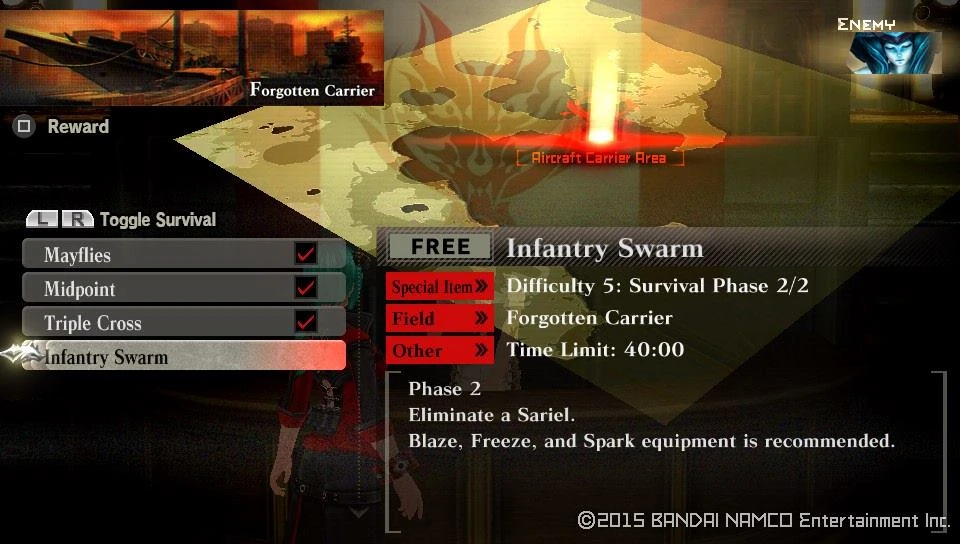
By clearing Carnage Feast, you'll earn the right to take Rank 5 Urgent Missions, plus this is the first Survival Mission you will get access to. Survival Missions are multi-part missions, where you can change your weapon setup if you have different loadouts saved, however consumables can't be restocked until you return to the lobby.
Urgent Mission Unlocked : Infantry Swarm


| Reward | Conditions | Probability |
| 1700 | Automatic | 100% |
| Lucifer Shell | Automatic | 20% |
| Blazing Mini-barrel | Automatic | 16% |
| Blazing Mini-barrel | Automatic | 16% |
| Blazing Mini-barrel | Automatic | 16% |
| Rough Barrel | Automatic | 8% |
| Rough Barrel | Automatic | 8% |
| Rough Barrel | Automatic | 8% |
| Hot Barrel | Automatic | 8% |
| Hot Barrel | Automatic | 8% |
| Hot Barrel | Automatic | 8% |
| Pixie Elastomer | Automatic | 6% |
| Pixie Elastomer | Automatic | 6% |
| Pixie Elastomer | Automatic | 6% |
| Detector | Automatic | 5% |
| Detector | Automatic | 5% |
| Detector | Automatic | 5% |
| Detector | Clear under 3 min. | 10% |
| Pixie Elastomer | Clear with 30+ Endurance | 3% |
| Pixie Elastomer | Clear with 30+ Endurance | 3% |
| Detector | Clear with 30+ Endurance | 2% |
| Detector | Clear with 30+ Endurance | 2% |
| Detector | Clear with 30+ Endurance | 2% |
| 1700 fc | "Reward Credits Up" Lv3 or higher | 30% |
| Restore Pill II | "Get Consumable Items" Lv3 or higher | 50% |
| Restore Pill II | "Get Consumable Items" Lv3 or higher | 50% |
| O-Ampule | "Get Consumable Items" Lv3 or higher | 50% |
| OG: Restore Post | "Get Consumable Items" Lv3 or higher | 33% |
As you finish the 1st part, you'll hit the camp. Here you can check the remaining Endurance of your team. Check the mission details of the next mission in line. You can also switch your equipment to one of the saved loadouts you have. Then you can either return to the lobby or taking on the next mission.


| Reward | Conditions | Probability |
| 1700 fc | Automatic | 100% |
| Goddess Plumage | Automatic | 68% |
| Goddess Filigree | Automatic | 50% |
| Goddess Husk | Automatic | 50% |
| Refractor | Automatic | 42% |
| Mithril Silver | Automatic | 27% |
| Vermilion | Automatic | 27% |
| Poison Extract | Automatic | 26% |
| Ether | Automatic | 26% |
| Nickel | Automatic | 26% |
| Neutralizer | Automatic | 25% |
| Moly | Automatic | 25% |
| Aragami Strand | Automatic | 23% |
| Tool Steel | Automatic | 23% |
| Tungsten | Automatic | 23% |
| Goddess Redstone | Automatic | 14% |
| Goddess Toxin | Automatic | 6% |
| Goddess Toxin | Clear under 5 min. | 10% |
| Goddess Filigree | Clear with 30+ Endurance | 25% |
| Goddess Husk | Clear with 30+ Endurance | 25% |
| Refractor | Clear with 30+ Endurance | 21% |
| Goddess Redstone | Clear with 30+ Endurance | 7% |
| Goddess Toxin | Clear with 30+ Endurance | 3% |
| Silver F-Ticket | Break 3+ Bonds | 100% |
| Silver A-Ticket | Break 3+ Bonds | 20% |
| 1700 fc | "Reward Credits Up" Lv3 or higher | 30% |
| Restore Pill II | "Get Consumable Items" Lv3 or higher | 50% |
| Restore Pill II | "Get Consumable Items" Lv3 or higher | 50% |
| O-Ampule | "Get Consumable Items" Lv3 or higher | 50% |
| OG: Restore Post | "Get Consumable Items" Lv3 or higher | 33% |
Aside from that, you'll be given access to a few more Control Units
Control Unit Unlocked : Quick Charge

Control Unit Unlocked : Burst Saver

Control Unit Unlocked : Combo Master
Not to mention a half dozen Free Missions and a Story mission to boot
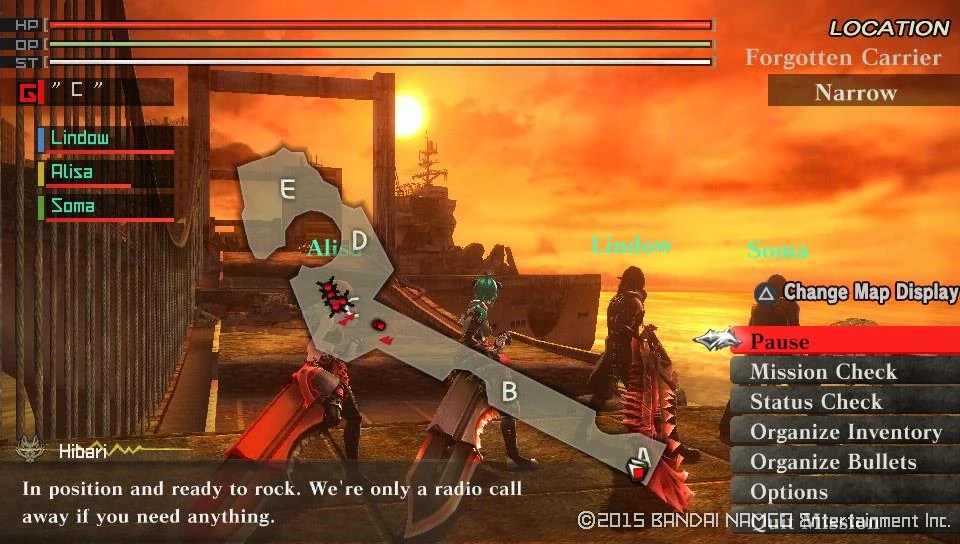
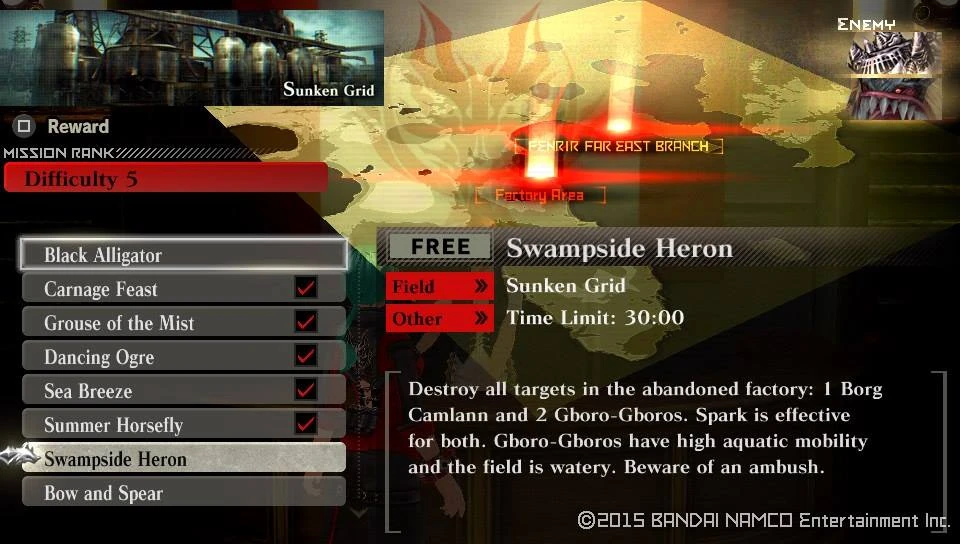
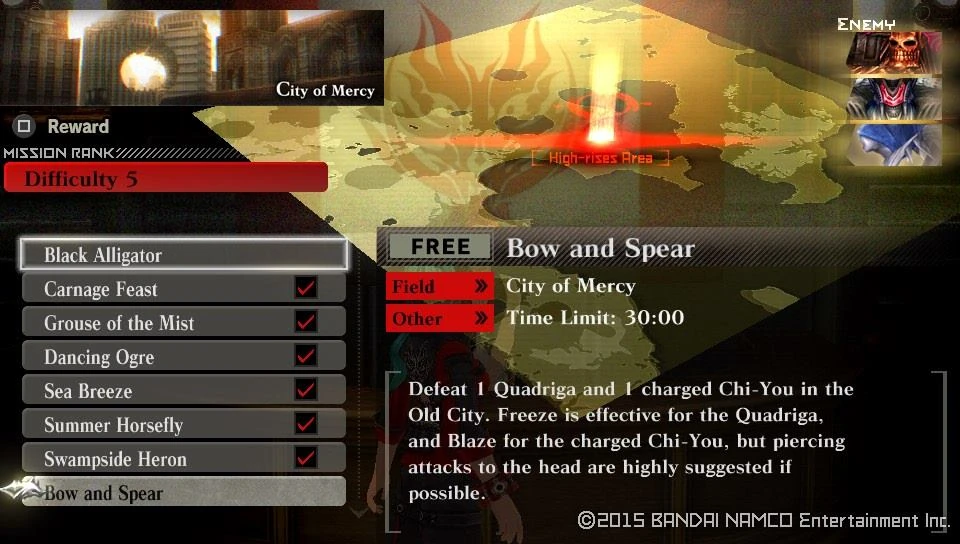
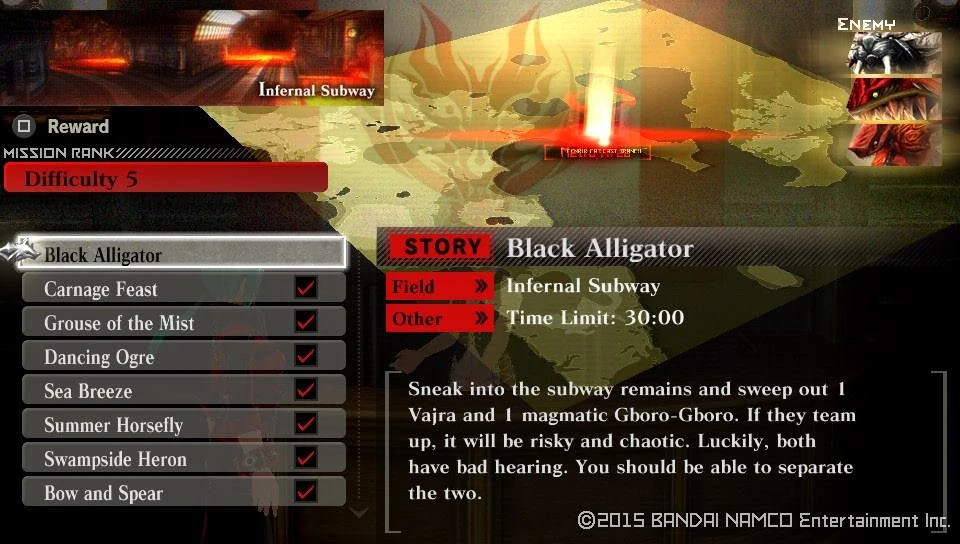
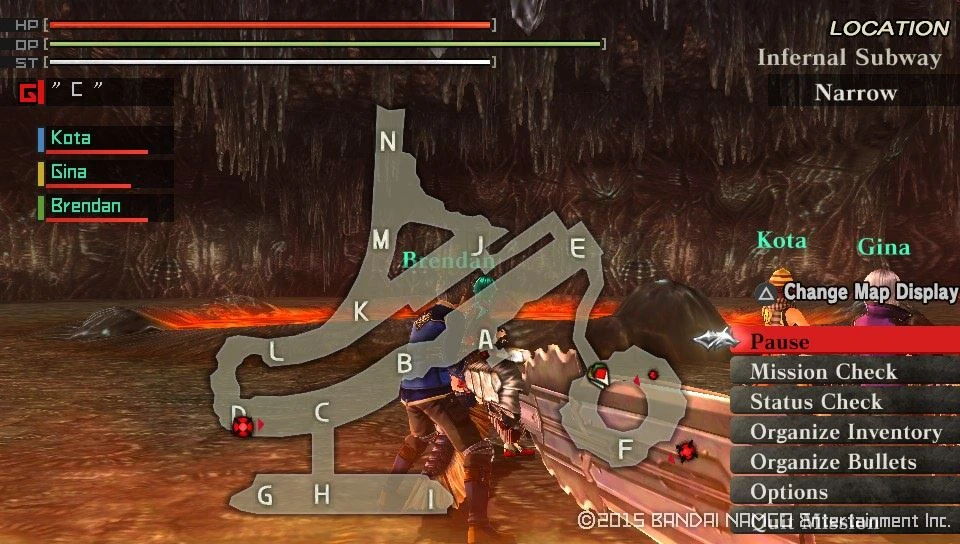
Story Mission Unlocked : Black Aligator

Free Mission Unlocked : Grouse of the Mist

Free Mission Unlocked : Dancing Ogre

Free Mission Unlocked : Sea Breeze

Free Mission Unlocked : Summer Horsefly

Free Mission Unlocked : Swampside Heron

Free Mission Unlocked : Bow and Spear
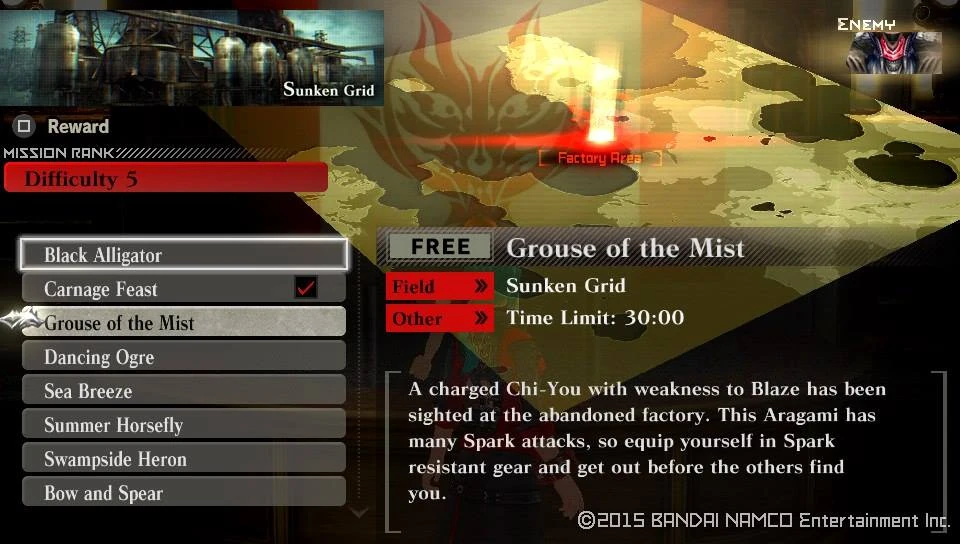


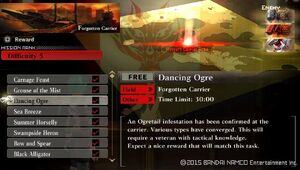
| Dancing Ogre | ||
|---|---|---|
| Information | ||
  |
  | |
| Target Aragami | Details | |
|
| |
| Notes | ||
|
Objective: It shouldn't be too hard to kill 30 Ogretails at this point. On this mission with the exception of the Fallen Ogretails, all variety of the kind will constantly spawn until you manage to clear the quota of 30 Ogretails. Recomended loadout: Anything will do. | ||
| Sea Breeze | ||
|---|---|---|
| Information | ||
  |
  | |
| Target Aragami | Details | |
|
| |
| Notes | ||
|
Objective: Get rid of the monkey, then show the Quadriga that its armor isn't that though. Recomended loadout: A Buster Blade with slightly higher Crush than Sunder damage would be a good choice, since it can Break the bonds of the monkey tail, pipes, and the behemoths chest. Using Freeze Elemental piercing Bullets for the Quadriga and Blaze Elemental crushing Bullets on the Fallen Kongous face. | ||
| Summer Horsefly | ||
|---|---|---|
| Information | ||
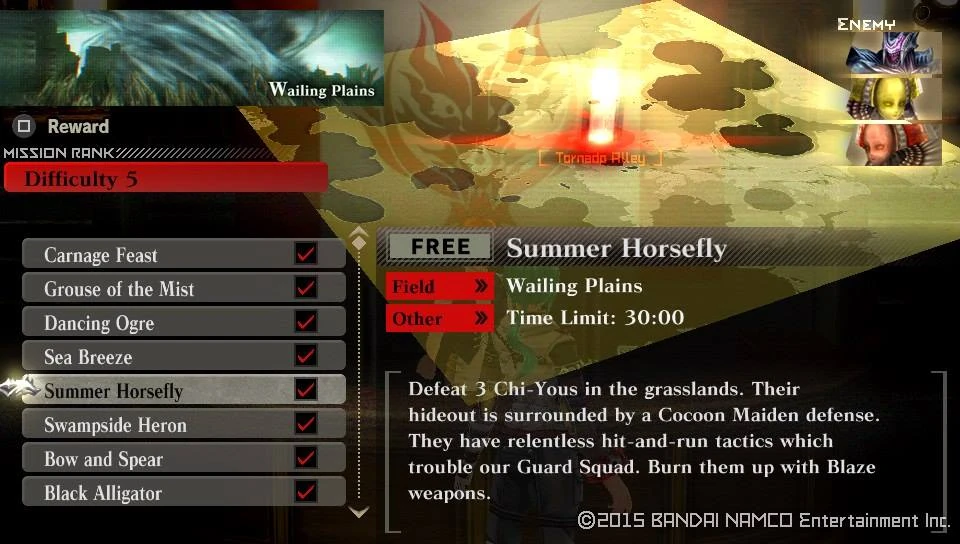  |
  | |
| Target Aragami | Details | |
|
| |
| Notes | ||
|
Objective: A gathering of 3 Avians is held, make sure you ruin their party. Wait a few seconds at the start of the mission and check where each of your targets is starting to patrol. Then descend and take them down one by one. Recomended loadout: Blaze or Freeze Elemental Long Blade should suffice. | ||


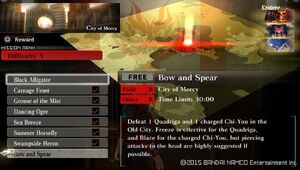
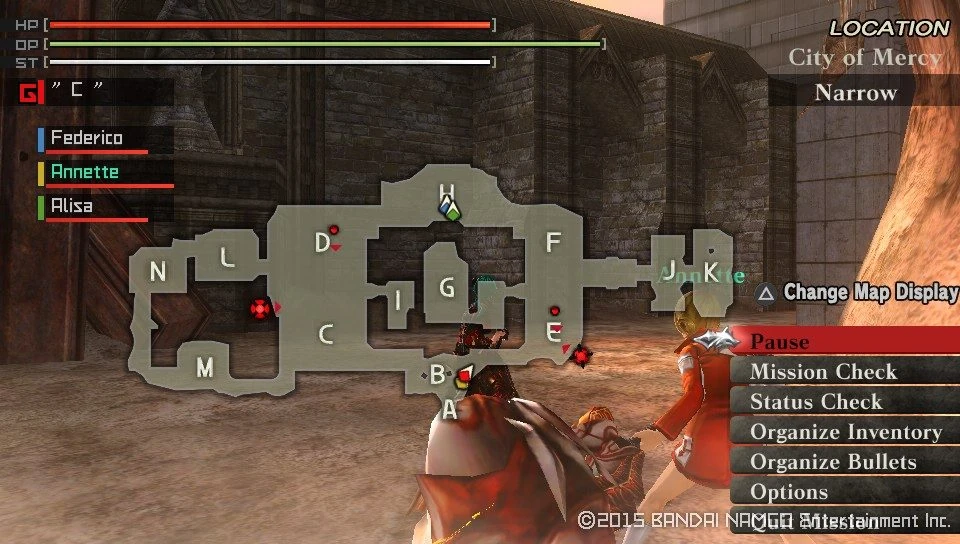
| Bow and Spear | ||
|---|---|---|
| Information | ||
  |
  | |
| Target Aragami | Details | |
|
| |
| Notes | ||
|
Objective: Two heavy armored targets are present on this mission, make sure to equip well. Your team is split in two at the start of the mission, the 1st and 3rd members start from the bottom side, while the 2nd and 4th members go topside. You should prioritize on taking down the Quadriga first, because of its enhanced hearing. Make sure to take down the Zygotes as they join the fray and focus on destroying the behemoth first. Recomended loadout: Freeze Elemental Boost Hammer is a good choice. Just make sure to bring Freeze Elemental piercing Bullets versus the Quadriga, Blaze Elemental piercing Bullets for the Fallen Avians head and Blaze Elemental crushing Bullets for its legs. | ||
Now that you got the novelty of the new missions out of your system its time to take on the next Story, which also grants you another cutscene before you sortie for it.
Cutscene Unlocked : Broken Futures


Finish up and earn an increment to your Story counter.
|-| 26=
Story 26[]
Walkthrough
Report to Hibari, who will tell you to that Dr. Sakaki wants to see you, therefore go to the Laboratory and earn a Cutscene.
Cutscene Unlocked : The Girl's Name
Once you return to the counter, you'll be informed on a new mission that became available.
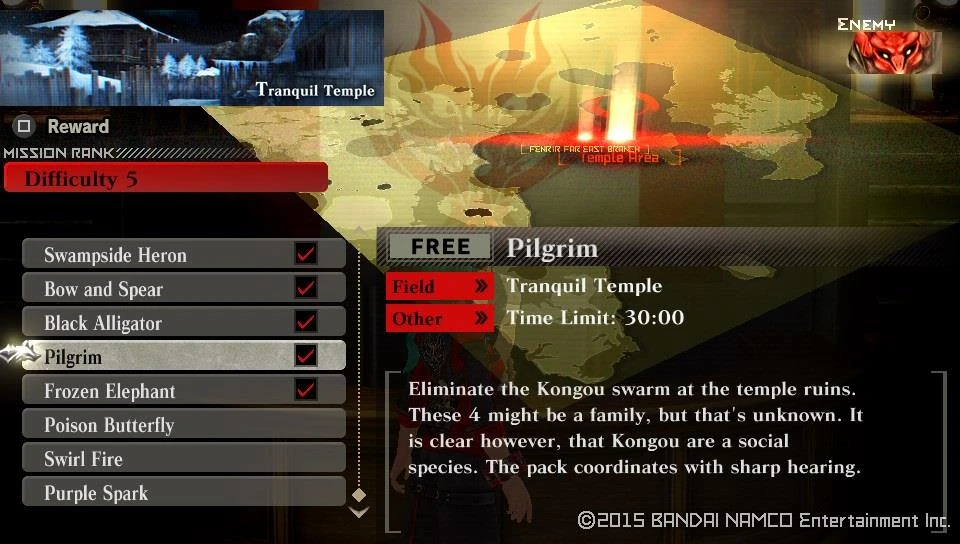
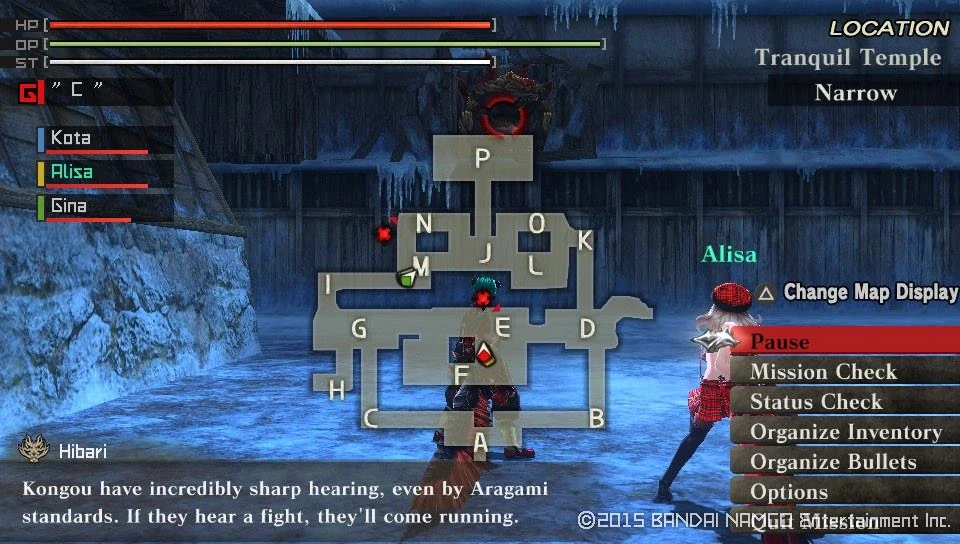
Story Mission Unlocked : Pilgrim
| Pilgrim | ||
|---|---|---|
| Information | ||
  |
  | |
| Target Aragami | Details | |
|
| |
| Notes | ||
|
Objective: Four Kongous at once would be a bit too much, even if you just have to take on 2 at a time. On this mission Alisa, Kota and any one other member from the 2nd Unit or the 3rd Unit may join you. Your party will be divided with Alisa supporting you, while Kota gets the support from the final party member. Keep in my because of the Kongou have very keen hearing, they might ignore their current battle and rush unto the aid of their kin leaving you with more or less targets at once depending on where their numbers are regrouped. Because it would be rather annoying and hard to deal with all four at once, prioritize killing each Aragami as fast as possible. Recomended loadout: Spark Elemental Charge Spear or Short Blade with high Pierce attribute and Spark Elemental pierce Bullets are highly recommended. | ||
Finishing the mission earns you a Cutscene and another increment to your Story counter.
Cutscene Unlocked : Human Words
|-| 27=
Story 27[]
Walkthrough
Check your missions and Hibari will inform you that once again the good doctor Sakaki was looking for you, so go ahead and check out what he wants and be rewarded wit ha cutscene
Cutscene Unlocked : Buffet Date
With this out of the way you get a couple of new stuff to play with, starting with the missions
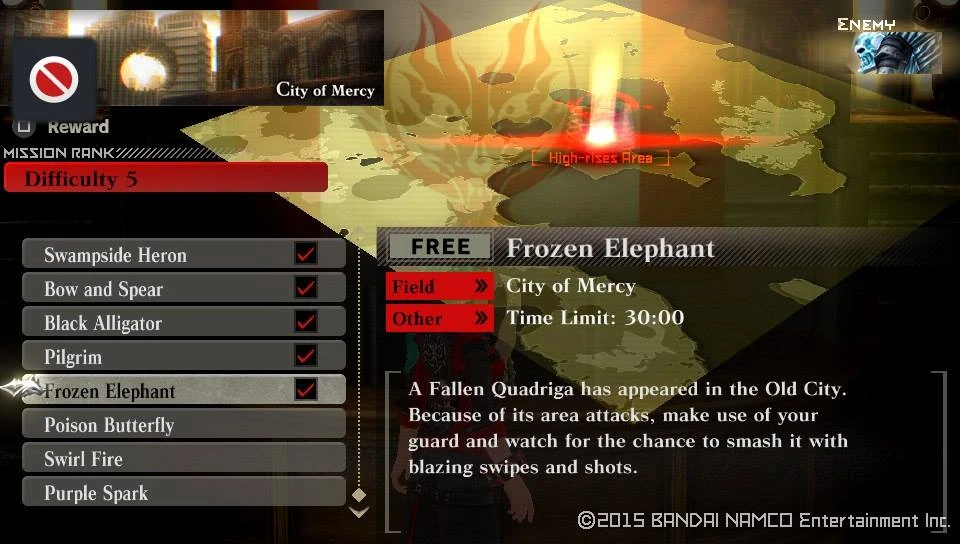
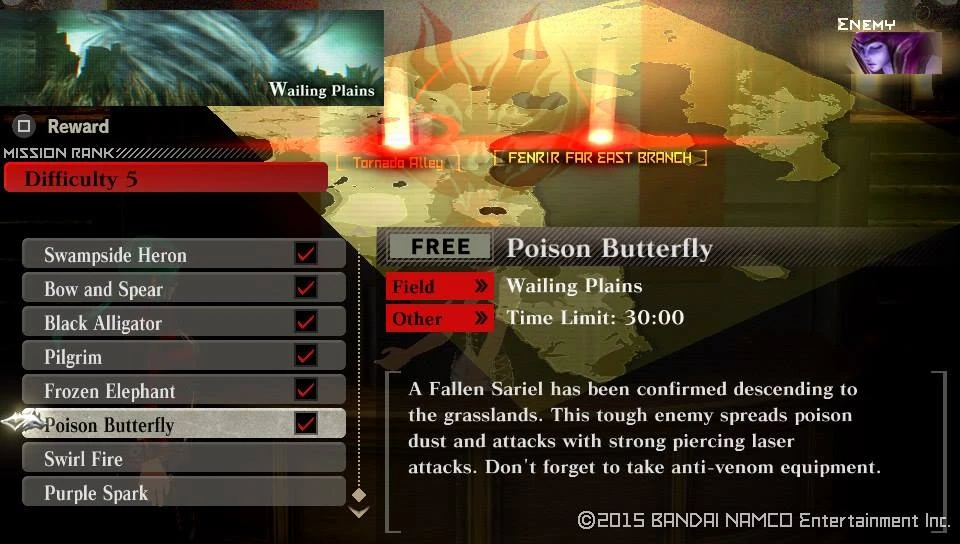
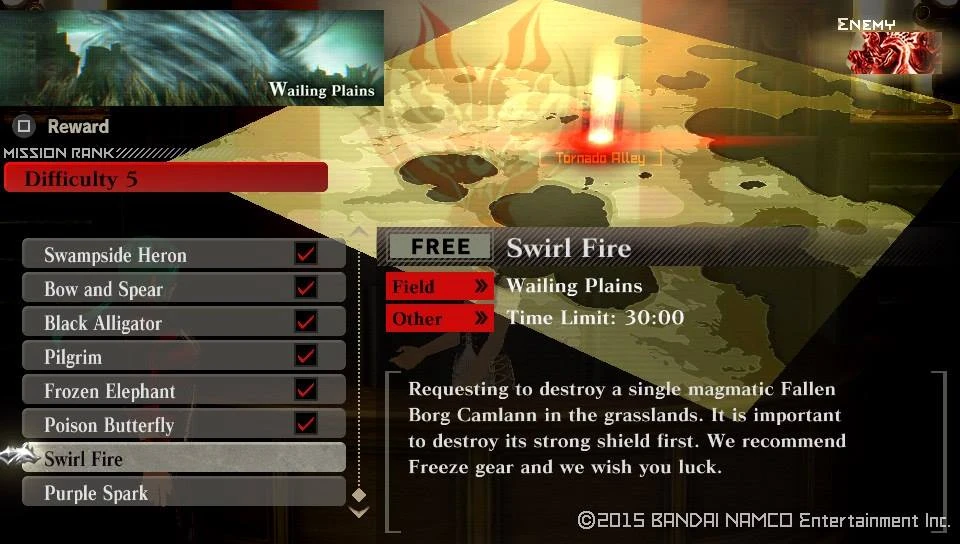
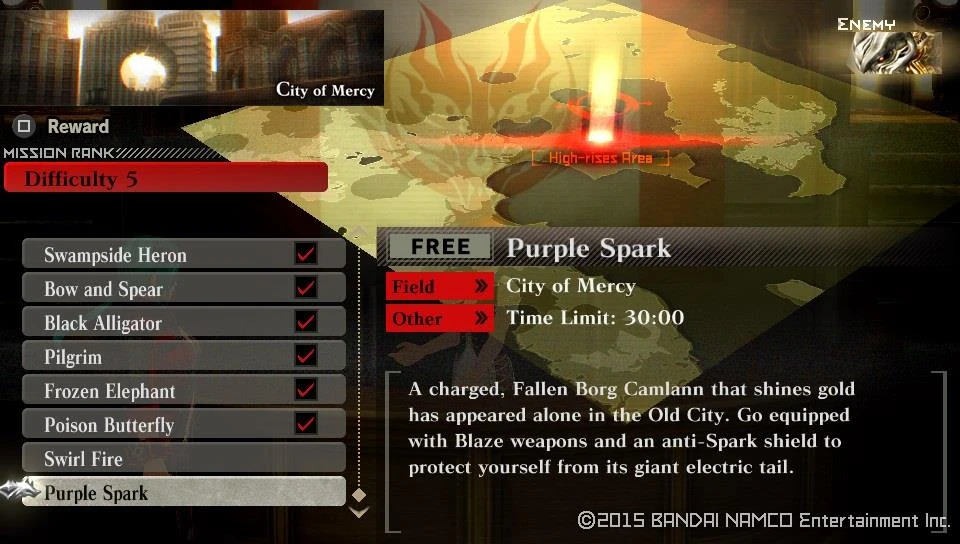
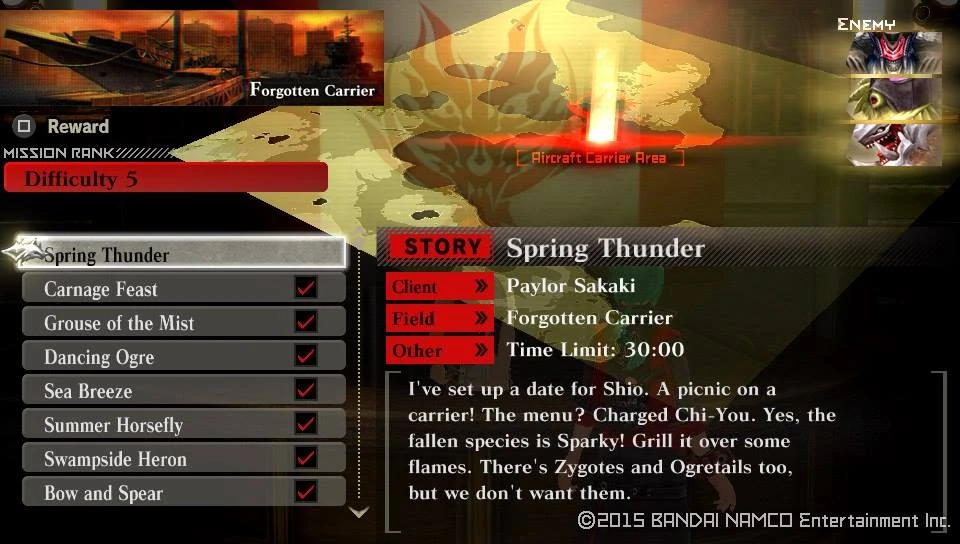
Story Mission Unlocked : Spring Thunder

Free Mission Unlocked : Frozen Elephant

Free Mission Unlocked : Poison Butterfly

Free Mission Unlocked : Swirl Fire

Free Mission Unlocked : Purple Spark
Not only that, but you get another Team Member too!
Team Member Unlocked : Shio
This also means she gets her abilities unlocked
Personal Abilities Unlocked : Shio
Speaking of abilities, with this every member who is available gets to learn new Personal Abilities from their repertoires, go and check them out.
New Personal Abilities Unlocked


Once you've gotten used to the Fallen variants of the Large Aragami, take on the next Story mission.


Once you are done, you'll get a Cutscene an an increment to your Story counter.
Cutscene Unlocked : Two Lone Souls
|-| 28=
Story 28[]
Walkthrough
Go and check the new mission available at Hibari


Finishing this mission earns you a cutscene, which actually was removed from the earlier localized version (GEB), along with an increment in Story counter.
Cutscene Unlocked : Human Differences
|-| 29=
Story 29[]
Walkthrough
Check in at the counter and get a notification about that the professor once again wants to see you, do you and go to his lab and trigger a cutscene.
Cutscene Unlocked : Runaway Shio
Which temporarily leaves you unable to use your newest party member from use.
Team Member Locked : Shio
Once you are ready, go talk to Hibari and get the newest mission assigned to you
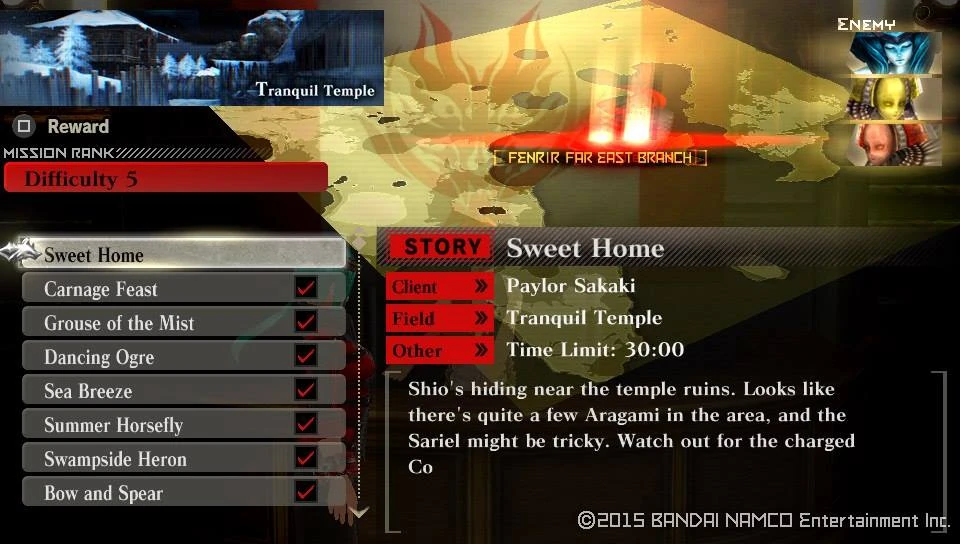
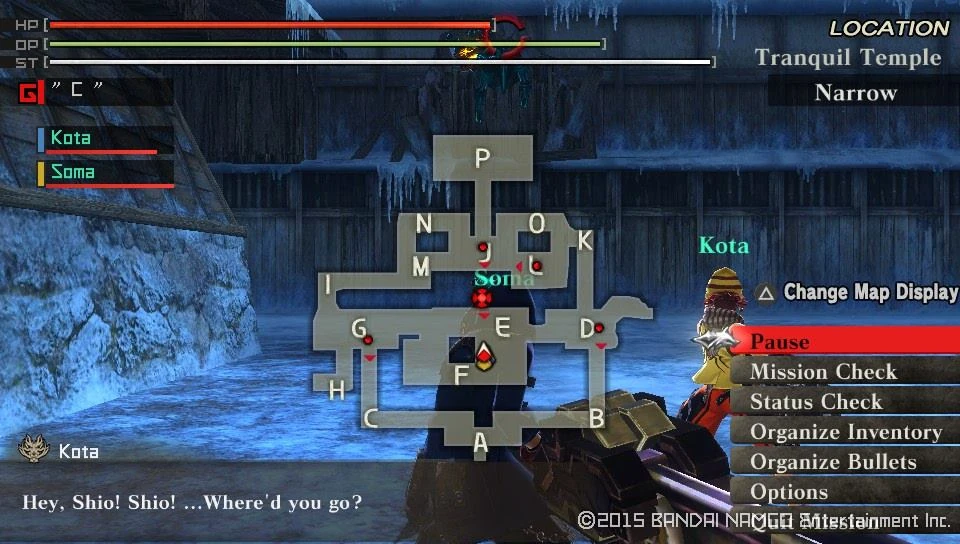
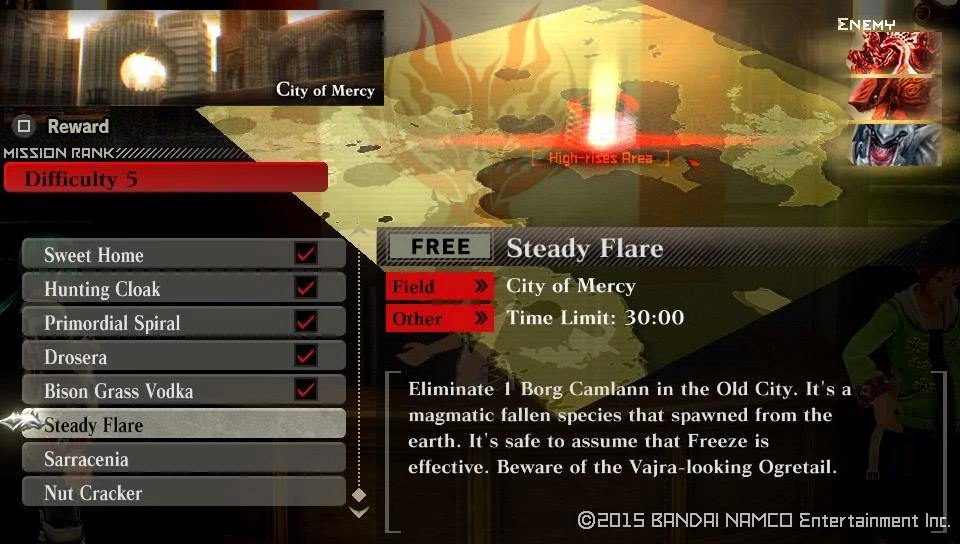
Story Mission Unlocked : Sweet Home
| Sweet Home | ||
|---|---|---|
| Information | ||
  |
  | |
| Target Aragami | Details | |
|
| |
| Notes | ||
|
Objective: Take down the Sariel. On this mission only Soma and Kota accompanies you. Recomended loadout: Take a non-Divine Elemental Boost Hammer with you and this will be a breeze. | ||
Complete the mission Successfully and be rewarded by a Cutscene and increased Story counter.
Cutscene Unlocked : Everyone's the Same
|-| 30=
Story 30[]
Walkthrough
First of all, the runaway partymember returned.
Team Member Unlocked : Shio
You won't find a new mission at this time, so you can do the available Free missons until you feel ready. When you are, go and seek out the doctor in his laboratory. He will ask you to get him a specific material, a Goddess Plumage which shouldn't that hard, since its the most common material gained from Sariels, you should have one at least, if not trade a Silver F-Ticket for it. Once you have that go and return to the doctor with the item.
Checking in with Hibari you'll learn that a new mission had been posted.
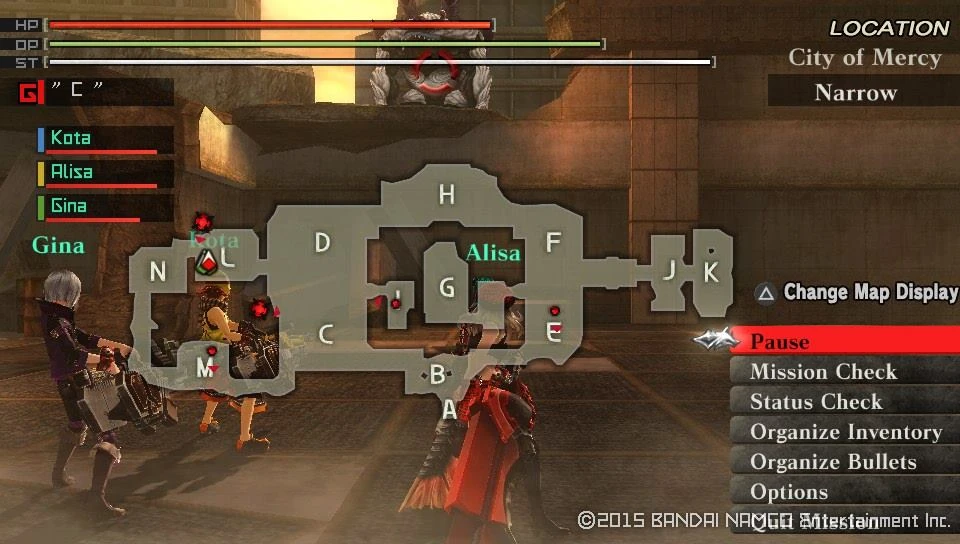
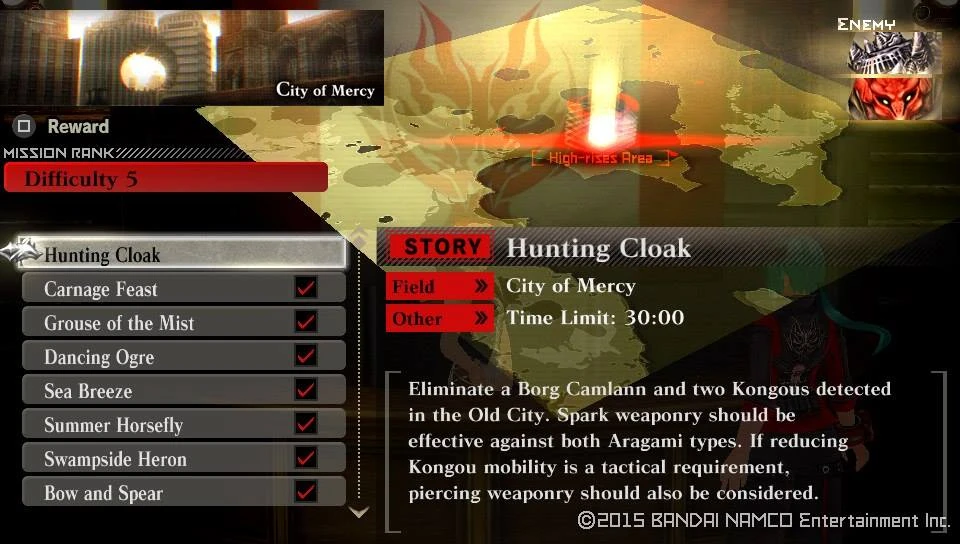
Story Mission Unlocked : Hunting Cloak
| Hunting Cloak | ||
|---|---|---|
| Information | ||
  |
  | |
| Target Aragami | Details | |
|
| |
| Notes | ||
|
Objective: Split the enemies and take them down with haste Go for the Kongous first and try to lure them behind the buildings so the Borg can't see you. Don't even bother with splitting up the monkeys, their hearing ensures that when one of them fights, the other will join in not long after. On this Mission only the members of the 1st Unit can accompany you. Recomended loadout: Spark Elemental Long Blade and Spark Elemental piercing Bullets work just fine. | ||
Completing the mission is another increment to your Story Counter and also a Cutscene for your efforts.
Cutscene Unlocked : Shio's Song
|-| 31=
Story 31[]
Walkthrough
Check in with Hibari, who will inform you that the Director himself is looking for you, therefore go and seek him out on the Executive's Floor. As you enter his room you'll be granted with a Cutscene.
Cutscene Unlocked : Special Mission
When you Return to the mission counter, you'll get immediately assigned to a new mission, the last in Rank 5
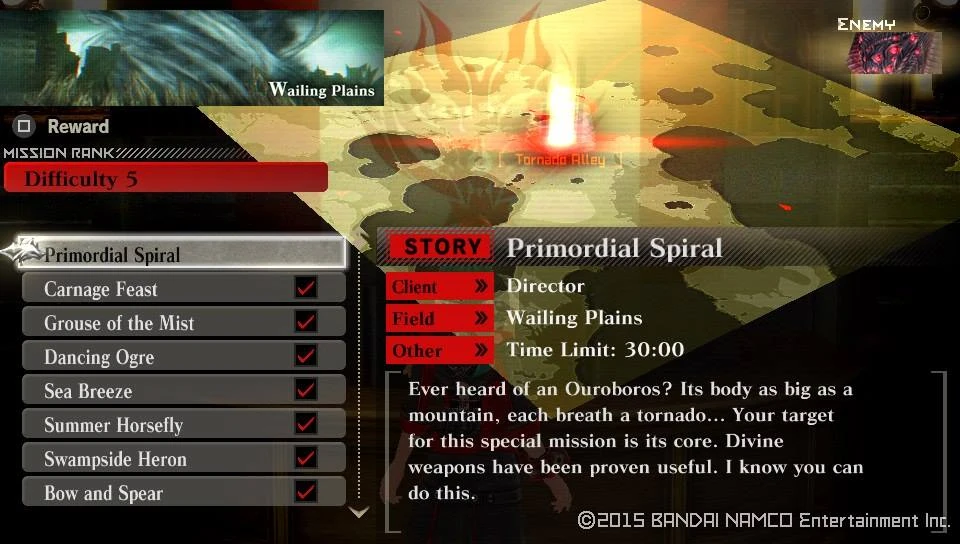
Story Mission Unlocked : Primordeal Spiral
But that's not all, since you accepted the mission, 5 new Free Missions also pop up, although you can only check them if you decline the sortie for the Story Mission and take them on individually. Or you can do it before starting any of the Rank 6 missions, your choice.
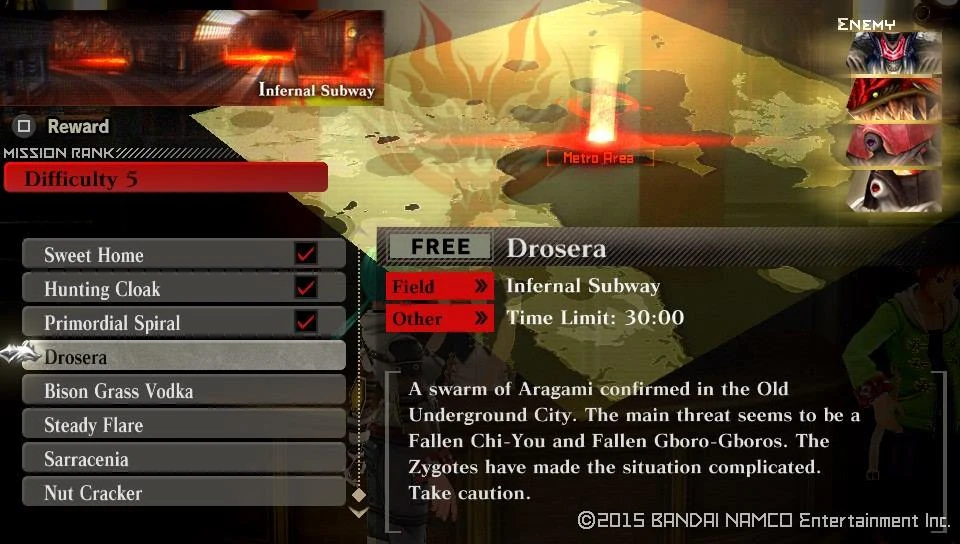
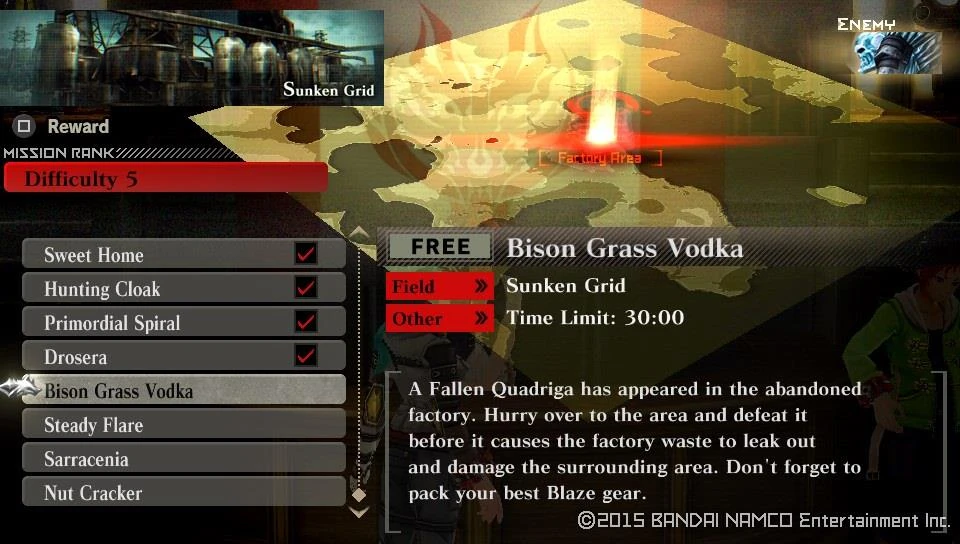
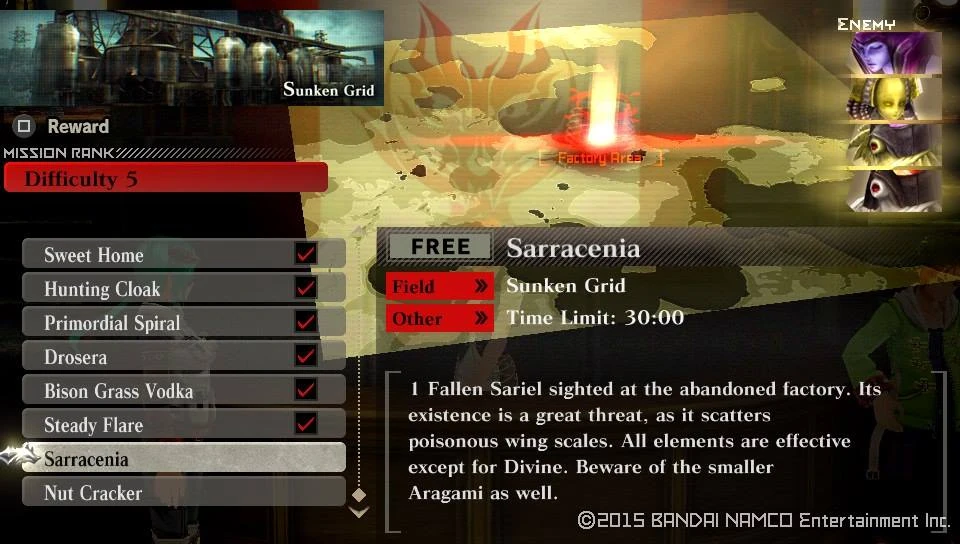
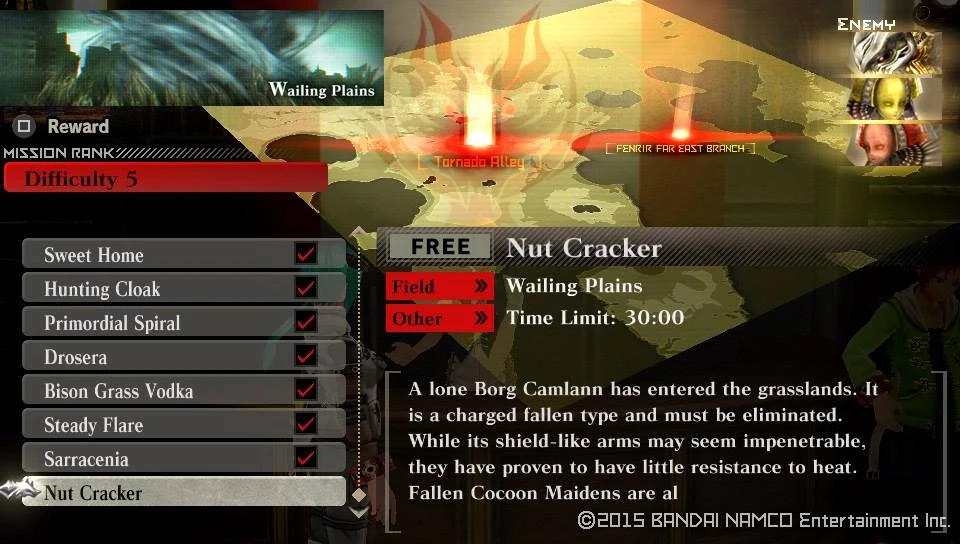
Free Mission Unlocked : Drosera

Free Mission Unlocked : Bison Grass Vodka

Free Mission Unlocked : Steady Flare

Free Mission Unlocked : Saraccenia

Free Mission Unlocked : Nut Cracker
| Primordeal Spiral | ||
|---|---|---|
| Information | ||
  |
  | |
| Target Aragami | Details | |
|
| |
| Notes | ||
|
Objective: The time has come for you to take on the Aragami that Lindow soloed with ease. On this mission you can chose to bring with you 3 members from the 2nd and 3rd Units only. Despite what the Director said, in Resurrection your materials are not confiscated, neither are you paid for them. (That only applies to God Eater Burst) Ouroboros, the second larges Aragami in the entire God Eater franchise (Well if we go by the size of them that is depicted in the lore that is), or the largest kind in God Eater Resurrection. This monster literally towers above you, has a rather long range due to its size, if you stay out of its melee range you will get blasted by powerful lasers, or it will send spikes drilling through the ground to reach you. It might even jump at you and squash you flat, heck even if it just moves around a tiny bit and you are nearby you'll get damages. In short? Get the best shield you can, or be prepared for a world of hurt. The best distance to find yourself from it is right in front the fact, within swing distance of your melee weapon, yet at the ready to guard against attacks. Or shooting distance of your gun, in the case of latter always be prepared to take evasive actions when required. Recomended loadout: Divine Element is a must, both for your Shield and your weapon/bullets. It will not hurt to pack a very strong shield, possibly upgraded a few times along the way to stand your ground. Boost Hammers or Buster Blades are a must when fighting this beast, if you plan to unbind the following parts:
| ||
Once you're over the Largest Aragami you'll face in game, head to take on a few more Free missions before tackling the next tier.


This concludes Rank 5
|-| 32=
Story 32[]
Walkthrough
First of all you get access to the next tier of missions.
Difficulty 6 Missions Unlocked
Talk to Hibari and get your first Mission on Rank 6 and get rewarded with a Cutscene
Cutscene Unlocked : Signal Tracking 1
| Icy Damsel | ||
|---|---|---|
| Information | ||
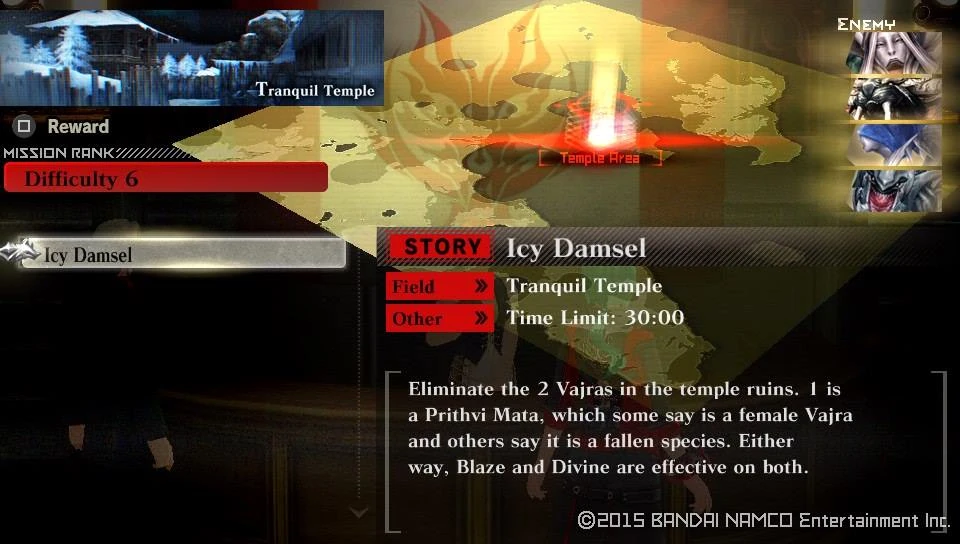  |
  | |
| Target Aragami | Details | |
|
| |
| Notes | ||
|
Objective: Meet the sub-species of the Vajra, Prithvi Mata. You might remember this one from a cutscene way back on Rank 3, well It brings a punch. All of its moves are based on a Vajras, just instead of Spark, this one has Freeze element and shoots ice based attacks. The body has also different breakable points and resistances, and its generally far much easier to take this variant down than the original. Recomended loadout: Blaze or Divine Elemental Long Blade is recommended and Blaze of Divine Elemental piercing bullets for maximum efficiency, the breakable bonds come as the following:
| ||
Clearing this mission nets you two more Predator Styles
Predator Style Unlocked : Mobius

Predator Style Unlocked : Hawk's Flight
You reward also is an increment to your Story counter and another Cutscene
Cutscene Unlocked : Signal Tracking 2
|-| 33=
Story 33[]
Walkthrough
New Urgent mission had been unlocked just now, just like on the previous Rank, this is also Survival styled.
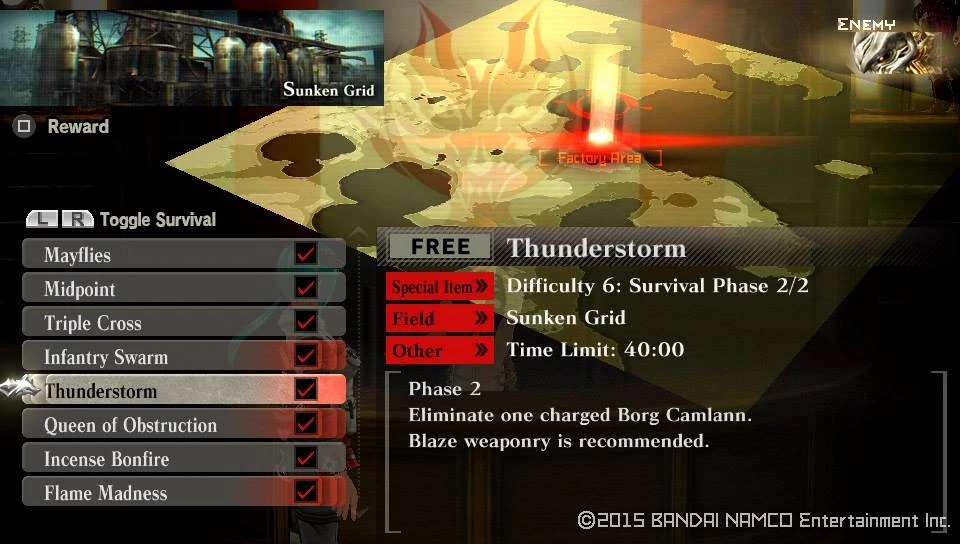
Urgent Mission Unlocked : Thunderstorm
| Thunderstorm | ||
|---|---|---|
| Information | ||
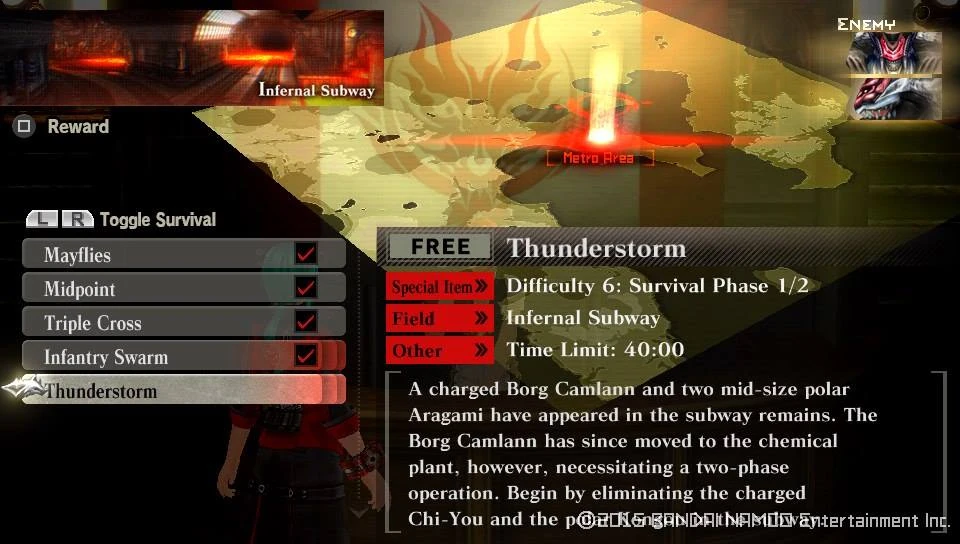  |
  | |
| Target Aragami | Details | |
|
| |
| Notes | ||
|
Objective: Take down the Chi-You before the Kongou arrives, or ignore it until the Kongou invades. Recomended loadout: Blaze Elemental Long Blade is recommended | ||
| Reward | Conditions | Probability |
| 3000 fc | Automatic | 100% |
| Wukong Rumbler | Automatic | 58% |
| Raven Gun | Automatic | 47% |
| Avian Tendon | Automatic | 42% |
| Wukong Mask | Automatic | 41% |
| Raven Mask | Automatic | 35% |
| Raven Wing | Automatic | 35% |
| Magnesium | Automatic | 30% |
| Wukong Armor | Automatic | 26% |
| Oil | Automatic | 26% |
| Damascus Steel | Automatic | 26% |
| Nylon | Automatic | 25% |
| Blaze Crystal | Automatic | 20% |
| Aragami Extract | Automatic | 18% |
| Quickener | Automatic | 15% |
| Cotton | Automatic | 15% |
| Wukong Redstone | Automatic | 5% |
| Wukong Redstone | Clear under 10 min. | 10% |
| Raven Mask | Clear with 30+ Endurance | 17% |
| Raven Wing | Clear with 30+ Endurance | 17% |
| Wukong Armor | Clear with 30+ Endurance | 13% |
| Quickener | Clear with 30+ Endurance | 7% |
| Wukong Redstone | Clear with 30+ Endurance | 2% |
| Silver F-Ticket | Break 3+ Bonds | 100% |
| Silver A-Ticket | Break 3+ Bonds | 20% |
| 3000 fc | "Reward Credits Up" Lv3 or higher | 30% |
| Restore Pill II | "Get Consumable Items" Lv3 or higher | 50% |
| Restore Pill II | "Get Consumable Items" Lv3 or higher | 50% |
| O-Ampule | "Get Consumable Items" Lv3 or higher | 50% |
| OG: Restore Post | "Get Consumable Items" Lv3 or higher | 33% |
Then there is the 2nd part of the Survival, but because the same gear can be used for it Its nothing special about it.


| Reward | Conditions | Probability |
| 2000 fc | Automatic | 100% |
| Spark Knight Armor | Automatic | 52% |
| Spark Knight Prickle | Automatic | 50% |
| Spark Knight Shield | Automatic | 50% |
| Magnesium | Automatic | 30% |
| Inferior Rubber | Automatic | 30% |
| Chinese Herb | Automatic | 30% |
| Oil | Automatic | 26% |
| Spark Knight Iron | Automatic | 26% |
| Oak | Automatic | 26% |
| Nectar | Automatic | 25% |
| Soft Iron | Automatic | 25% |
| Liniment | Automatic | 23% |
| Mahogany Branch | Automatic | 23% |
| Meteorite | Automatic | 20% |
| Titanium | Automatic | 15% |
| Hardener | Automatic | 11% |
| Hardener | Clear under 5 min. | 15% |
| Spark Knight Armor | Clear with 30+ Endurance | 26% |
| Spark Knight Prickle | Clear with 30+ Endurance | 25% |
| Spark Knight Shield | Clear with 30+ Endurance | 25% |
| Spark Knight Iron | Clear with 30+ Endurance | 13% |
| Hardener | Clear with 30+ Endurance | 5% |
| Silver F-Ticket | Break 3+ Bonds | 100% |
| Silver A-Ticket | Break 3+ Bonds | 200% |
| 2000 fc | "Reward Credits Up" Lv3 or higher | 30% |
| Restore Pill II | "Get Consumable Items" Lv3 or higher | 50% |
| Restore Pill II | "Get Consumable Items" Lv3 or higher | 50% |
| O-Ampule | "Get Consumable Items" Lv3 or higher | 50% |
| OG: Restore Post | "Get Consumable Items" Lv3 or higher | 33% |
It should be noted that with now two more Control Units become available
Control Unit Unlocked : Red Mist

Control Unit Unlocked : Reinforce
You'll also get a shot at three new Free Mission
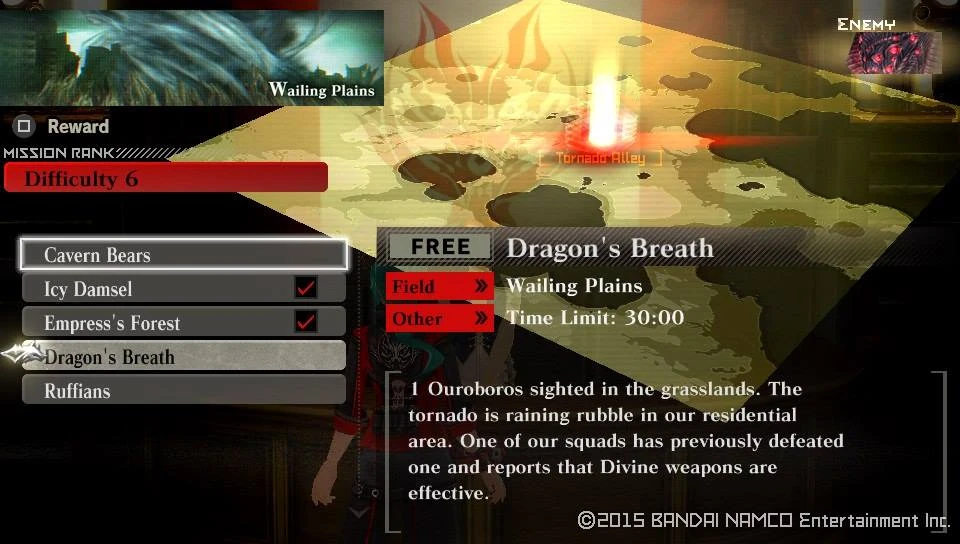
Free Mission Unlocked : Empress' Forthress

Free Mission Unlocked : Dragon's Breath

Free Mission Unlocked : Ruffians
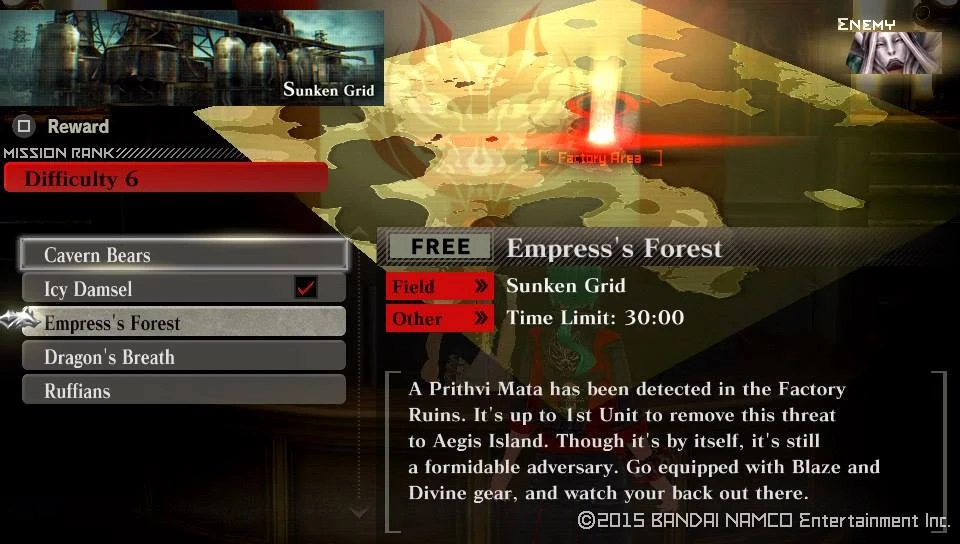
| Empress' Forest | ||
|---|---|---|
| Information | ||
  |
  | |
| Target Aragami | Details | |
|
| |
| Notes | ||
|
Objective: This time its a lone Prithvi Mata, take it down. Recomended loadout: Blaze Elemental Boost Hammer and Piercing Bullets are recommended | ||
| Dragon's Breath | ||
|---|---|---|
| Information | ||
  |
  | |
| Target Aragami | Details | |
|
| |
| Notes | ||
|
Objective: Look it's a walking mountain! Jokes aside another Ouroboros for the takedown. Recomended loadout: Divine Element Boost Hammer and Piercing Bullets | ||
| Ruffians | ||
|---|---|---|
| Information | ||
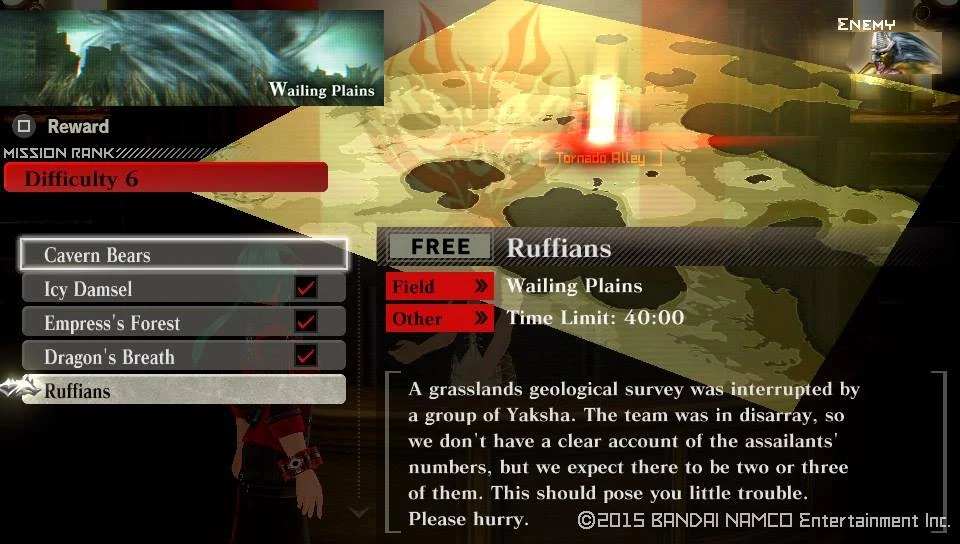  |
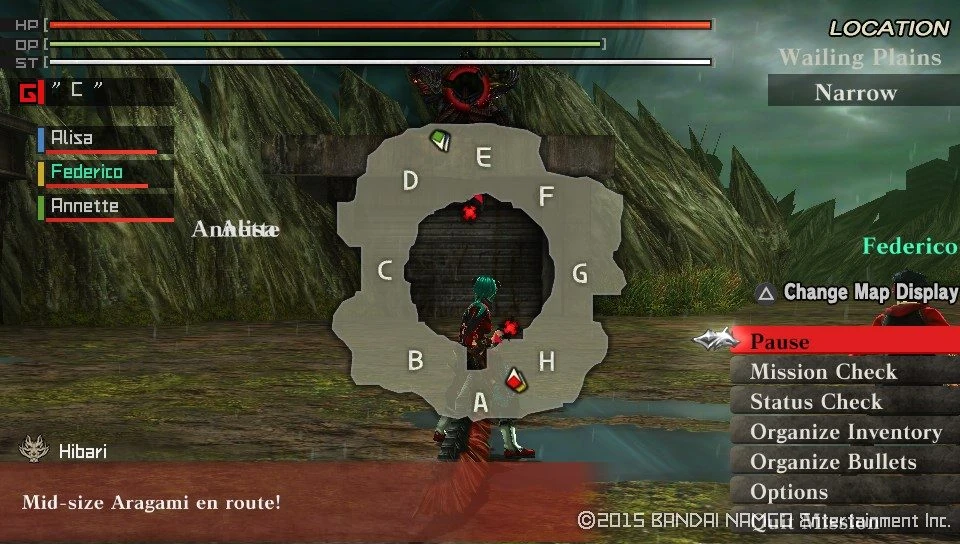  | |
| Target Aragami | Details | |
|
| |
| Notes | ||
|
Objective: A group of Yaksha had been sighed, take them down. Be careful that the mission splits your team into two at start. Recomended loadout: Sunder and Crushing damage is recommended, so take your pick of weapons. | ||
Once you got the Free missions done take the Story Mission
| Cavern Bears | ||
|---|---|---|
| Information | ||
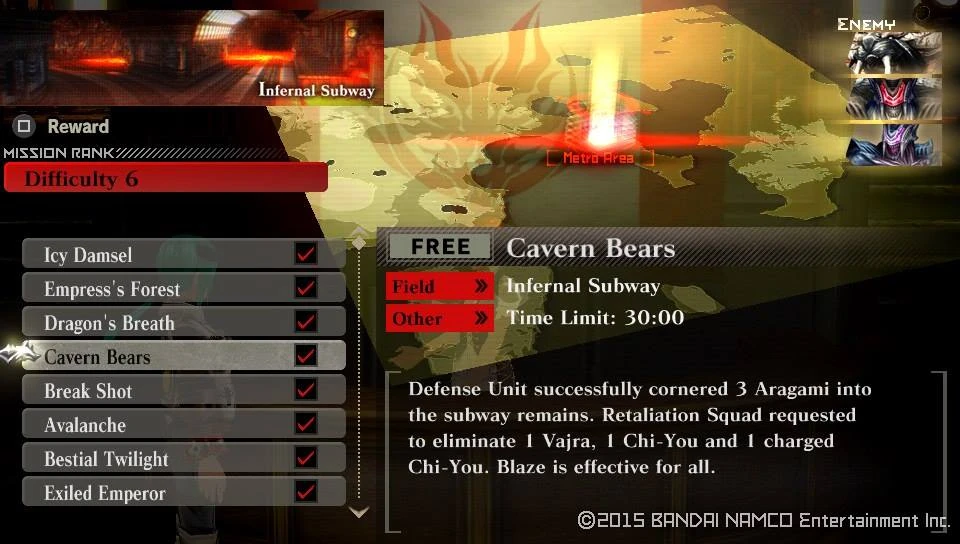  |
 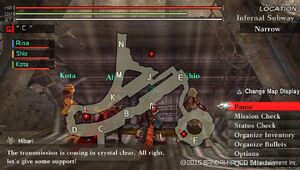 | |
| Target Aragami | Details | |
|
| |
| Notes | ||
|
Objective: Divide and conquer, take down the Fallen first, then separate the Chi-You from the Vajra before taking it on. Onto this mission you can take anyone from the 1st Unit, 2nd Unit, 3rd Unit and Shio Recomended loadout: Blaze Elemental Long Blade does it nicely. | ||
When your done with that mission report to Hibari and leaern that a new Story mission is assigned
Story Mission Unlock : Break Shot
When starting said mission, you'll get rewarded by a Cutscene
Cutscene Unlocked : Outher Ghetto in Danger
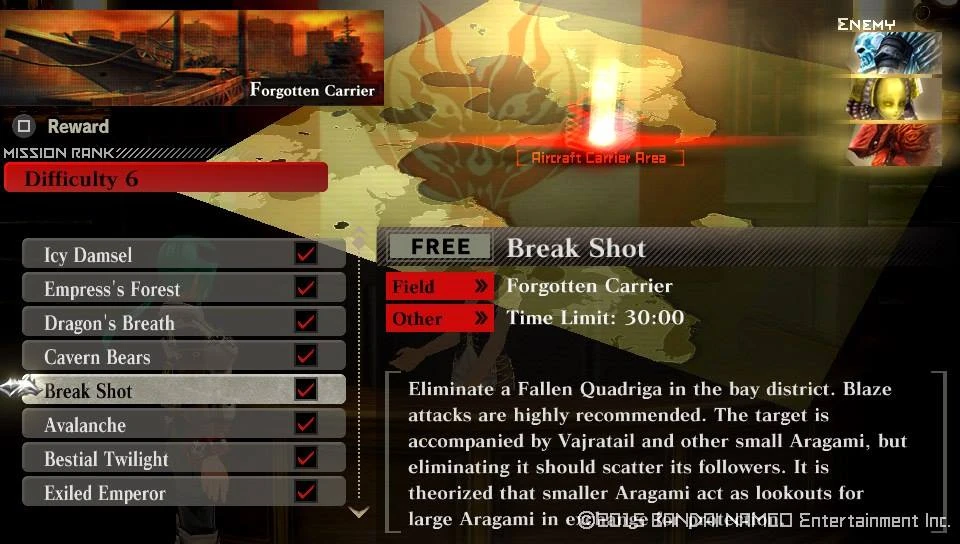
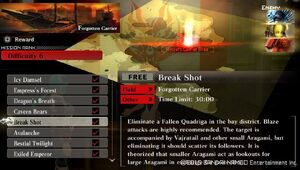


Clearing the mission earns you an inrease to your Story counter
|-| 34=
Story 34[]
Walkthrough
Talk to Hibari and take on your next Story Mission
| Avalanch | ||
|---|---|---|
| Information | ||
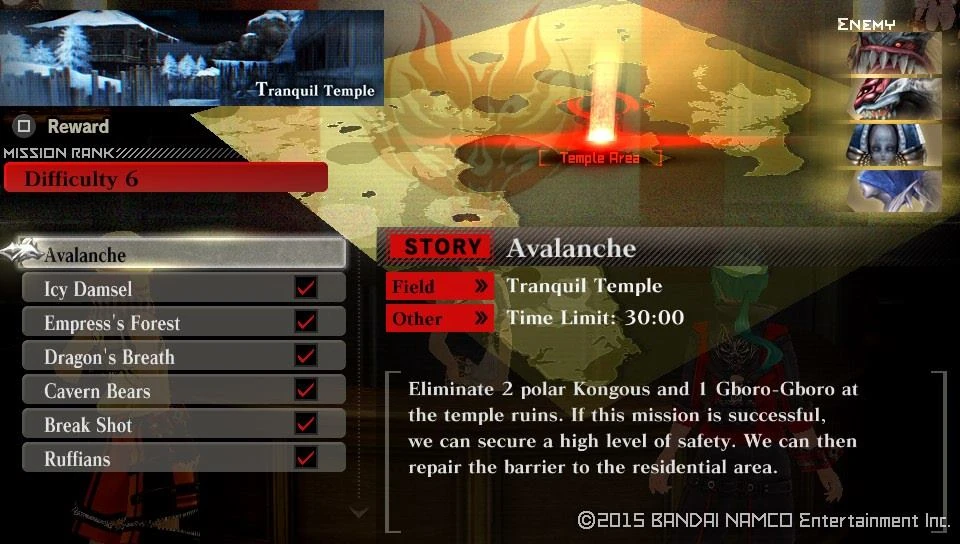  |
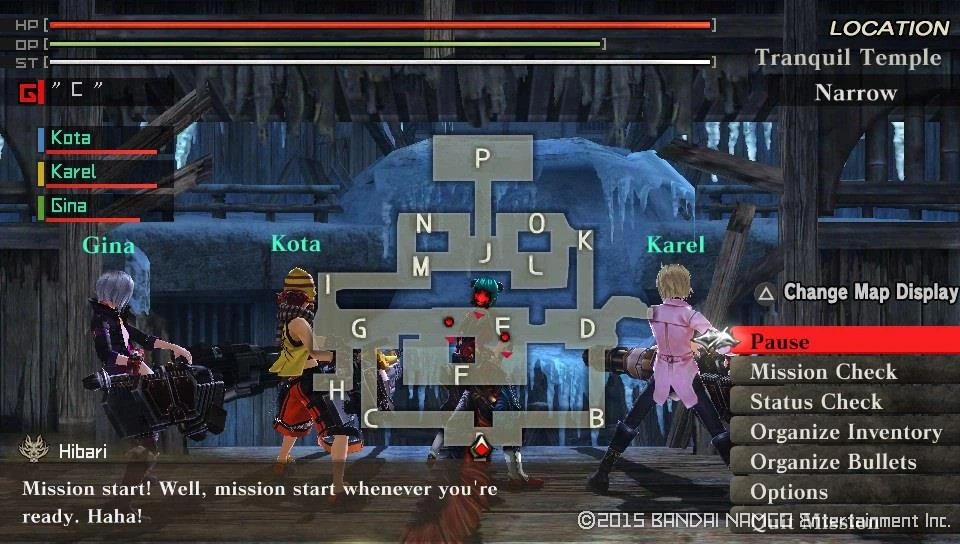  | |
| Target Aragami | Details | |
|
| |
| Notes | ||
|
Objective: A simple multi-waved Aragami battle, shouldn't be that hard. On this mission only Kota and any 2 of the 3rd Unit can accompany you. Recomended loadout: Blaze Elemental Long Blade and Spark Elemental Piercing Bullets are good. | ||
Finishing the mission earns a Story counter increase and a Cutscene
Cutscene Unlocked : Kota's Determination
|-| 35=
Story 35[]
Walkthrough
Check in with Hibari and learn of your new Mission, start it up an receive a Cutscene
Cutscene Unlocked : Lindow's Will 1
| Bestial Twilight | ||
|---|---|---|
| Information | ||
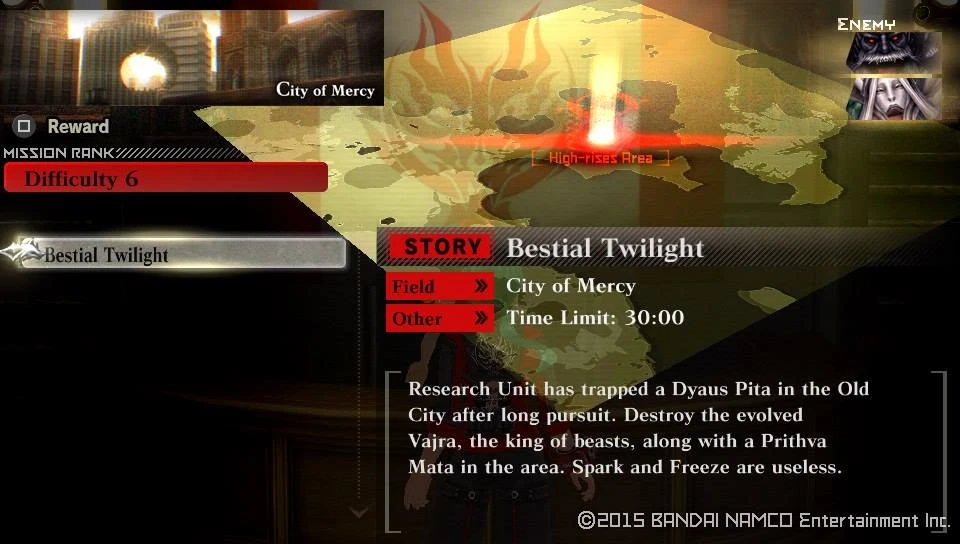  |
  | |
| Target Aragami | Details | |
|
| |
| Notes | ||
|
Objective: Get ready to take down the Dyaus Pita! On this mission Alisa, Soma and Sakuya accompany you. First things first lure the Prithvi Mata as far as possible away from the Pitas entry point. It doesn't hurt if you take it down very fast, just make sure that on the first encounter with this beast you don't fight both of them at the same time. As for the Dyaus Pita, well... he can be a bit of a tough cookie on the first try. Especially since when a quarter of its health had been lost it will enter an enhanced form and become much more agressive in nature. Before it transforms it calls down numerous dome attacks, moves swiftly and is generally a pain to deal with. Although it does roar at almost all of its attacks either before or after so you can get a good number of free hits in. After it transforms, and the cape on its back turns into bladed wings things take a step further. The dome attacks will increase in damage and it will come in two waves now, its lunges will have attacks from the blade-wings paired with them, it also gains a three stage lunge where it slashes with the wings at each jump. Not to mention it can perform a complete circular turn twice, and at each time swiping around itself with the blade-wings. Despite all this, its pretty easy to take it down since all of its attacks leave it vulnerable to attack. And compared to the Sky Father, the defenses of this kind are not that great. Grabbing a good shield with Spark and/or Divine elemental resist is recommended to mitigate the damage taken. Recomended loadout: Divine or Spark Elemental shield is mandatory, unless you know what your dealing with. Divine Elemental Long Blade should be your pick because its the best way to deal with this beast, the unbindable parts are as following:
| ||
Finishing off the black beast, you get a Cutscene and an increment to your Story counter
Cutscene Unlocked : Lindow's Will 2
|-| 36=
Story 36[]
Walkthrough
Starting off you get a half dozen new missions to chose from
Free Mission Unlocked : Exiled Emperor

Free Mission Unlocked : Nepenthes

Free Mission Unlocked : Collector

Free Mission Unlocked : Cephalotus

Free Mission Unlocked : Thermal Jacket
| Exiled Emperor | ||
|---|---|---|
| Information | ||
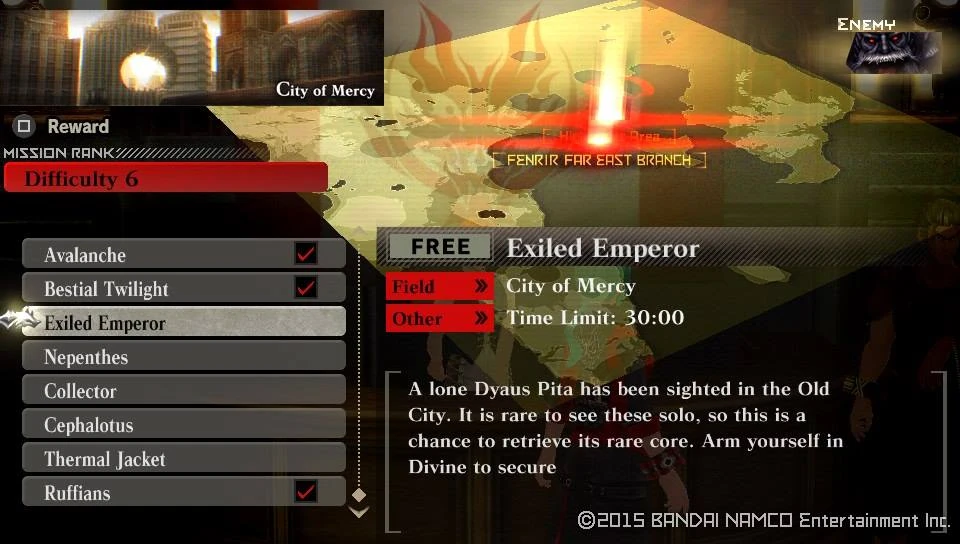  |
 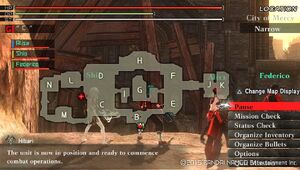 | |
| Target Aragami | Details | |
|
| |
| Notes | ||
|
Objective: The Black Vajra returns, this time alone. Recomended loadout: Divine Elemental Long Blade and shield. | ||
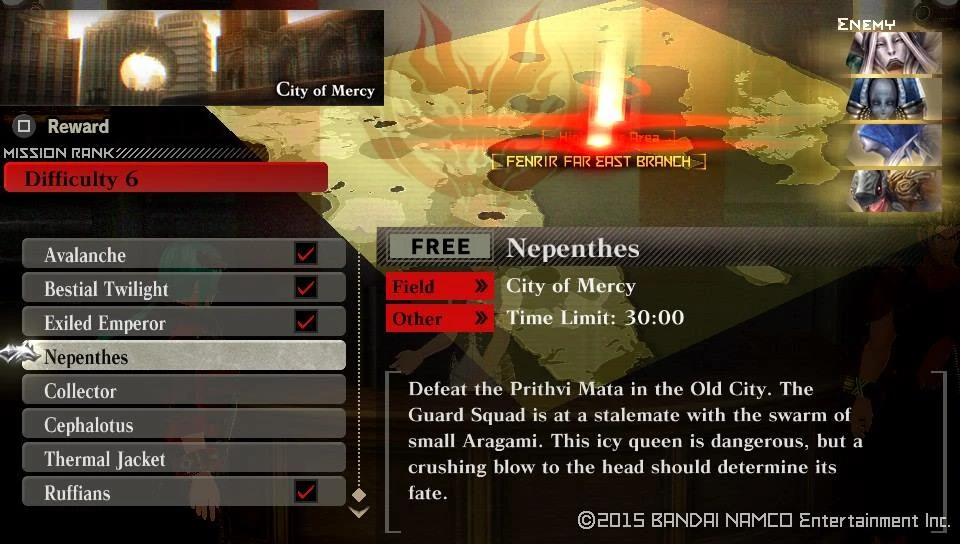

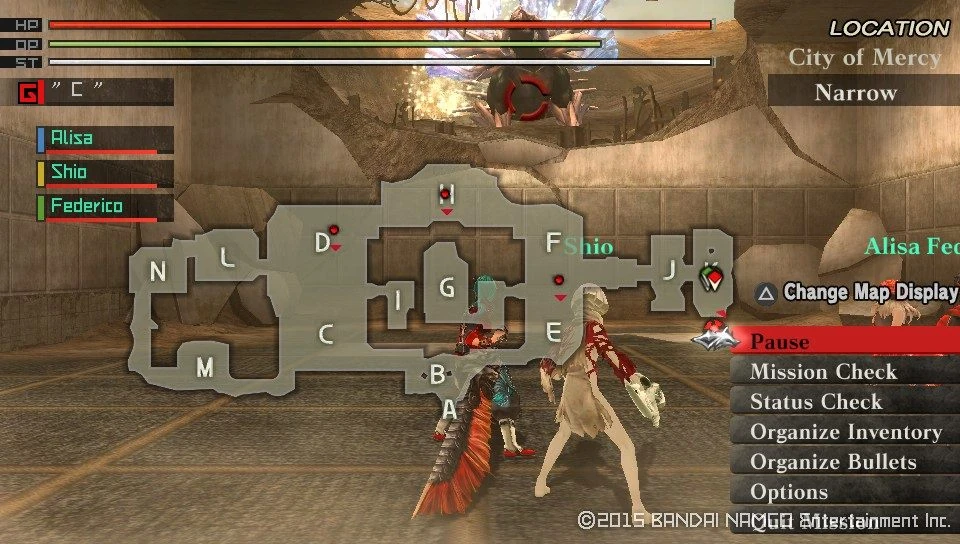

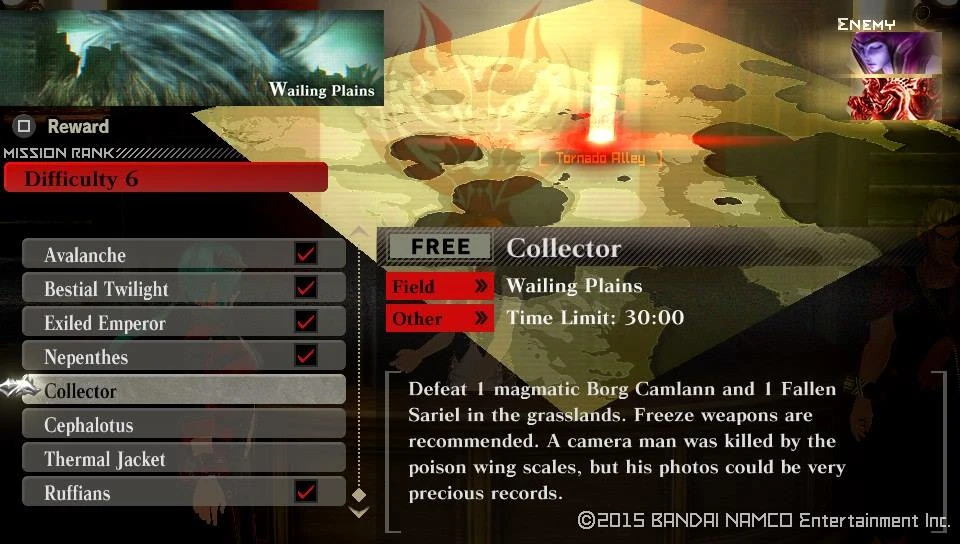


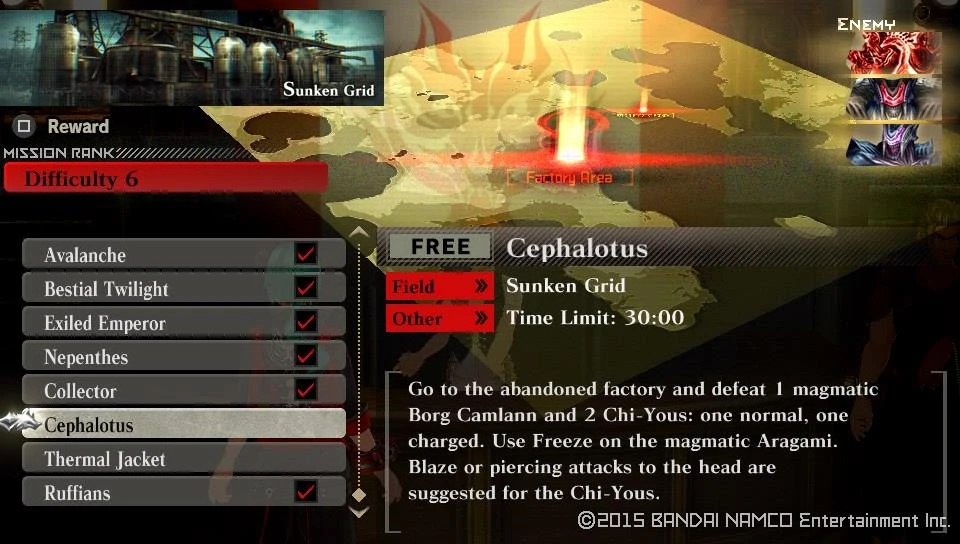

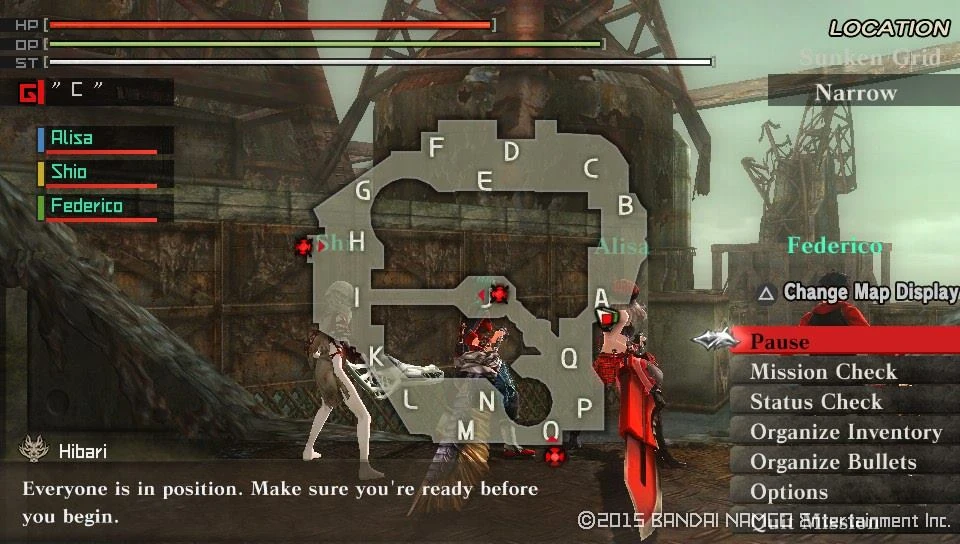

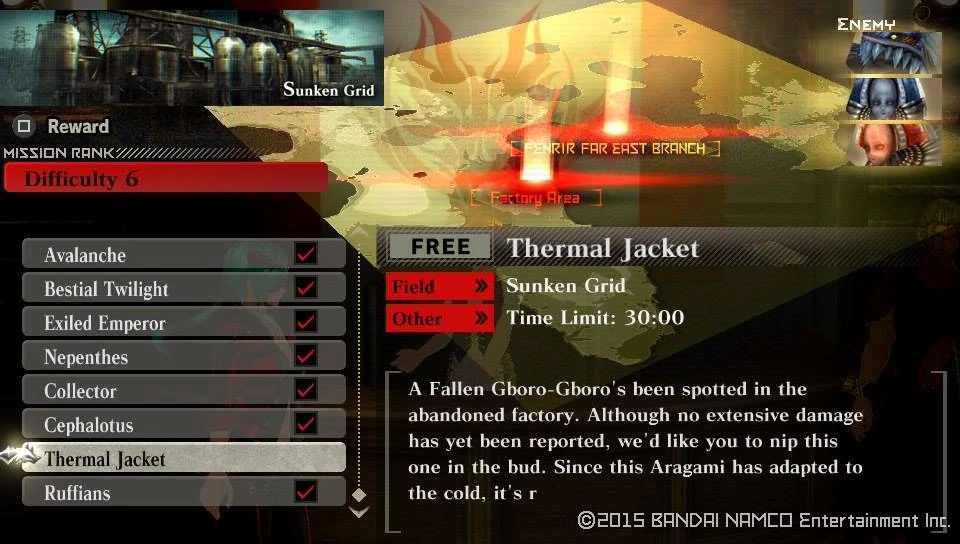


After you had enough of gathering material or just simply killing Aragami take on the next Story mission
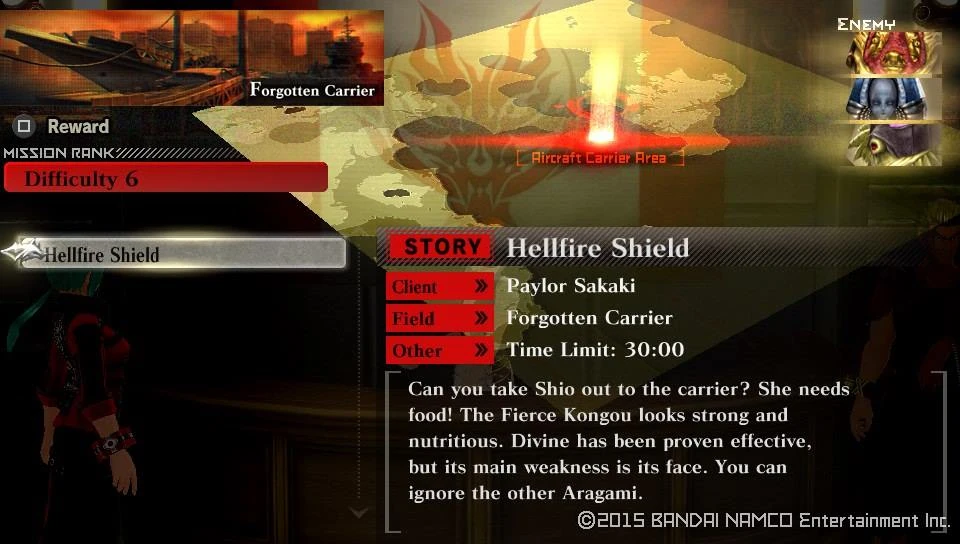

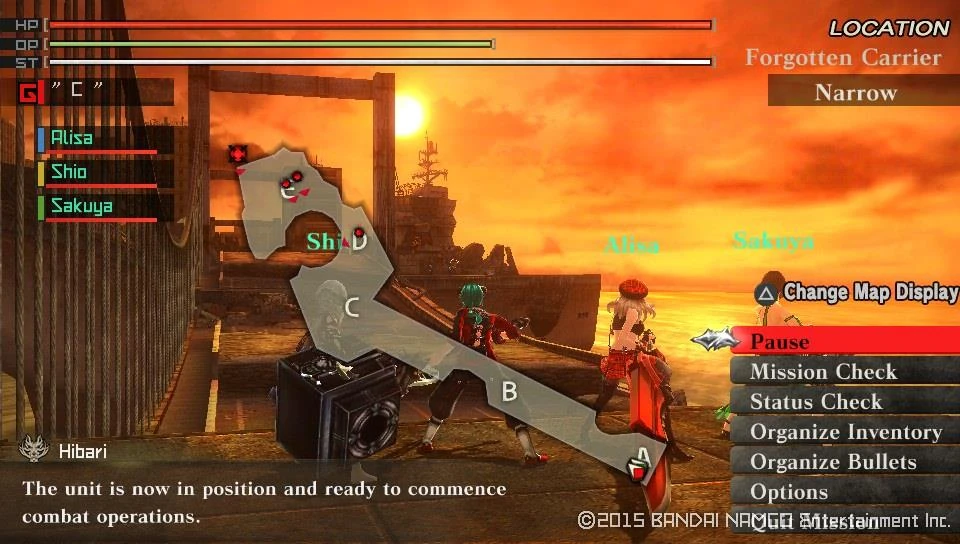

Clearing this mission will reward you with both an increment to your Story Counter and a Cutscene
Cutscene Unlocked : Abnormality
|-| 37=
Story 37[]
Walkthrough
Once again the pale girl gets removed from your party selection
Team Member Locked : Shio
On the bright side of things, you get a new Control UnitsC
Control Unit Unlocked : VS. Weak Point Booster
With all of this done, talk to Hibari who will inform you that the Director wanted to see you, go and meet him in his office and get rewarded by a Cutscene
Cutscene Unlocked : Search Orders
This will make the following mission available :
Story Mission Unlocked : Obsidian Sacrifice
Gather up the required consumables and head out to get rewarded by another Cutscene
Cutscene Unlocked : Fragile Plea
| Obsidian Sacrifice | ||
|---|---|---|
| Information | ||
  |
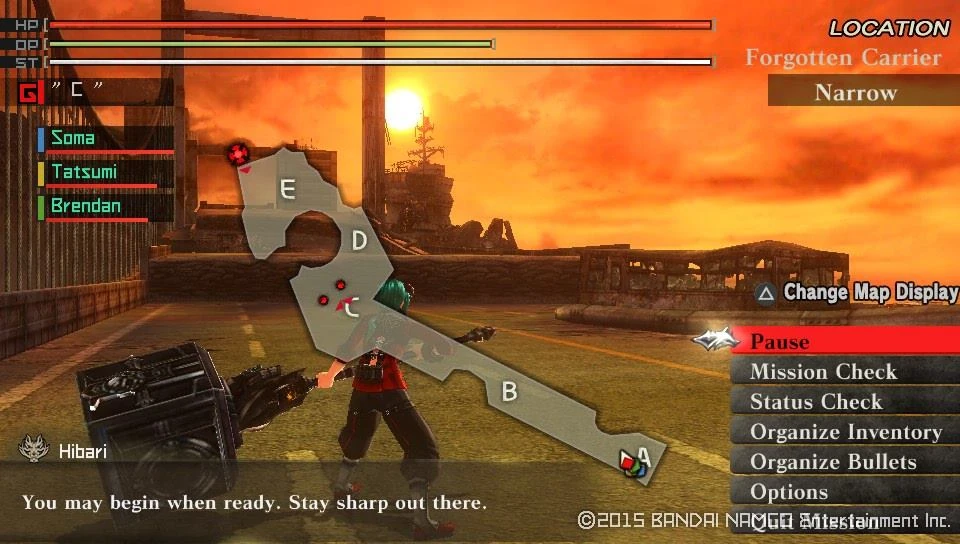  | |
| Target Aragami | Details | |
|
| |
| Notes | ||
|
Objective: You first run in with the massive behemoth known as Tezcatlipoca. On this mission only Soma and 2 other members from the 2nd and 3rd Unit can accompany you. Another interesting note is that Soma calls this variant of the Quadriga a Deusphage. Well to make it short, this variant has a different body structure, resistance and attack patterns compared to a Quadriga, but functions nearly the same. It lacks the disc behind the skeletal upper body, but gained a dragonic helmet instead. Many of the missile attacks now inflict a larger amount of splash damage, especially the Tomahawks that it released from the inside of the chest compartment. When enraged not only will the Tezcatlipoca gain increased damage resistance, but many of its moves will earn additonal shockwaves or explosions. But most importatnly, it can now teleport the tomahawk missile it fires right above the target of the attack, which causes it to split into numerous smaller rockets on impact and deal secondary and wide area splash damage. So bring your sturdiest shield, if you are a gunner Leak resisting items/gear and garb in Divine. Recomended loadout: Divine Elemental Boost Hammer, Piercing Bullets and Shield. Due to the way this Aragamis breakable parts are spread out, the most logical choice to take Crush instead of Piercing attacks. With Crush attacks the Chest armor gets unbound relatively fast and it doesn't take that long to unbind the pods, while with using a Pierce oriented weapon the Missile pod break silimarly fast, but its a pain to unbind the Chest armor.
| ||
Completing the mission nets you a Cutscene, and another increment to your Story Counter
Cutscene Unlocked : Prologue to Good-Bye
|-| 38=
Story 38[]
Walkthrough
Another member of your team gets locked here.
Team Member Locked : Sakuya
Go to the counter and take on your next mission.
| Sunken Beacon | ||
|---|---|---|
| Information | ||
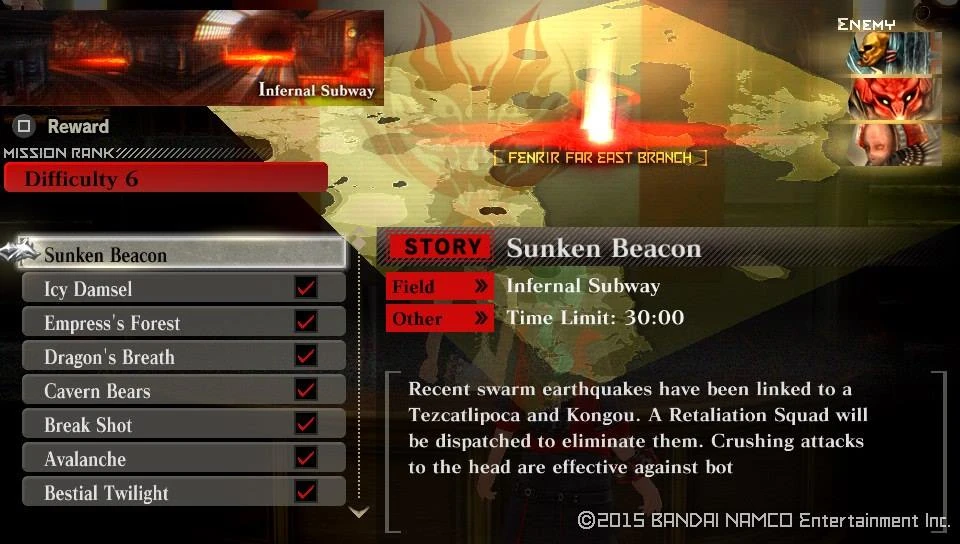  |
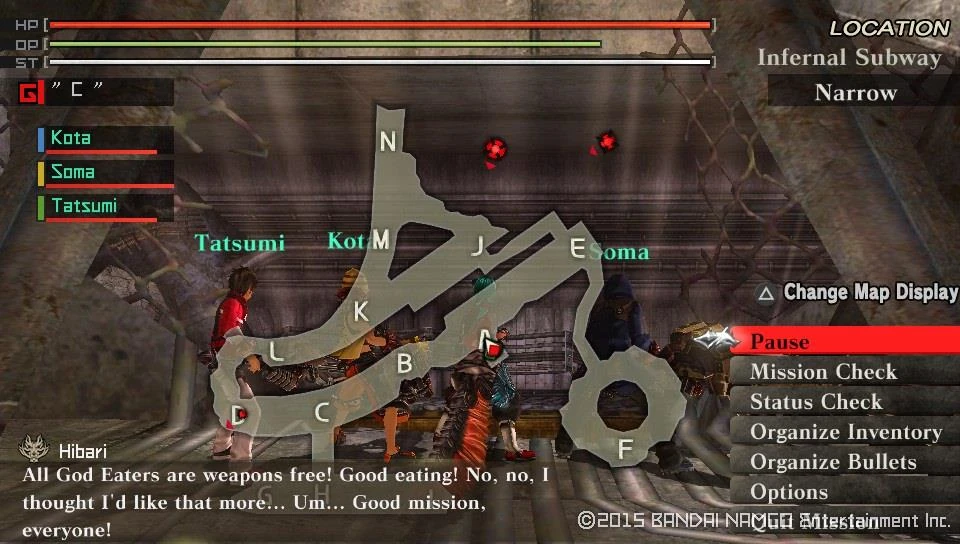  | |
| Target Aragami | Details | |
|
| |
| Notes | ||
|
Objective: The ancient behemoth returns with company. On this mission Kota and Soma accompany you and a choice member from the 2nd or 3rd Unit. Because both Aragami have extraordinary hearing, it is almost impossible to separate them from another. Therefore your priority is to take down the Kongou ASAP, then move onto the Tezcatlipoca. You can try to split up your squad and take on the Kongou alone, while your team mates hold up the Large target. Recomended loadout: Divine Elemental Boost Hammer, piercing Bullets along with Spark Elemental piercing and crushing Bullets are recommended. | ||
Clearing this mission nets yet another Cutscene and the expected increase in your Story counter.
Cutscene Unlocked : Into Aegis
|-| 39=
Story 39[]
Walkthrough
Yet again, more members of your team get unavailable.
Team Member Locked : Alisa

Team Member Locked : Kota
But on the other hand you get back the pale girl
Team Member Unlocked : Shio
Go to Hibari and talk to her, she informs you that the Director wants to see you. Before you comply you can check out the number of new missions you can take on
Free Mission Unlocked : Ice-Croc's Slumber

Free Mission Unlocked : Big Smile

Free Mission Unlocked : Ancient Battle Tank

Free Mission Unlocked : Devourer of Tomorrow

Free Mission Unlocked : Big Family
When you're ready, go to the Directors office and be rewarded by a cutscene
Cutscene Unlocked : Chosen One
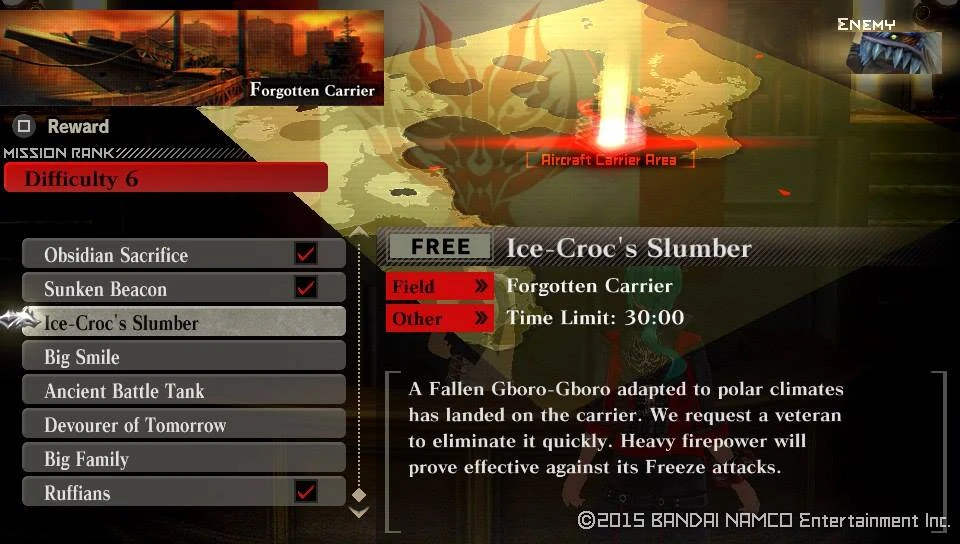

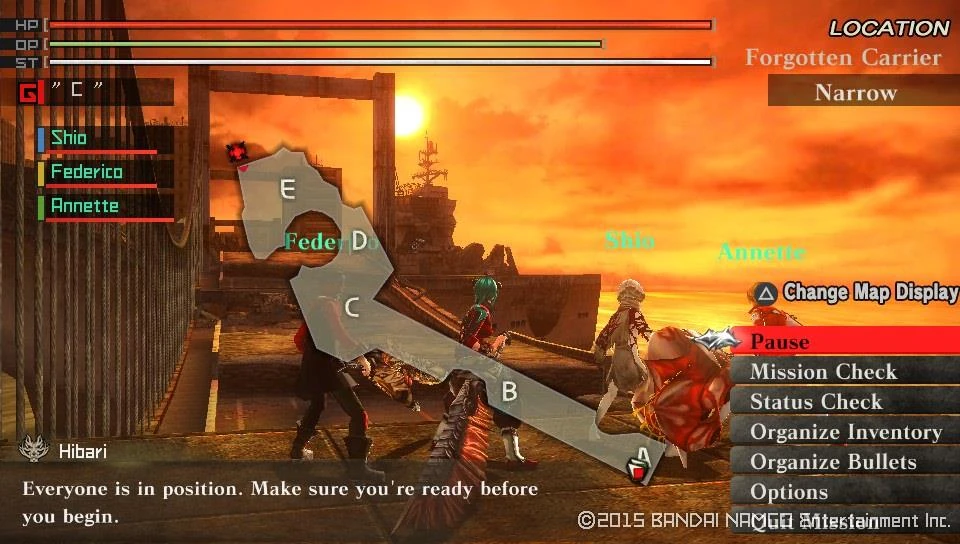

| Big Smile | ||
|---|---|---|
| Information | ||
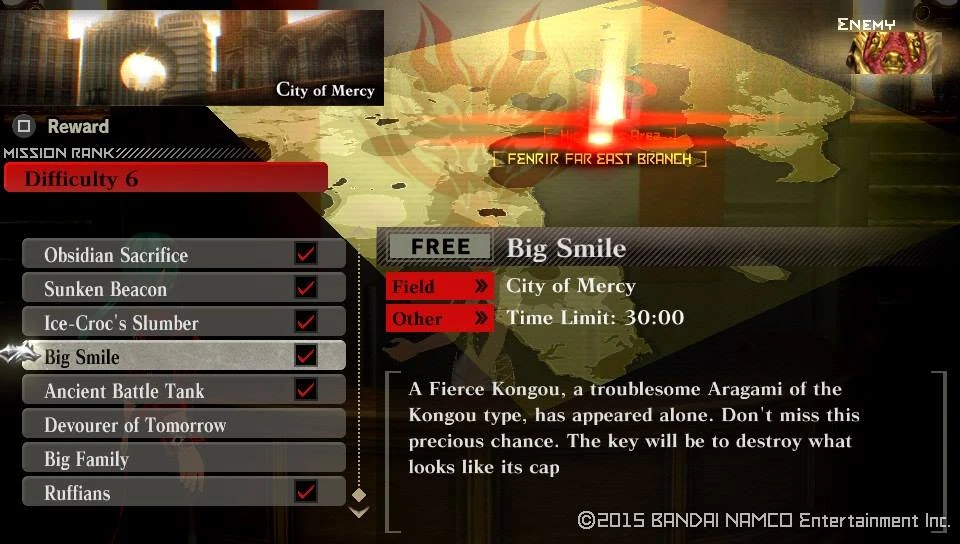  |
  | |
| Target Aragami | Details | |
| ||
| Notes | ||
|
Objective: Take down the Ape-like Aragami. Recomended loadout: Divine Elemental Boost Hammer and crushing Bullets | ||
| Ancient Battle Tank | ||
|---|---|---|
| Information | ||
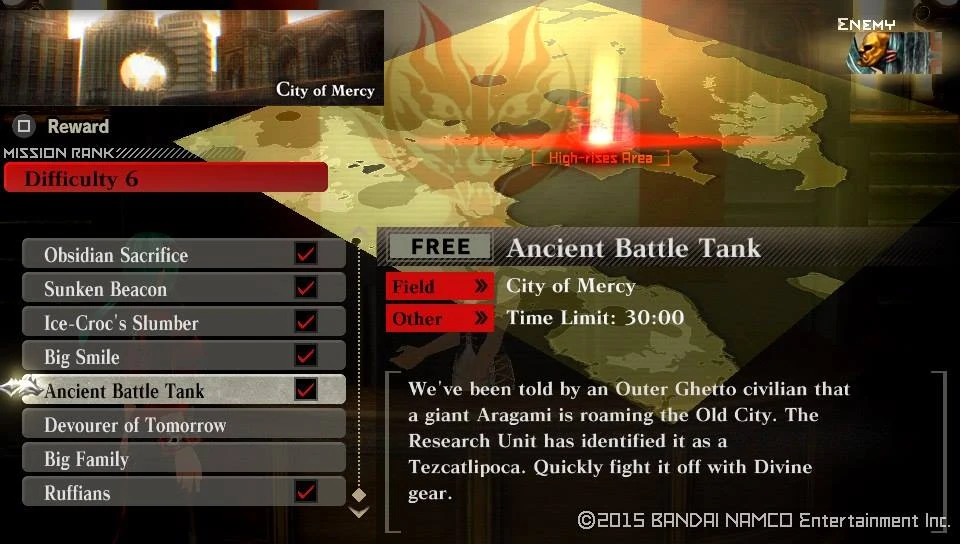  |
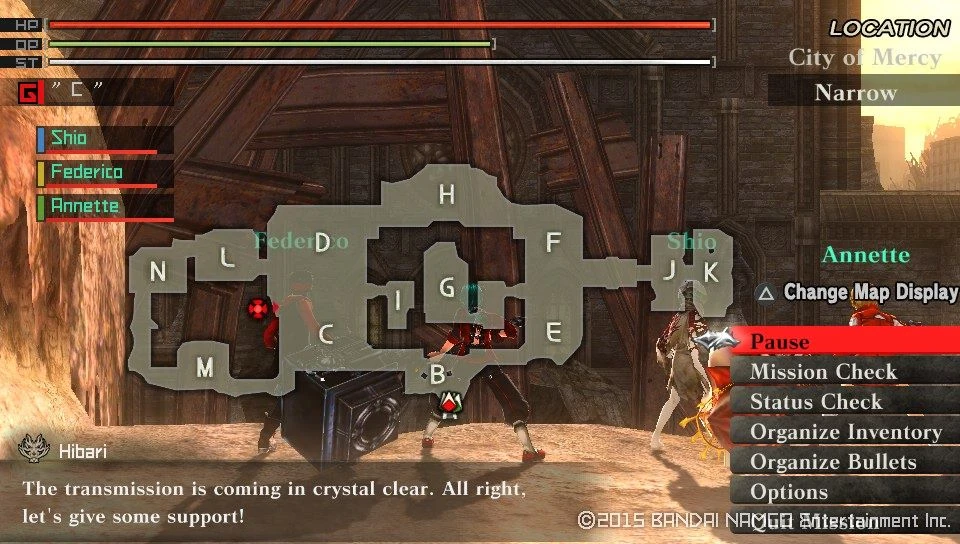  | |
| Target Aragami | Details | |
|
| |
| Notes | ||
|
Objective: Another divine behemoth ready to be taken down Recomended loadout: Divine Elemental Boost Hammer and Piercing Bullets | ||
| Devourer of Tomorrow | ||
|---|---|---|
| Information | ||
  |
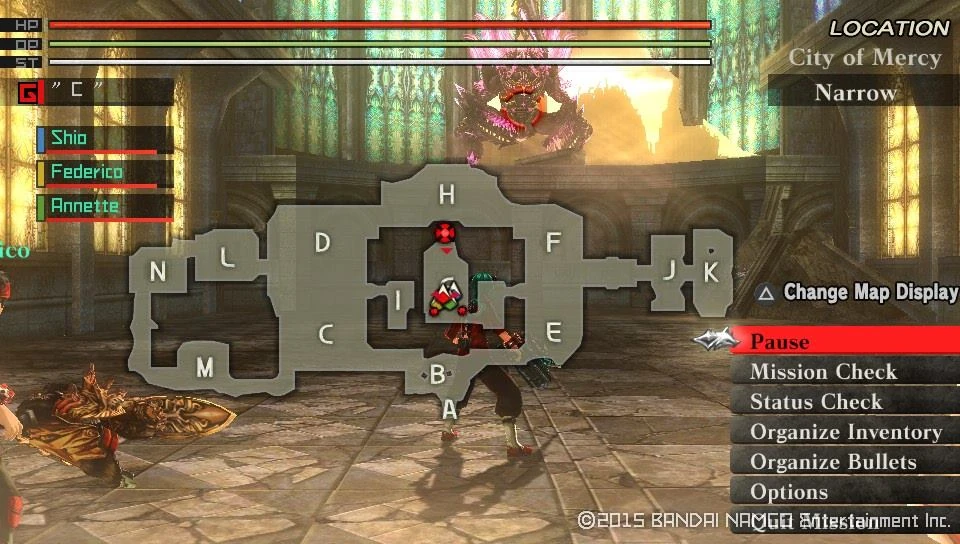  | |
| Target Aragami | Details | |
|
| |
| Notes | ||
|
Objective: Meet the Deusphage variant of the Borg Camlanns. The Susano'o has more destructive moves compared to the other Borgs at the cost of weakened defenses. Its attacks also cover a much larger area, or come with multiple waves. Despite this, the Susano'o is the weakest of all of the arachnid type Aragami. Recomended loadout: Divine Element shield, Melee weapon and Piercing Bullets. It doesn't really matter what weapon you are going to use, because your target will be the Shield at all times. Then you'll end up shooting the needle and the mouth anyways.
| ||
| Big Family | ||
|---|---|---|
| Information | ||
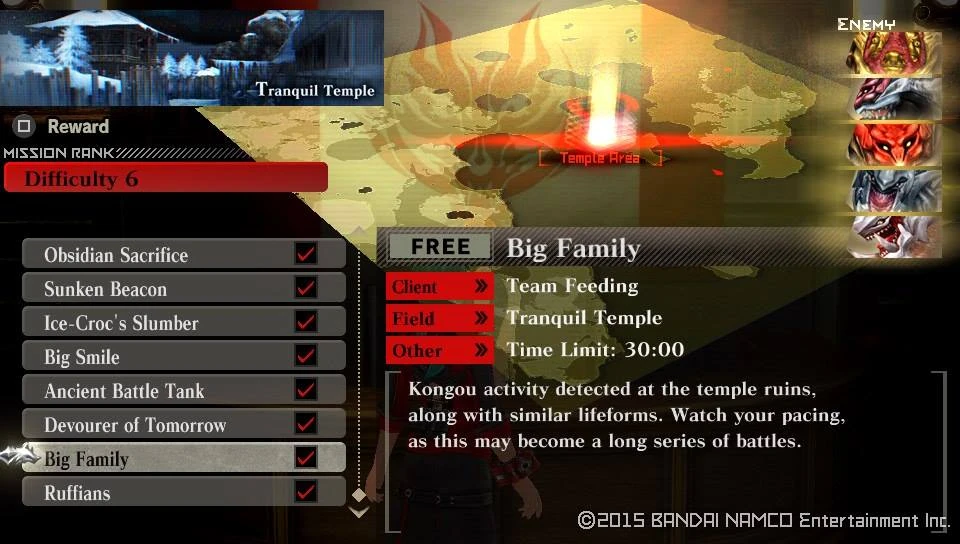  |
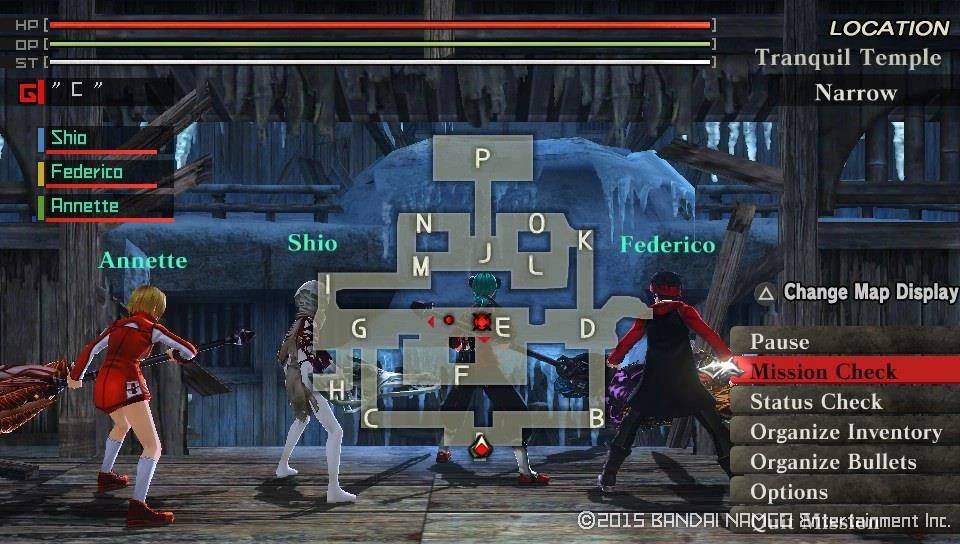 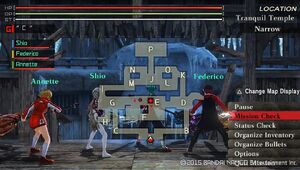 | |
| Target Aragami | Details | |
|
| |
| Notes | ||
|
Objective: Getting rid of all types of simians on this mission, they don't come at you at the same time so it shouldn't be hard at all. Recomended loadout: A Blaze Elemental Long Blade covers both regular and Fallen Kongous bonds, while taking Piercing and Crushing Bullets for the Fierce Kongou is the best. | ||
Return to the Operator and learn of your newest mission
Story Mission Unlocked : Home of Souls
| Home of Souls | ||
|---|---|---|
| Information | ||
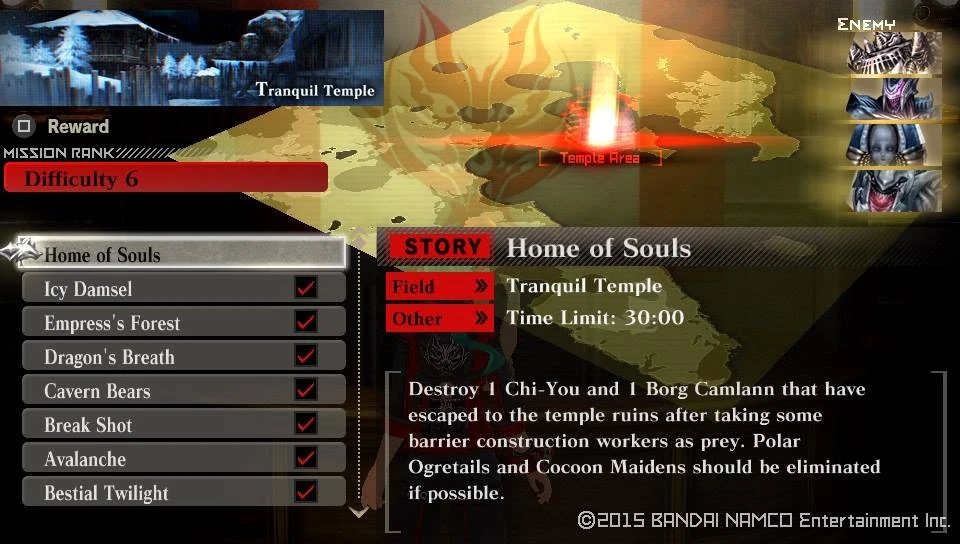  |
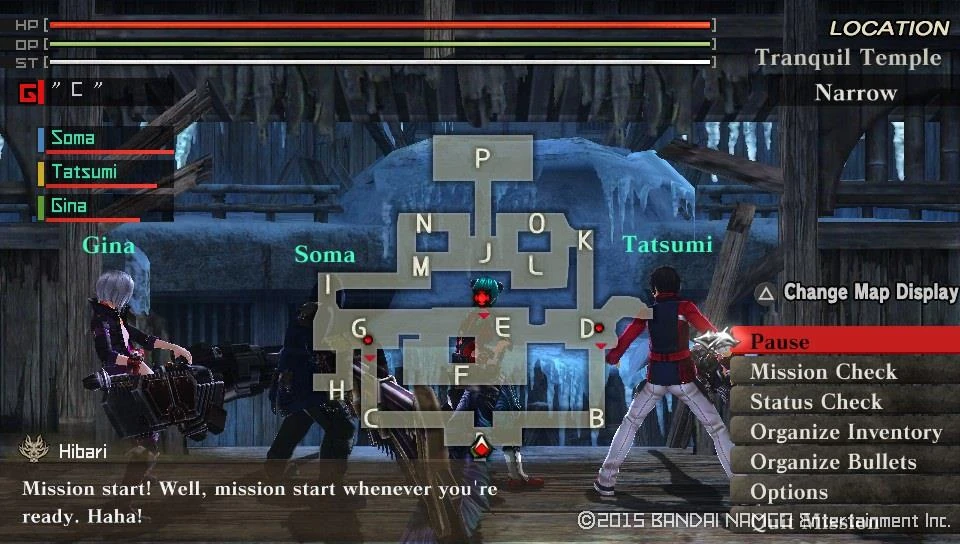 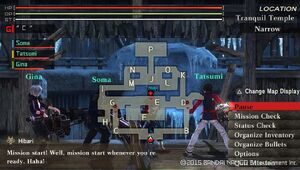 | |
| Target Aragami | Details | |
|
| |
| Notes | ||
|
Objective: A Borg and a Bird, nothing fancy as they come at you one at a time. On this Mission only Soma and two of your choice from the 2nd and 3rd unit will accompany you. Recomended loadout: Freeze Elemental Long Blade serves its purpose quite well. | ||
For the finish of this mission you get a Cutscene and another increment to your Story counter.
Cutscene Unlocked : Fake Paradise
|-| 40=
Story 40[]
Walkthrough
Talk to Hibari and you'll learn that Dr. Sakaki is looking for you, go to his Laboratory and enter the door to the right. After a short conversation you'll learn that you need to get him an Avian Talon. There might be one that you earned from your previous encounters from Fallen Chi-You, if you lack the material go and hunt for some, or trade in a ticket.
Once you have the required material ready, return to the professor who will issue for you a mission. Go and take it from the counter.
Story Mission Unlocked : Shark Fin
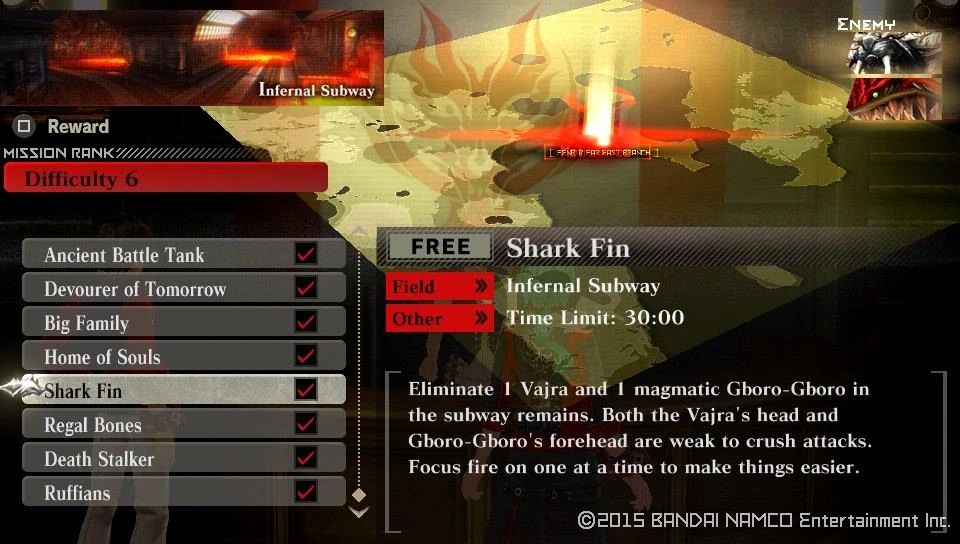

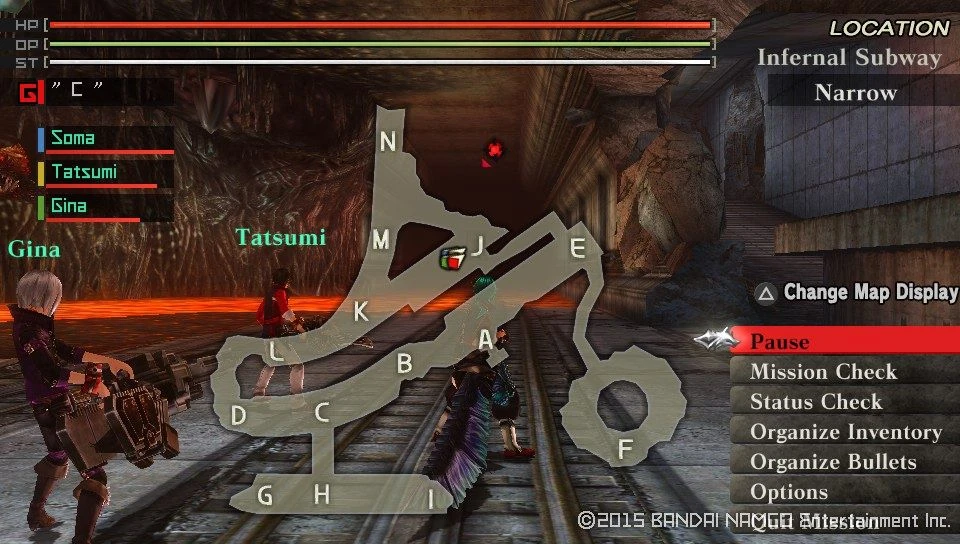

For your troubles you earn an increment to your Story Counter.
|-| 41=
Story 41[]
Walkthrough
Hibari once more will inform you that the doctor is in need of your presence. So go and search for him, you'll find the professor at the same place as before, and just like that he will be asking you for a material this time also. A Wyrm Horn to be exct, which you might have picked up on your previous mission.
Once you get the item either from your storage, trading a ticket or going out to hunt for one return and hand it over. In turn he'll inform you that a new mission had been posted for you to complete.
Story Mission Unlocked : Regal Bones
| Regal Bones | ||
|---|---|---|
| Information | ||
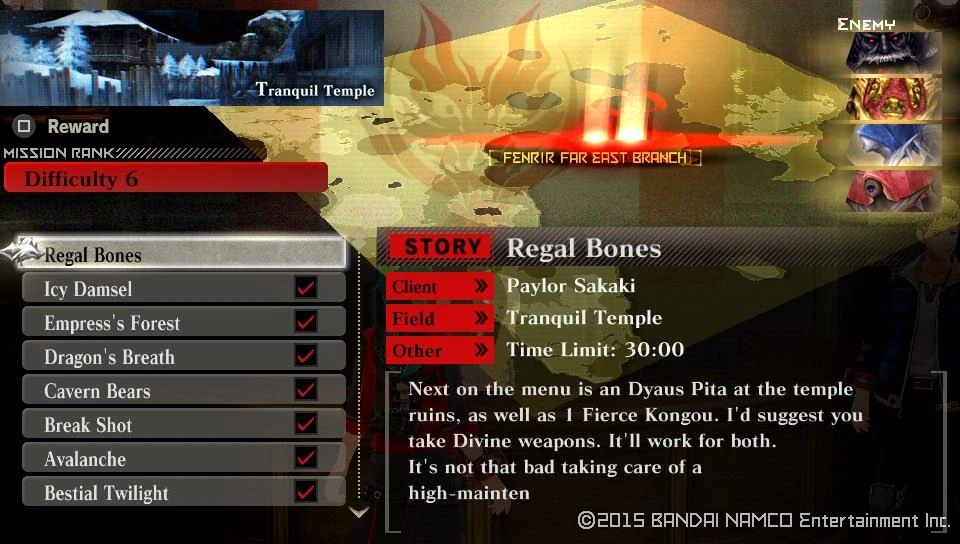  |
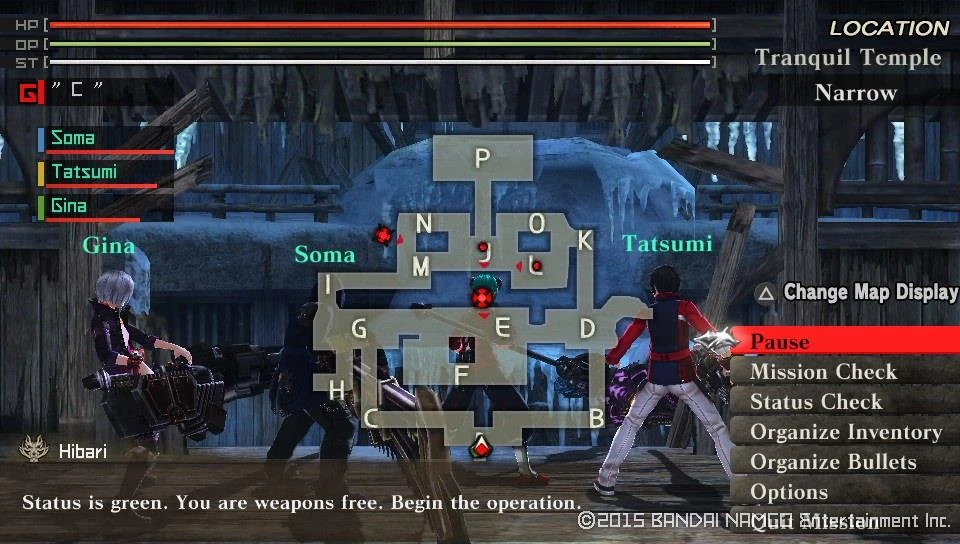 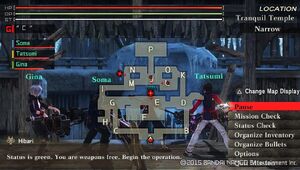 | |
| Target Aragami | Details | |
|
| |
| Notes | ||
|
Objective: On this map you'll find the most annoying form of Kongou and Vajra can take, be careful. On this mission only Soma and 2 members of your choice from the 2nd and 3rd Unit can accompany you. Be sure to lure the Kongou away from the Dyaus, and watch out for the narrow fighting space of this map. Recomended loadout: Divine Elemental Long Blade and crushing Bullets. | ||
You'll increase your Story counter with the completion of this mission.
|-|
42=
Story 42[]
Walkthrough
Once more, Hibari will inform you that the doctor is in your need. So head over to him and learn that this time also he'll need a certain material from you, an Emperor's Claw. If you have one give it to him and get issued another mission.
Story Mission Unlocked : Death Stalker
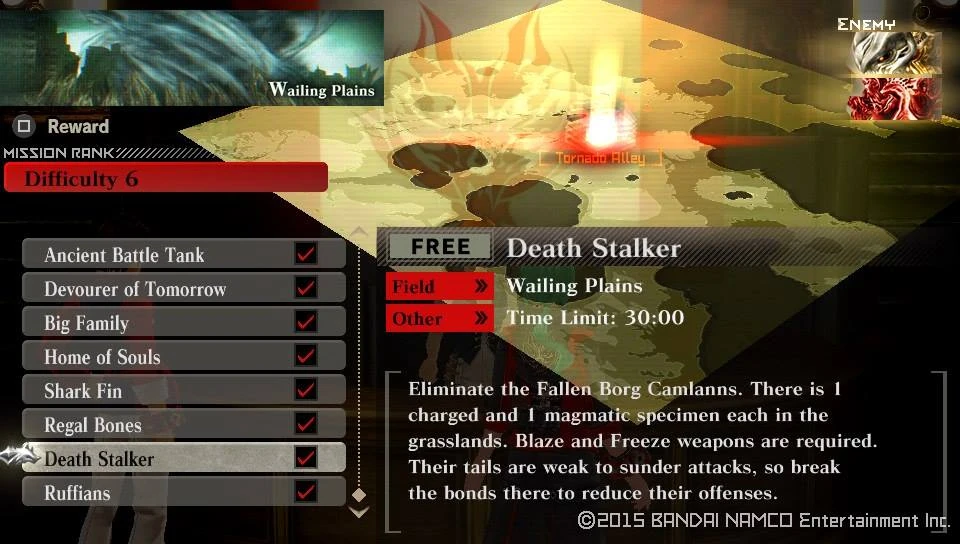

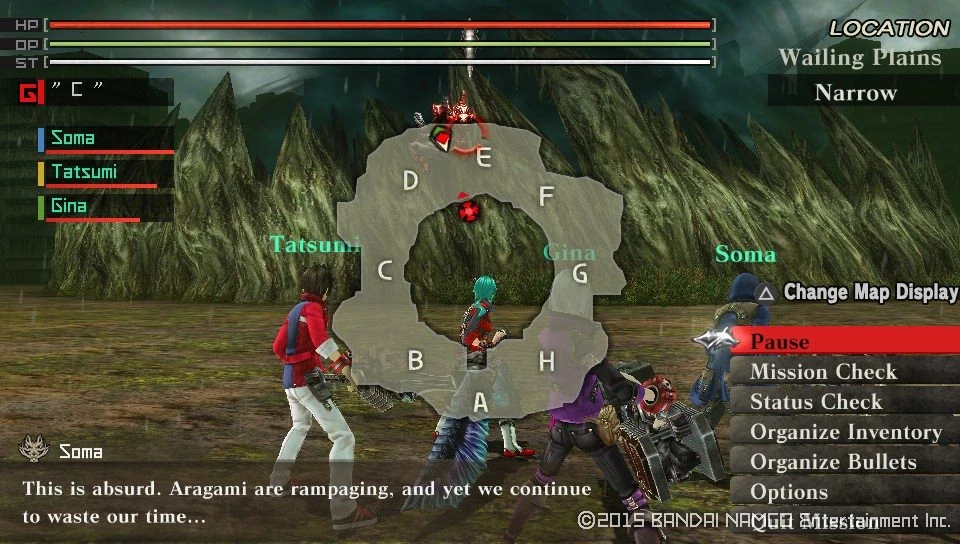

Finishing this mission will earn you a Cutscene an an increment to your story Counter
Cutscene Unlocked : Stolen Singularity
|-|
43=
Story 43[]
Walkthrough
Once more the pale girl will become locked and this time for a good time.
Team Member Locked : Shio
Talk to Hibari and start the next mission in line
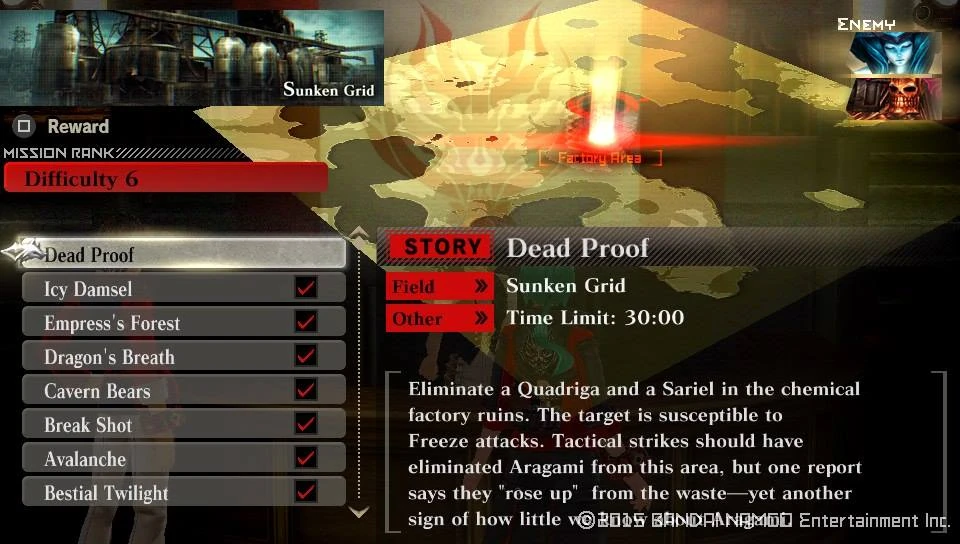


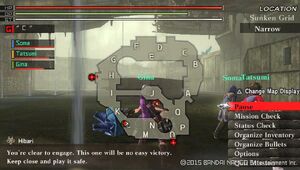
One more Cutscene awaits you along with an increase to your Story counter.
Cutscene Unlocked : 1st Unit
|-|
44=
Story 44[]
Walkthrough
You'll get back the members of the 1st unit now.
Team Member Unlocked : Alisa

Team Member Unlocked : Sakuya

Team Member Unlocked : Soma
Now when you're ready talk to Hibari and get ready to start the final Mission of Rank 6, with a Cutscene
Cutscene Unlocked : God Eaters
| Hope | ||
|---|---|---|
| Information | ||
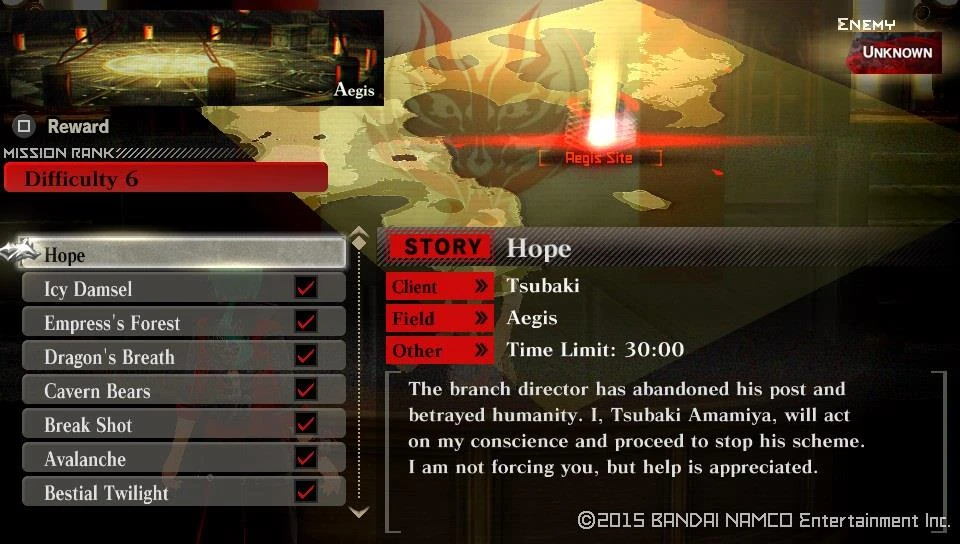  |
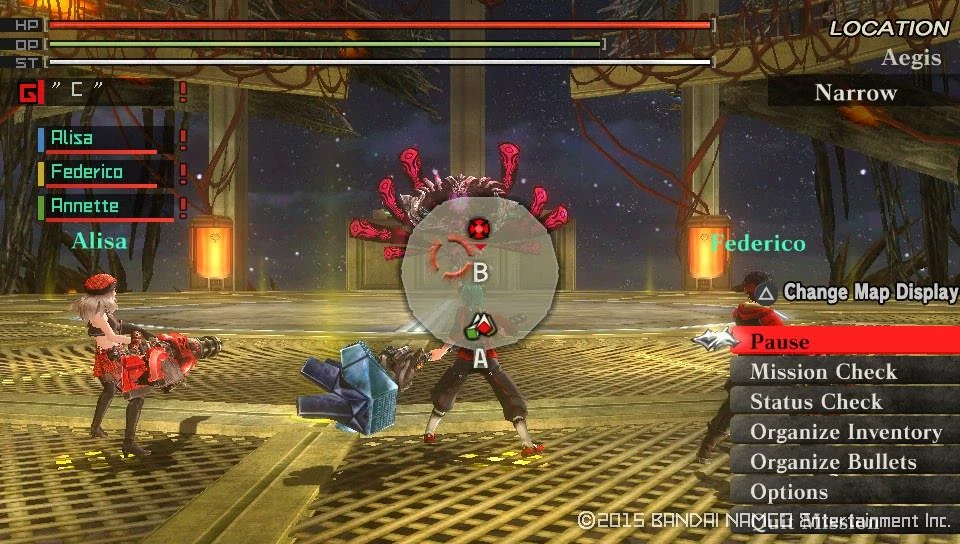 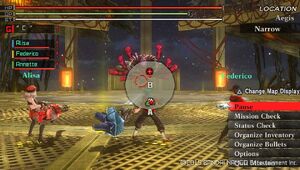 | |
| Target Aragami | Details | |
|
| |
| Notes | ||
|
Objective: Stop the unique pair of Aragami. On this mission you can only bring up to 3 members of the 1st Unit only. Arda Nova, a pair of Aragami that will cause you a lot of trouble if unprepared. First of all, this Aragami has numerous attacks in each of them the pair of Aragami the God and the Goddess will work in tandem. Try to stick close enough, so when they unleash their wide area ranged attacks, you will be in their blind spots, however be ready to evade or guard when they decide to go on the offense in close range. Recomended loadout: Long Blades with any Element are good to use here. Just make sure you pack a divine resistant shield for yourself. The breakable bonds are the following:
| ||
Finishing this Mission will grant you a new Predator Style
Predator Style Unlocked : Divine Relish
Now then you'll earn an increase to your Story counter for your troubles on finishing the final Rank 6 mission along with the final Cutscene for the 'God Eater' part of the game, not to mention it cannot be skipped
Cutscene Unlocked : Today's Good-Bye
You'll unlock a new Free mission that will replace Hope.
Free Mission Unlocked : An Aloof Dream
This has the very same enemy and rewards as Hope did, the only difference is that the Arda Nova cannot speak any more.
|-|
45=
Story 45[]
Walkthrough
With the new difficulty unlocked the rewards start flowing, starting with a new 2-part Survival Urgent Mission
Urgent Mission Unlocked : Queen of Obstruction
| Queen of Obstruction | ||
|---|---|---|
| Information | ||
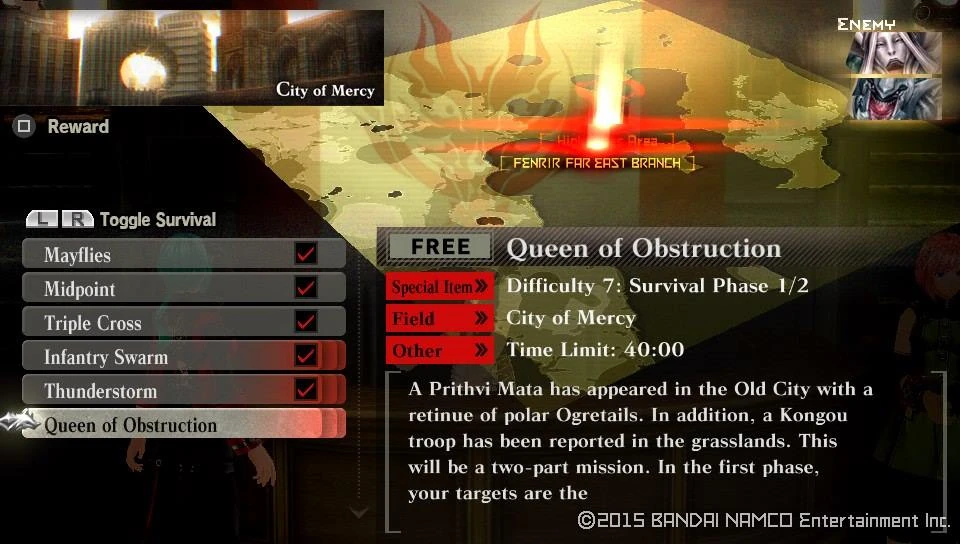  |
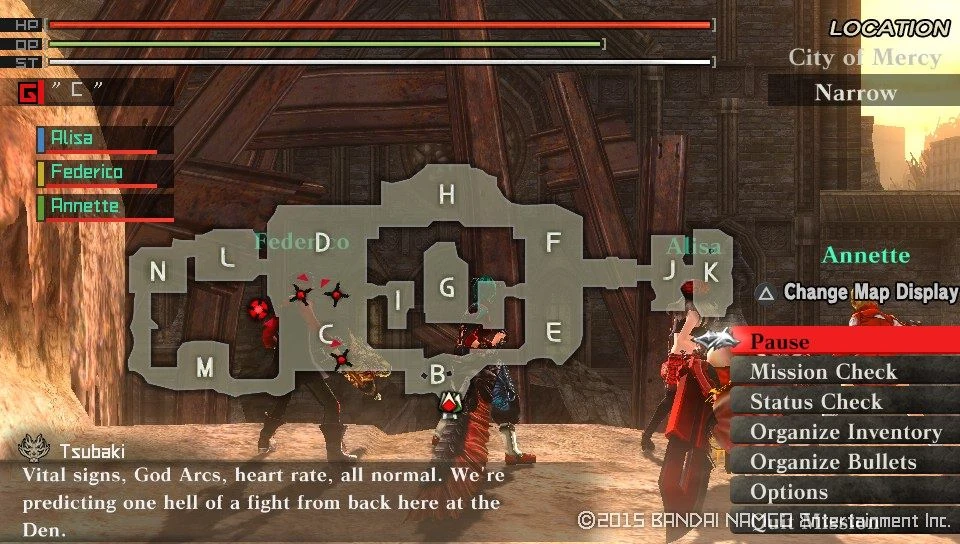  | |
| Target Aragami | Details | |
|
| |
| Notes | ||
|
Objective: Dispose of the Vajra variant and its escorts Recomended loadout: Freeze Resistant gear and Blaze elemental Long Blade for maximum efficiency. | ||
| Reward | Conditions | Probability |
| Automatic | 100% | |
| Automatic | ||
| Automatic | ||
| Automatic | ||
| Automatic | ||
| Automatic | ||
| Automatic | ||
| Automatic | ||
| Automatic | ||
| Automatic | ||
| Automatic | ||
| Automatic | ||
| Automatic | ||
| Automatic | ||
| Automatic | ||
| Automatic | ||
| Automatic | ||
| Clear under 5 Min. | ||
| Clear with 30+ Endurance | ||
| Clear with 30+ Endurance | ||
| Clear with 30+ Endurance | ||
| Clear with 30+ Endurance | ||
| Clear with 30+ Endurance | ||
| Gold F-Ticket | Break 3+ Bonds | 100% |
| Gold A-Ticket | Break 3+ Bonds | 20% |
| "Reward Credits Up" Lv5 or higher | 30% | |
| Restore Pill II | "Get Consumable Items" Lv5 or higher | 50% |
| O-Ampule | "Get Consumable Items" Lv5 or higher | 50% |
| Restore Pill S | "Get Consumable Items" Lv5 or higher | 33% |
| OG: Restore Post | "Get Consumable Items" Lv5 or higher | 33% |
Immediately after clearing you get to enjoy a roadtrip and meet a Kongou herd in action.
| Queen of Obstruction | ||
|---|---|---|
| Information | ||
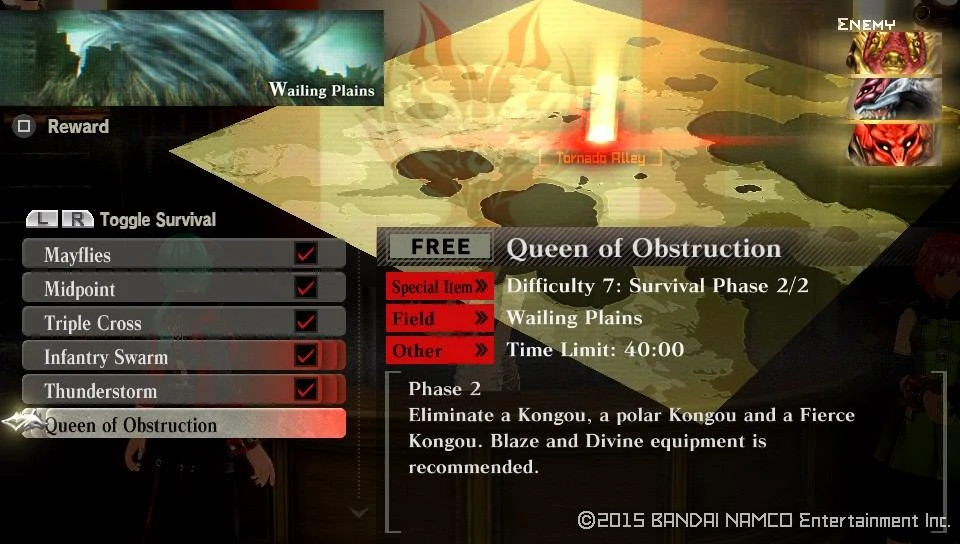  |
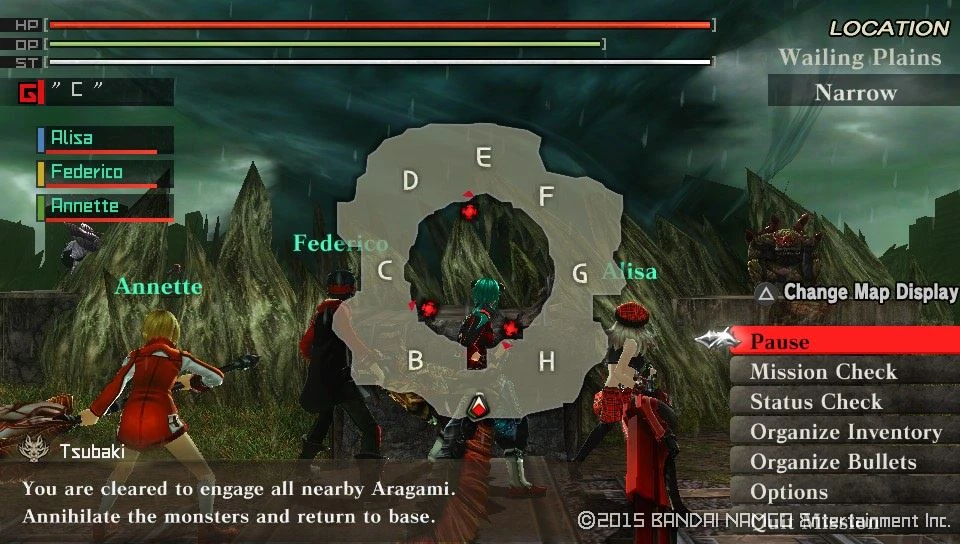  | |
| Target Aragami | Details | |
|
| |
| Notes | ||
|
Objective: Hope you like monkeying around, because this mission might grate on your nerves at first. The enemies constantly reinforce as you slay your primary targets, so either ignore the reinforcements and mow down the targets, or take your time as the new arrivals are simple Kongous. Recomended loadout: Since you'll be dealing with a number of Kongou-type enemies, the best would be to bring a Blaze elemental Longblade to bring the regular and Fallen types down fast and secure. Divine elemental Crushing bullets work best on the Fierce variant, so bring some of those with you. | ||
| Reward | Conditions | Probability |
| Automatic | 100% | |
| Automatic | ||
| Automatic | ||
| Automatic | ||
| Automatic | ||
| Automatic | ||
| Automatic | ||
| Automatic | ||
| Automatic | ||
| Automatic | ||
| Automatic | ||
| Automatic | ||
| Automatic | ||
| Automatic | ||
| Automatic | ||
| Automatic | ||
| Automatic | ||
| Clear under 5 Min. | ||
| Clear with 30+ Endurance | ||
| Clear with 30+ Endurance | ||
| Clear with 30+ Endurance | ||
| Clear with 30+ Endurance | ||
| Clear with 30+ Endurance | ||
| Gold F-Ticket | Break 3+ Bonds | 100% |
| Gold A-Ticket | Break 3+ Bonds | 20% |
| "Reward Credits Up" Lv5 or higher | 30% | |
| Restore Pill II | "Get Consumable Items" Lv5 or higher | 50% |
| O-Ampule | "Get Consumable Items" Lv5 or higher | 50% |
| Restore Pill S | "Get Consumable Items" Lv5 or higher | 33% |
| OG: Restore Post | "Get Consumable Items" Lv5 or higher | 33% |
Not only you unlocked the new Rank, but a number of benefits that comes with it, like a new Back-up.
Back-Up Member Unlocked : Tsubaki
The strict Instructor joins you as a selectable Operator from here on too, so don't forget to rely on her support if you are in need.
Personal Ability Unlocked : Tsubaki
With the team management done, you get to enjoy that a few new Predator Styles were awarded for you
Predator Style Unlocked : Golden Relish

Predator Style Unlocked : Silver Claw

Predator Style Unlocked : Cornix
You shouldn't forget to check the terminal, since a couple of Control Units were released also:
Control Unit Unlocked : Blaze Resist ++

Control Unit Unlocked : Freeze Resist ++

Control Unit Unlocked : Spark Resist ++

Control Unit Unlocked : Divine Resist ++
Speaking of the Terminal, the information of a new Aragami popped up, for the Amor. A rare little bugger than can only spawn randomly on Difficulty 7 and higher missions. And speaking of new Difficulty.
Difficulty 7 Missions Unlocked
When you're done marveling on the changes go and check in with Hibari and find the new mission for you.

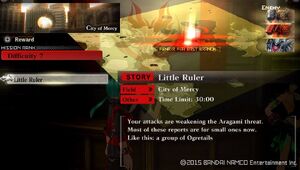
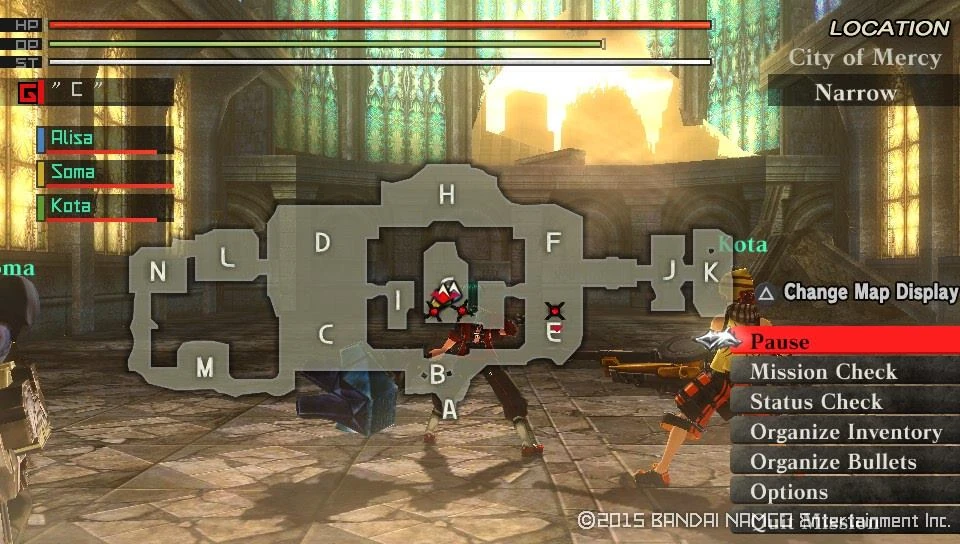

A quick mission, be sure to finish it up and earn the increment to the story counter. Plus a Cutscene
Cutscene Unlocked : Arc Project Ending
|-|
46=
Story 46[]
Walkthrough
As usual, check Hibari and accept the new extermination order, this time for flying pests.
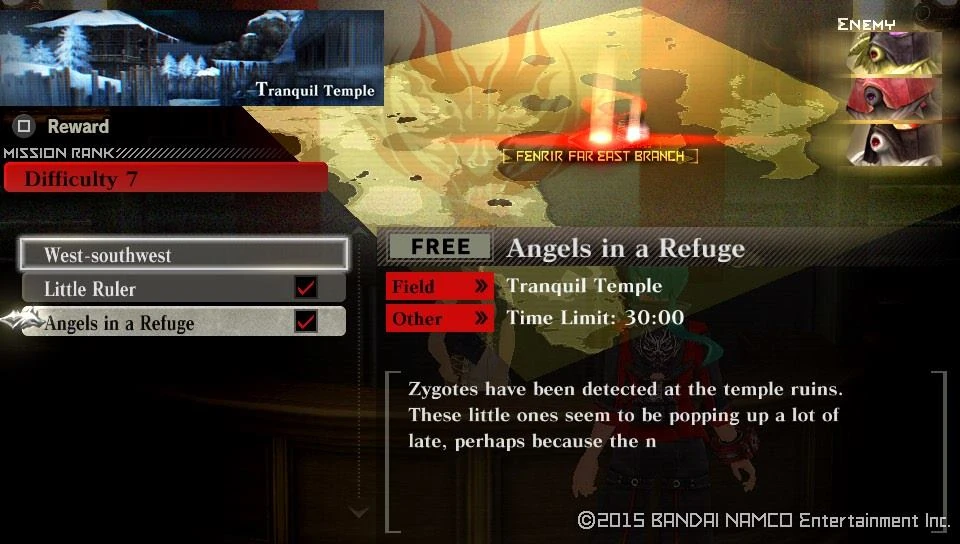

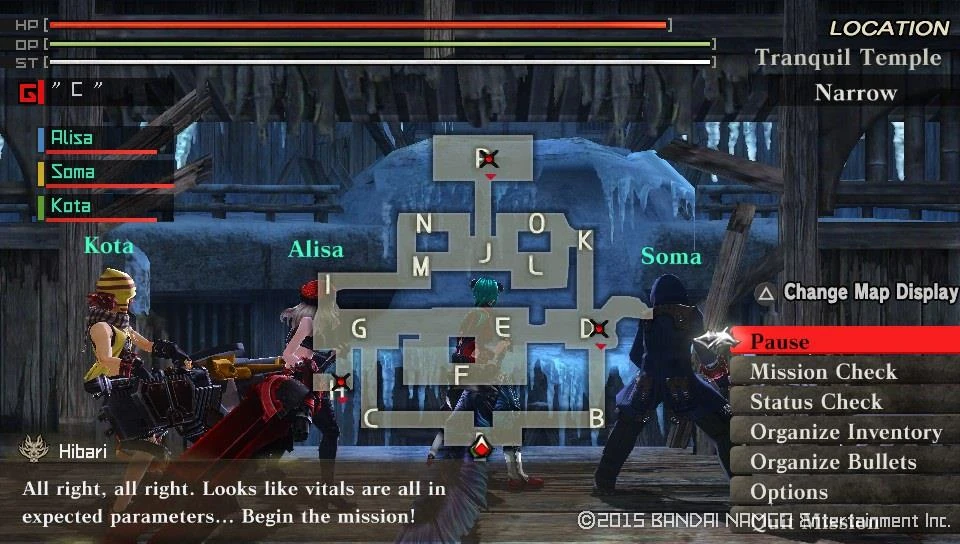
Another relatively fast and too easy mission under your belt and an increase in the story counter.
|-|
47=
Story 47[]
Walkthrough When you go to check in with Hibari, you get notified that the good Dr. Sakaki wants to talk with you, so head up to him and accept your designated mission.
Story Mission Unlocked : West-Southwest
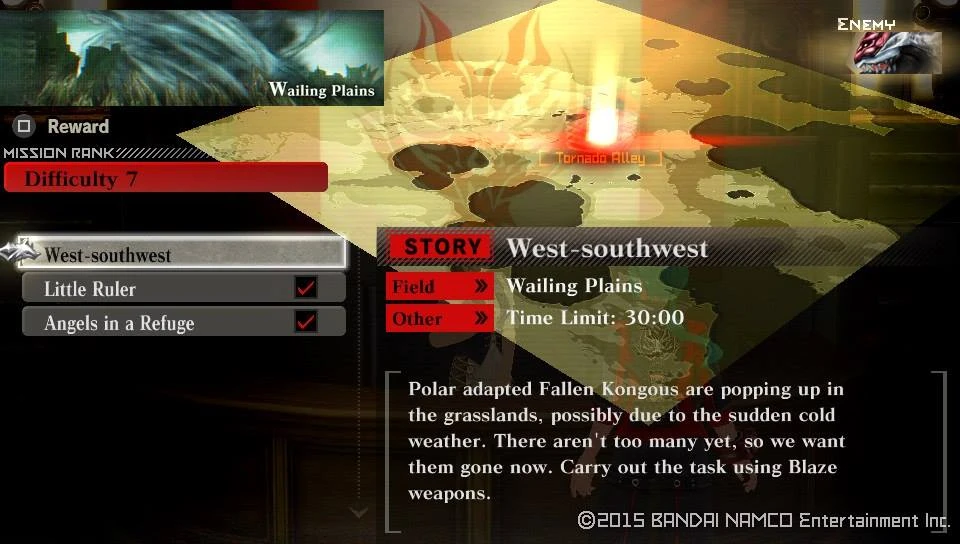
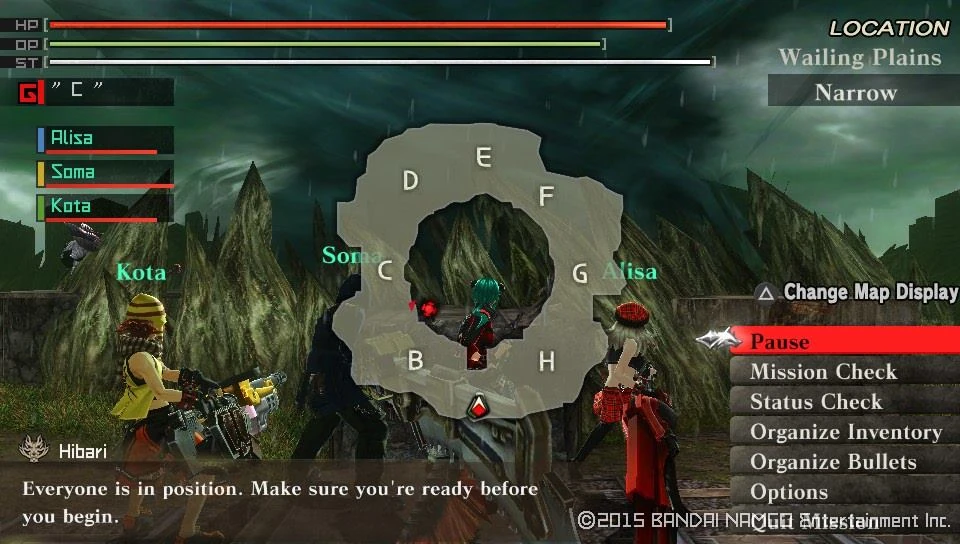

A successful mission nets you an incremented story counter.
|-|
48=
Story 48[]
Walkthrough This time if you go back to Hibari, you get to go after something bigger.
| Missile Fire | ||
|---|---|---|
| Information | ||
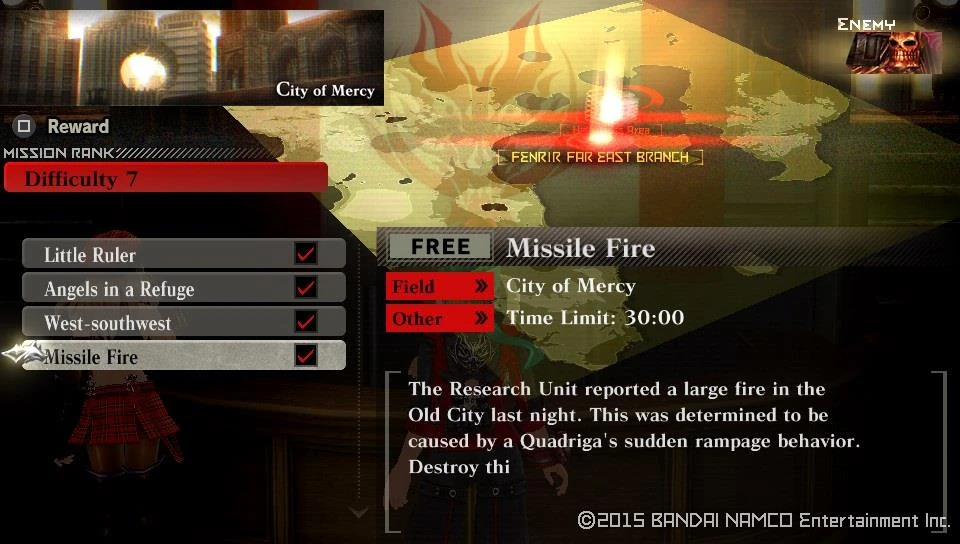  |
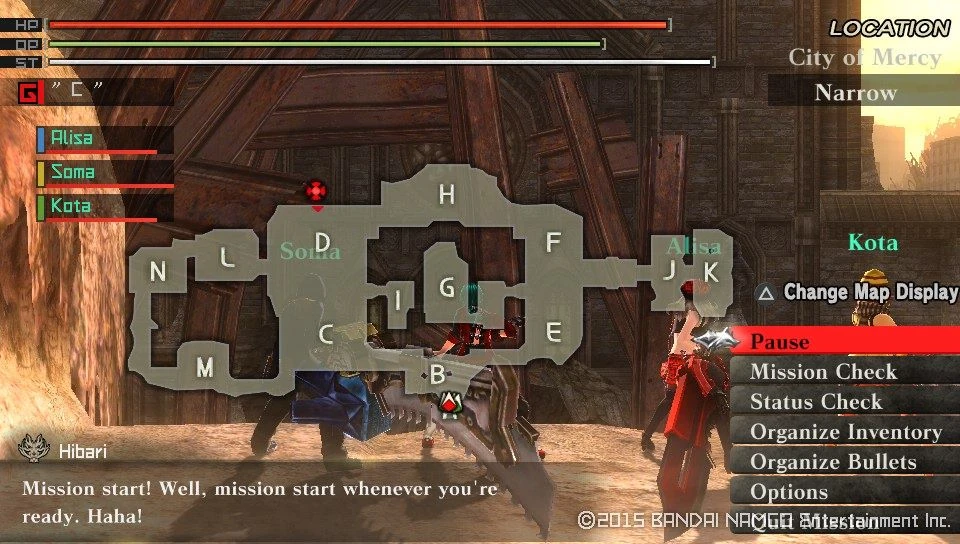  | |
| Target Aragami | Details | |
|
| |
| Notes | ||
|
Objective: A lonely Quadriga, make it happy and meet it head on with crushing force. Even now, the 3 units are at your disposal to take on this mission. Recomended loadout: Divine or Freeze elemental Boost Hammer and Piercing bullets are nice to have. | ||
You'll earn the 1st cutscene of the 'Burst' part of the game with the completition, along with an increment in your story counter.
Cutscene Unlocked : Wandering Soul
|-|
49=
Story 49[]
Walkthrough
Licca's been looking for you and left a note at Hibari, should you arrive to go check her out in the lab. Do so before returning to accept your newest mission.
Story Mission Unlocked : Lion's Revenge
| Lion's Revenge | ||
|---|---|---|
| Information | ||
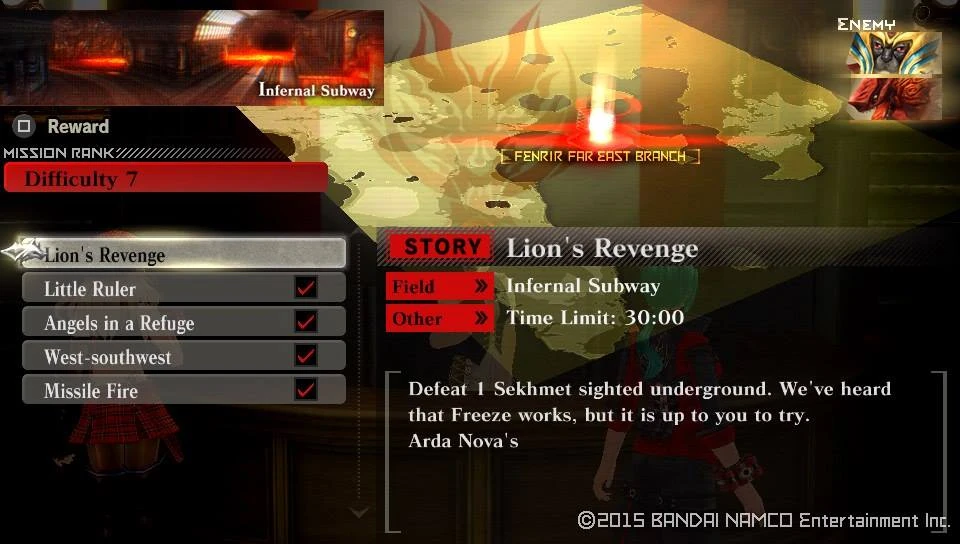  |
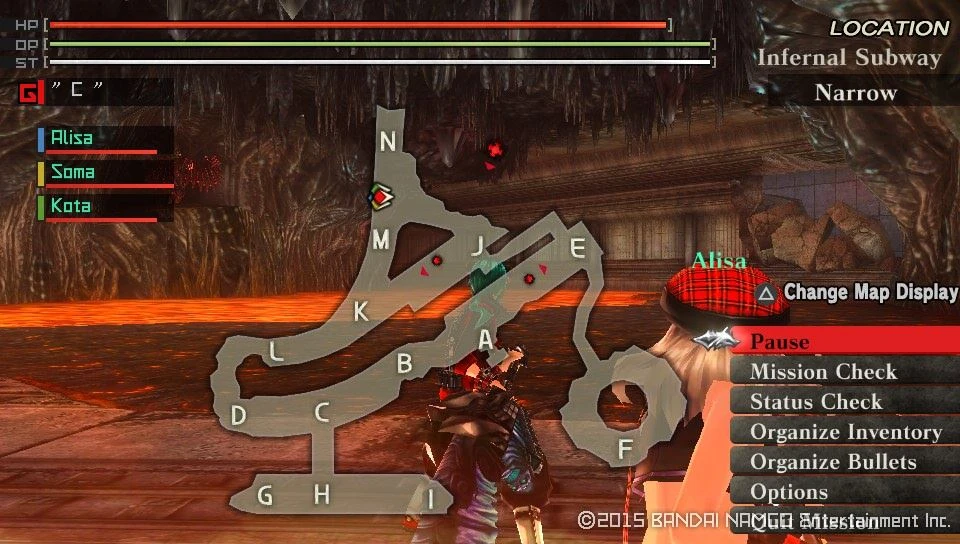  | |
| Target Aragami | Details | |
|
| |
| Notes | ||
|
Objective: Meet the Sekhmet, a more aggressive variant of the Chi-You. On this mission anyone from the 3 units can come with you. Sekhmet, is by essence a variant of the Chi-You and has the same skillset of moves, but the resistances and weak points are a bit different. Furthermore, its attack stuns even more frequently than the Fallen variants, even outside of being enraged so pack resistance skill versus Stun. Recomended loadout: Blaze and Stun resistant gear is highly recommended. Freeze Elemental Long Blade tears this one up good, don't forget to get some Freeze elemental Piercing bullets. The unbindable parts are the following:
| ||
Yet another Story Increase in the bag, along with the newest strain of the Chi-You family type.
|-|
50=
Story 50[]
Walkthrough
You get prompted instantly to take on a new threat, a Hannibal as soon as you return to the mission counter, but before you address that, take a look at the other missions that pop up as well.
Free Mission Unlocked : Wicked Fruit

Free Mission Unlocked : Croc Three

Free Mission Unlocked : Submarine

Free Mission Unlocked : Sunken Arrow

Free Mission Unlocked : Phoenix Nest

Free Mission Unlocked : Moth's Grave

Free Mission Unlocked : Rice Chaser

Free Mission Unlocked : Gold Coast

Free Mission Unlocked : Sweeper

Free Mission Unlocked : Vortex of Chaos

Free Mission Unlocked : Waterline Repair

Story Mission Unlocked : Firelords in a Storm
| Wicked Fruit | ||
|---|---|---|
| Information | ||
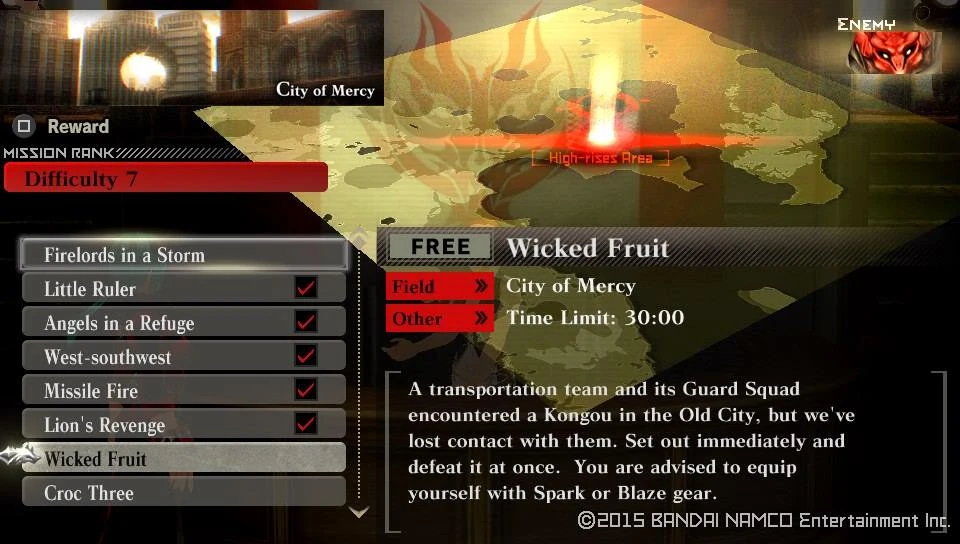  |
  | |
| Target Aragami | Details | |
|
| |
| Notes | ||
|
Objective: A lone monkey, take it down. Recomended loadout: Blaze of Spark elemental Long Blade | ||
| Croc Three | ||
|---|---|---|
| Information | ||
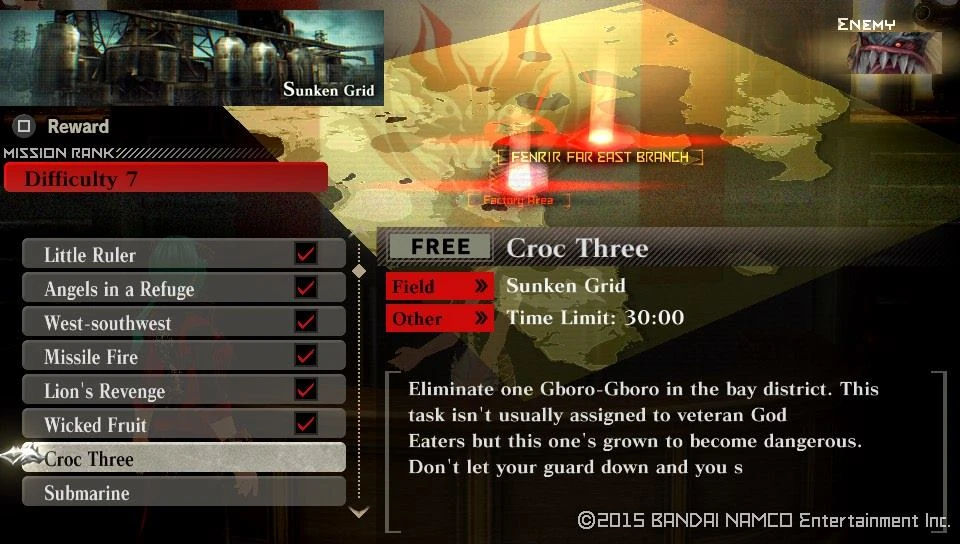  |
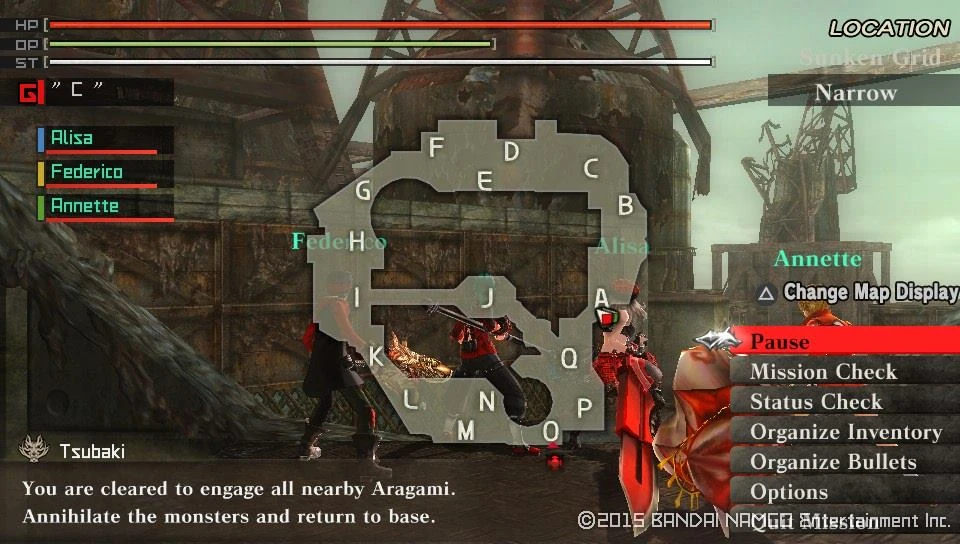  | |
| Target Aragami | Details | |
|
| |
| Notes | ||
|
Objective: A sole Gboro, gobble it up. Recomended loadout: Spark elemental Piercing weapons and Bullets. | ||
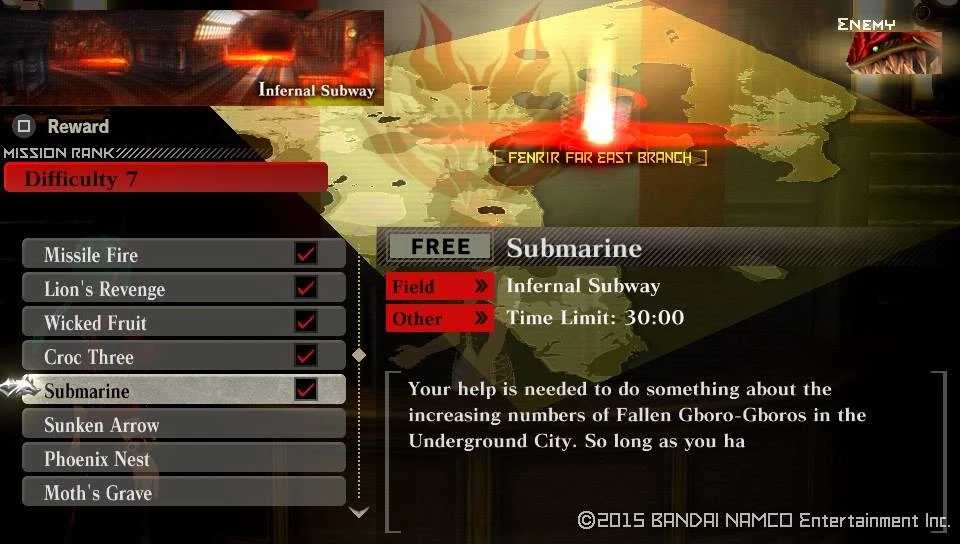

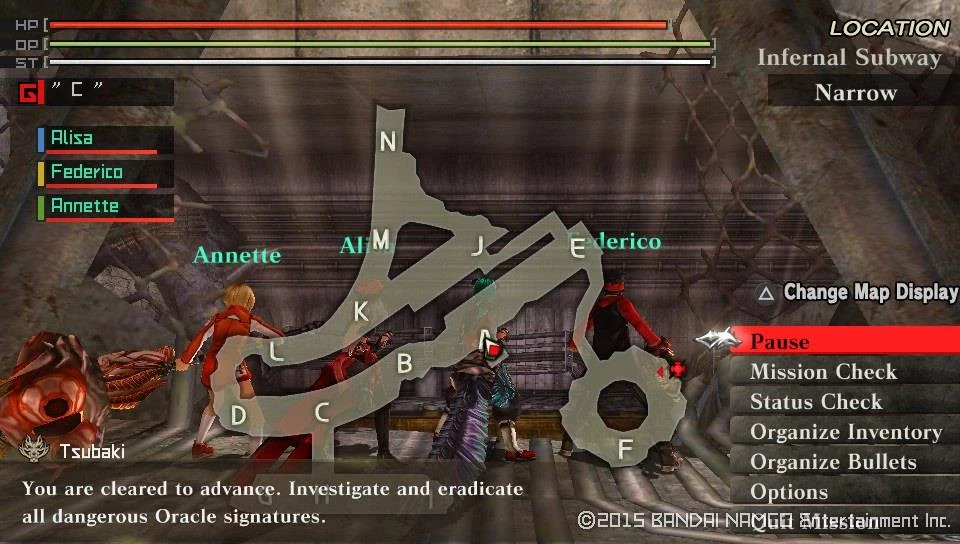

| Sunken Arrow | ||
|---|---|---|
| Information | ||
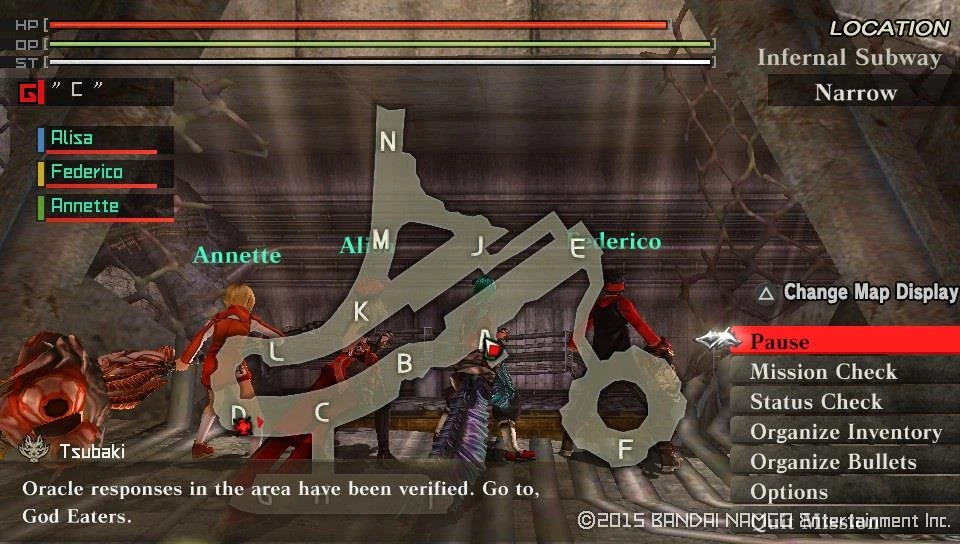  | ||
| Target Aragami | Details | |
|
| |
| Notes | ||
|
Objective: One roast Chi-You wing coming up! Recomended loadout: Blaze or Freeze elemental Long Blade and Piercing bullet is recommended | ||
| Phoenix Next | ||
|---|---|---|
| Information | ||
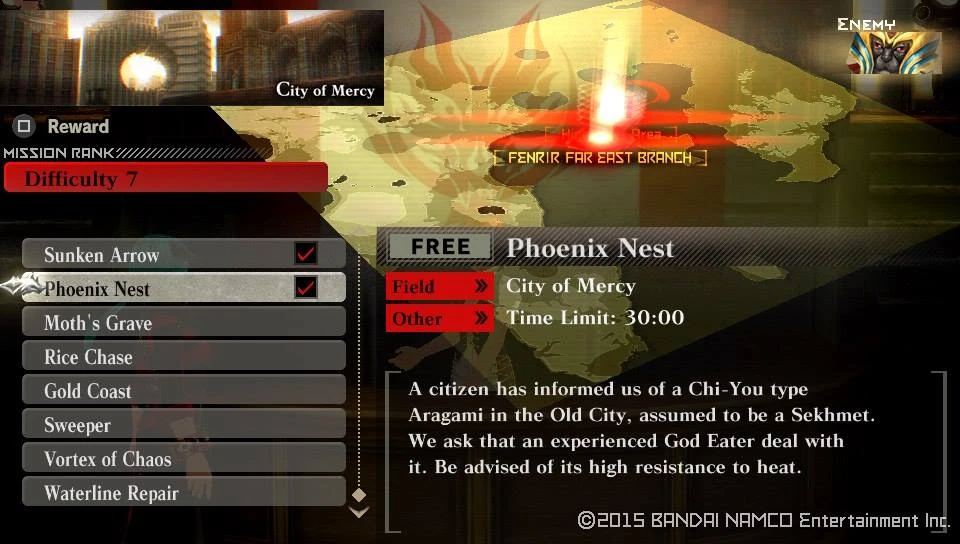  |
  | |
| Target Aragami | Details | |
|
| |
| Notes | ||
|
Objective: This ones known for its bad temper, straighten it out will you? Recomended loadout: Blaze, Stun resistan gear and Freeze elemental Long Blade and Piercing bullets. | ||
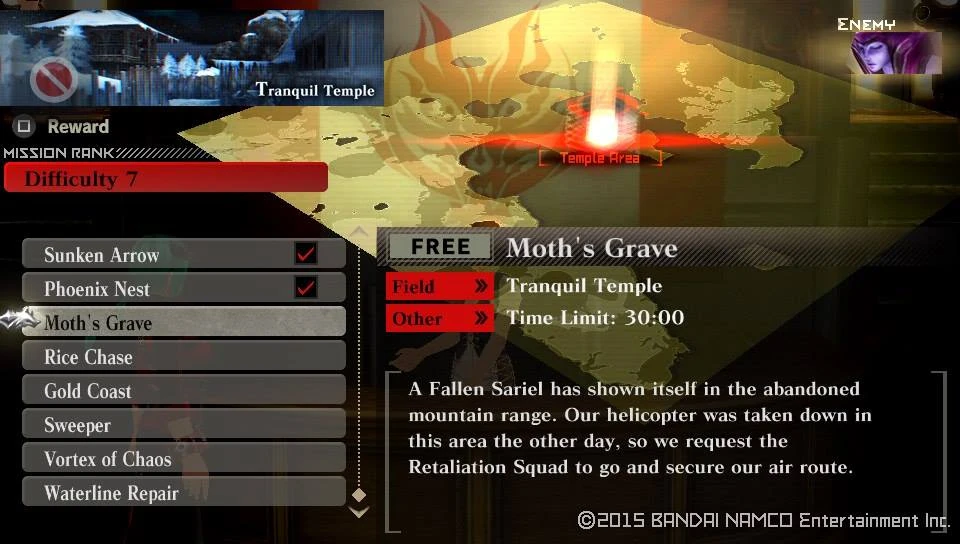

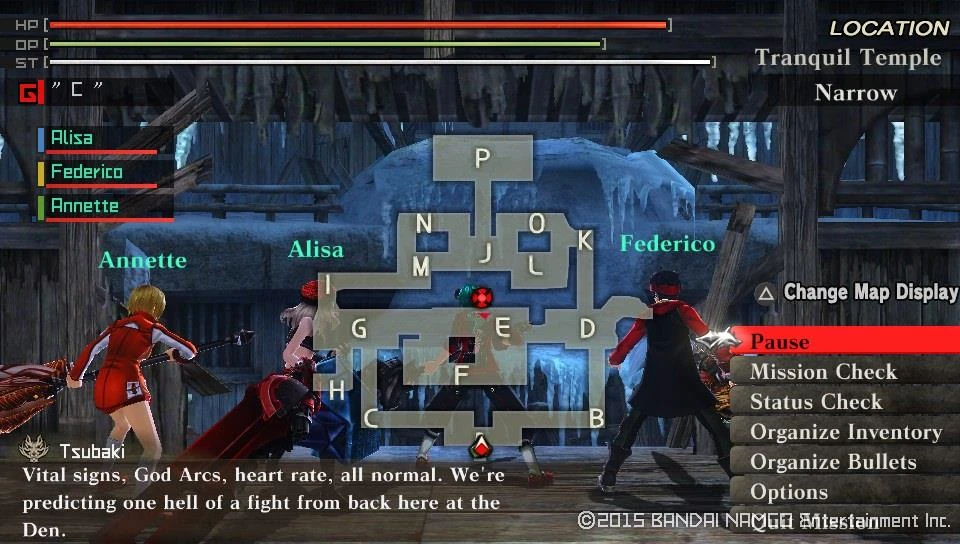

| Rice Chase | ||
|---|---|---|
| Information | ||
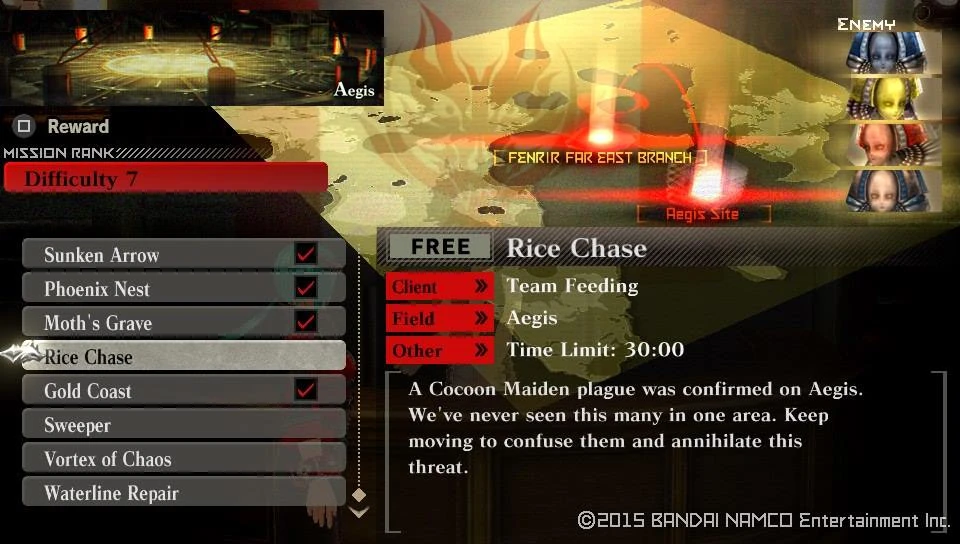  |
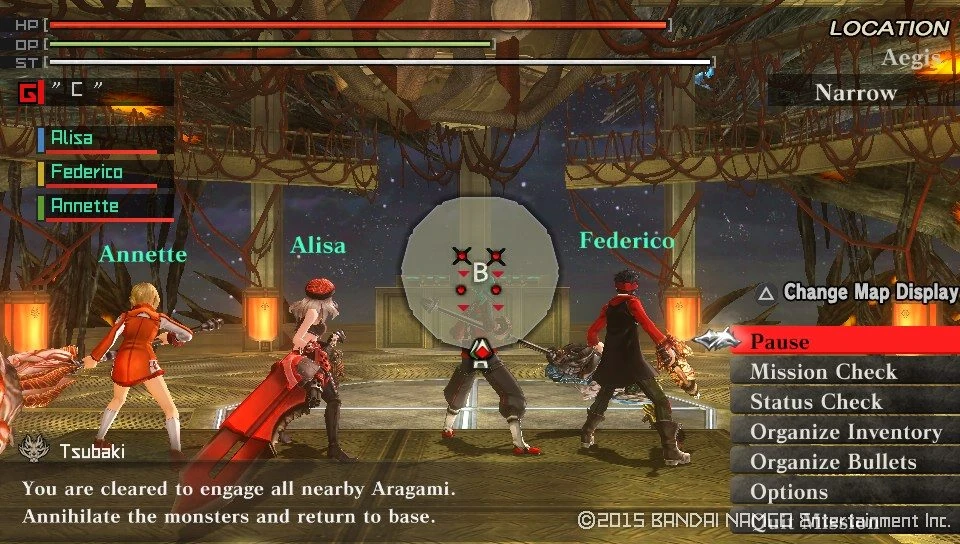  | |
| Target Aragami | Details | |
|
| |
| Notes | ||
|
Objective: Remember Dancing Ogre from Rank 5? This is the same, just with Maidens. Stay vigilant as they will constantly spawn around you, try to maneuver into a position that stops them from opening fire at you from multiple angles. Recomended loadout: Anything will do. | ||
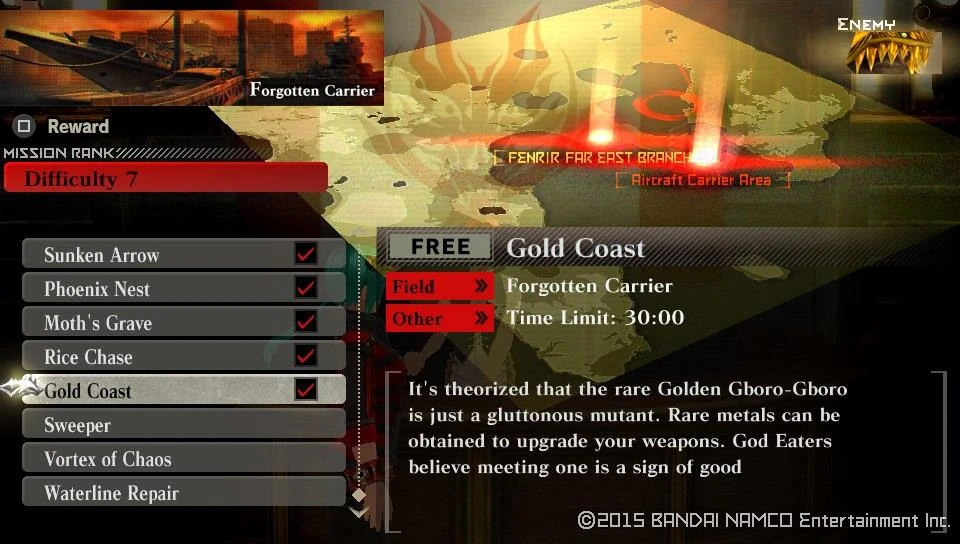

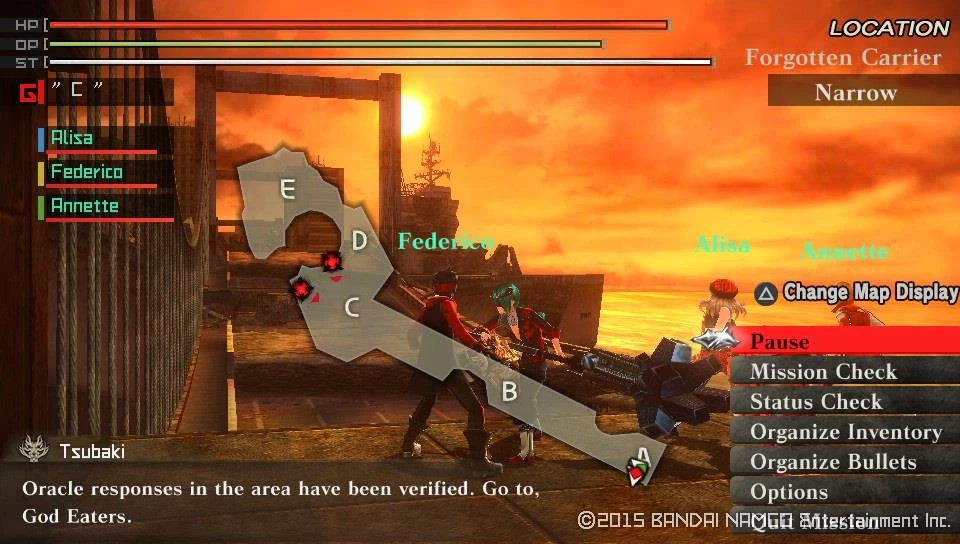

| Sweeper | ||
|---|---|---|
| Information | ||
  |
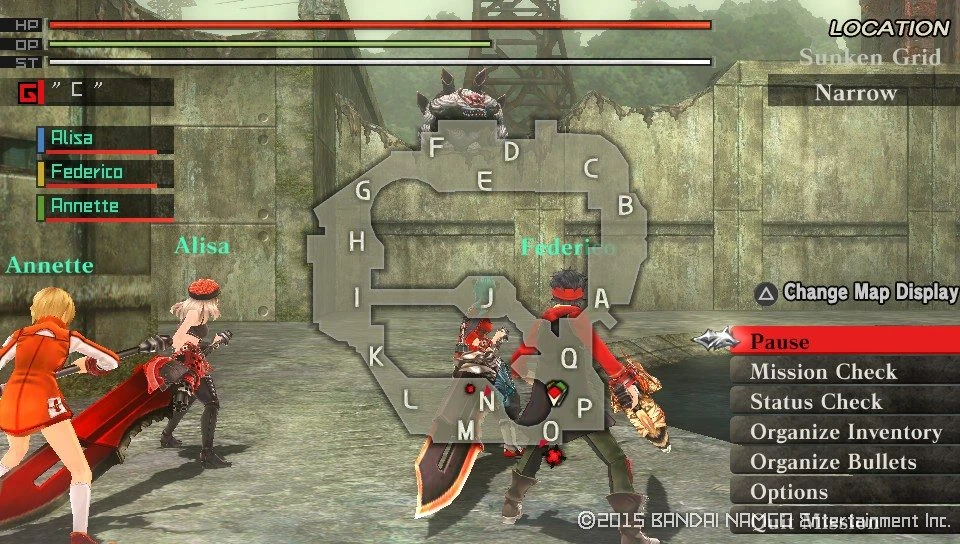  | |
| Target Aragami | Details | |
|
| |
| Notes | ||
|
Objective: Simple 2 wave pattern, take care and take them down. Recomended loadout: Blaze elemental Long Blade for the Chi-You and Fallen Kongou. Blaze and Spark elemental Piercing bullets | ||


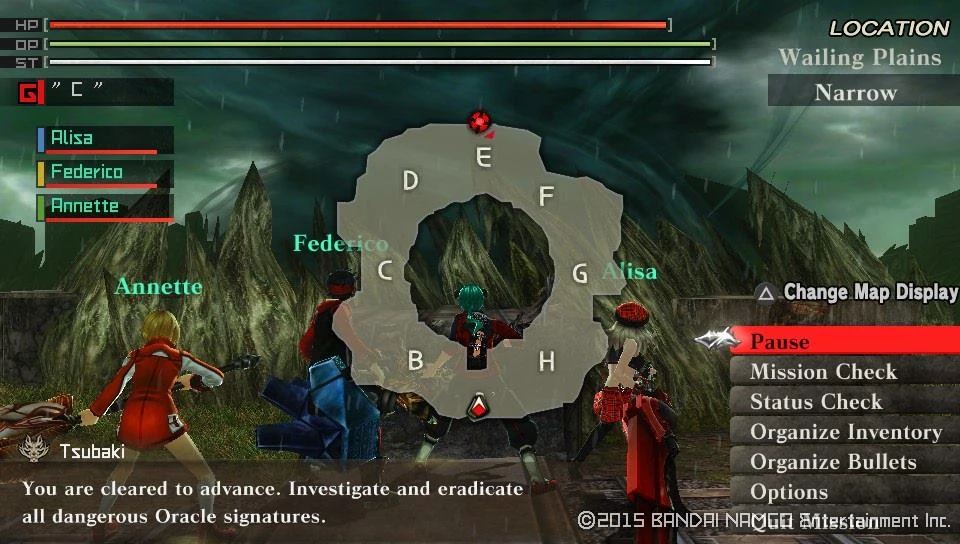

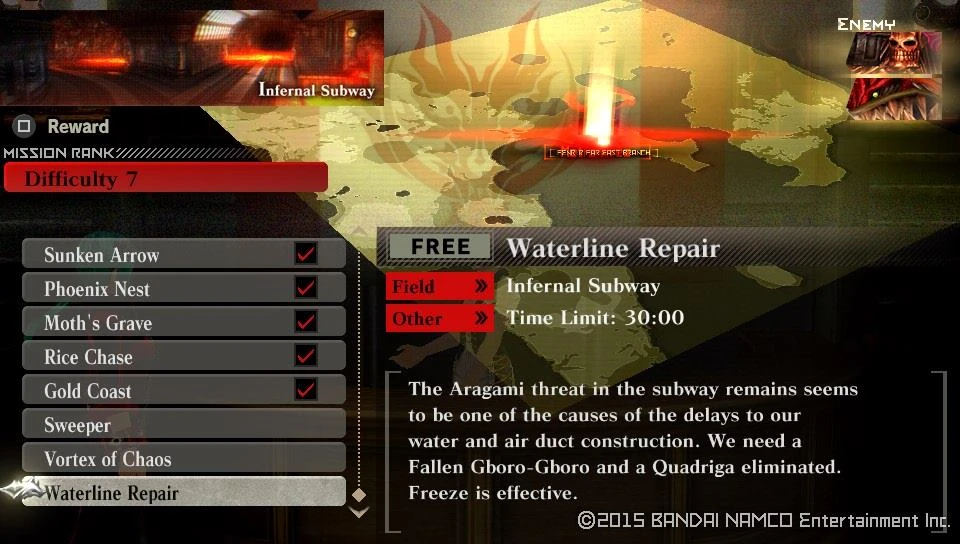

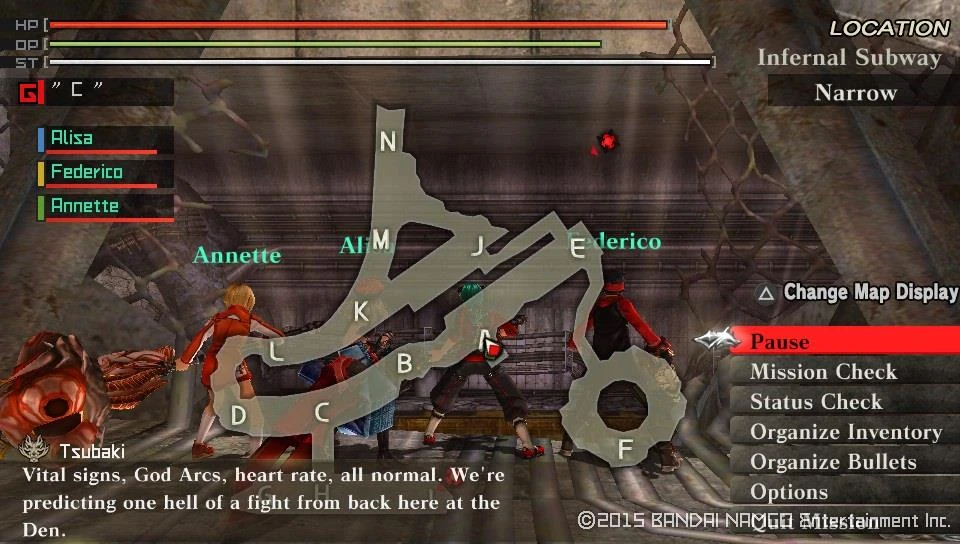

Once you are down with the new assignments, or just ignored them so you can complete the mission ASAP talk to Hibari and take on the mission laid out to you.
| Firelords in a Storm | ||
|---|---|---|
| Information | ||
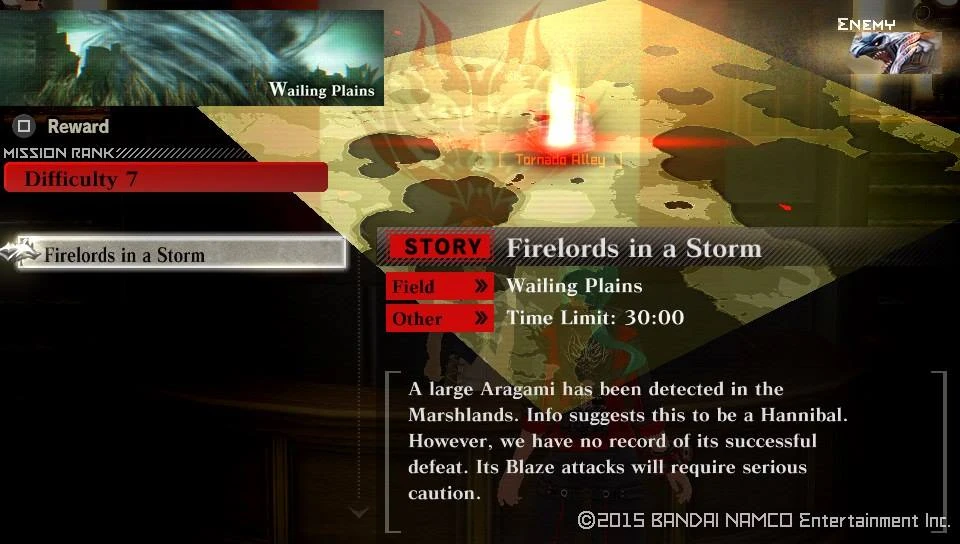  |
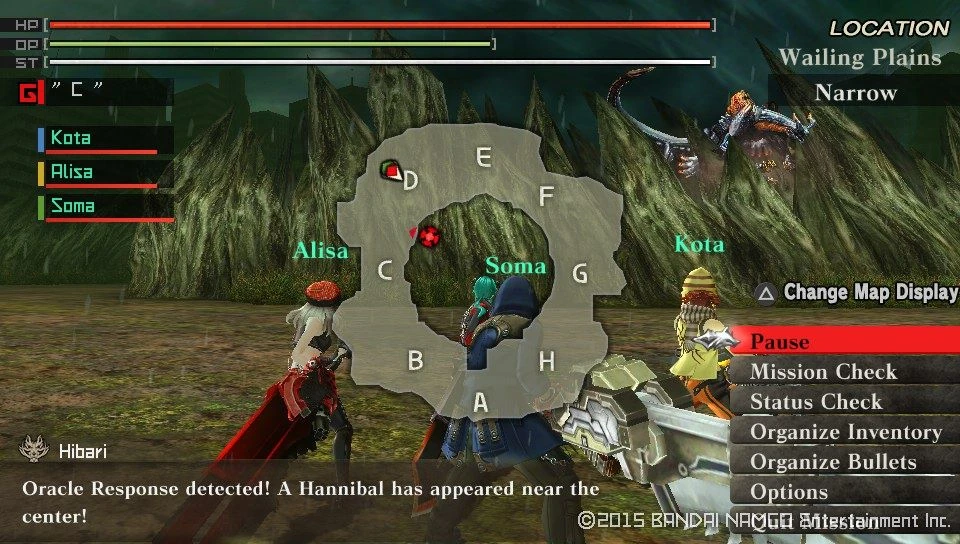  | |
| Target Aragami | Details | |
|
| |
| Notes | ||
|
Objective: Hannibal, you'll have to love them. On this mission Alisa, Kota and Soma accompany you. First things first, DO NOT BREAK THE SCALES UNLESS YOU KNOW WHAT YOU ARE DOING! In some cases NPC's tend to break the scales first, since they are the easiest and weakest of the points. But before I go into detail why, a short introduction of this Large, humanoid dragon-like Aragami. It's relatively fast, tends to shoot fireballs from long range or straight run and lunge at you. When you are too near, it can either perform a knock-back move or backflip to a safer distance. It might even breath fire in an arc, once from the left and then returning it from its right. Once enraged it learns a couple of new attacks, so think accordingly when facing this beast. When it gets enraged, it will have access to a move where it summons a pair of flaming blades in its hands and starts to trash around it for a few seconds, best to stay away from it during this time. If you break the scales then, be prepared as it will not only instantly enrage it, but bring out the full potential of the Hannibal. From this point on, it gains an attack where it hovers up into the air and releases 3 salvos of firespirals from its body, each rotating from it in a circular motion. Although if you stand roughly 3 steps from the Aragami the first and second fire volley cannot hit you, and if you take 1 step to the left the final burst of flame misses altogether. You can easily down it by attacking the unprotected right arm, or the legs repeatedly. Also has a tendency to roar after every ranged or flaming attack, so use that to your advantage. Recomended loadout: Blaze Resistant gear is a must, Spark or Freeze elemental Long Blade and Crushing Bullets are what you'll need. The breakable parts are the following:
| ||
After you survive this fiery encounter, you'll earn a cutscene and an increase to your story counter.
Cutscene Unlocked : Immortal Aragami
|-| 51=
Story 51[]
Walkthrough
After the previous cutscenes a couple of unlocks come, some pretty important.
Team Member Unlocked : Ren
Yep, a new member, albeit you are unable to access him or bring to a mission due to story elements as of now.
Personal Abilities Unlocked : Ren
Actually, it's more than that, all available members for you gained access to more abilities to chose from.
Personal Abilities Unlocked : Soma

Personal Abilities Unlocked : Sakuya

Personal Abilities Unlocked : Kota

Personal Abilities Unlocked : Alisa

Personal Abilities Unlocked : Tatsumi

Personal Abilities Unlocked : Brendan

Personal Abilities Unlocked : Kanon

Personal Abilities Unlocked : Karel

Personal Abilities Unlocked : Shun

Personal Abilities Unlocked : Gina

Personal Abilities Unlocked : Hibari

Personal Abilities Unlocked : Licca

Personal Abilities Unlocked : Gen

Personal Abilities Unlocked : Tsubaki
Additionally two more Control Units are becoming available
Control Unit Unlocked : Automatic Recovery

Control Unit Unlocked : Vs Attribute Booster
As of now, you're going to have to talk first to Hibari and she will inform you that Licca was looking for you. So head to the lab and talk to her and Dr. Sakaki in detail, you'll have to talk to them each and twice to progress further. When you're ready, go back to Hibari and initiate a cutscene by talking to her..
Cutscene Unlocked : The Den Under Attack
Once everything is settled down, head down to Hibari and she'll inform that another new Aragami popped up and you'll going to have to mobilized to take care of it. But it's not the only mission that unlocks, so take a look at the other one also.
Free Mission Unlocked : Thor's Banquet

Story Mission Unlocked : Fifth Element
| Thor's Banquet | ||
|---|---|---|
| Information | ||
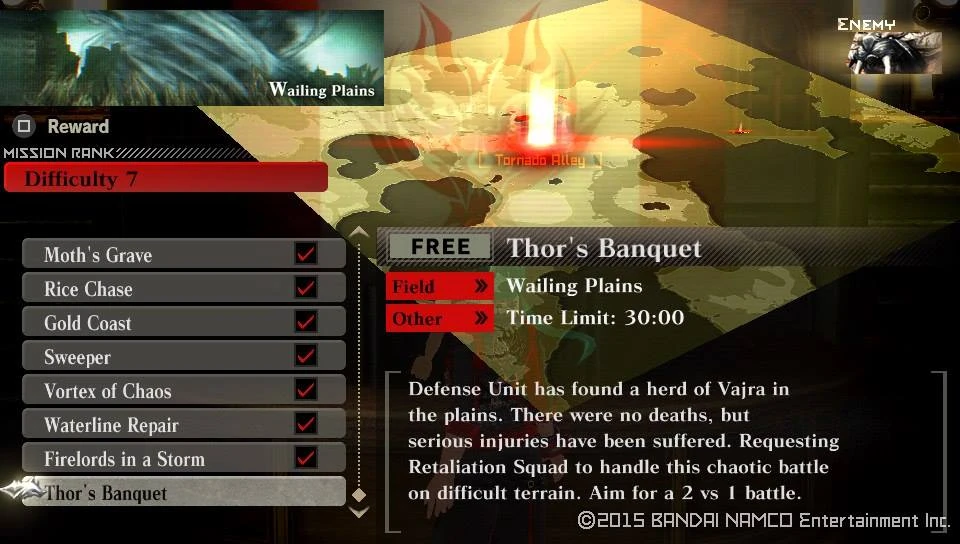  |
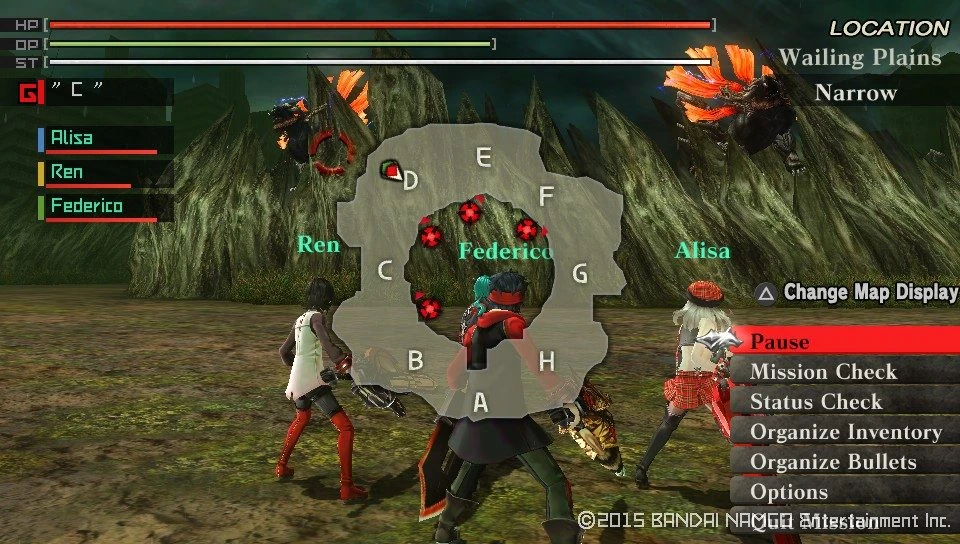  | |
| Target Aragami | Details | |
|
| |
| Notes | ||
|
Objective: Four Vajra at the same time, makes you feel intimidated, right? Why don't you go solo on the mission as it's easier like that, in fact. In God Eater and God Eater Burst, this mission is a forced solo operation on the first attempt. The reason why this is actually an easy mission comes from that these Vajra's are weakened, their defenses and attack is the same as for a regular one, but the HP and the parts damage treshold before breaking is cut to a quarter of its default value. If you go in there alone, you can retreat into the corner and start picking these overgrown kitties off, one-by-one. Should you despite enter with allies, be careful as it can very easily turn into a chaotic brawl and that their HP is lowered, not the attack. Recomended loadout: Blaze, Freeze or Divine elemental Long Blades to unbind all parts, or use Piercing attacks, both melee and ranged on their lower body and kill them off fast. | ||
Once you are done with the Free missions, head for the real target.
| Fifth Element | ||
|---|---|---|
| Information | ||
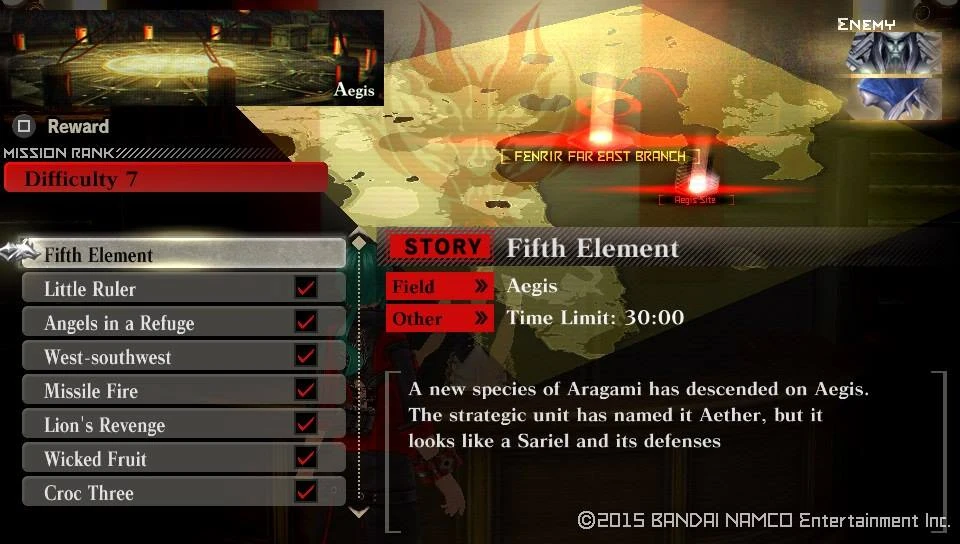  |
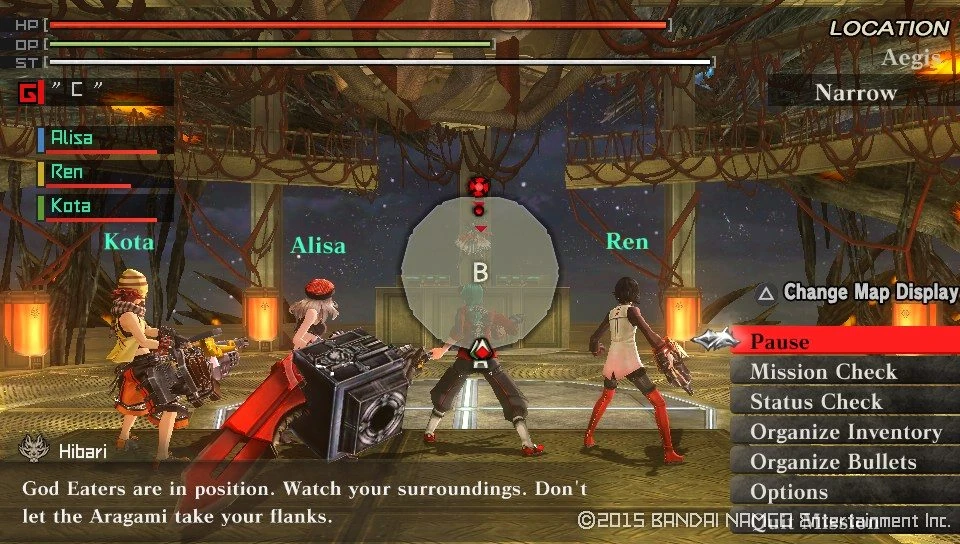  | |
| Target Aragami | Details | |
|
| |
| Notes | ||
|
Objective: The Aether, you're going to love the status effects it 'bestows' On this mission anyone from the available units can come along. Aether, the... male? Sariel, or something like that. Attack patterns are the same, even the attack element. This one however packs a nasty variety of poison and leak, their stronger variants on top of that. However unlike the other Sariels, this one is weak versus Divine element so unload its own bullets for maximum damage. Recomended loadout: Divine, Poison, Leak (if you are using guns) resistant gear is must. Divine elemental Boost Hammer does the job perfectly actually. The unbindable points are the following:
| ||
You'll earn an increase to your story Counter for your efforts.
|-|
52=
Story 52[]
Walkthrough
Before you tackle the final Story mission for the 7th Rank, take a look at the free missions that have become available, you'll going to have to decline the deployment on the mission to see them first though.
Free Mission Unlocked : Naked Monkey

Free Mission Unlocked : Frozen City

Free Mission Unlocked : Needles and Sewage

Free Mission Unlocked : Burning Track

Free Mission Unlocked : Nightfall Scam

Free Mission Unlocked : Fire and Ice

Free Mission Unlocked : Alligator Hunter

Free Mission Unlocked : Undertaker

Story Mission Unlocked : Devourer of Future
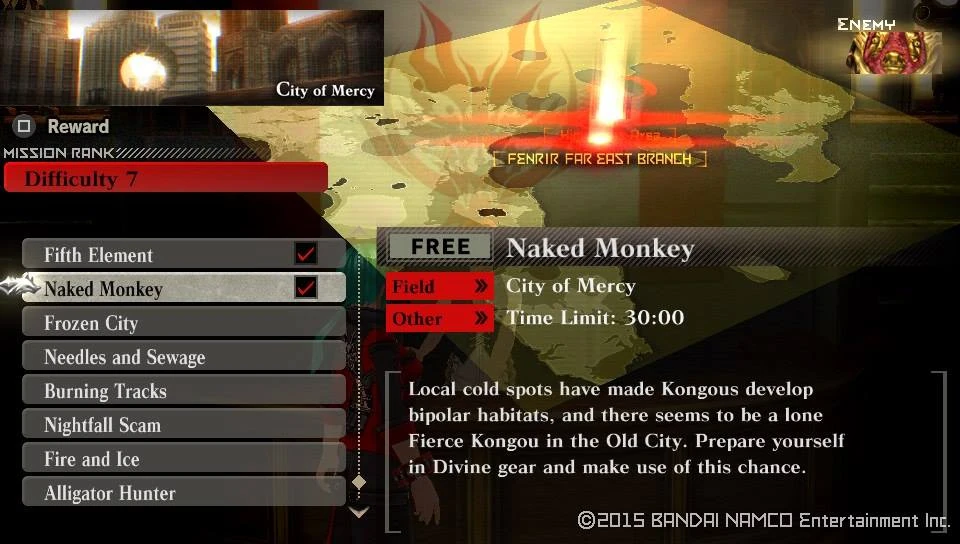

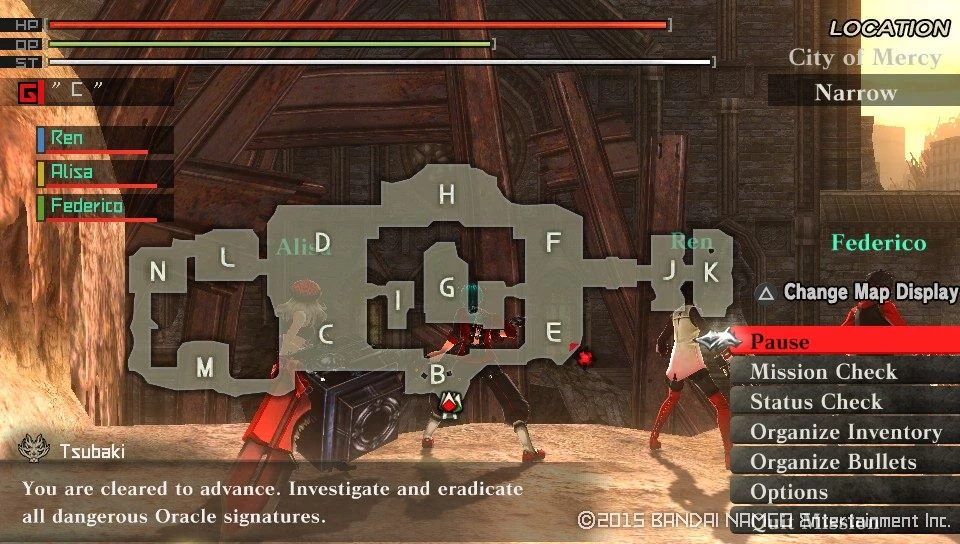

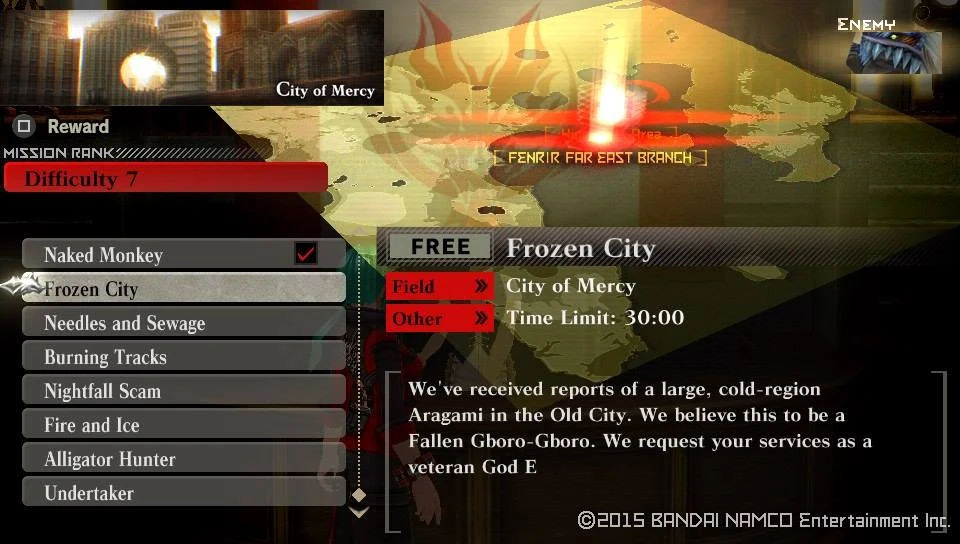

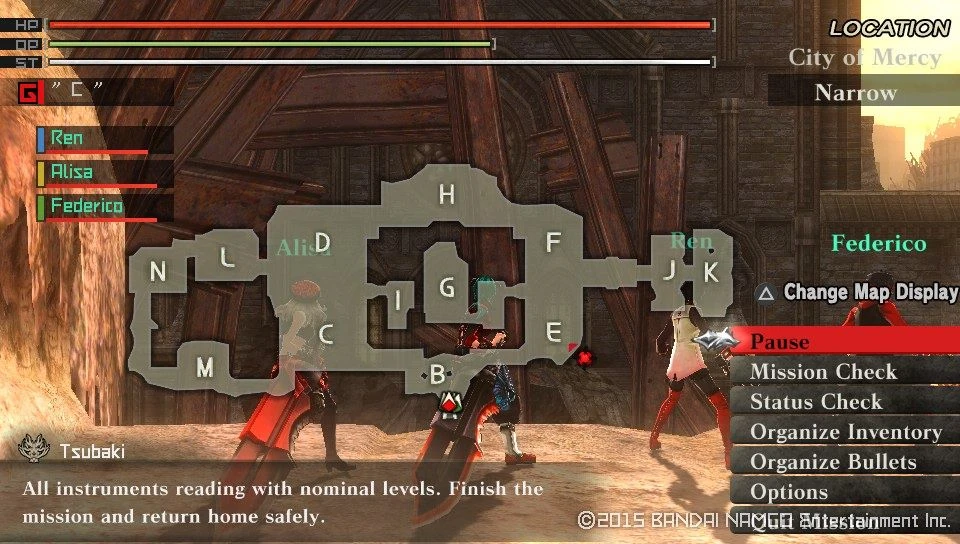

| Needles and Sewage | ||
|---|---|---|
| Information | ||
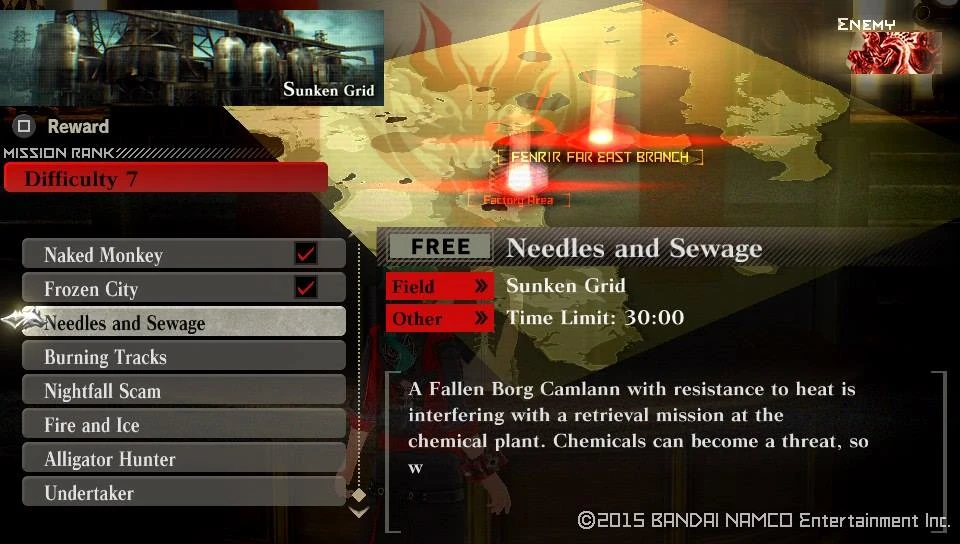  |
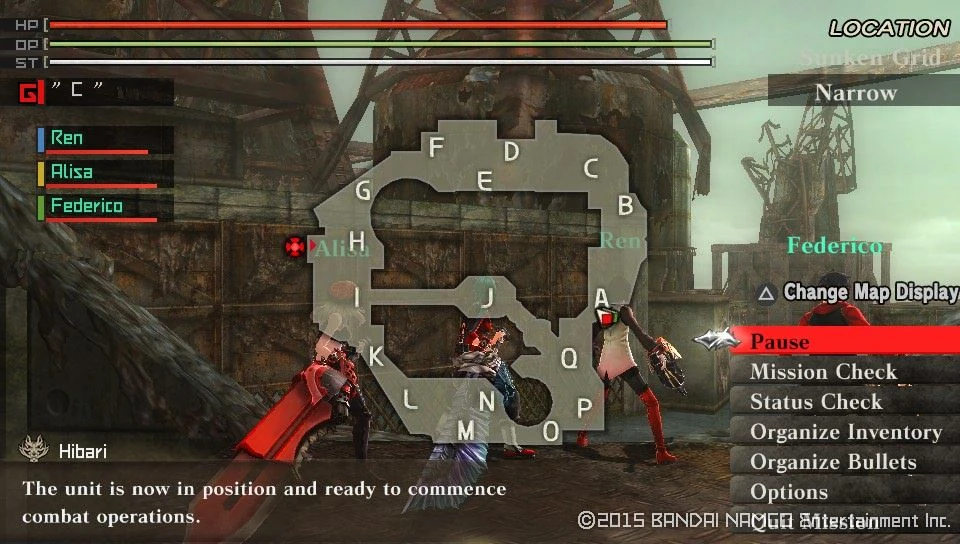  | |
| Target Aragami | Details | |
| ||
| Notes | ||
|
Objective: An arachnid hunt, make it count Recomended loadout: Freeze elemental Long Blade, Crushing bullets | ||
| Burning Tracks | ||
|---|---|---|
| Information | ||
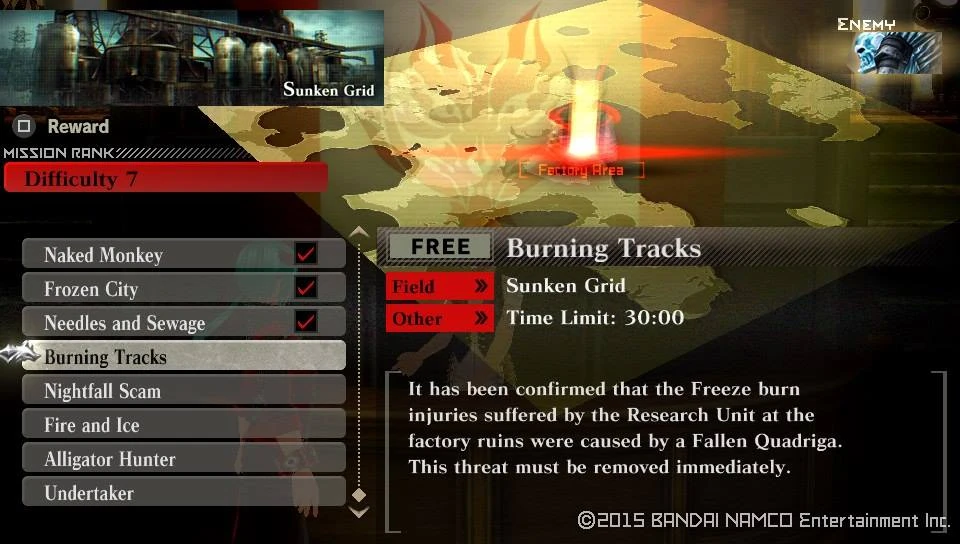  |
  | |
| Target Aragami | Details | |
| ||
| Notes | ||
|
Objective: Beware of icy burns Recomended loadout: Blaze elemental Boost Hammer, Piercing bullets. | ||
| Nightfall Scam | ||
|---|---|---|
| Information | ||
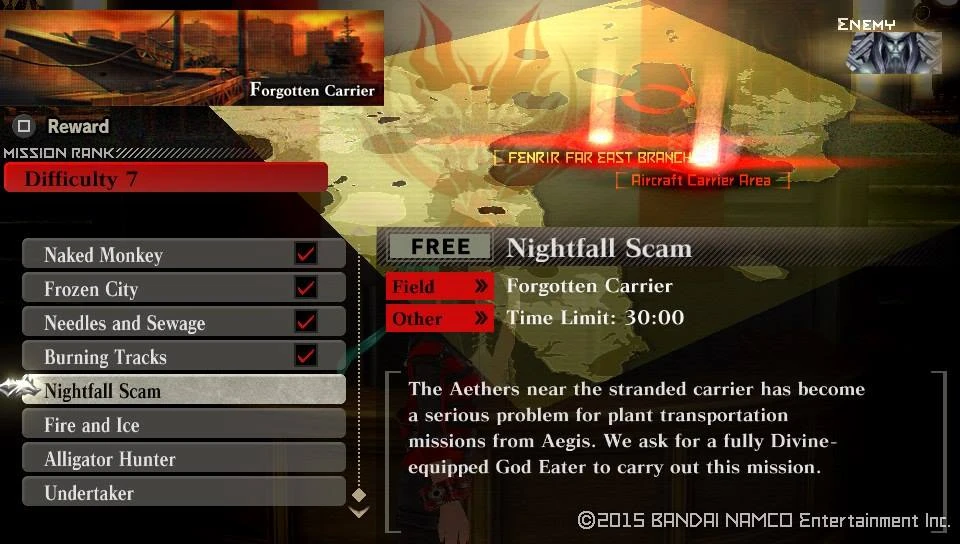  |
  | |
| Target Aragami | Details | |
|
| |
| Notes | ||
|
Objective: The Aether returns, kindly send it back from where it came from Recomended loadout: Divine, Poison and Leak resist. Divine elemental Boost Hammer. | ||
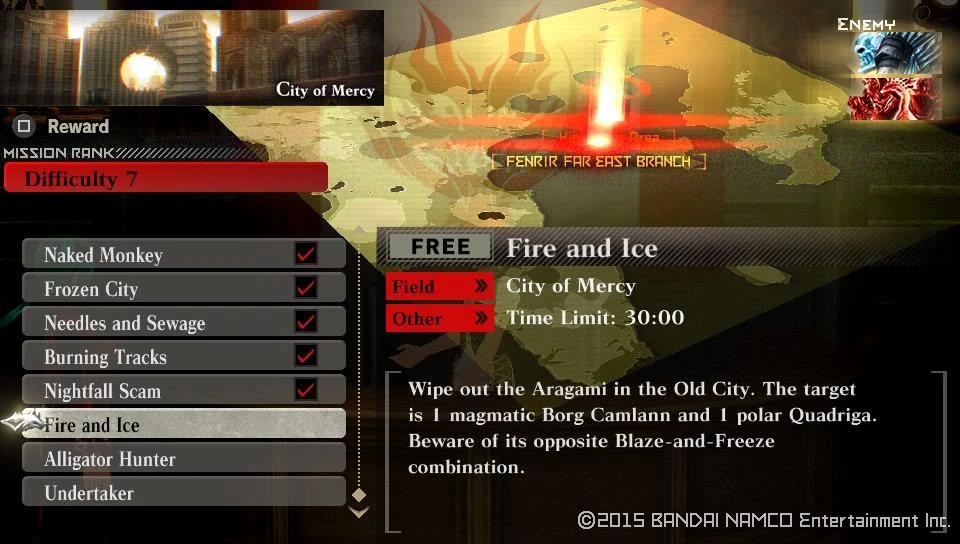

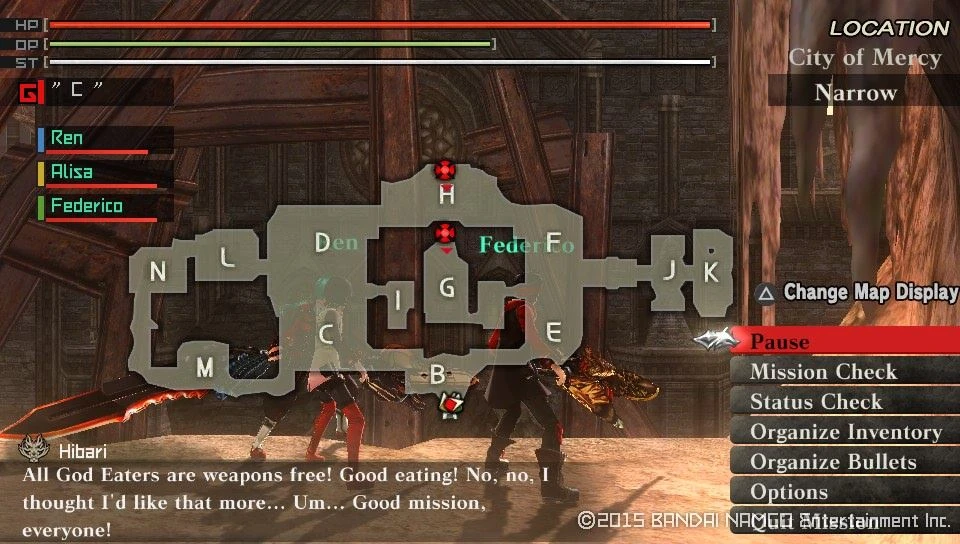

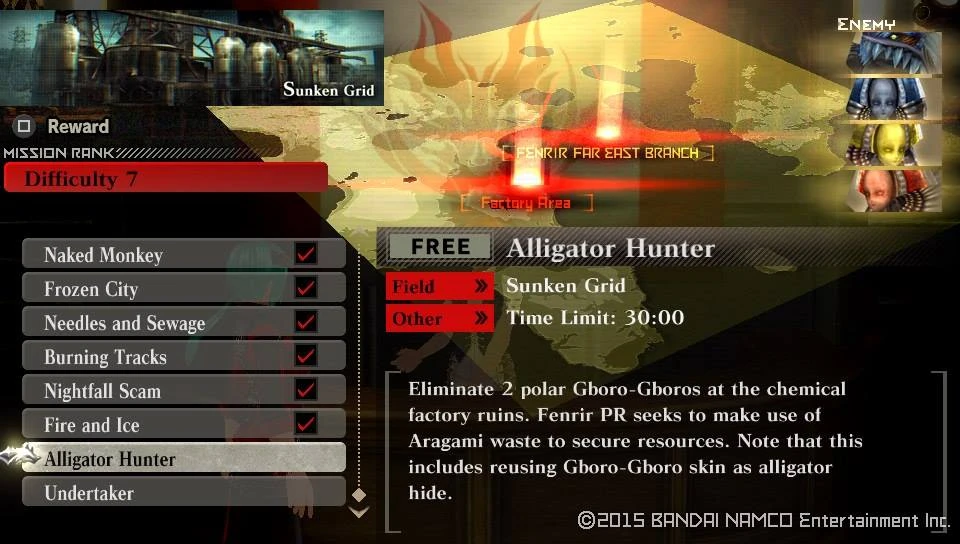

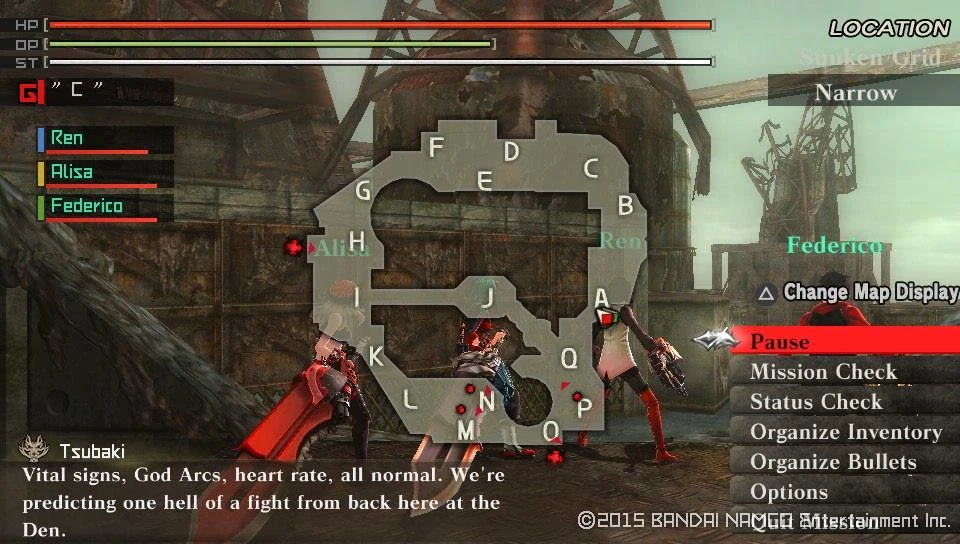

| Undertaker | ||
|---|---|---|
| Information | ||
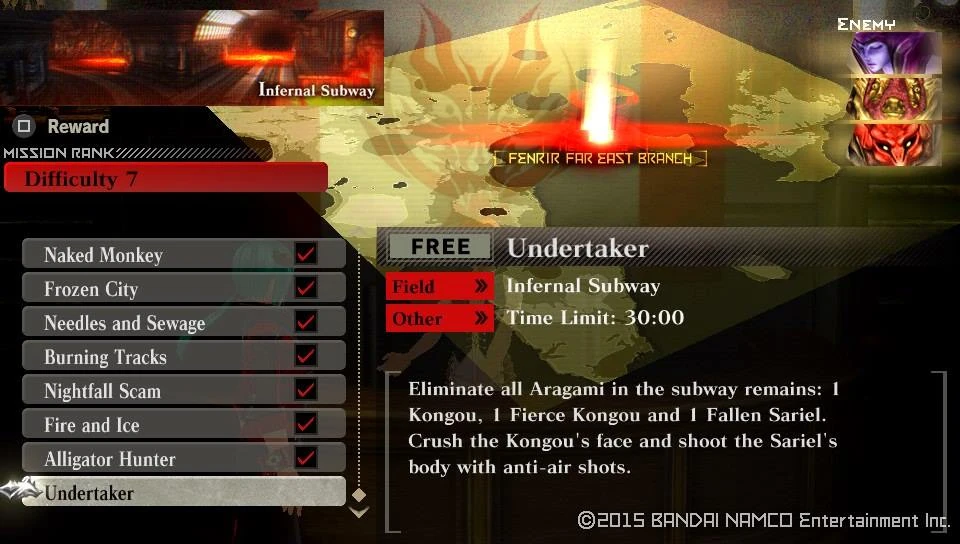  |
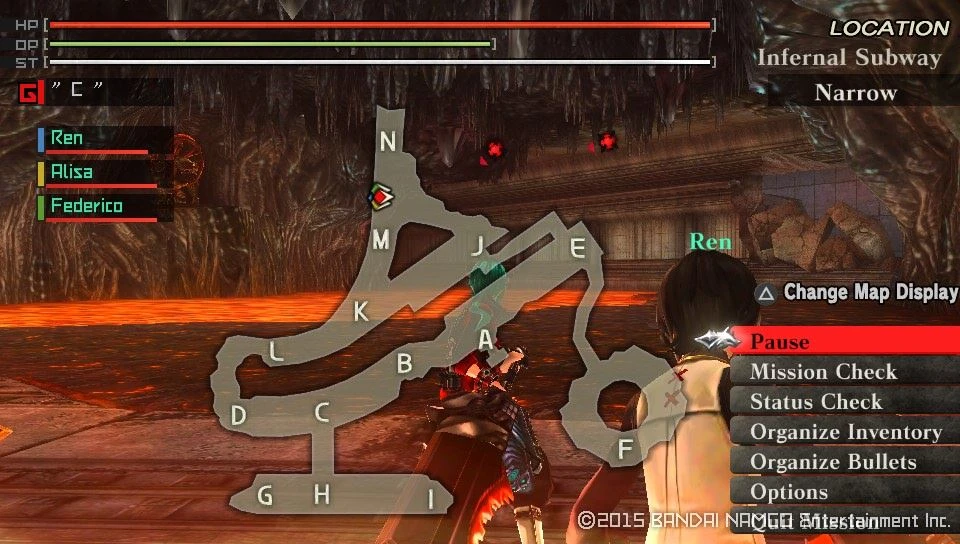  | |
| Target Aragami | Details | |
|
| |
| Notes | ||
|
Objective: A simple dual waved battle, just survive the kongous and it's a piece of cake Recomended loadout: Boost Hammer serves you good, be sure to bring Divine elemental Crushing bullets, Spark elemental Piercing Bullets | ||
Once you are ready, go and tackle the final mission it shouldn't be that hard.
| Devourer of Future | ||
|---|---|---|
| Information | ||
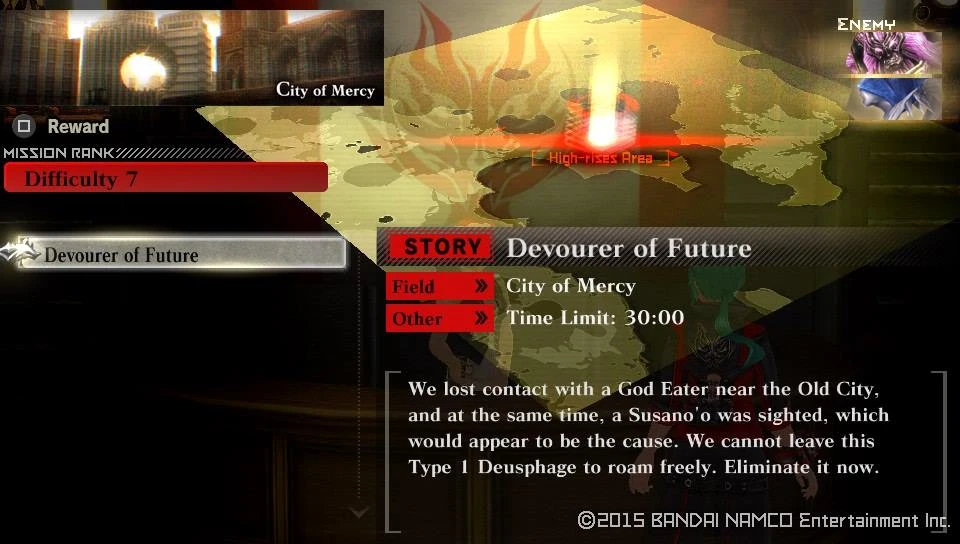  |
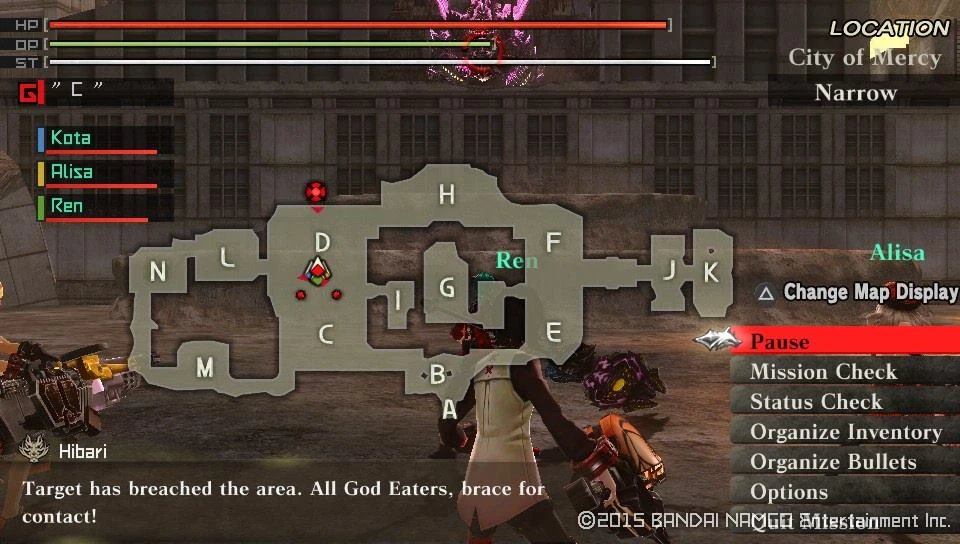  | |
| Target Aragami | Details | |
|
| |
| Notes | ||
|
Objective: Very similar to the first time you've encountered the Susano, repeat the victory Recomended loadout: Divine weapons, Piercing and Crushing bullets. | ||
You're rewarded with an increment to your story counter for your victory
|-|
53=
Story 53[]
Walkthrough
With a new rank of course comes an additional Urgent Mission
Urgent Mission Unlocked : Incense Bonfire
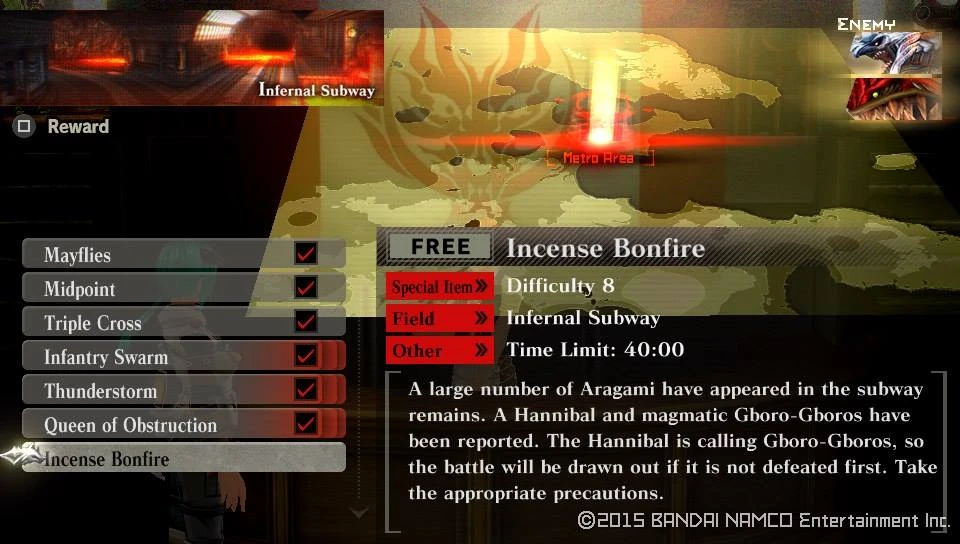

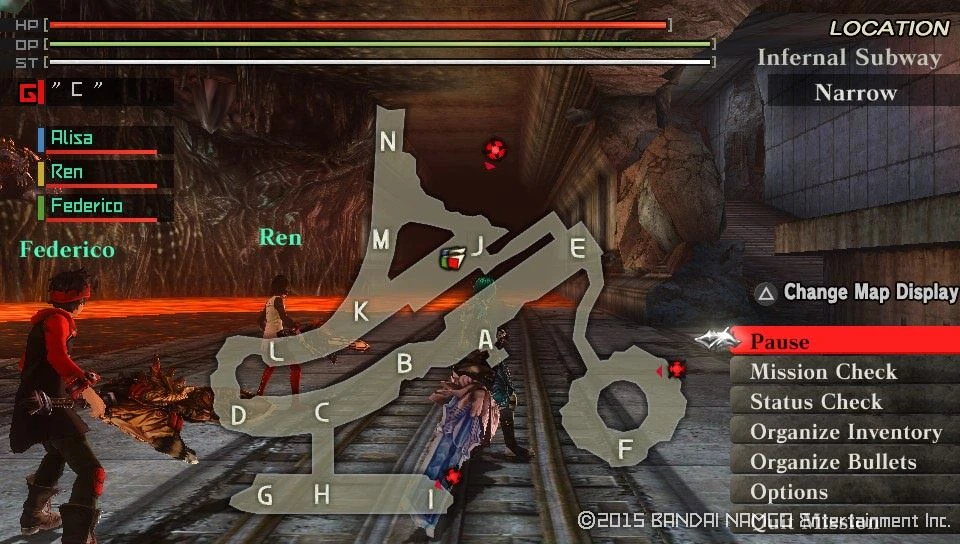

| Reward | Conditions | Probability |
| Automatic | 100% | |
| Automatic | ||
| Automatic | ||
| Automatic | ||
| Automatic | ||
| Automatic | ||
| Automatic | ||
| Automatic | ||
| Automatic | ||
| Automatic | ||
| Automatic | ||
| Automatic | ||
| Automatic | ||
| Automatic | ||
| Automatic | ||
| Automatic | ||
| Automatic | ||
| Clear under 5 Min. | ||
| Clear with 30+ Endurance | ||
| Clear with 30+ Endurance | ||
| Clear with 30+ Endurance | ||
| Clear with 30+ Endurance | ||
| Clear with 30+ Endurance | ||
| Gold F-Ticket | Break 3+ Bonds | 100% |
| Gold A-Ticket | Break 3+ Bonds | 20% |
| "Reward Credits Up" Lv5 or higher | 30% | |
| Restore Pill II | "Get Consumable Items" Lv5 or higher | 50% |
| O-Ampule | "Get Consumable Items" Lv5 or higher | 50% |
| Restore Pill S | "Get Consumable Items" Lv5 or higher | 33% |
| OG: Restore Post | "Get Consumable Items" Lv5 or higher | 33% |
There is also the 1st mission in the 8th Difficulty for you. Talk to Hibari and get the show on the road
| Tandoor | ||
|---|---|---|
| Information | ||
 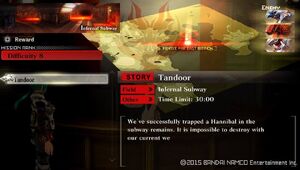 |
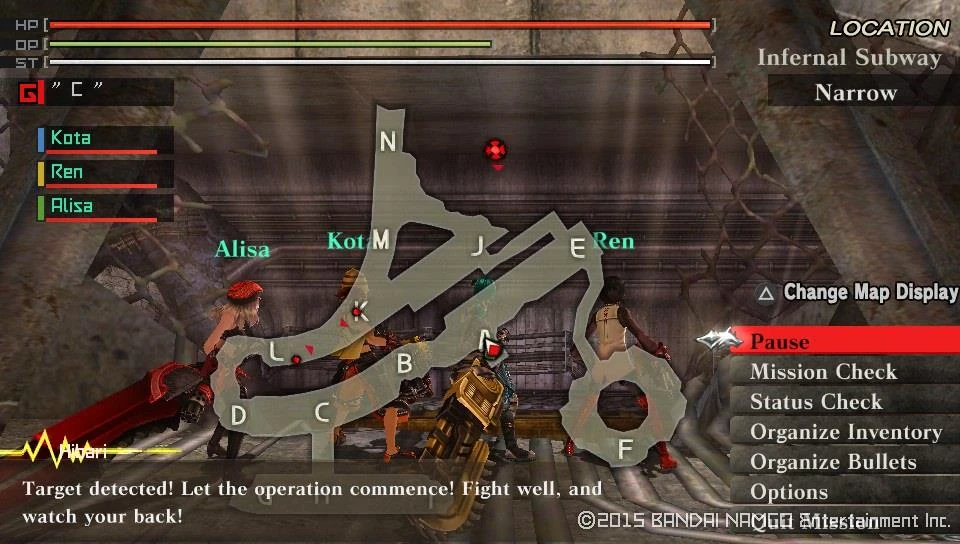  | |
| Target Aragami | Details | |
|
| |
| Notes | ||
|
Objective: Slay the beast! On this mission Kota comes with you and any other 2 members from the available teams. As an interesting note, This mission in GEB has you start between Point L and K, not at Point A like here in GER. Recomended loadout: Gear up for Hannibal busting, Blaze resistang gear, Freeze elemental Long Blade. | ||
Finishing this mission will reward you with an increase in your story counter.
|-|
54=
Story 54[]
Walkthrough
You've just earned another two Control Units.
Control Unit Unlocked : Melee Specialist

Control Unit Unlocked : Gun Specialist
Once you're ready, talk to Hibari who informs you that Karel was looking to speak with you, so head over to him and accept the mission.
Story Mission Unlocked : Dark Shimmer
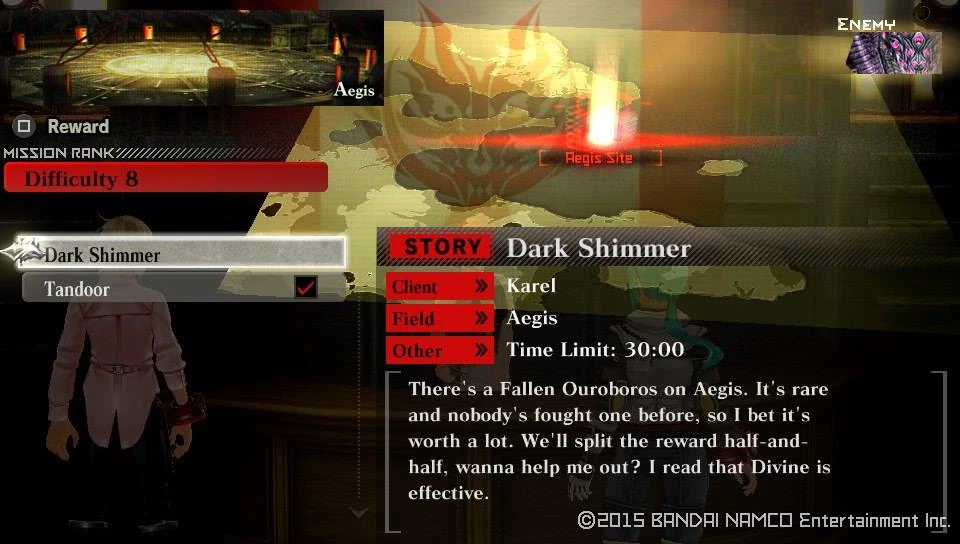

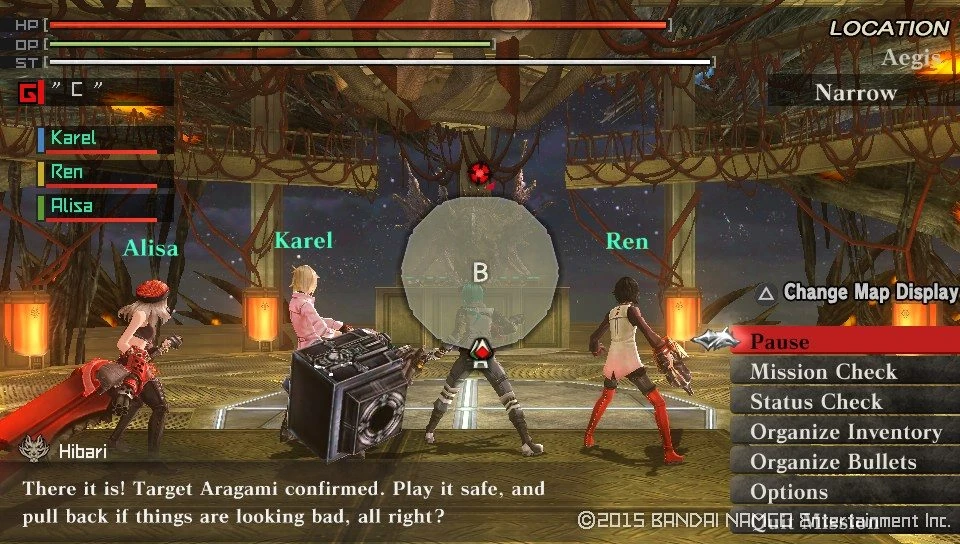

Clearing the mission rewards you with an increase to your story counter.
|-|
55=
Story 55[]
Walkthrough
Once you're done with that, Shun will pester you to go help him too. So lend him a hand, after Hibari tells you to do so.
Story Mission Unlocked : Dark Wing
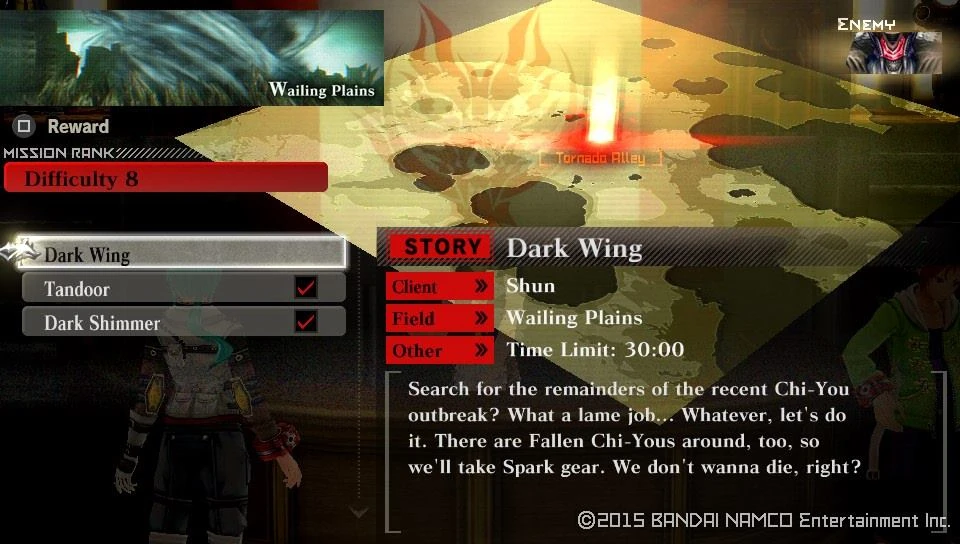

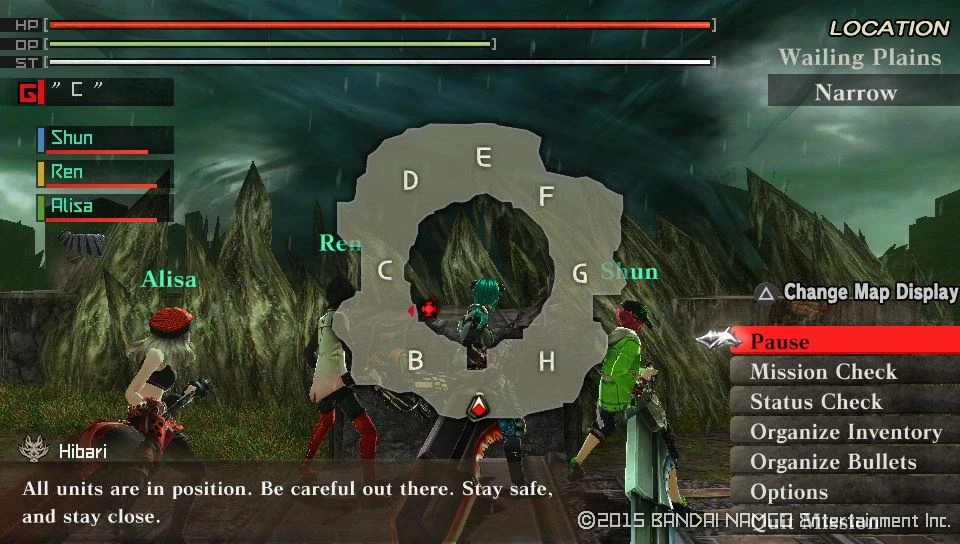

Clear this mission for an increase in your story counter
|-|
56=
Story 56[]
Walkthrough
Return to Hibari and just like before you'll going to help out one of your fellow team mates. This time Tatsumi
Story Mission Unlocked : Knight and Rust
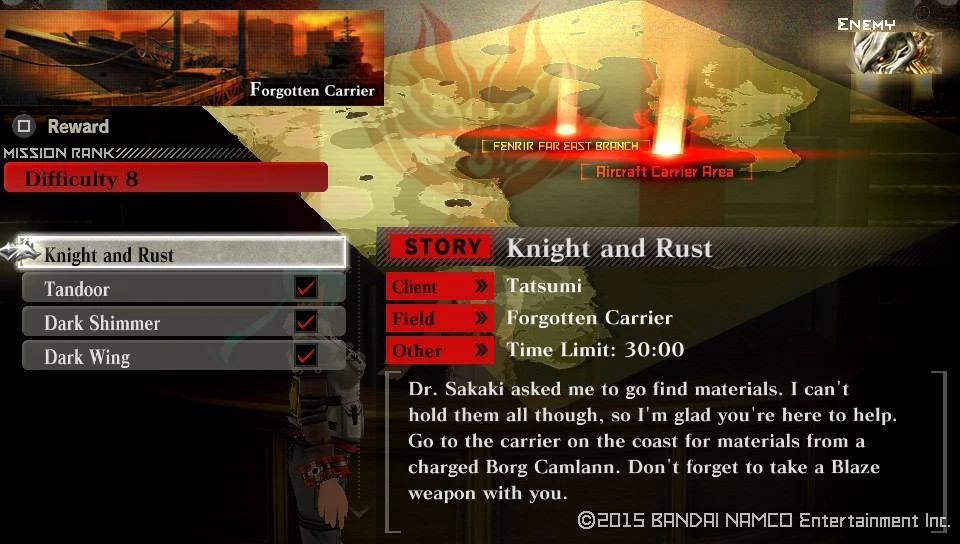

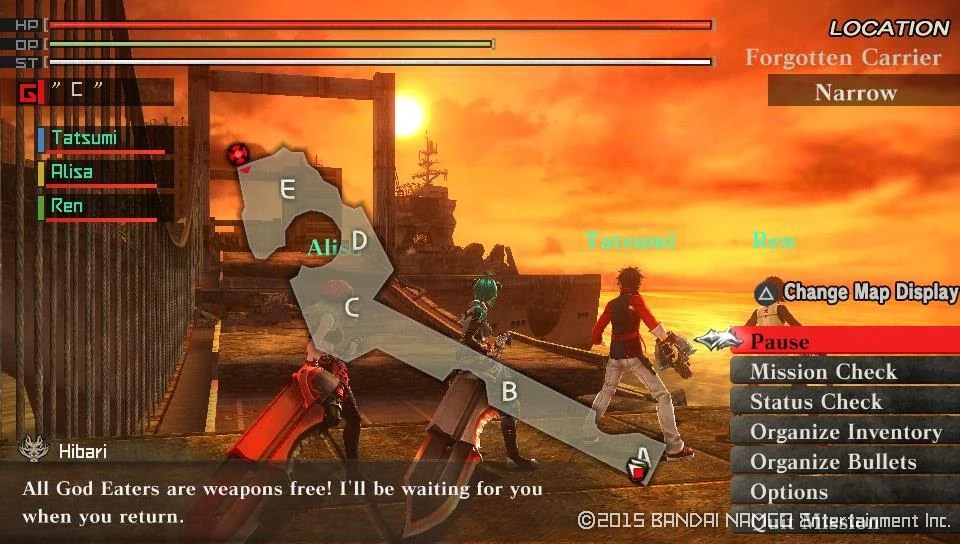

Another increase to your story counter is rewarded upon completition
|-|
57=
Story 57[]
Walkthrough
There is another supportive mission to undertake, this time with Alisa, but before you do so check out the other missions unlocked too.
Free Mission Unlocked : Scaly Trush

Free Mission Unlocked : Storm Queen

Free Mission Unlocked : Separated Kings

Free Mission Unlocked : Molecular Eyes

Free Mission Unlocked : Onyx Smoke

Free Mission Unlocked : Cerberus

Free Mission Unlocked : Screw Driver

Story Mission Unlocked : Fake Sun
| Scaly Trush | ||
|---|---|---|
| Information | ||
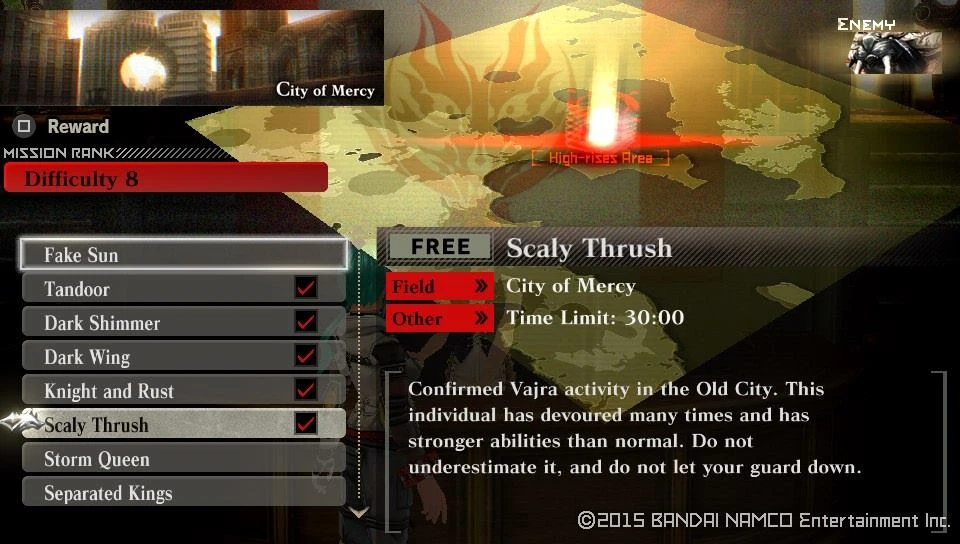  |
  | |
| Target Aragami | Details | |
|
| |
| Notes | ||
|
Objective: Thunder kitty on steroids! Recomended loadout: Spark resistant gear, Divine, Blaze or Freeze elemental Long Blade | ||
| Storm Queen | ||
|---|---|---|
| Information | ||
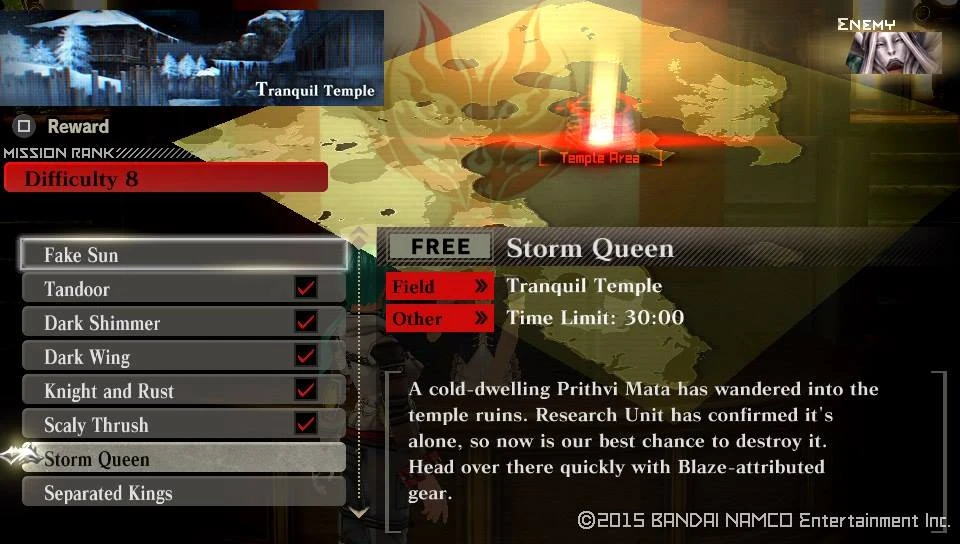  |
  | |
| Target Aragami | Details | |
|
| |
| Notes | ||
|
Objective: Frost kitty on Steroids Recomended loadout: Freeze resistant gear, Blaze elemental Long Blade | ||
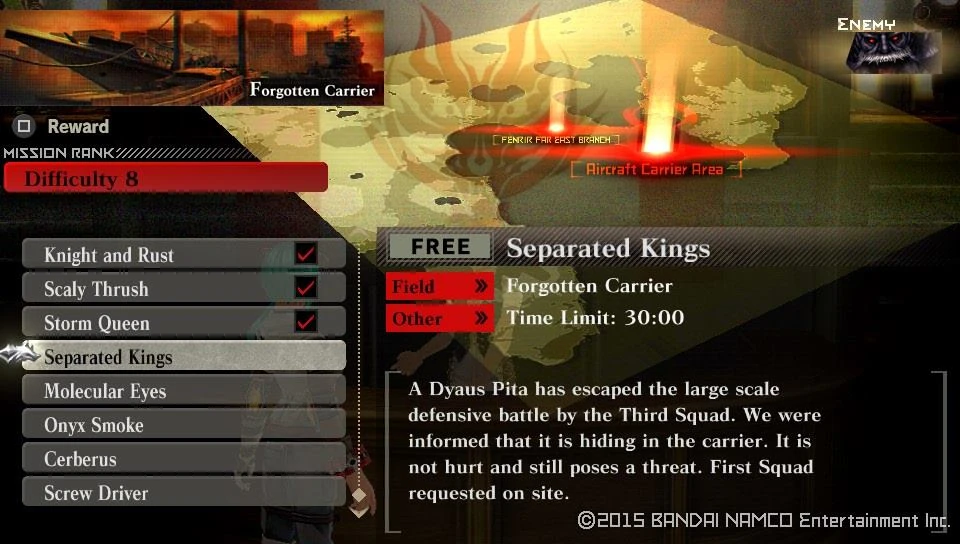


| Molecular Eyes | ||
|---|---|---|
| Information | ||
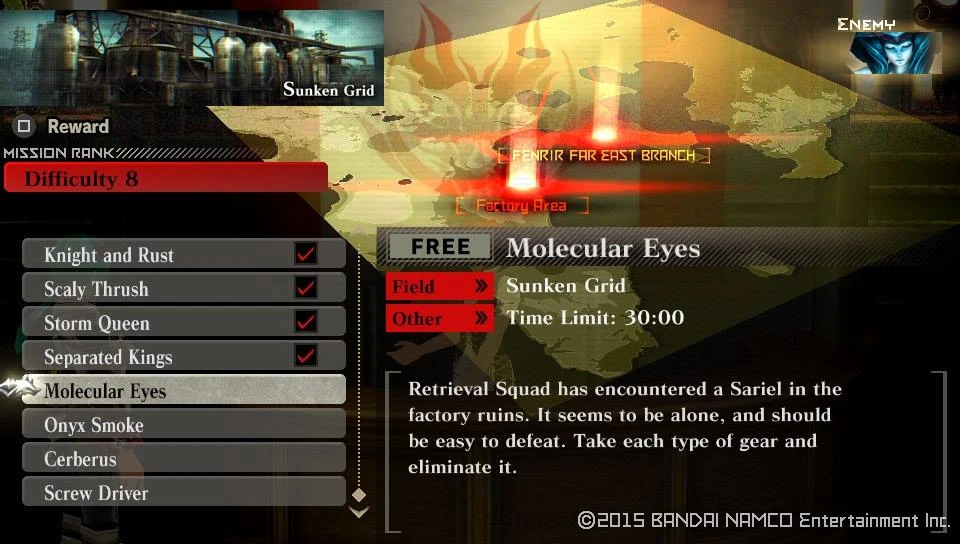  |
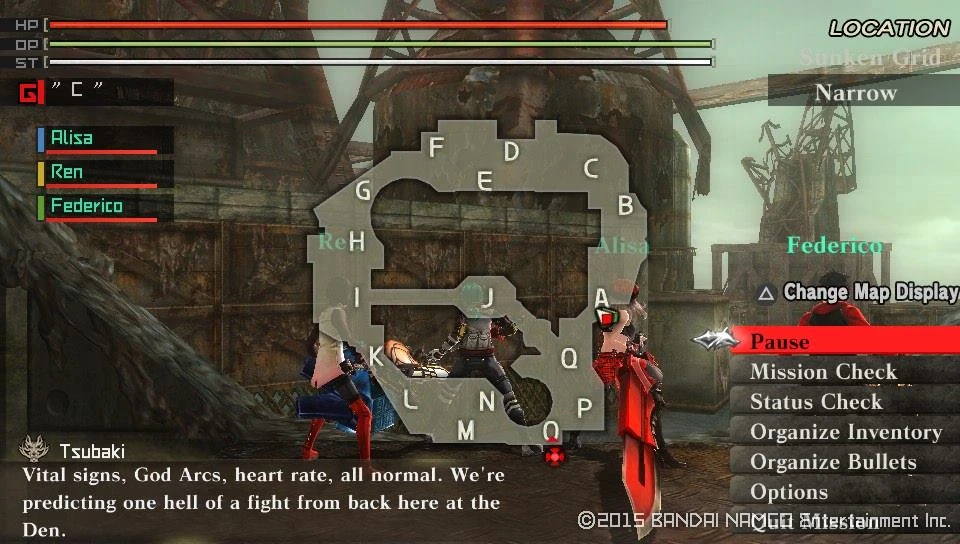  | |
| Target Aragami | Details | |
|
| |
| Notes | ||
|
Objective: Hunt it down Recomended loadout: Divine, Poison, Leak resitant gear. Non-Divine elemental Boost Hammer | ||
| Onyx Smoke | ||
|---|---|---|
| Information | ||
 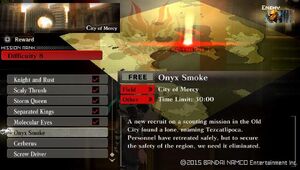 |
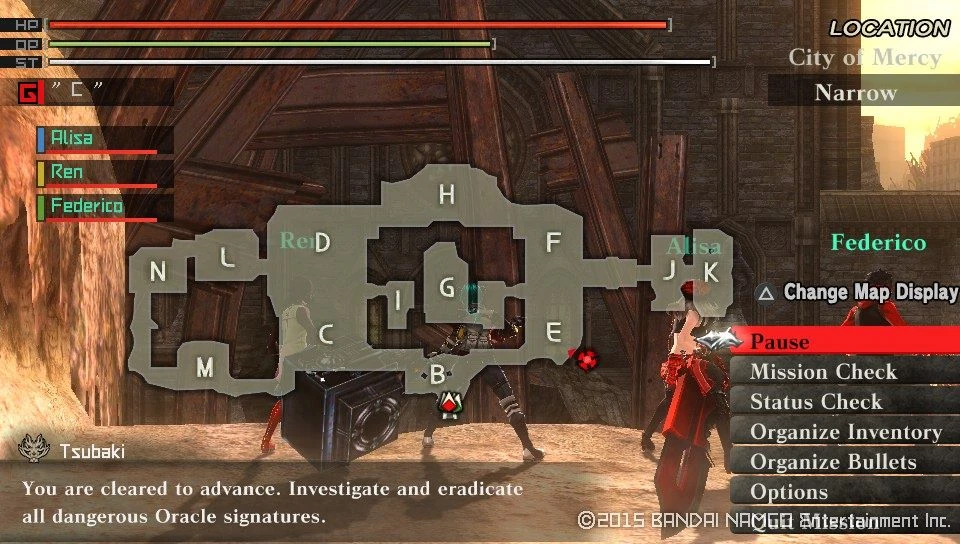  | |
| Target Aragami | Details | |
|
| |
| Notes | ||
|
Objective: Show the beast not even being massive is enough to survive your attacks Recomended loadout: Divine resitant gear, Divine elemental Boost Hammer and Piercing Bullets. | ||
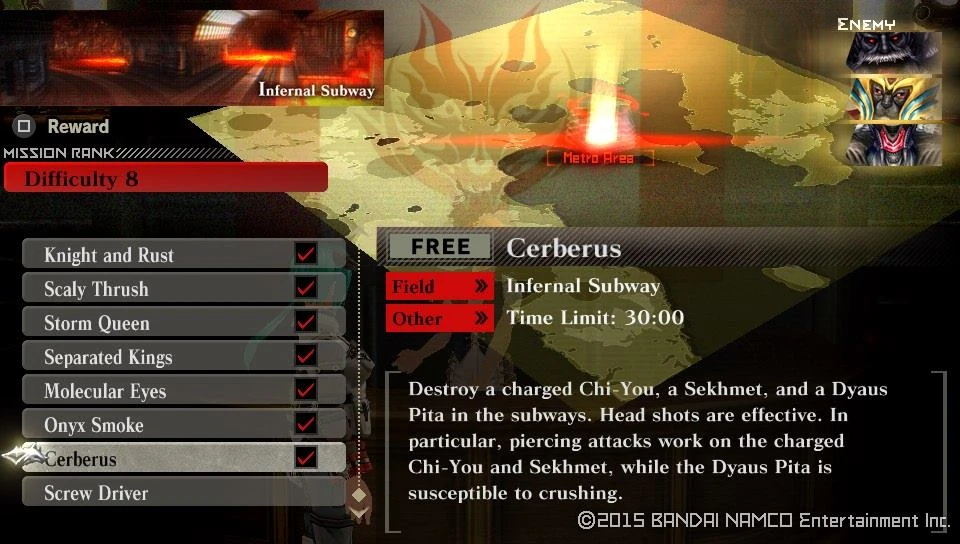

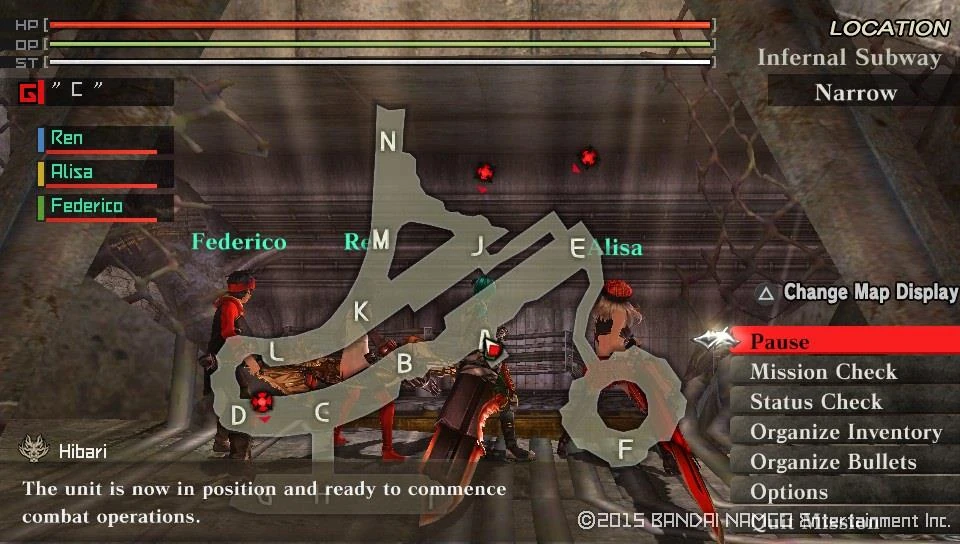


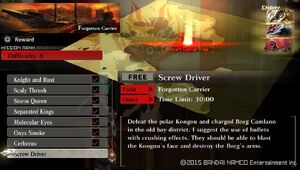
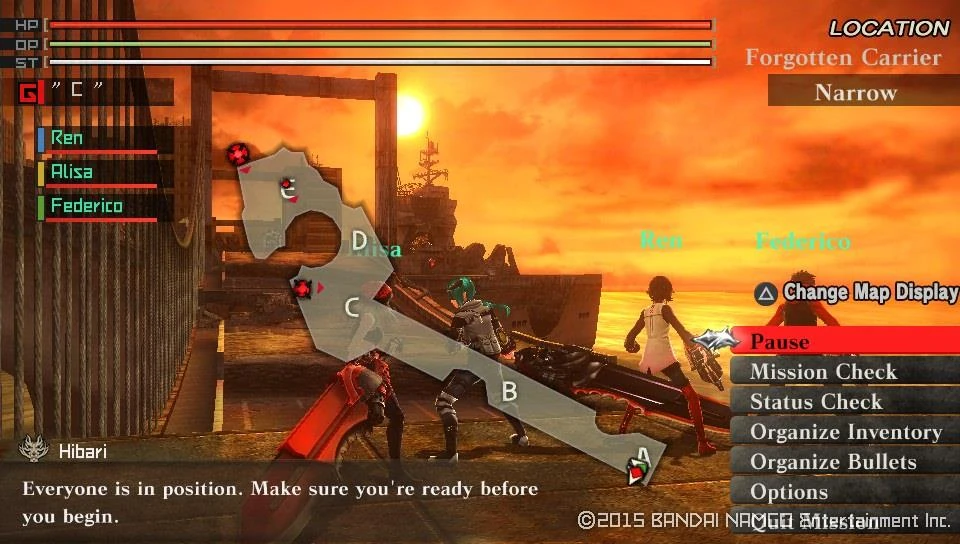

Once you are ready, talk to Hibari and Alisa to take on the next mission
| Fake Sun | ||
|---|---|---|
| Information | ||
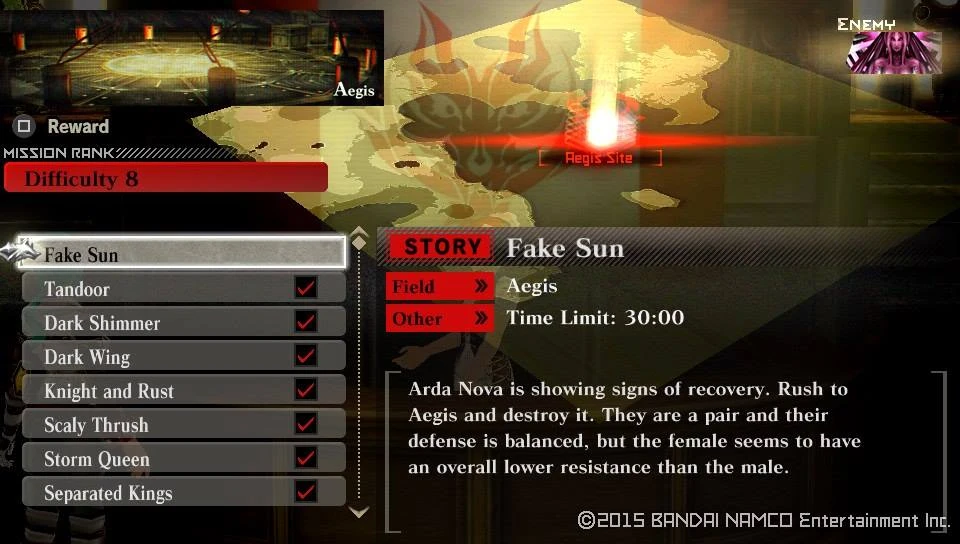  |
 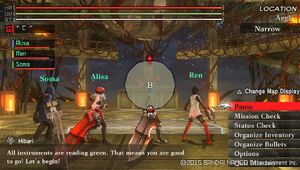 | |
| Target Aragami | Details | |
|
| |
| Notes | ||
|
Objective: Look who's back! On this mission Alisa is mandatory, plus any 2 members of the available teams. Recomended loadout: Long Blade, Crushing and Piercing bullets | ||
Once you clear the mission you get a cutscene and an increment to your story counter
Cutscene Unlocked : Lindow's Memory
|-|
58=
Story 58[]
Walkthrough
The previous Cutscene should be a clear enough indicator that you got two new party members.
Team Member Unlocked : Federico

Team Member Unlocked : Annette
This also means that their respective Personal Abilities became available
Personal Ability Unlocked : Federico

Personal Ability Unlocked : Annette
If you check in with Hibari, you'll learn that the good Doctor Sakaki is looking for you, but if you press on you'll see that a few free missions had become available though.
Free Mission Unlocked : Coyote Warrior

Free Mission Unlocked : Dirty Bomb

Free Mission Unlocked : The End to Vice
Once you feel that you want to move on, go seek out Dr. Sakaki in his lab, after some talk he'll usher you to get him 3 Ashen Wings . They can be earned from missions as a possible reward, if you've done the Free missions up to this point you might even have the required amount.
Once you do have enough materials he requested, hand it over and be sent on your next assignment
Story Mission Unlocked : Dog Mines
| Coyote Warrior | ||
|---|---|---|
| Information | ||
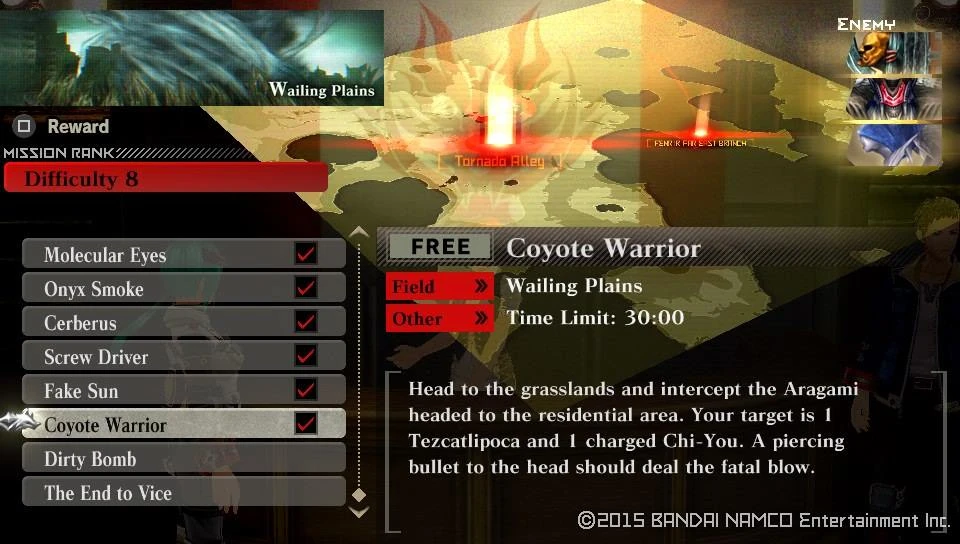  |
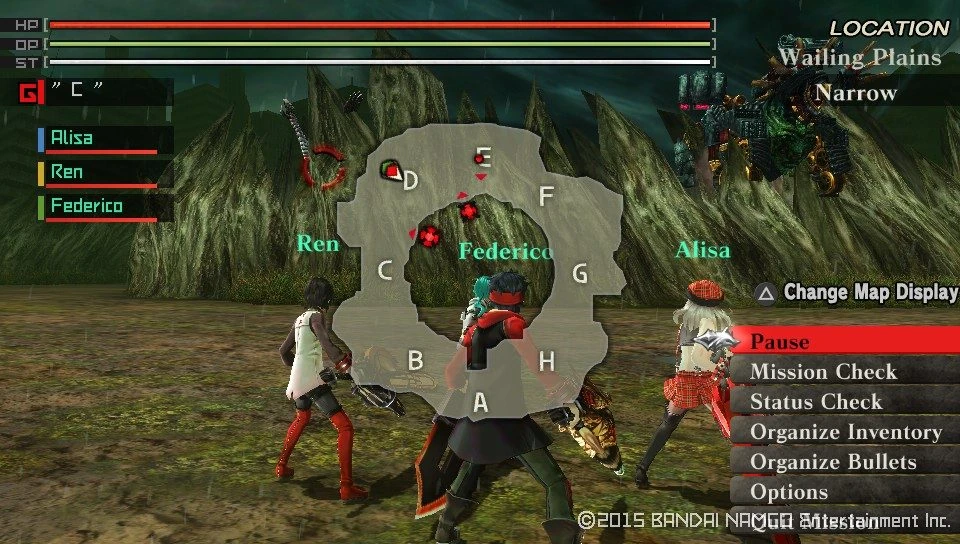  | |
| Target Aragami | Details | |
|
| |
| Notes | ||
|
Objective: Your thrown right into the middle of two annoying Aragami, be prepared for a fight! It's not impossible to engage only one of them at a time, but the way the Tezcal jumps down it has a high chance to see you even if you try to run, so take it on first and lure it away from the other target. Recomended loadout: Divine elemental Boost Hammer, Crushing and Piercing bullets | ||
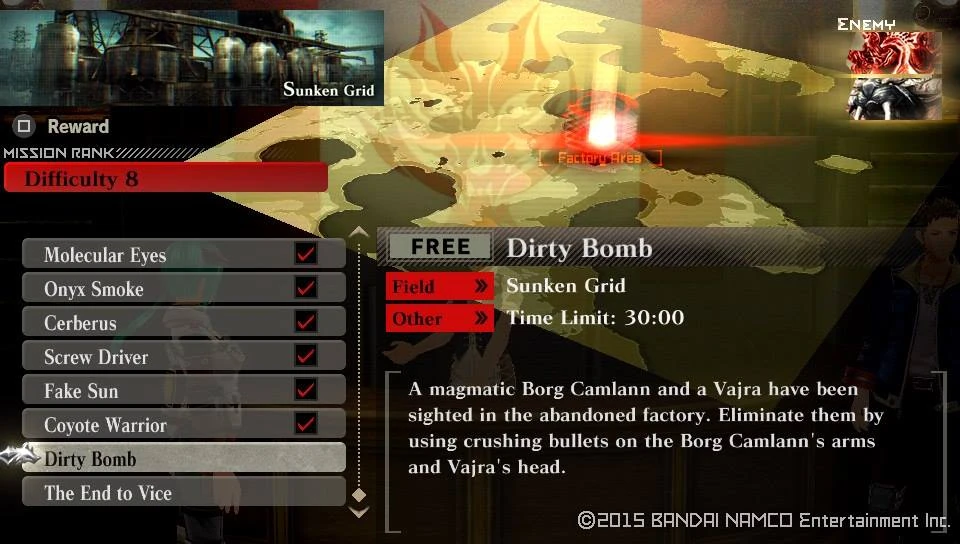

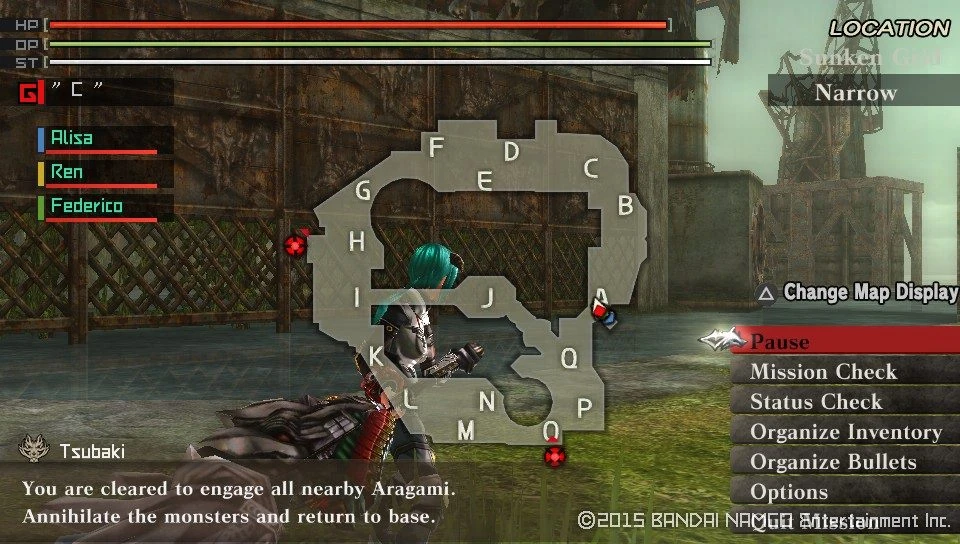

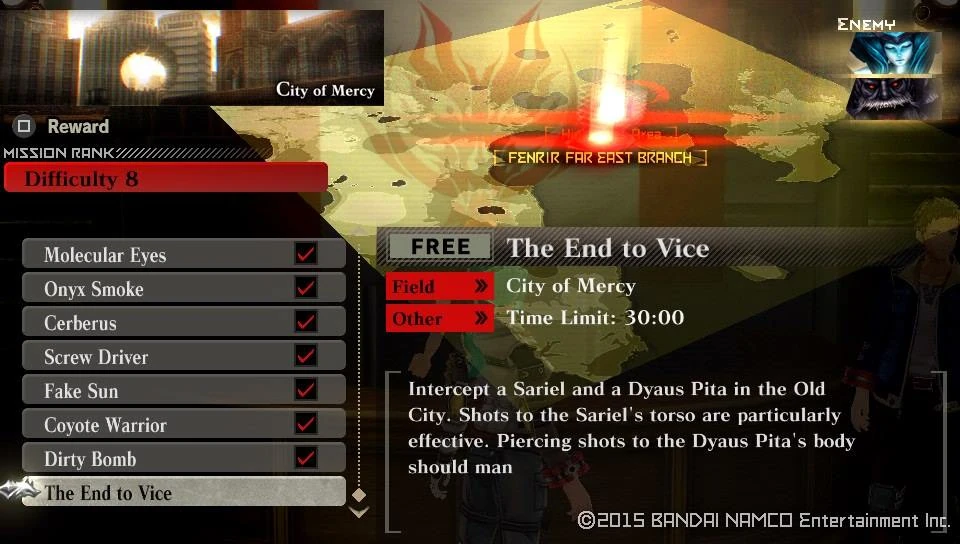

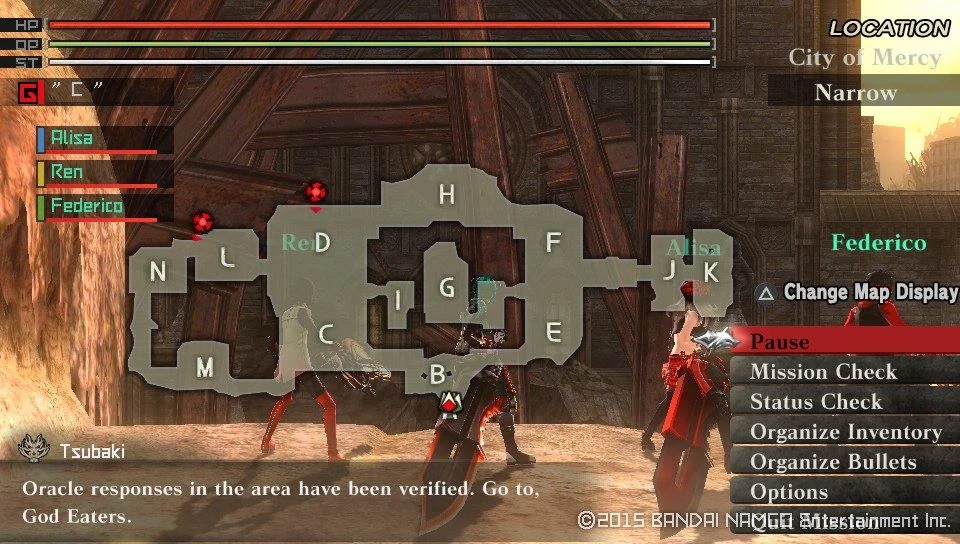

Once you had the materials, check out the mission assigned to you
| Dog Mines | ||
|---|---|---|
| Information | ||
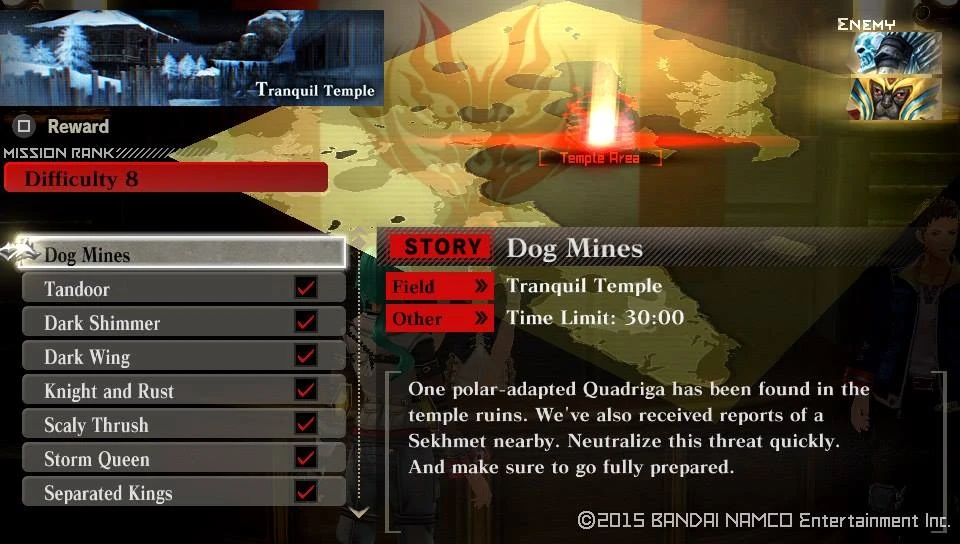  |
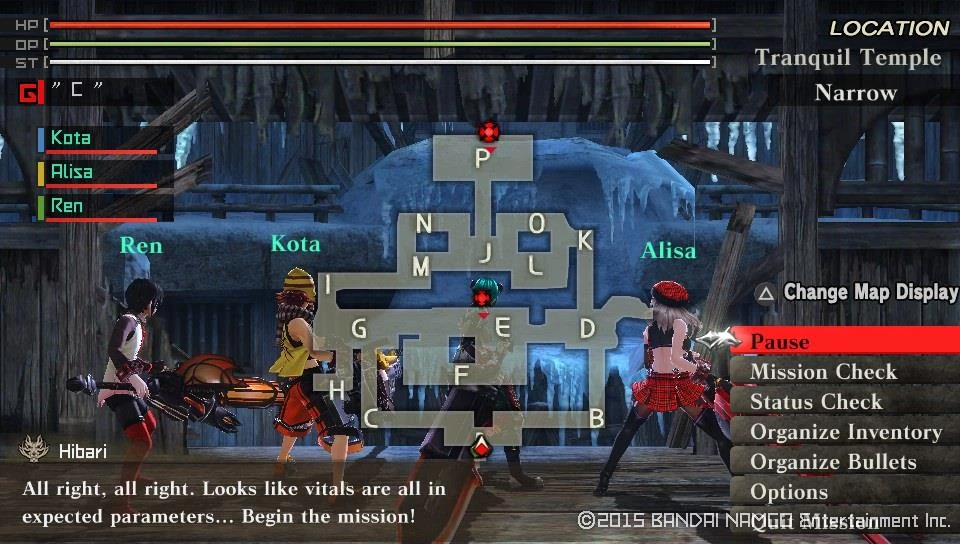  | |
| Target Aragami | Details | |
|
| |
| Notes | ||
|
Objective: Sneak past the bird and take the behemoth first. For this mission any 3 members from all 3 teams can come with you. Chosing equipment that allows to break all bonds can be tricky since both have different resistances, but you can do the following. Focusing on gear that breaks the Sekhmet and then use what you can to take the Quad. Recomended loadout: Freeze elemental Long Blade for the Sekhmet. Blaze elemental Piercing and Crushing bullets for the Fallen Quadriga | ||
You get rewarded with an increase story counter for your efforts.
|-|
59=
Story 59[]
Walkthrough
Return to Hibari and learn that the Doctor is summoning you once again. So head for the lab and get requested to return with another pair of materials. This time of 2 Black Wings.
Once more you might have gotten them from previous mission, if not rerun them until you have the required numbers. Return to the lab and hand them over and get once again sent on a mission.
Story Mission Unlocked : Fire Engine
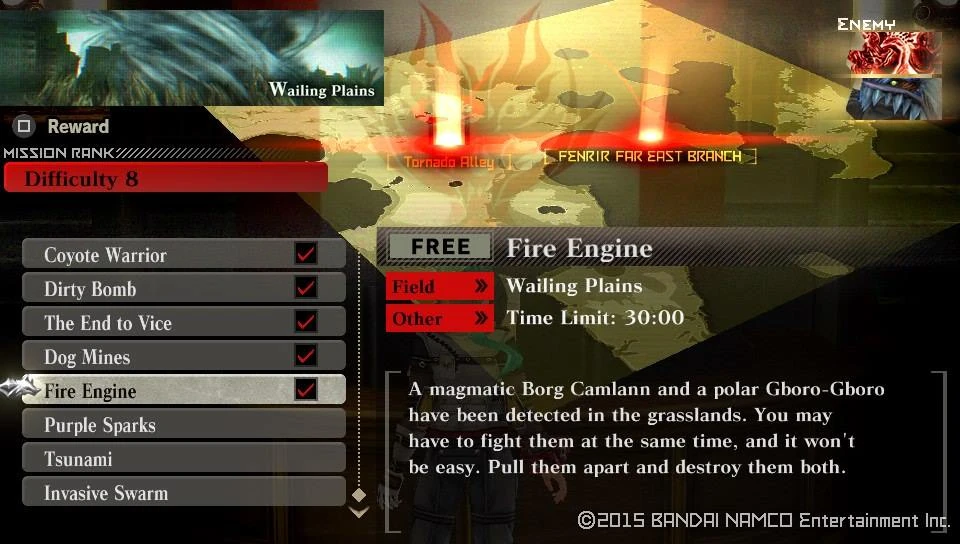

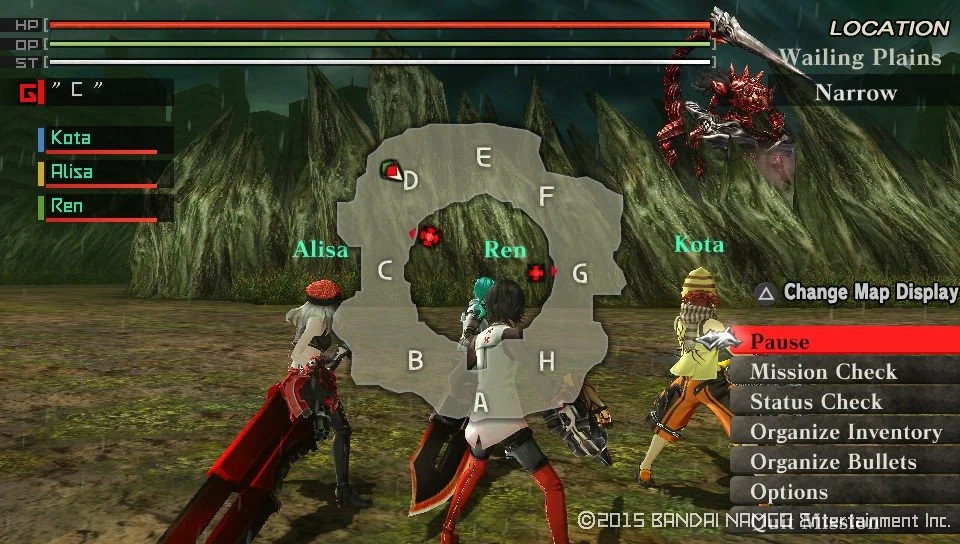
For all this trouble you'll get rewarded with a Cutscene and an increase to your story counter
Cutscene Unlocked : Search Resumed
|-|
60=
Story 60[]
Walkthrough
You start with a couple new Free missions and a Story unlocked as speak to Hibari.
Free Mission Unlocked : Purple Sparks

Free Mission Unlocked : Tsunami

Free Mission Unlocked : Invasive Swarm

Story Mission Unlocked : Devourer of World
| Purple Sparks | ||
|---|---|---|
| Information | ||
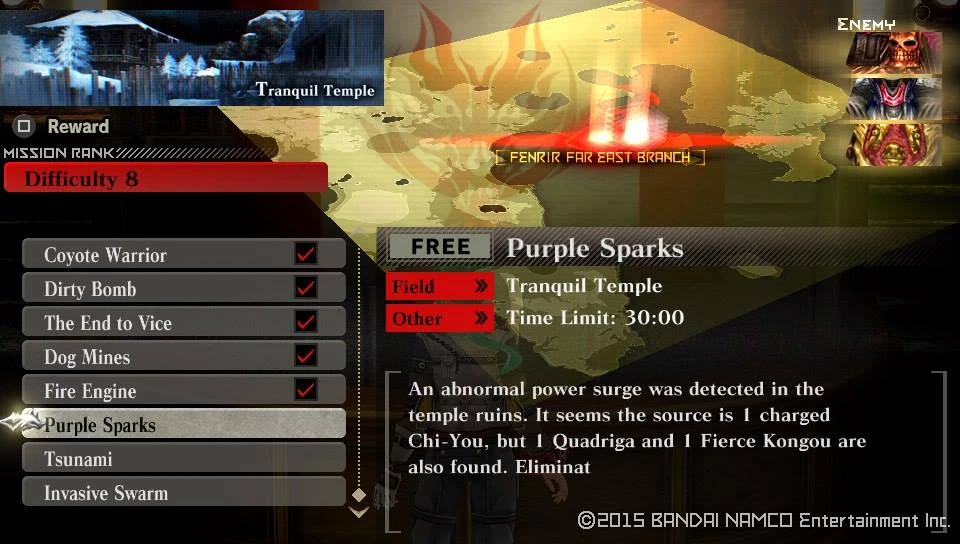  |
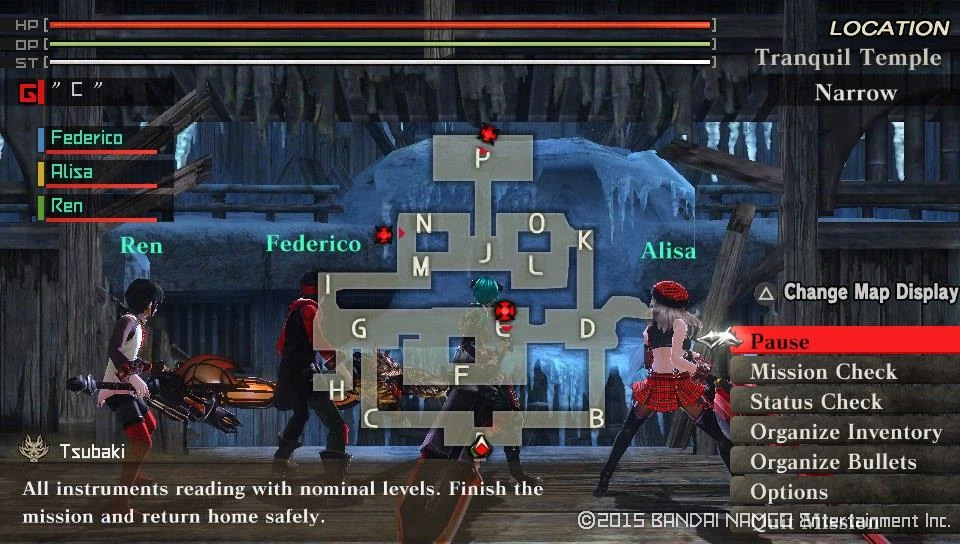  | |
| Target Aragami | Details | |
|
| |
| Notes | ||
|
Objective: By this point you better be used to fighting large monsters in tight spaces The Quad and Kongou WILL rush you if you make a noise, so better to lure them ASAP and avoid gaining the attention of the Chi-You. The small space will prove problematic, but... better tough it out. Recomended loadout: Freeze elemental Long Blade, Divine elemental Crushing Bullets. | ||
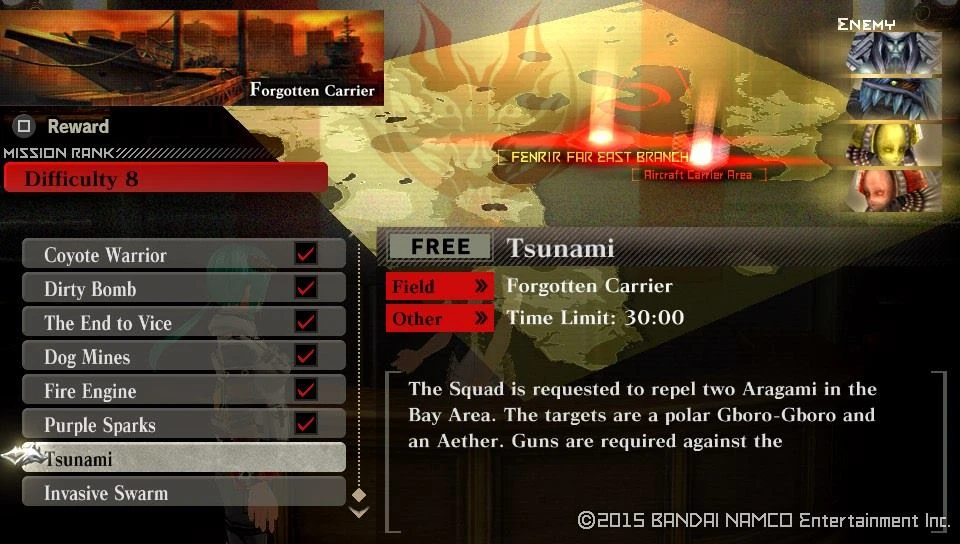
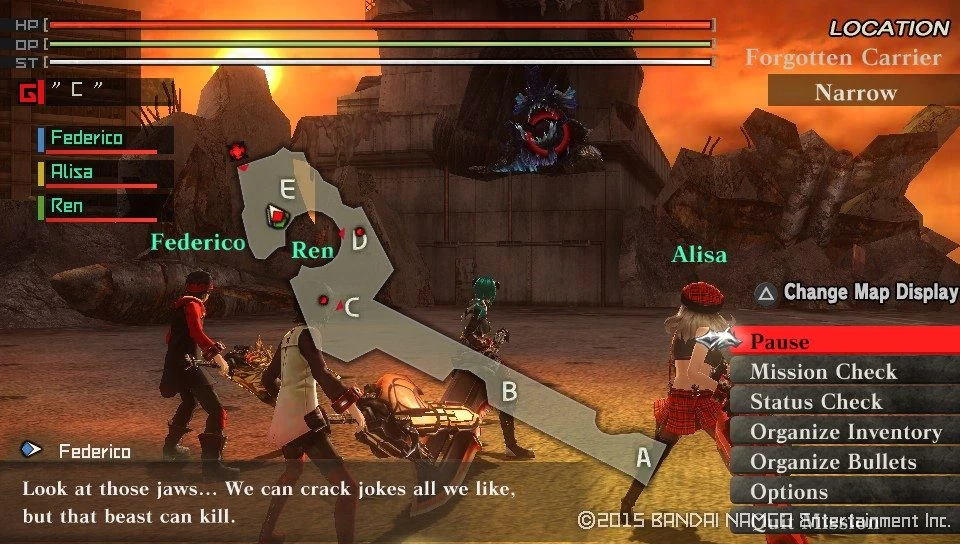

| Invasive Swarm | ||
|---|---|---|
| Information | ||
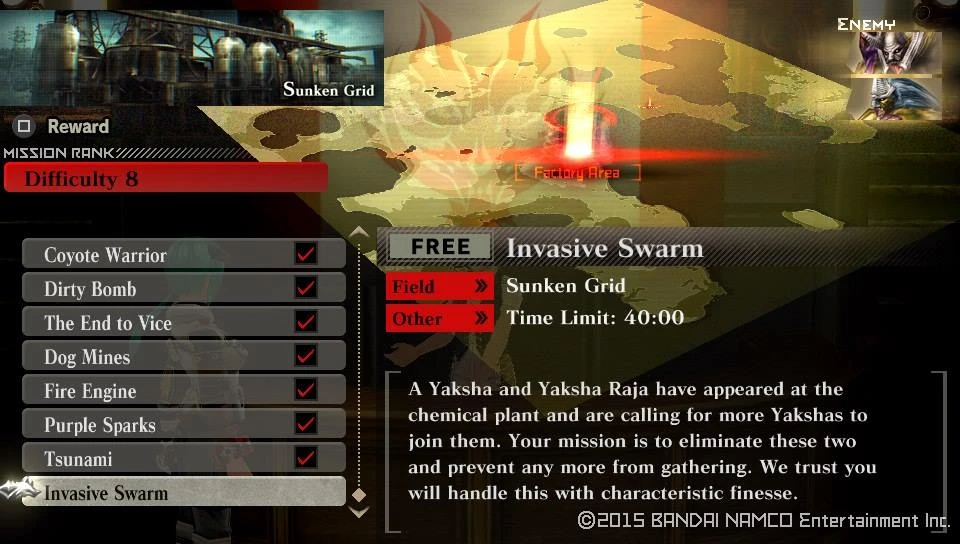  |
  | |
| Target Aragami | Details | |
|
| |
| Notes | ||
|
Objective: Smash them all! Recomended loadout: Any elemental Long Blade, Piercing Bullets | ||
Then when you are prepared take the Story Mission
| Devourer of World | ||
|---|---|---|
| Information | ||
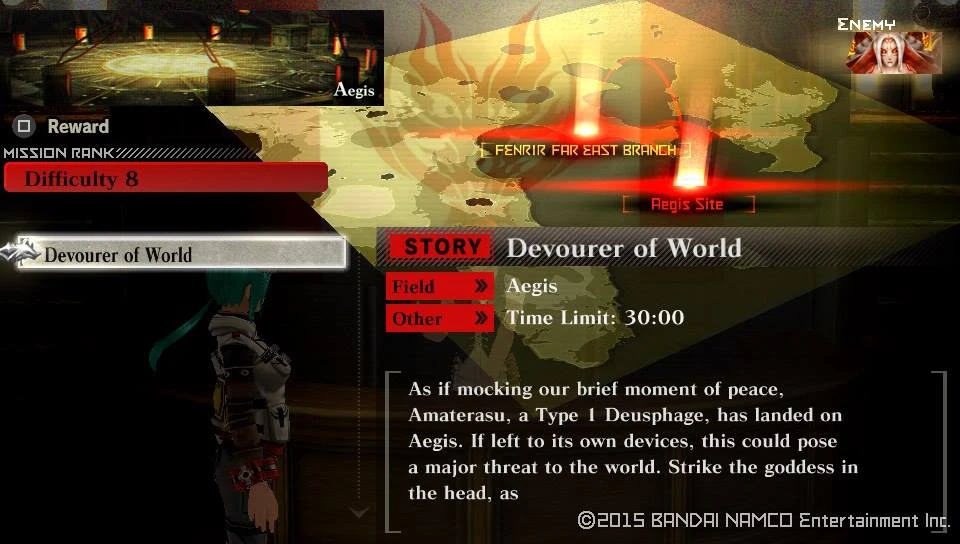  |
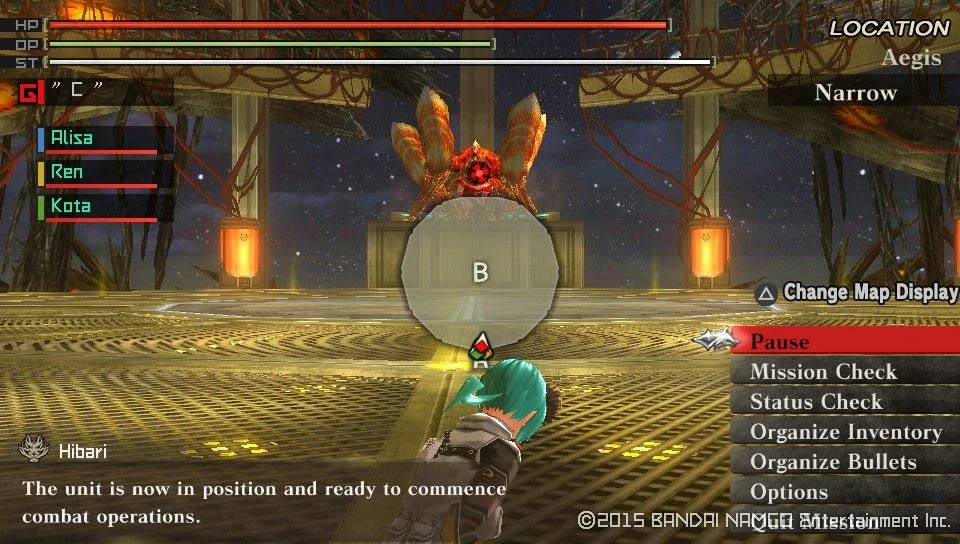  | |
| Target Aragami | Details | |
|
| |
| Notes | ||
|
Objective: Meet the Deusphage version of the Ouroboros You can bring any 3 members of the available 3 teams with you. If you want to hear something interesting, bring Federico and hear him... stumped at the appearance of this beast. No matter how hard you look at it, this is very much like an Ouroboros except it doesn't share that much similarities with it. Some of the attacks are the same, but most are altered and are much more dangerous. Do not stay at long range too long, or it will start to long at you homing fire ball that hurt like hell. Better prepare with Blaze and stun resistant gear and spark enhanced melee weapon. Bullets aren't that effective versus this variant so better focus on a stronger piercing weapon. Recomended loadout: Spark elemental piercing weapon. The breakable parts are the following:
| ||
You get another story counter rise for beating this abomination
|-|
61=
Story 61[]
Walkthrough
Once you get back to the base, the ones present are talking about the most idiotic plan that a certain mood-maker yould have come up with. But nevertheless it serves as the base of your next mission.
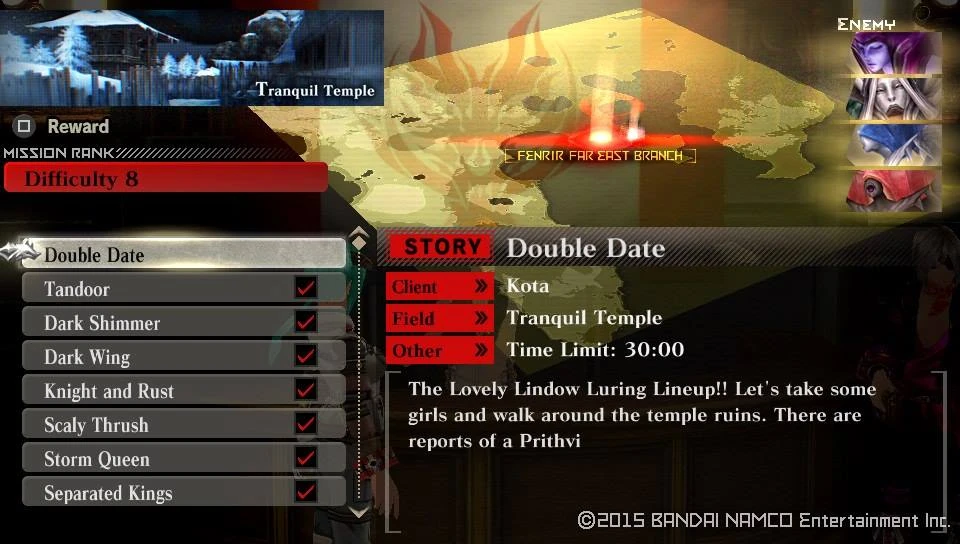

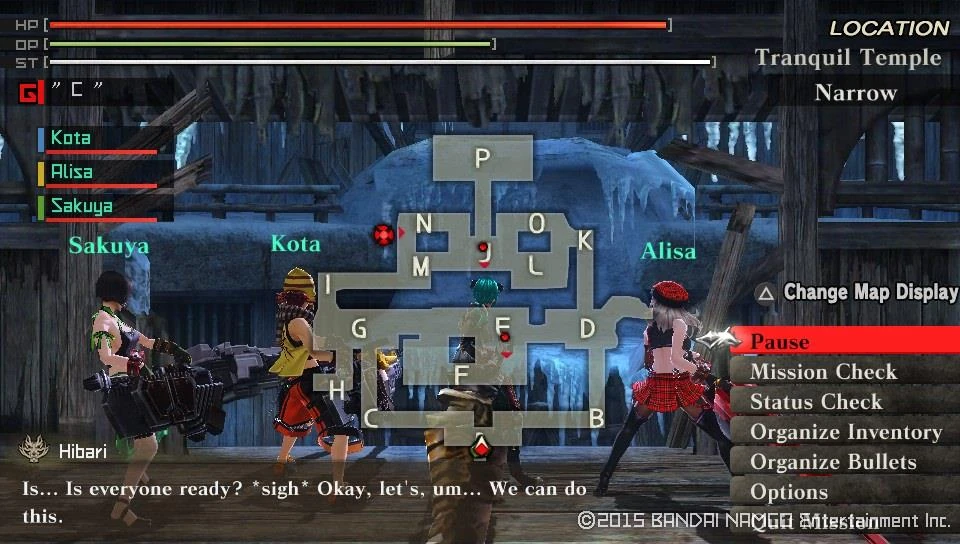

With this you'll finish the final mission for Rank 8 and get an increase to your Story counter.
|-|
62=
Story 62[]
Walkthrough
Go and talk to Hibari, she will inform you that Licca was looking for you and you should head over to the Lab and see her in person. Do so and have a short chat, upon returning to the Operator your next Mission will be ready to take.
Story Mission Unlocked : Dragon-Tiger Fang
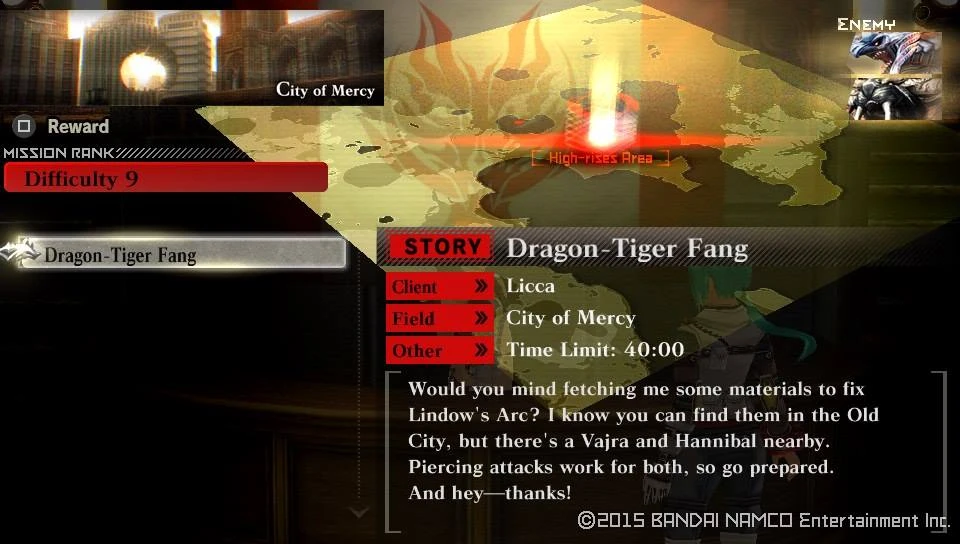

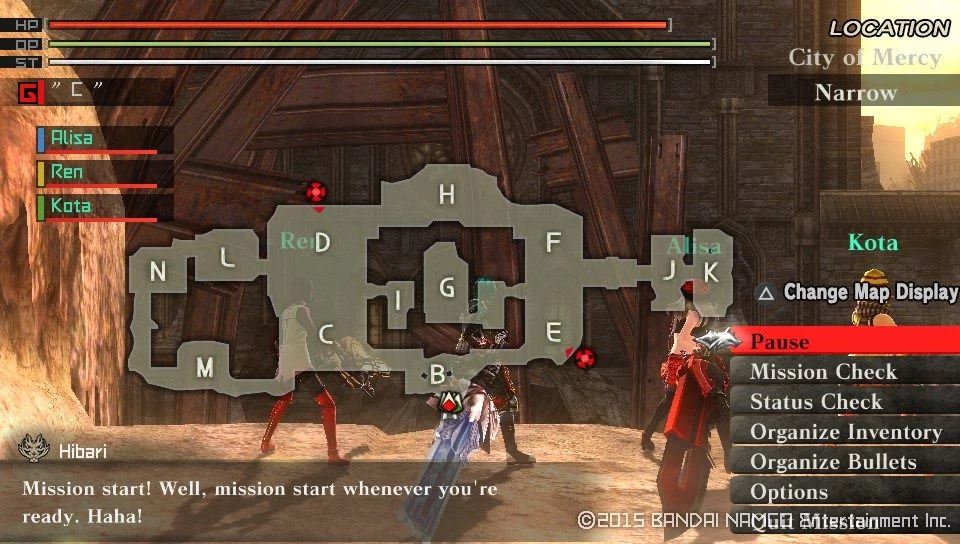

Clearing this mission nets you a new Predator Style, an aerial one along with the customary Story counter increase.
Predator Style Unlocked : Punisher
|-|
63=
Story 63[]
Walkthrough
By clearing Tiger-Dragon Fang, you unlock he next difficulty of Urgent missions, a 2 wave survival.
Urgent Mission Unlocked : Flame Madness


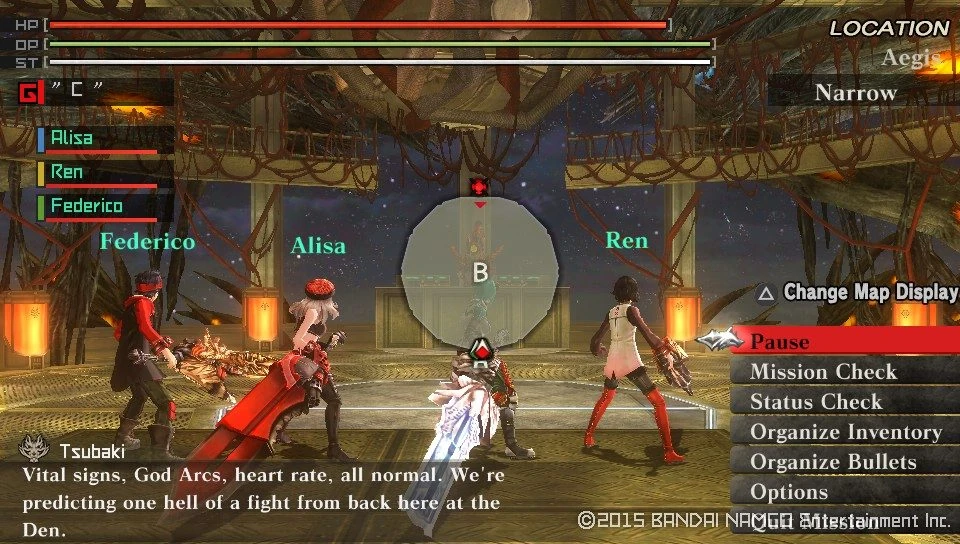

| Reward | Conditions | Probability |
| Automatic | 100% | |
| Automatic | ||
| Automatic | ||
| Automatic | ||
| Automatic | ||
| Automatic | ||
| Automatic | ||
| Automatic | ||
| Automatic | ||
| Automatic | ||
| Automatic | ||
| Automatic | ||
| Automatic | ||
| Automatic | ||
| Automatic | ||
| Automatic | ||
| Automatic | ||
| Clear under 5 Min. | ||
| Clear with 30+ Endurance | ||
| Clear with 30+ Endurance | ||
| Clear with 30+ Endurance | ||
| Clear with 30+ Endurance | ||
| Clear with 30+ Endurance | ||
| Gold F-Ticket | Break 3+ Bonds | 100% |
| Gold A-Ticket | Break 3+ Bonds | 20% |
| "Reward Credits Up" Lv5 or higher | 30% | |
| Restore Pill II | "Get Consumable Items" Lv5 or higher | 50% |
| O-Ampule | "Get Consumable Items" Lv5 or higher | 50% |
| Restore Pill S | "Get Consumable Items" Lv5 or higher | 33% |
| OG: Restore Post | "Get Consumable Items" Lv5 or higher | 33% |
The second part of the Survival takes you to the Temples, wih 2 out of 3 Aragami exceling in detection.
| Flame Madness | ||
|---|---|---|
| Information | ||
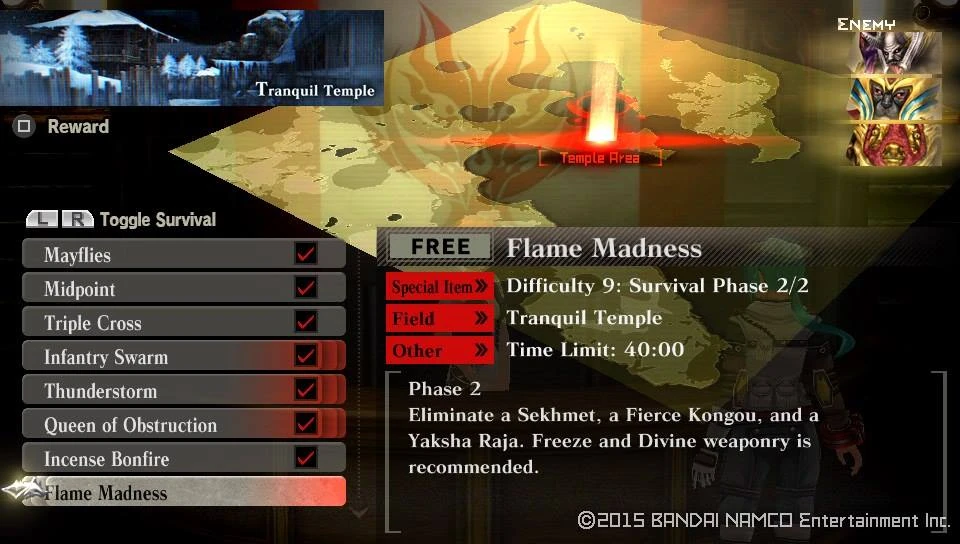  |
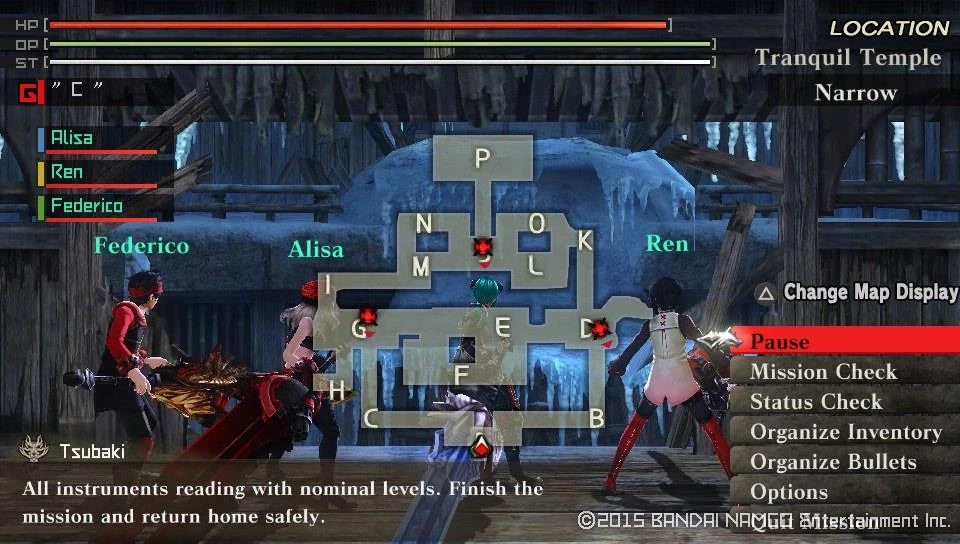  | |
| Target Aragami | Details | |
|
| |
| Notes | ||
|
Objective: Separate the Kongou and Raja from the Sekhmet and take them down first. A mission that has some challenge factor. Both the Kongou and Yaksha variant will come at you because of their enhanced senses. So lead them away from the Sekhmet and take them down. Try to focus on one at a time and send them running to a resource point, although they will instantly come back to fight you since the noise of battle will attract the Aragami giving them practically not even a few seconds to heal. Because of the layout of the narrow corridors, it's harder to fight the Kongou so try to lure it out to the open field once the Sekhmet leaves that area, albeit always keep an eye on he map to see where it starts patrolling. Recomended loadout: Stun resistant gear, Freeze elemental Long Blade, Divine and Freeze Crushing Bullets. Both the Raja and Sekhmet can be dealt with the Long Blade, while the Divine Crush bullets make short work of the Kongou. | ||
| Reward | Conditions | Probability |
| Automatic | 100% | |
| Automatic | ||
| Automatic | ||
| Automatic | ||
| Automatic | ||
| Automatic | ||
| Automatic | ||
| Automatic | ||
| Automatic | ||
| Automatic | ||
| Automatic | ||
| Automatic | ||
| Automatic | ||
| Automatic | ||
| Automatic | ||
| Automatic | ||
| Automatic | ||
| Clear under 5 Min. | ||
| Clear with 30+ Endurance | ||
| Clear with 30+ Endurance | ||
| Clear with 30+ Endurance | ||
| Clear with 30+ Endurance | ||
| Clear with 30+ Endurance | ||
| Gold F-Ticket | Break 3+ Bonds | 100% |
| Gold A-Ticket | Break 3+ Bonds | 20% |
| "Reward Credits Up" Lv5 or higher | 30% | |
| Restore Pill II | "Get Consumable Items" Lv5 or higher | 50% |
| O-Ampule | "Get Consumable Items" Lv5 or higher | 50% |
| Restore Pill S | "Get Consumable Items" Lv5 or higher | 33% |
| OG: Restore Post | "Get Consumable Items" Lv5 or higher | 33% |
Alongside the Urgent, an extra pack of missions is unlocked. The first from the Predator packs actually.
Predator Pack Mission Unlocked : Fukumuya Moat
| Fukumuya Moat | ||
|---|---|---|
| Information | ||
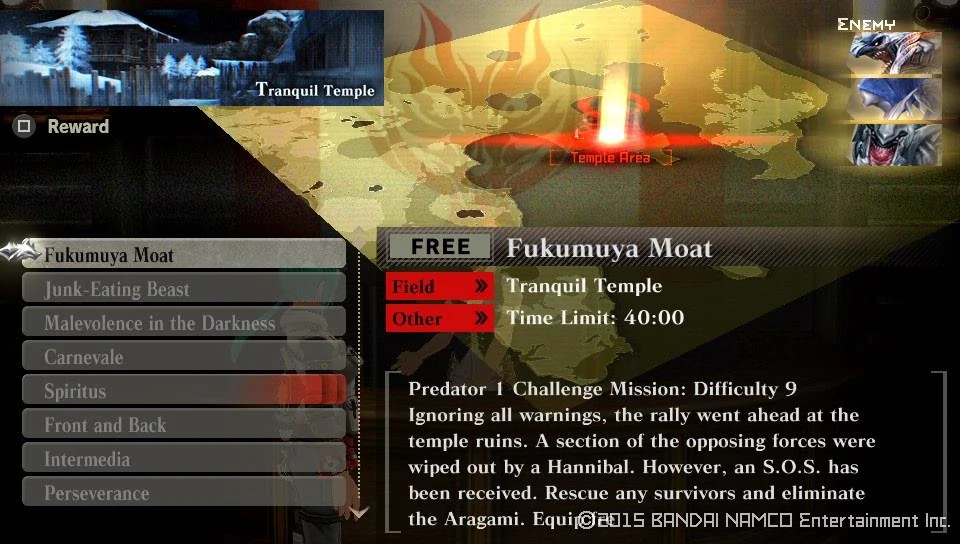  |
  | |
| Target Aragami | Details | |
|
| |
| Notes | ||
|
Objective: Take down the dragon and return with the spoils. Recomended loadout: Freeze elemental Long Blade, Piercing and Crushing Bullets. | ||
You get to chose from a variety of free missions now, so take your ime and crush some Aragami.
Free Mission Unlocked : Buddha Smile

Free Mission Unlocked : Monkey Wrath

Free Mission Unlocked : Unidentified

Free Mission Unlocked : Goddess' Duty

Free Mission Unlocked : Newcomer Trials

Free Mission Unlocked : Ruler's City

Free Mission Unlocked : Runaway Tank

Free Mission Unlocked : Sidecar

Free Mission Unlocked : Nocturnal Axe

Free Mission Unlocked : Dutch Oven

Free Mission Unlocked : Looter's Night

Free Mission Unlocked : Guardians
| Buddha Smile | ||
|---|---|---|
| Information | ||
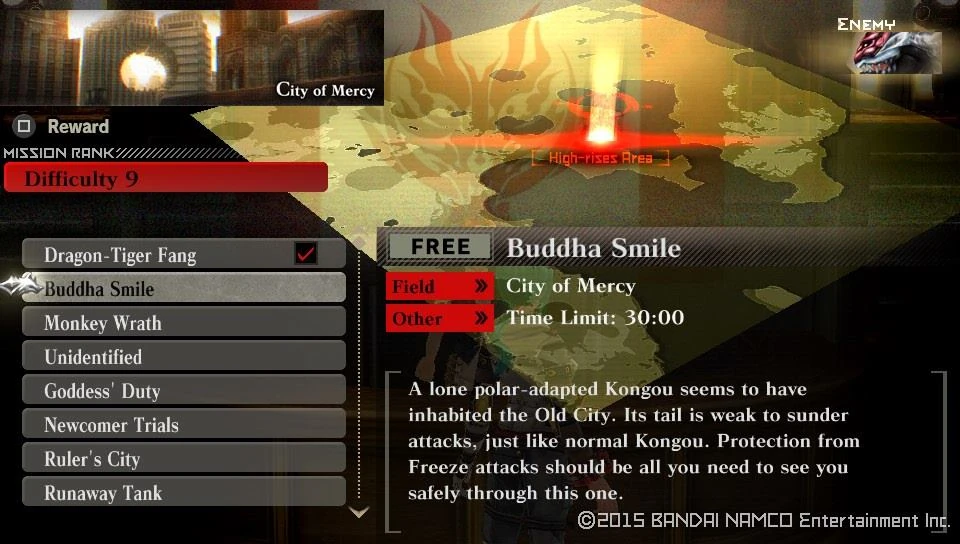  |
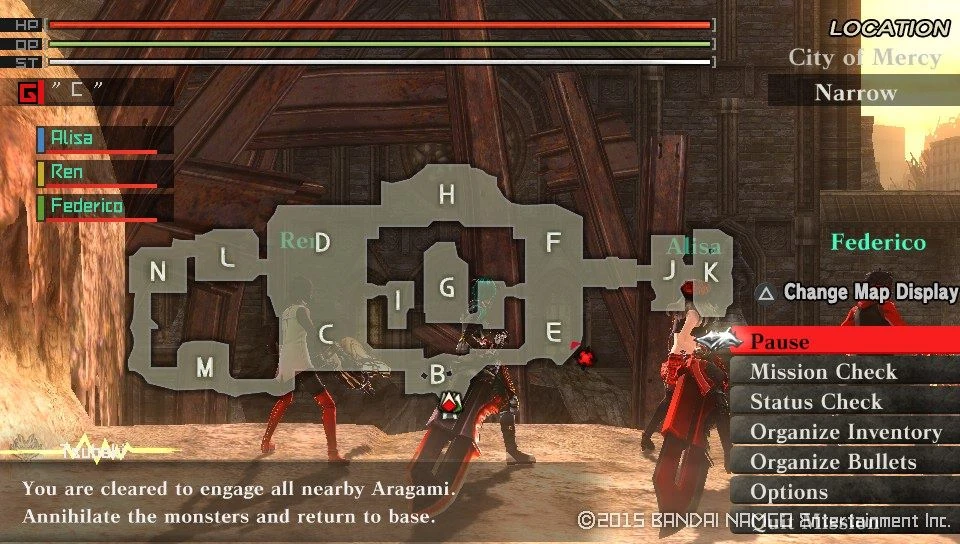  | |
| Target Aragami | Details | |
| ||
| Notes | ||
|
Objective: Take the monkey down. Recomended loadout: Blaze elemental Long Blade will do the job. | ||
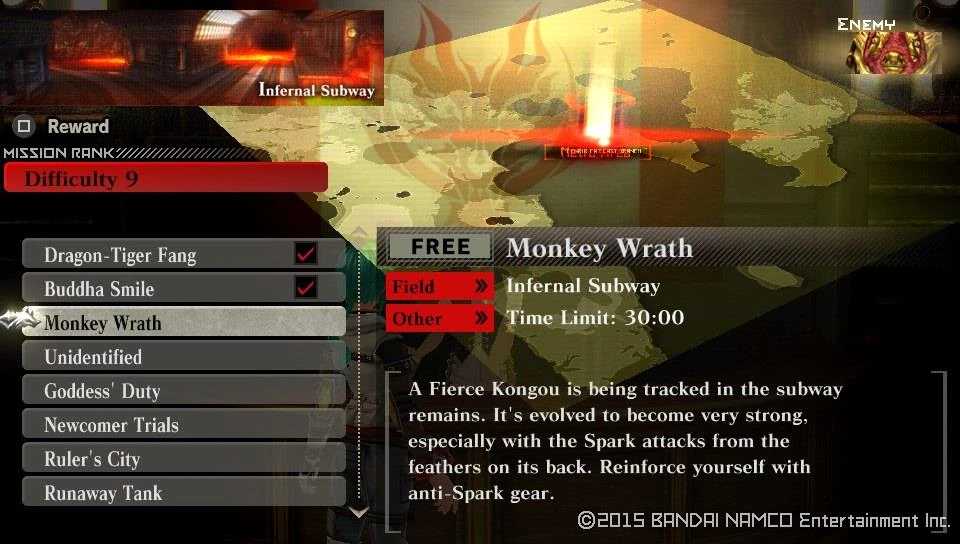

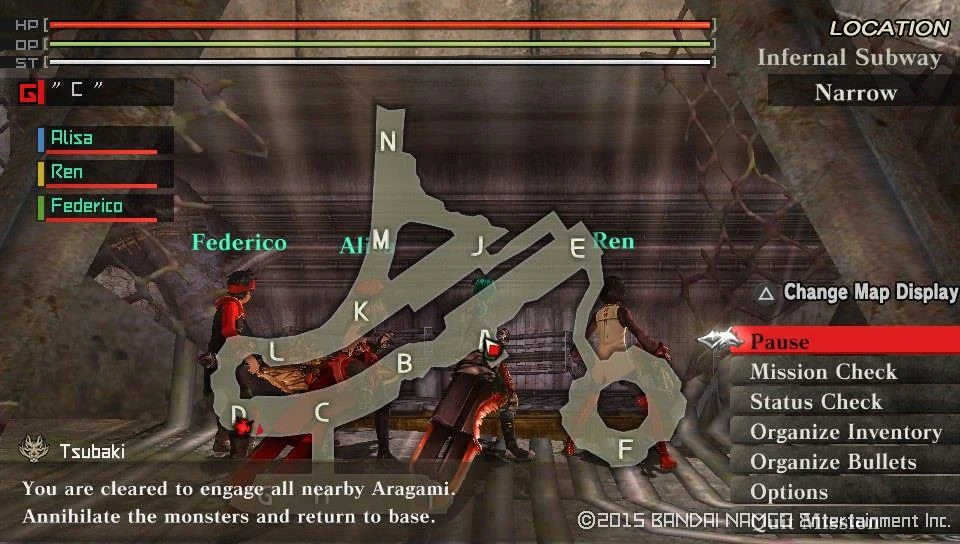

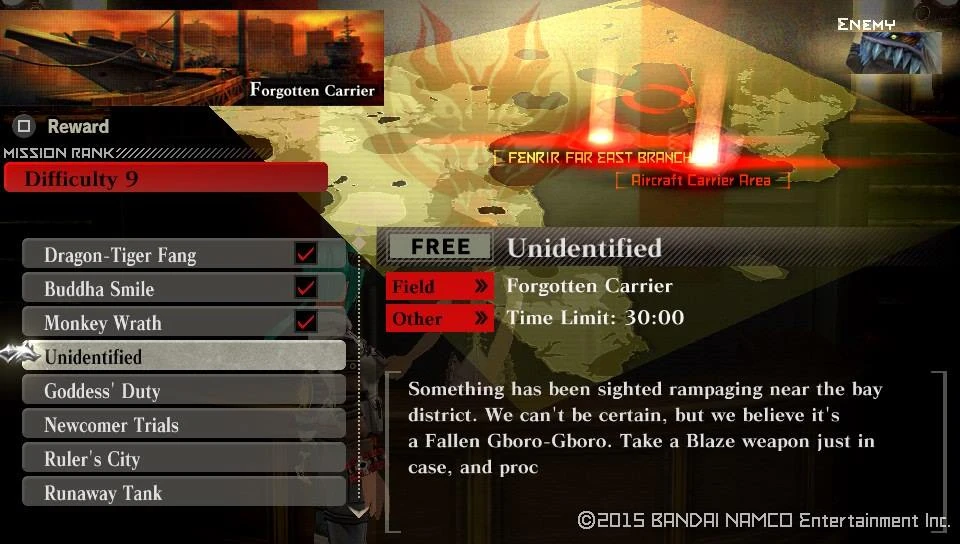

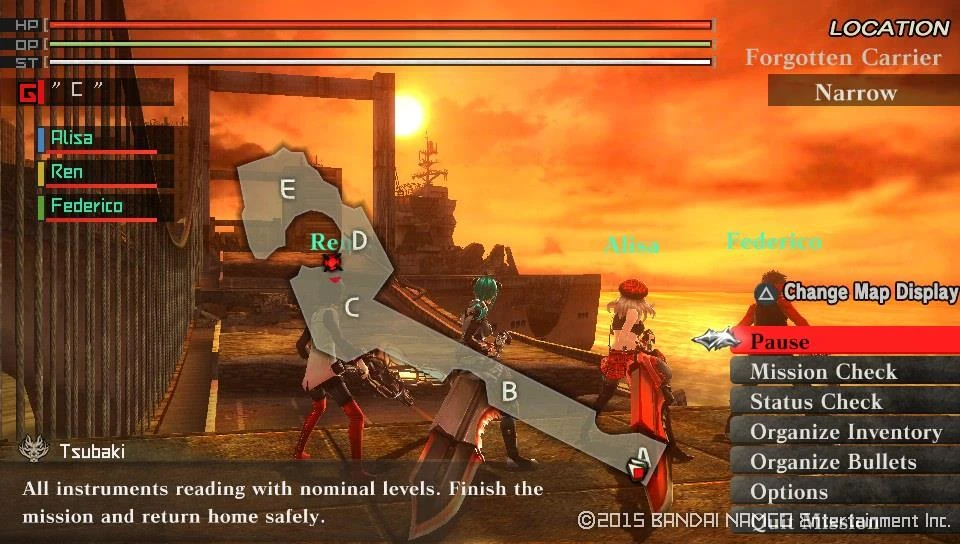

| Goddess' Duty | ||
|---|---|---|
| Information | ||
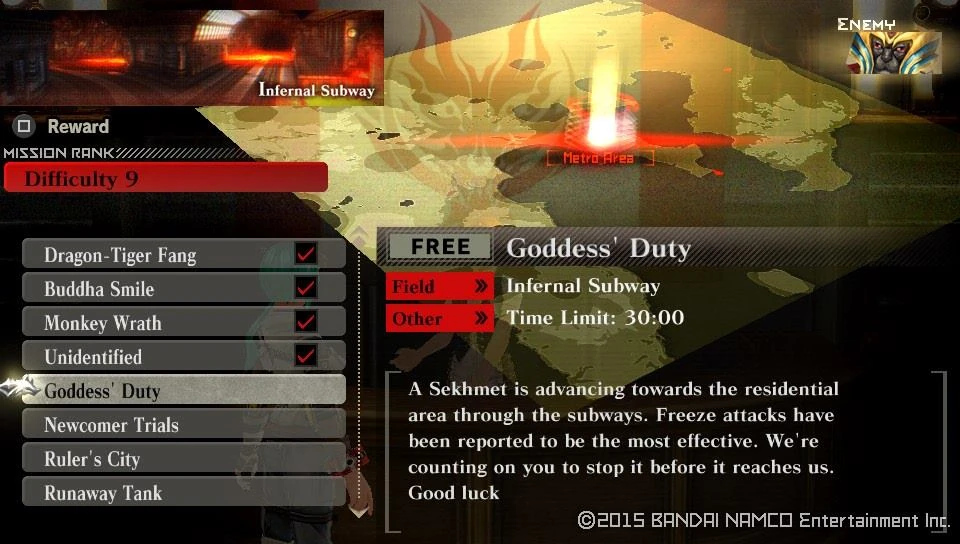  |
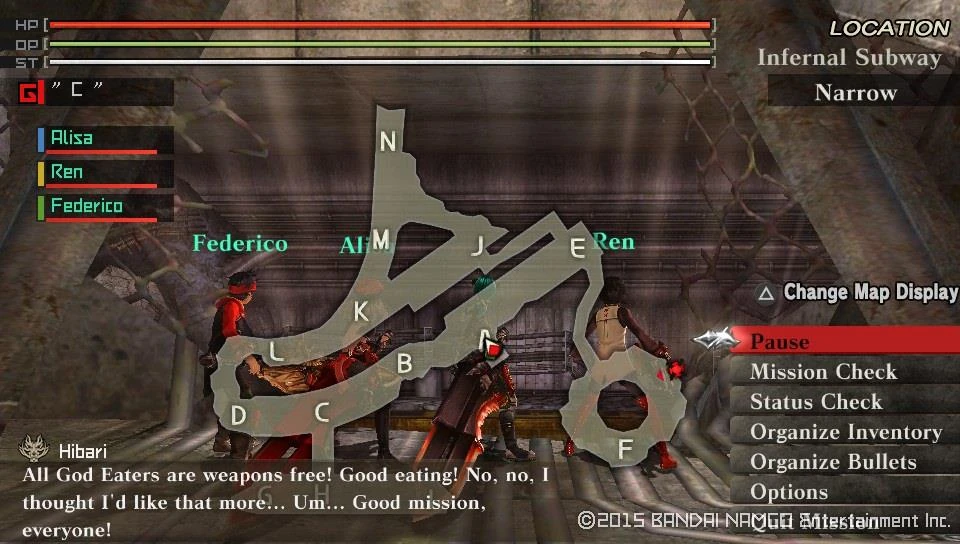  | |
| Target Aragami | Details | |
|
| |
| Notes | ||
|
Objective: Take the blazing bird brain down. Recomended loadout: Freeze elemental Long Blade does the job | ||
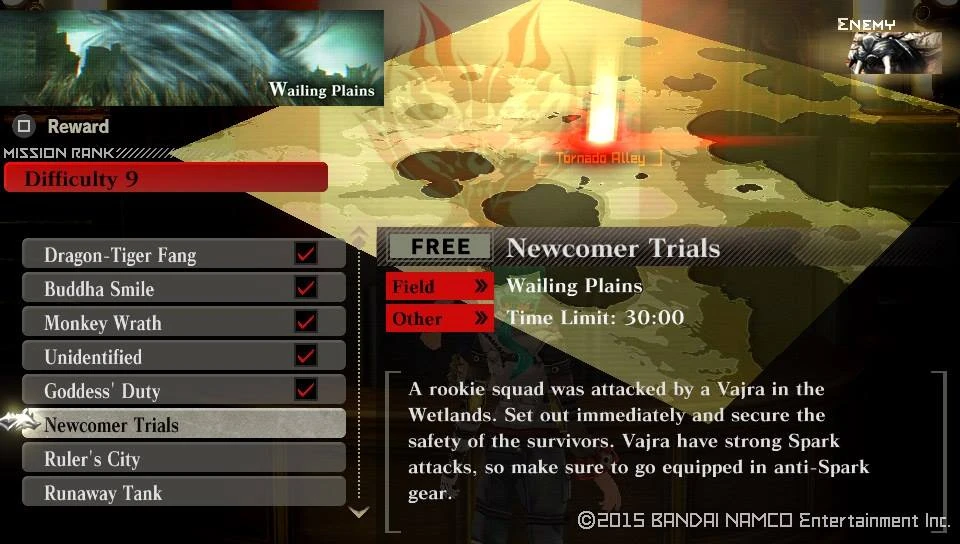

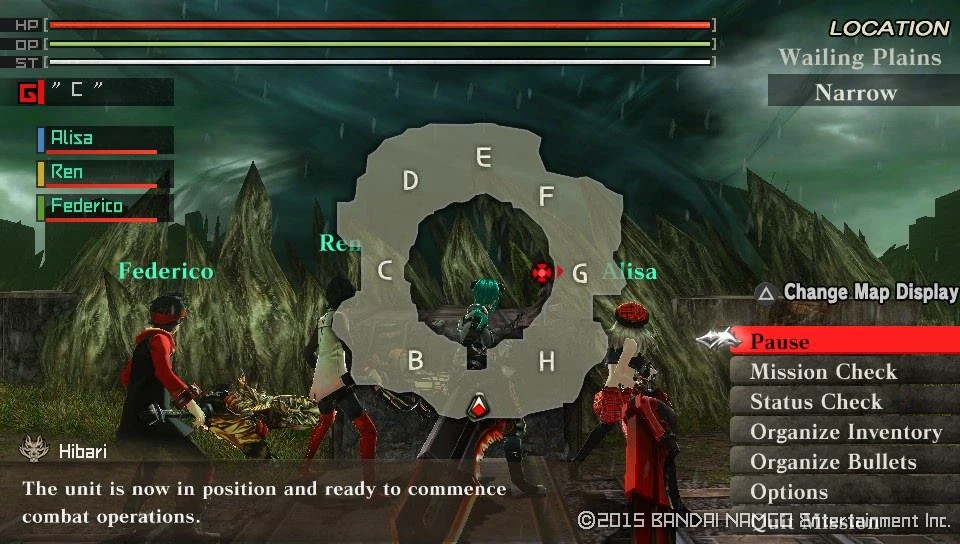

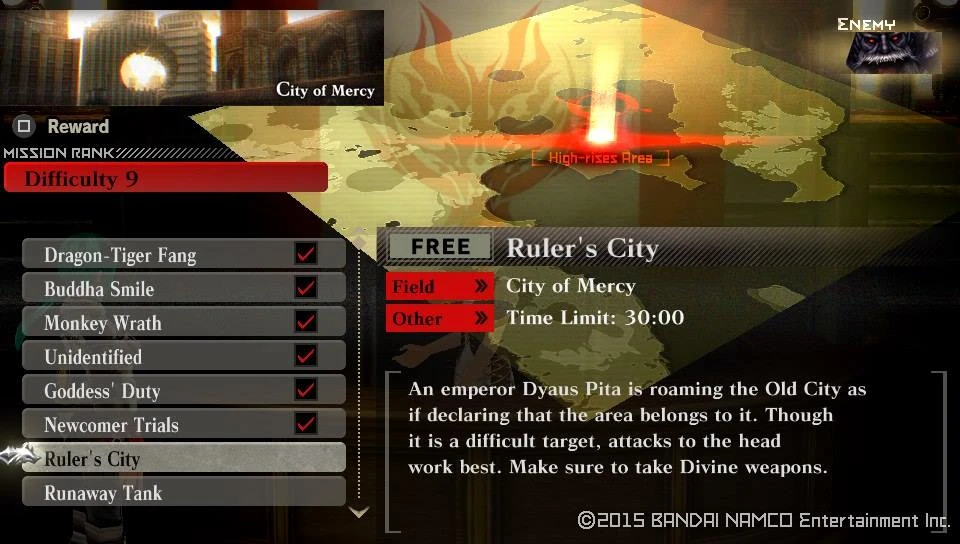


| Runaway Tank | ||
|---|---|---|
| Information | ||
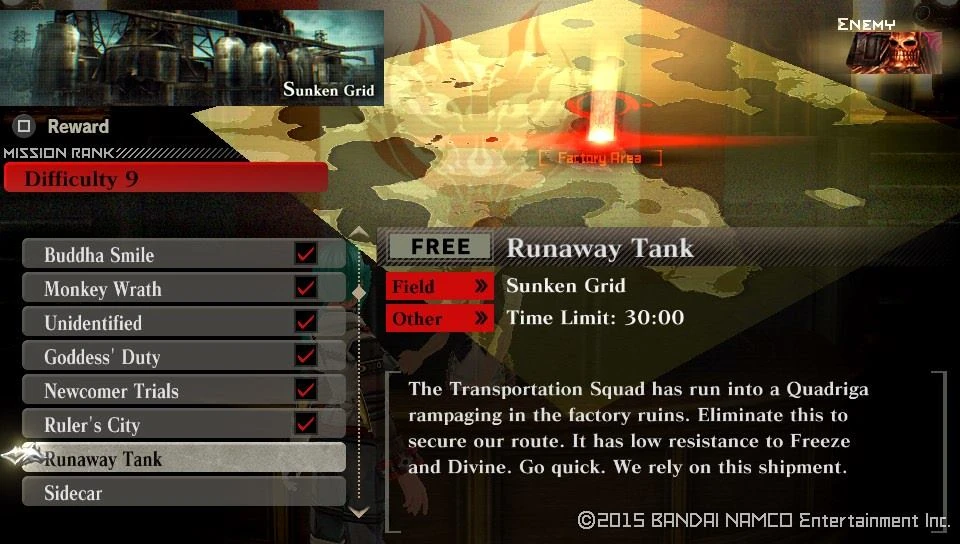  |
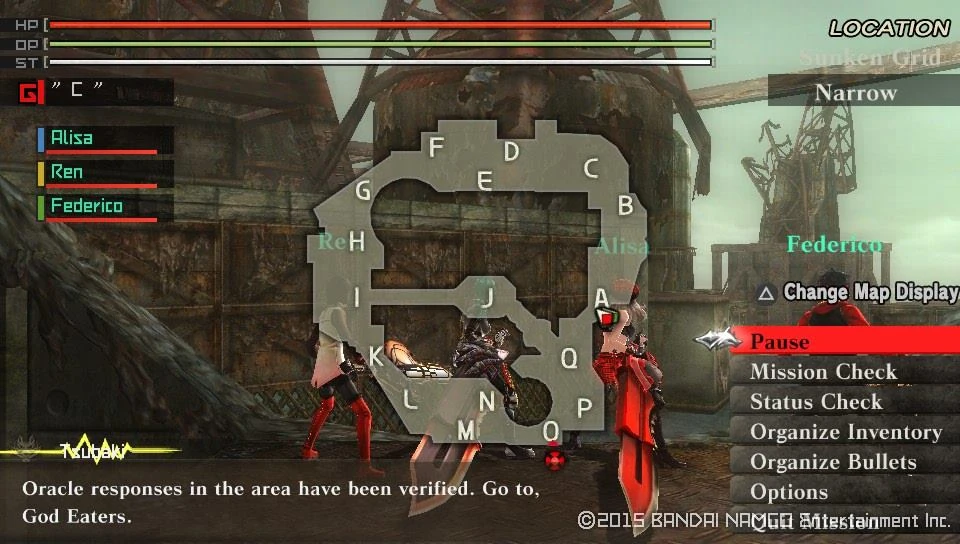  | |
| Target Aragami | Details | |
|
| |
| Notes | ||
|
Objective: One behemoth coming up! Recomended loadout: Freeze or Divine elemental Boost Hammer and Piercing Bullets | ||
| Sidecar | ||
|---|---|---|
| Information | ||
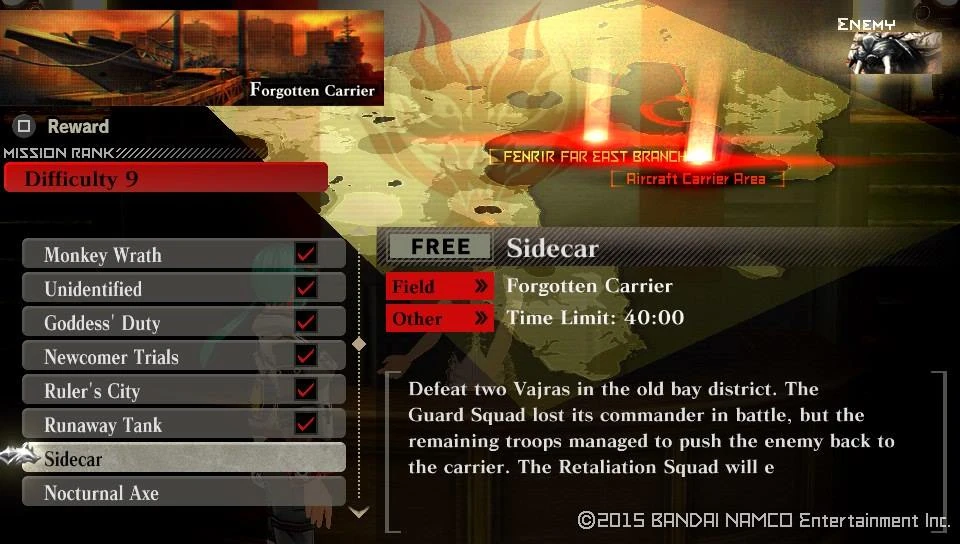  |
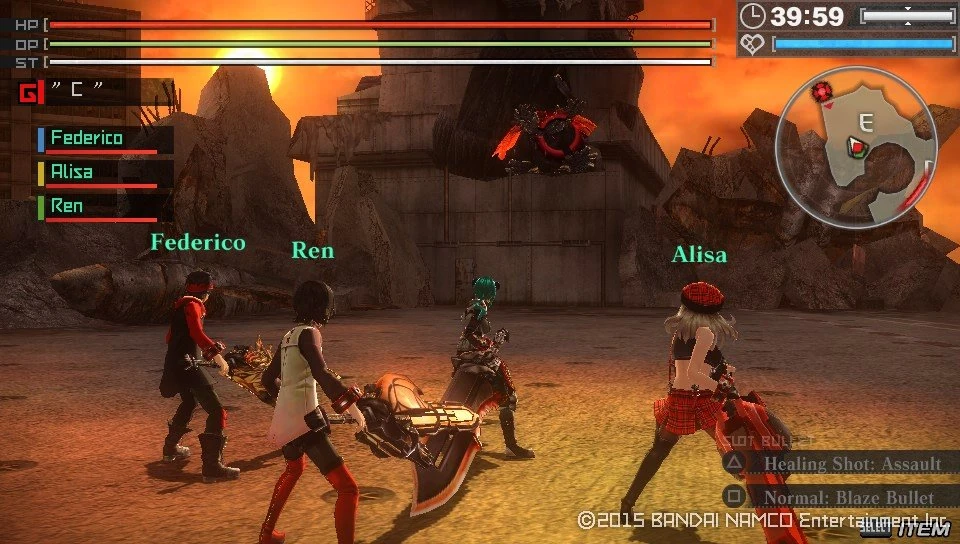  | |
| Target Aragami | Details | |
|
| |
| Notes | ||
|
Objective: Separate the kittens and take them down easily. Recomended loadout: Non-Spark Long Blade, Piercing and Crushing Bullets | ||
| Nocturnal Axe | ||
|---|---|---|
| Information | ||
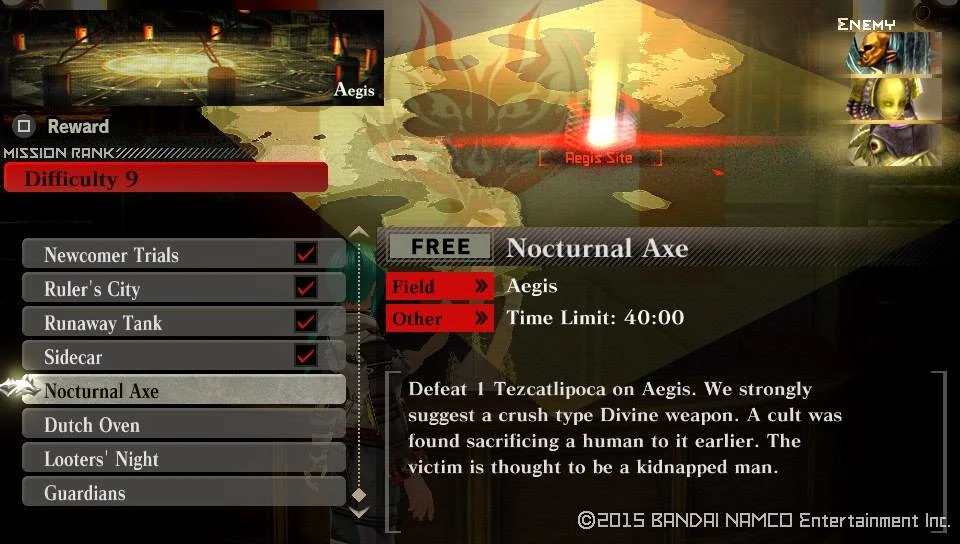  |
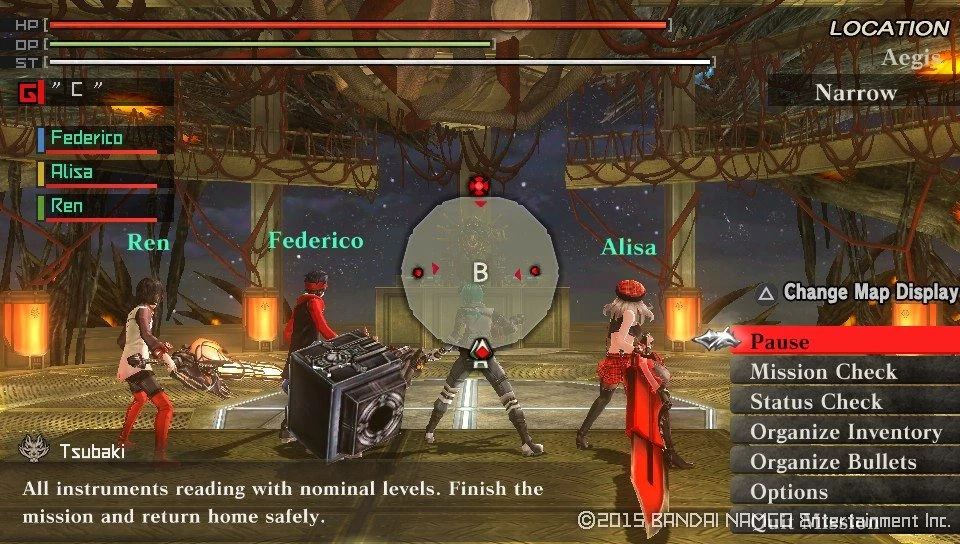  | |
| Target Aragami | Details | |
|
| |
| Notes | ||
|
Objective: Crush the small fry, then the behemoth. Recomended loadout: Divine Elemental Boost Hammer, Piercing and Crushing bullets. | ||
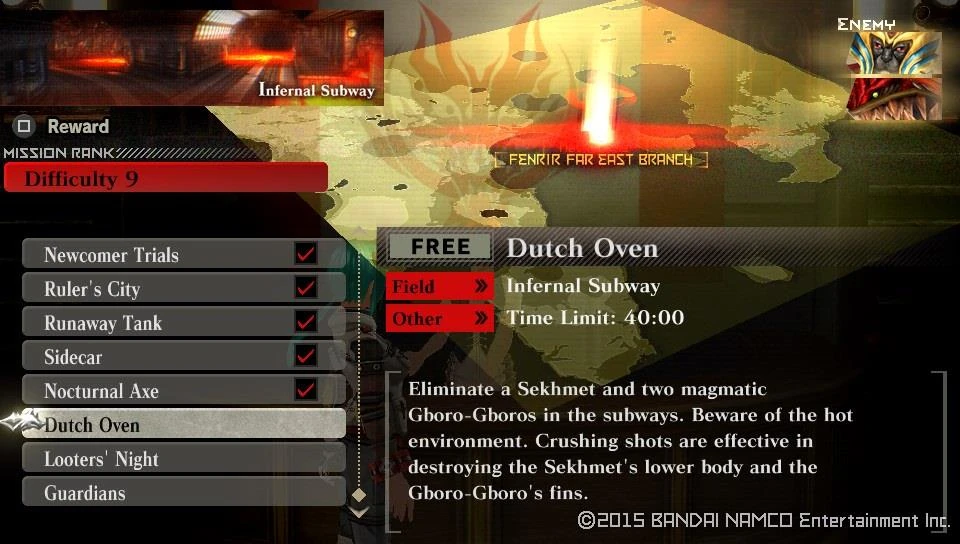

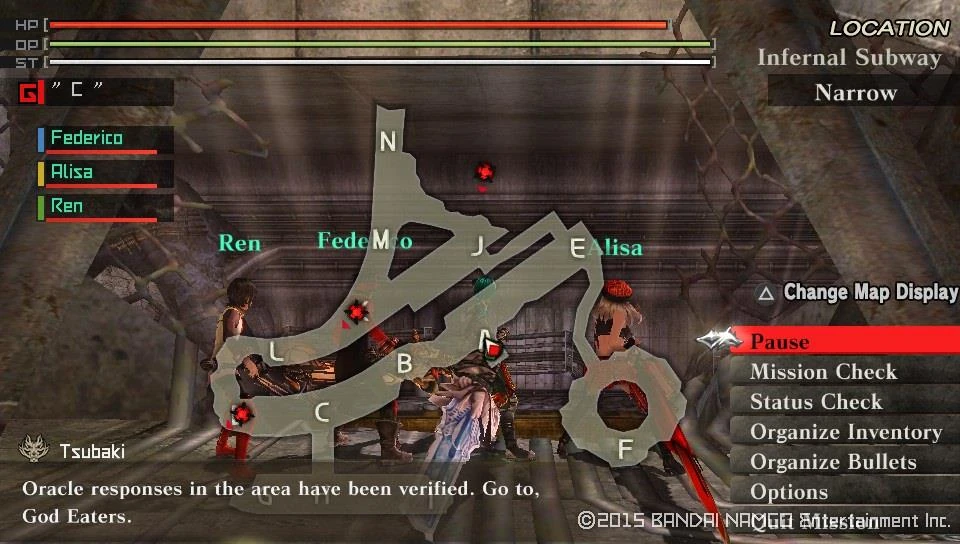
| Looter's Night | ||
|---|---|---|
| Information | ||
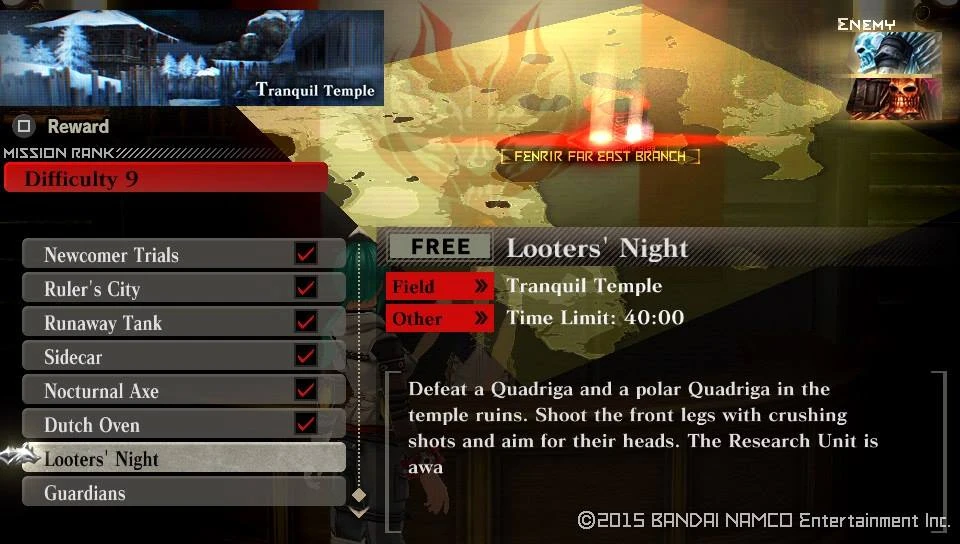  |
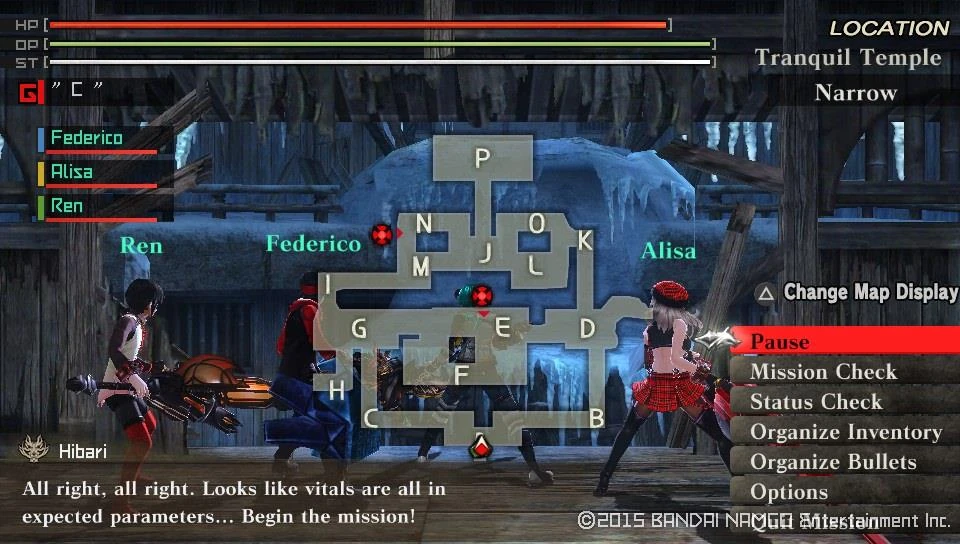  | |
| Target Aragami | Details | |
|
| |
| Notes | ||
|
Objective: Brace yourself and crush their resisttance. Both Quadriga variants will be on your tail because of their superior hearing, so make sure to bring the fight to the open area around Point E. Recomended loadout: Divine Elemental Boos Hammer, Piercing Bullets are recommended. | ||
| Guardians | ||
|---|---|---|
| Information | ||
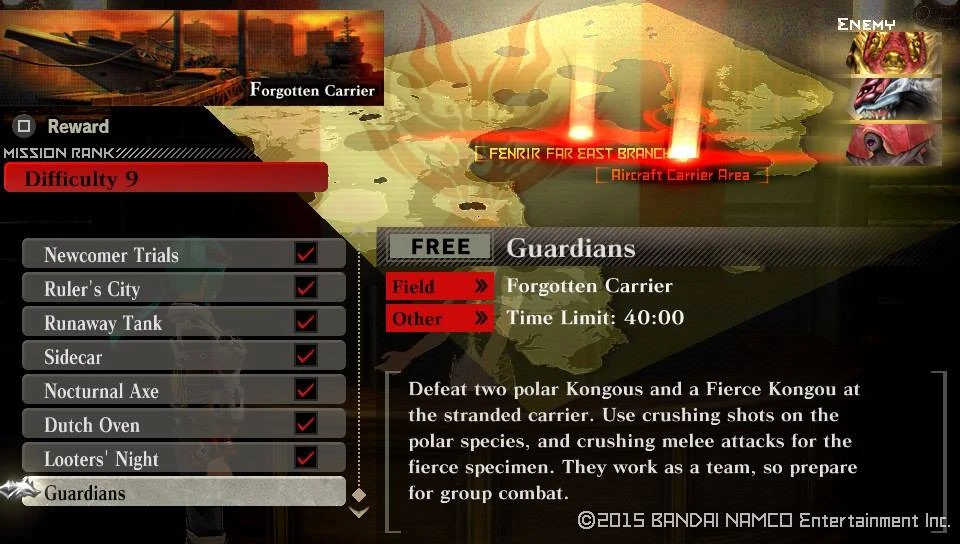  |
  | |
| Target Aragami | Details | |
|
| |
| Notes | ||
|
Objective: Take on a group of Kongou variants and show them who they shouldn't monkey around. One of the Fallen Kongou might start to patrol in your way, make sure to use that to your advantage and sneak in some damage, before the other two join the fray. Prioritize the Fallen ones first, since hey are weaker than the Fierce in general. Recomended loadout: Divine elemental Boost Hammer, Piercing and Crushing Bullets | ||
Once you are down with your litle massacre, or are bored from killing any more go and talk to Licca and get your next mission assigned.
Story Mission Unlocked : Divine Shadows


You'll earn an increase to your Story counter for your troubles. |-|
64=
Story 64[]
Walkthrough
You get two new Control Units for finishing the previous mission.
Control Unit Unlocked : Ally ATK Up

Control Unit Unlocked : Ally DEF Up
If you go to Hibari, she'll tell you to talk with Annette, so do you and accept her request for a mission.
Story Mission Unlocked : Tropical Fish
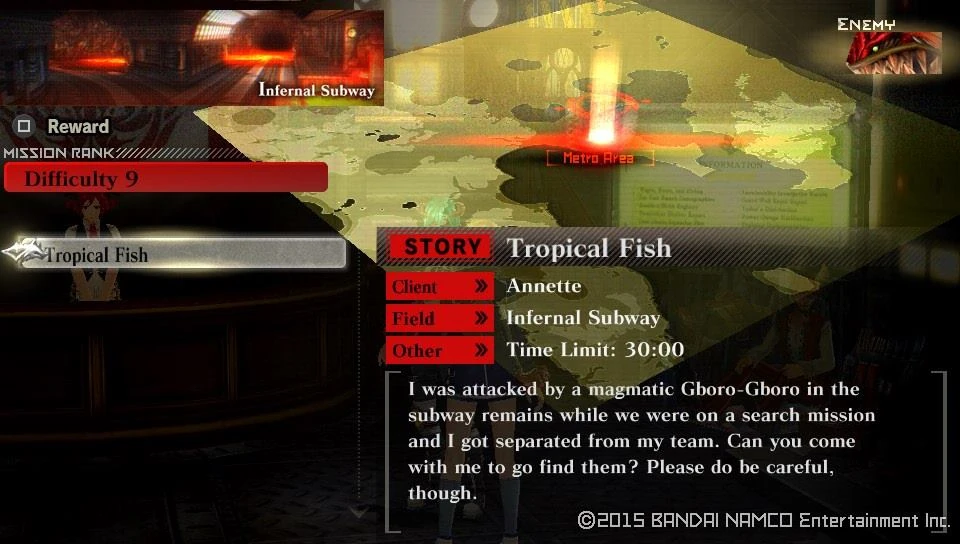
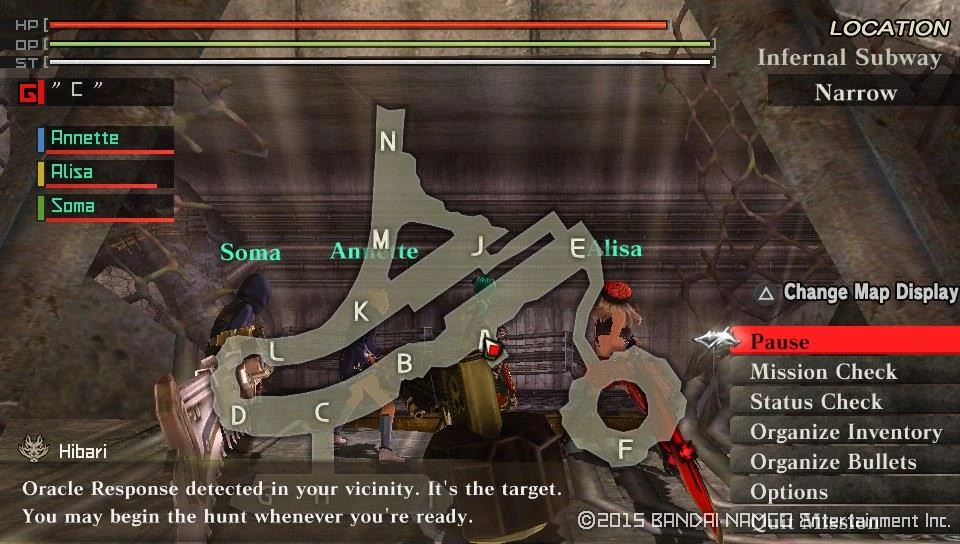
Finishing earns you an increase to your story counter.
|-|
65=
Story 65[]
Walkthrough
Once more Hibari tells you to go and see someone, this time it would be Gina who proposes the nex mission.
Story Mission Unlocked : A Devil's Heart
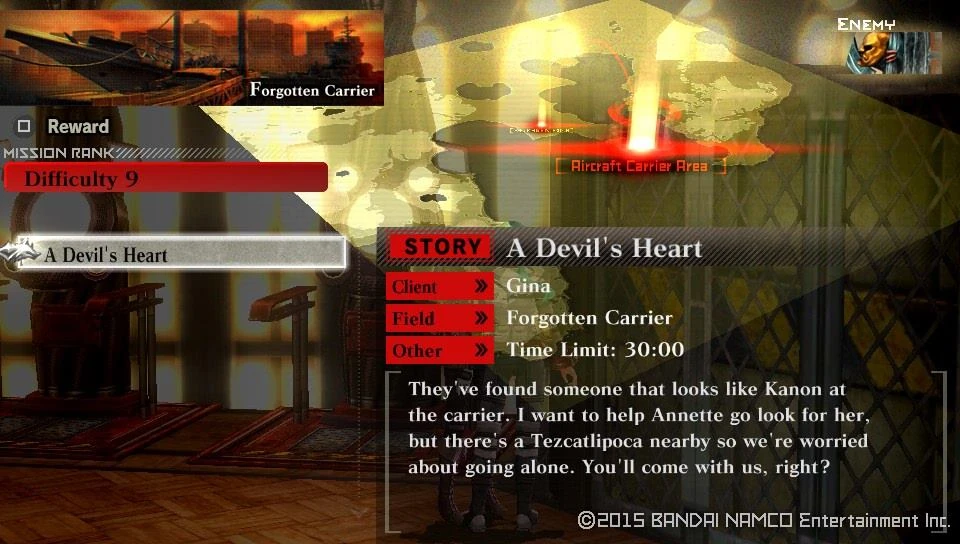

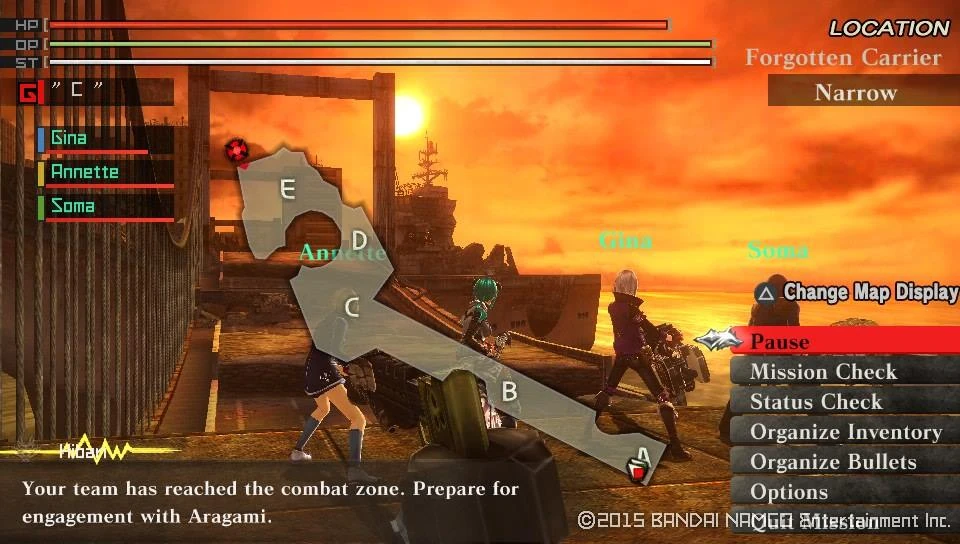
Clearing this up gets you an increase in Story Couner.
|-|
66=
Story 66[]
Walkthrough
For your earlier troubles you get a few free missions to play with.
Free Mission Unlocked : Thunderstorm

Free Mission Unlocked : Rumbling Threads

Free Mission Unlocked : Icebreaker Scouts

Free Mission Unlocked : The Venus

Free Mission Unlocked : Chimera

Free Mission Unlocked : Poison Garnish
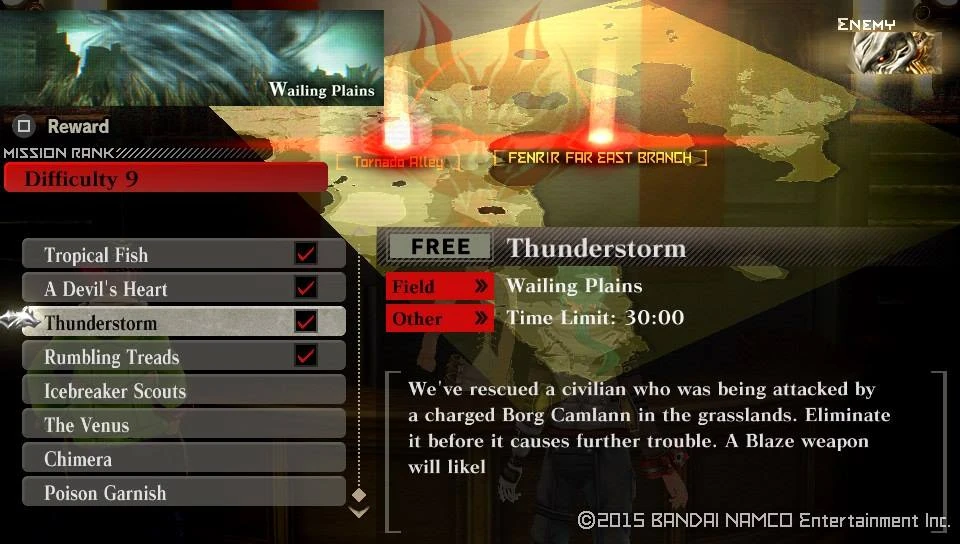

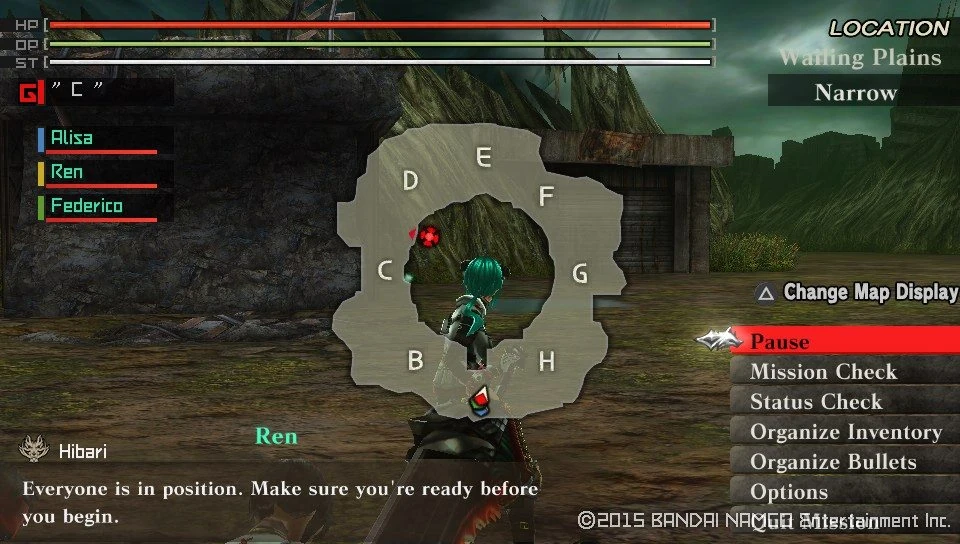

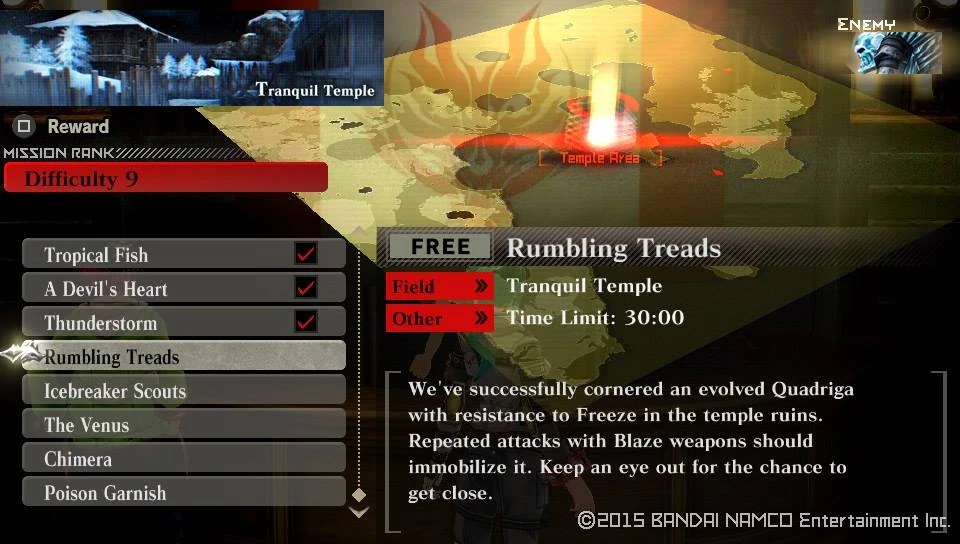
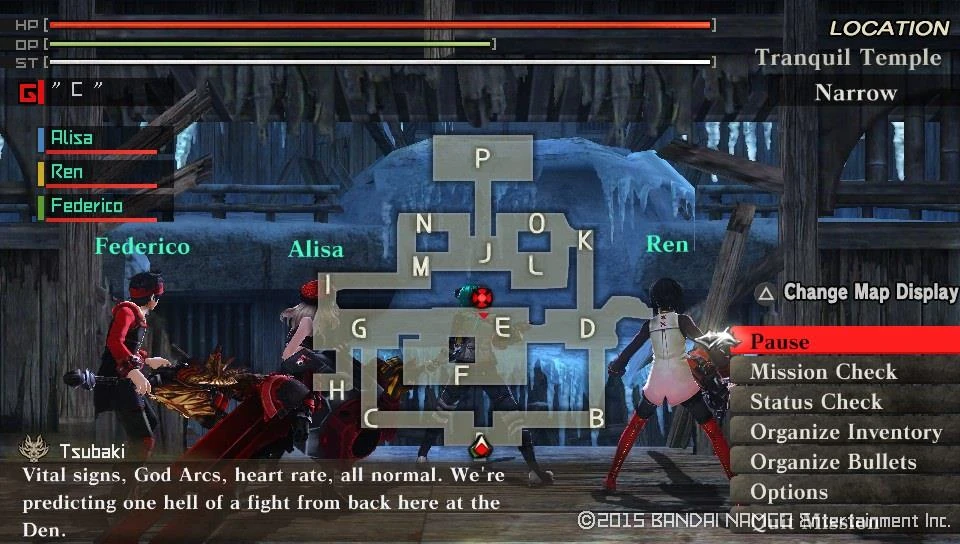

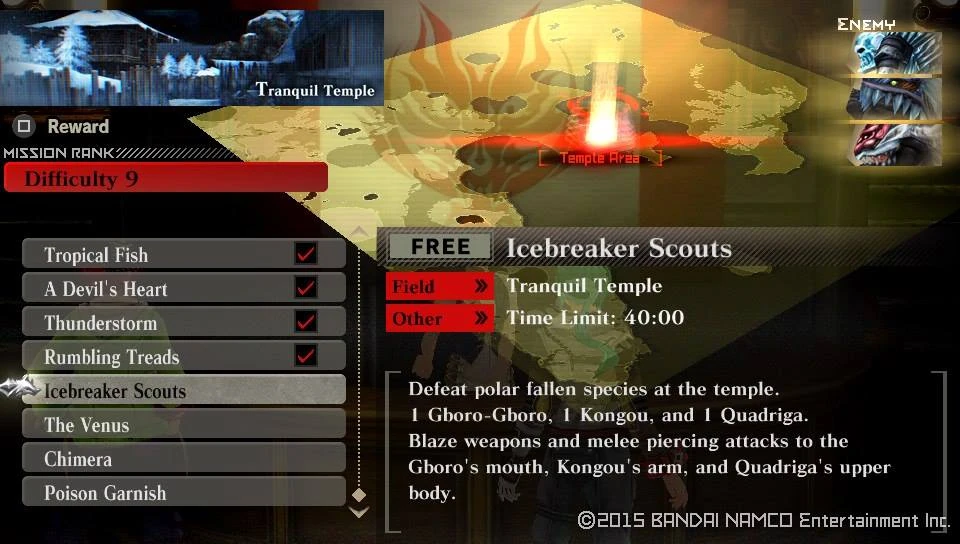

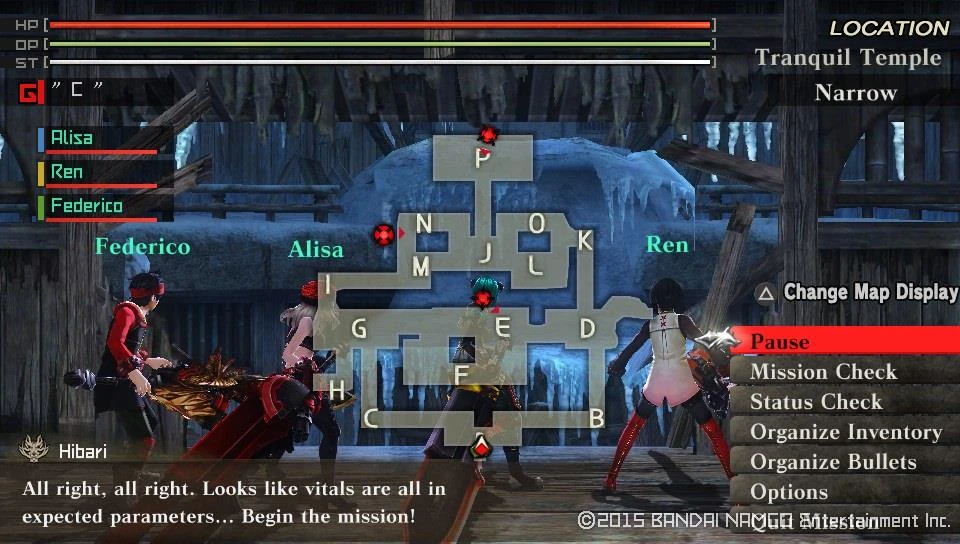

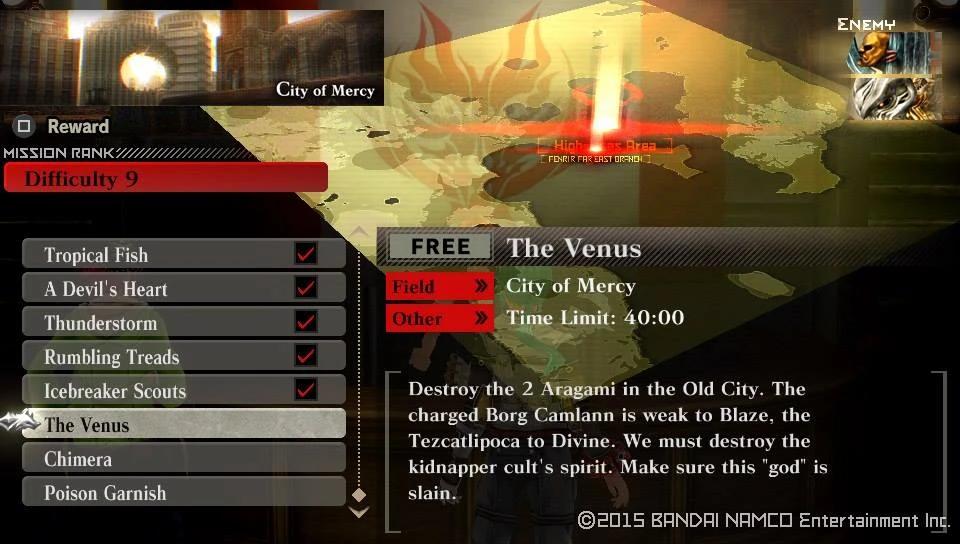


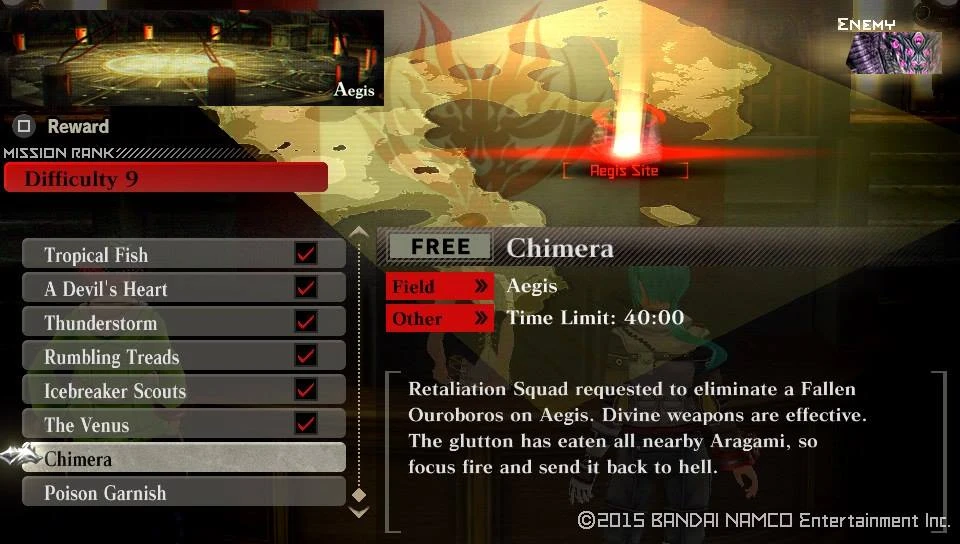

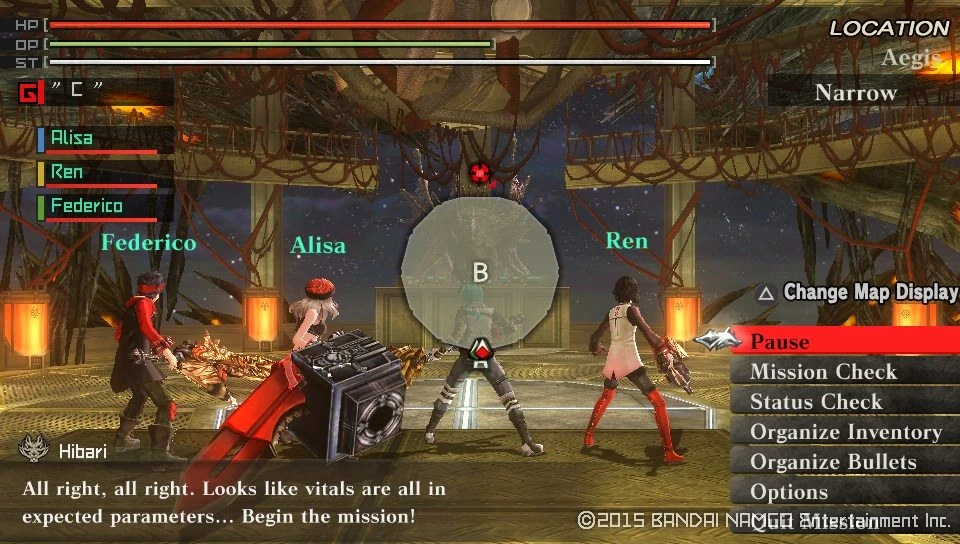

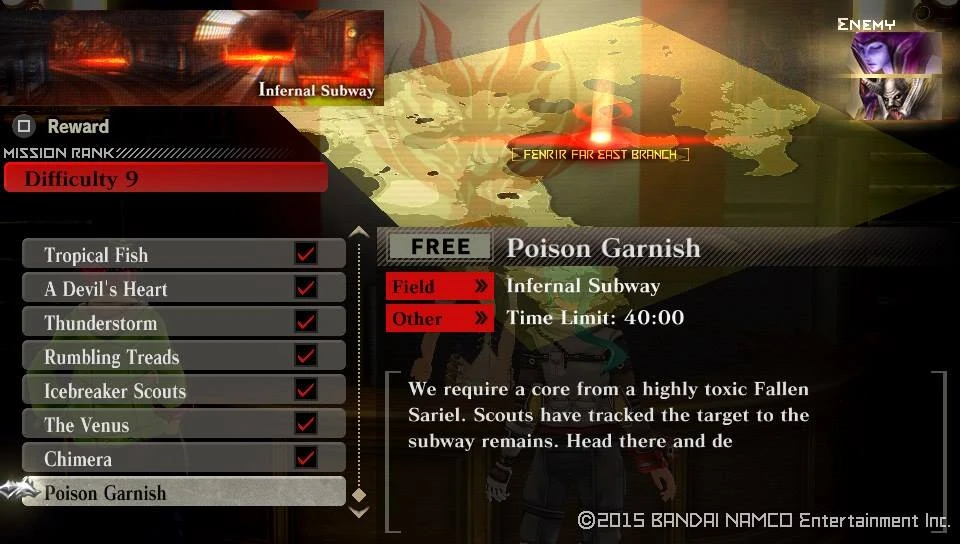

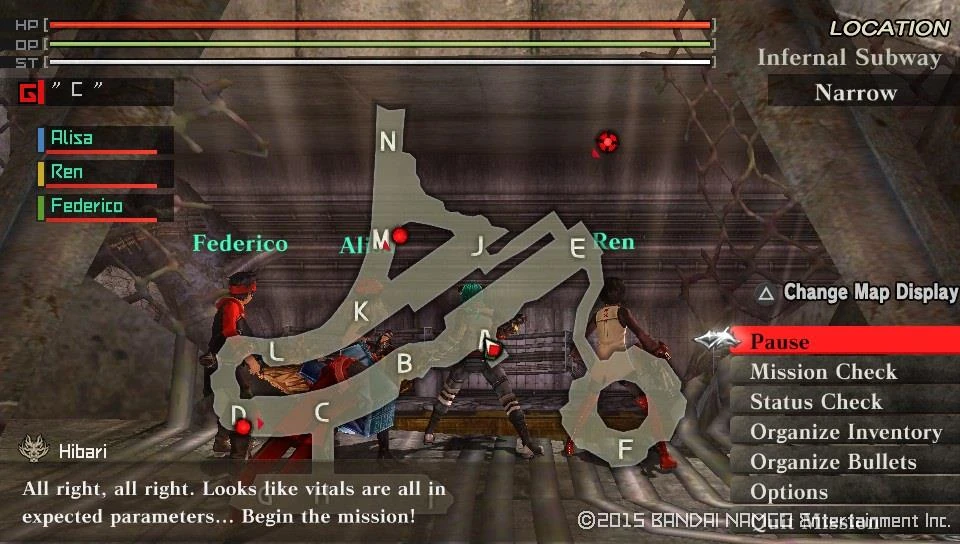
Once you are ready to move on, take the next mission from Hibari, which is the last one in your current Rank.
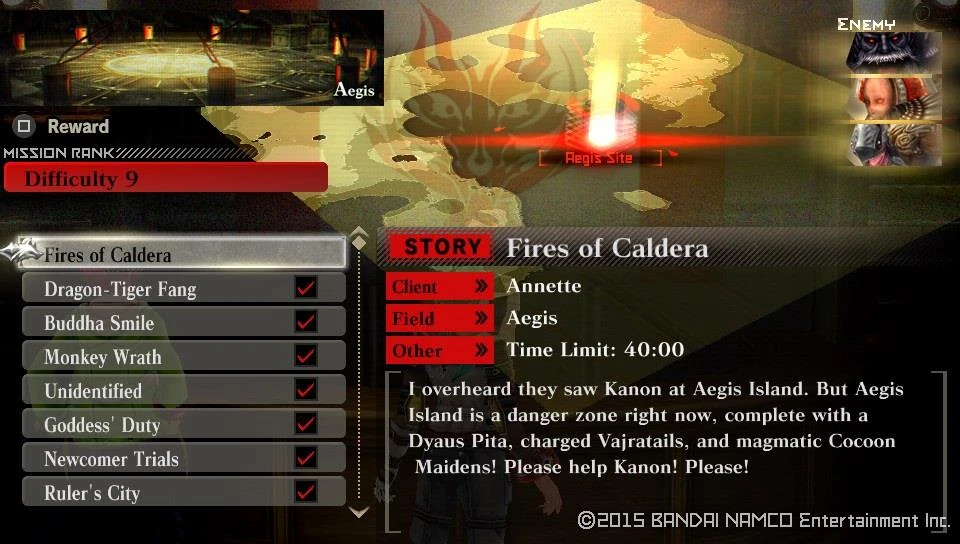

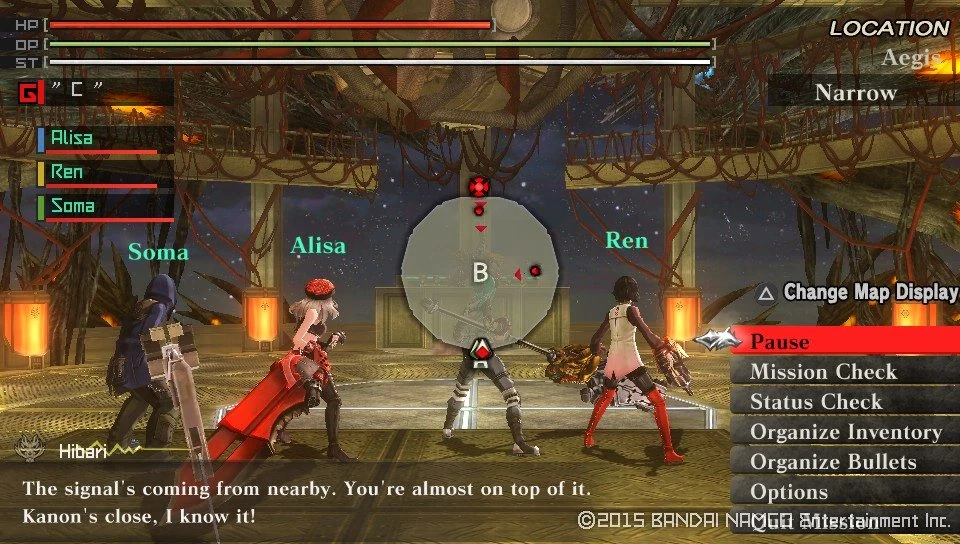
Finish the mission and get rewarded with not 1, but 2 Increments to your story counter. |-|
67=
Story 67[]
Actually it's missing.
I kid not, I have double checked everything and there is no Story 67 in God Eater Resurrection... Weird...
|-|
68=
Story 68[]
Walkthrough
You open the first mission in the 10th Rank versus a Deusphage variantt of the Arda Nova. Joy!
| Devourer of All | ||
|---|---|---|
| Information | ||
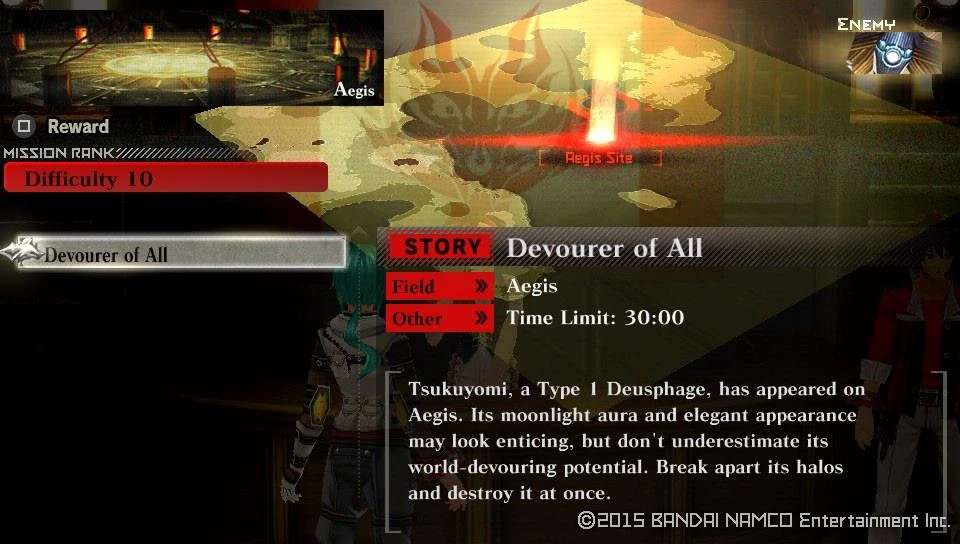  |
 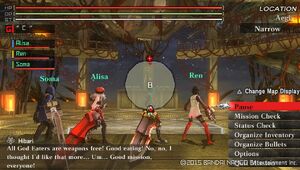 | |
| Target Aragami | Details | |
|
| |
| Notes | ||
|
Objective: Meet a more dangerous version of the Arda Nova, the Tsukuyomi. On this mission with the exception of Brendan and Kanon, anyone can join you. Tsukuyomi, is built like an Arda Nova, has similar attacks with the exception that it has no God part to it. But don't let that fool you, the Tsukuyomi specializes in giving you Poison and Leak with all of its atttacks and is rather aggressive. Since there is no God Part to follow-up its attacks it compensates by moving around much more and the ranged attacks are covering a much more ground so take care. Breakable bonds are the following: Halo: Any melee weapon works, albeit Crush has a bit more damage potential Hair: Any Melee weapon works, once more Crush has a bitt more potential Arms: Once more Crush is slightly superior than the other types. Recomended loadout: Spark Elemental Boost Hammer or anything you fancy with Spark element. | ||
After that, some of your team members will get locked...
Team Member Locked : Tatsumi

Team Member Locked : Brendan

Team Member Locked : Karel

Team Member Locked : Gina

Team Member Locked : Shun
Hibari will inform you thatt Kanon wants to speak with you, so talk to her and get a mission issued.
Story Mission Unlocked : Ice-Cold Glare
| Ice-Cold Glare | ||
|---|---|---|
| Information | ||
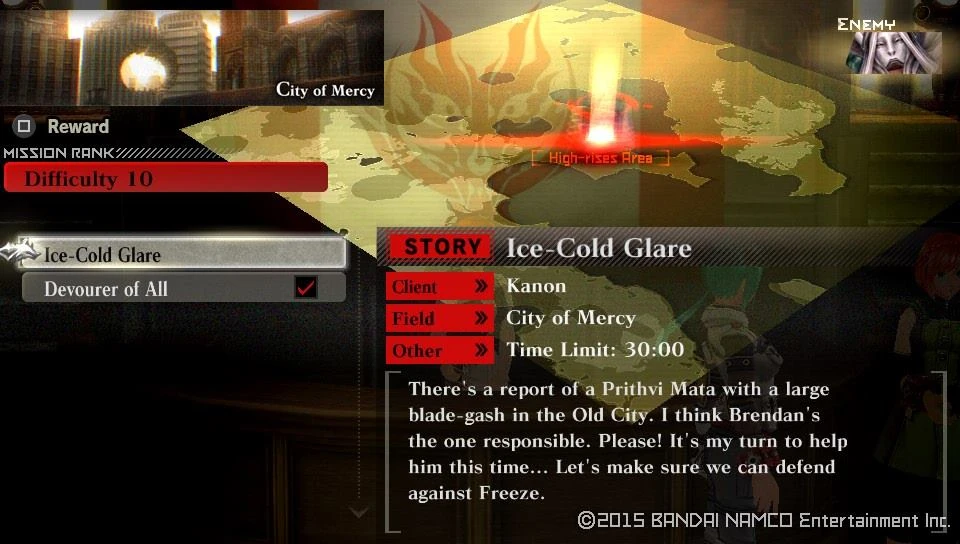  |
  | |
| Target Aragami | Details | |
|
| |
| Notes | ||
|
Objective: 1 Frozen kitty, make it feel your warmth. Kanon is mandatory for the mission and anyone from the 1st Unit, Ren, Federico and Annette can come with you. Recomended loadout: Blaze elemental Long Blade, Piercing Bullets. | ||
Clearing it will reward you with a Story counter rise. |-|
69=
Story 69[]
Walkthrough
One more Urgent mission becomes available for you, a 3 part on Rank 10 to be exact.
Urgent Mission Unlocked : Ranger Yell
| Ranger Yell | ||
|---|---|---|
| Information | ||
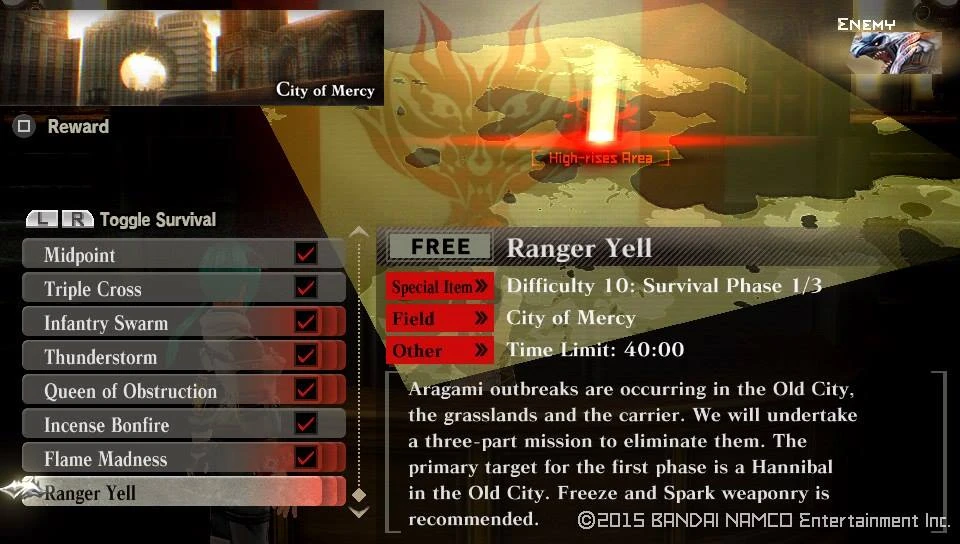 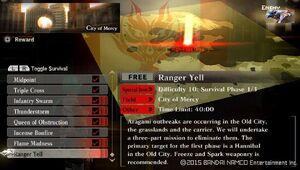 |
  | |
| Target Aragami | Details | |
|
| |
| Notes | ||
|
Objective: 1 sole dragon waiting extermination. Recomended loadout: Freeze or Spark elemental Long Blade, Piercing and Crushing Bullets recommended. | ||
| Reward | Conditions | Probability |
| Automatic | 100% | |
| Automatic | ||
| Automatic | ||
| Automatic | ||
| Automatic | ||
| Automatic | ||
| Automatic | ||
| Automatic | ||
| Automatic | ||
| Automatic | ||
| Automatic | ||
| Automatic | ||
| Automatic | ||
| Automatic | ||
| Automatic | ||
| Automatic | ||
| Automatic | ||
| Clear under 5 Min. | ||
| Clear with 30+ Endurance | ||
| Clear with 30+ Endurance | ||
| Clear with 30+ Endurance | ||
| Clear with 30+ Endurance | ||
| Clear with 30+ Endurance | ||
| Gold F-Ticket | Break 3+ Bonds | 100% |
| Gold A-Ticket | Break 3+ Bonds | 20% |
| "Reward Credits Up" Lv5 or higher | 30% | |
| Restore Pill II | "Get Consumable Items" Lv5 or higher | 50% |
| O-Ampule | "Get Consumable Items" Lv5 or higher | 50% |
| Restore Pill S | "Get Consumable Items" Lv5 or higher | 33% |
| OG: Restore Post | "Get Consumable Items" Lv5 or higher | 33% |
The 2nd part takes you to the Plains to fight Spark elemental Aragami
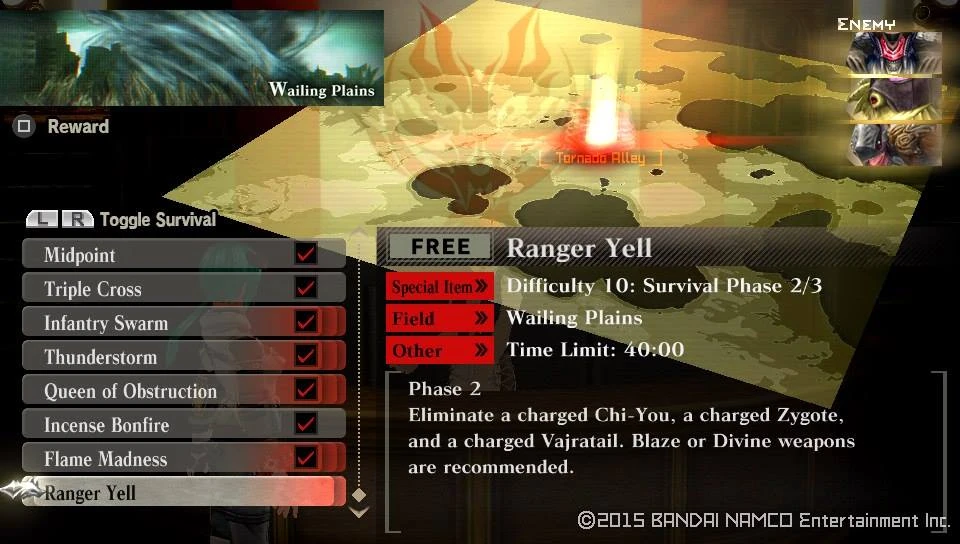

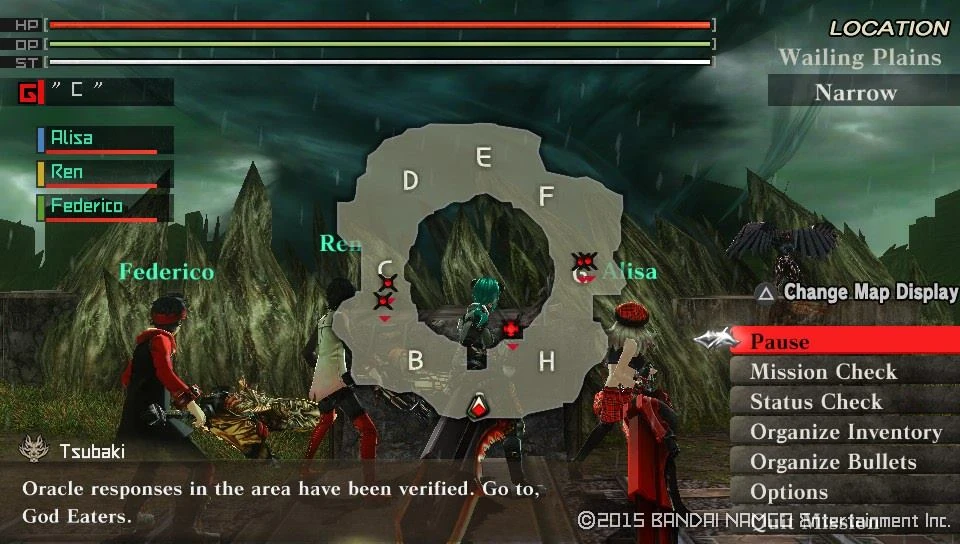

| Reward | Conditions | Probability |
| Automatic | 100% | |
| Automatic | ||
| Automatic | ||
| Automatic | ||
| Automatic | ||
| Automatic | ||
| Automatic | ||
| Automatic | ||
| Automatic | ||
| Automatic | ||
| Automatic | ||
| Automatic | ||
| Automatic | ||
| Automatic | ||
| Automatic | ||
| Automatic | ||
| Automatic | ||
| Clear under 5 Min. | ||
| Clear with 30+ Endurance | ||
| Clear with 30+ Endurance | ||
| Clear with 30+ Endurance | ||
| Clear with 30+ Endurance | ||
| Clear with 30+ Endurance | ||
| Gold F-Ticket | Break 3+ Bonds | 100% |
| Gold A-Ticket | Break 3+ Bonds | 20% |
| "Reward Credits Up" Lv5 or higher | 30% | |
| Restore Pill II | "Get Consumable Items" Lv5 or higher | 50% |
| O-Ampule | "Get Consumable Items" Lv5 or higher | 50% |
| Restore Pill S | "Get Consumable Items" Lv5 or higher | 33% |
| OG: Restore Post | "Get Consumable Items" Lv5 or higher | 33% |
The third and final part takes you to the carrier to face Divine elemental Deusphages.
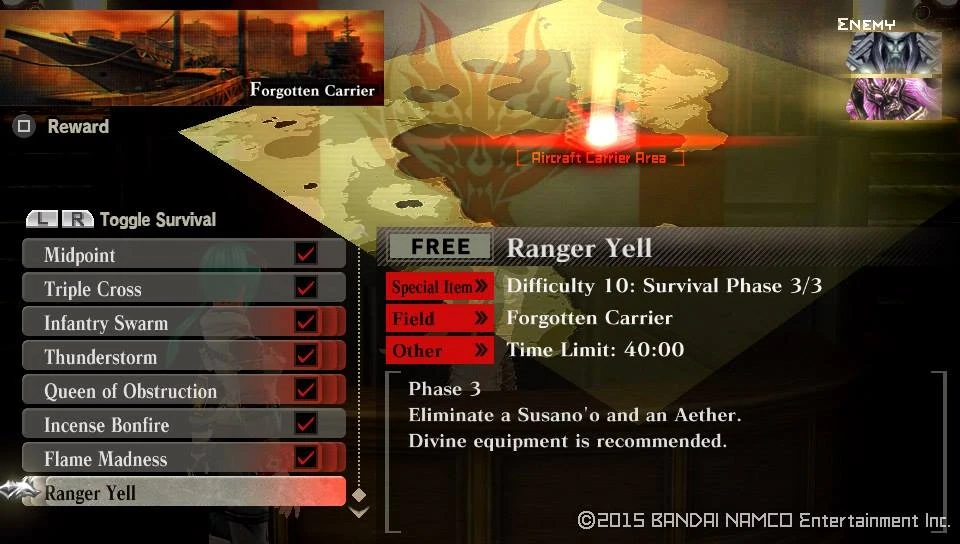


| Reward | Conditions | Probability |
| Automatic | 100% | |
| Automatic | ||
| Automatic | ||
| Automatic | ||
| Automatic | ||
| Automatic | ||
| Automatic | ||
| Automatic | ||
| Automatic | ||
| Automatic | ||
| Automatic | ||
| Automatic | ||
| Automatic | ||
| Automatic | ||
| Automatic | ||
| Automatic | ||
| Automatic | ||
| Clear under 5 Min. | ||
| Clear with 30+ Endurance | ||
| Clear with 30+ Endurance | ||
| Clear with 30+ Endurance | ||
| Clear with 30+ Endurance | ||
| Clear with 30+ Endurance | ||
| Gold F-Ticket | Break 3+ Bonds | 100% |
| Gold A-Ticket | Break 3+ Bonds | 20% |
| "Reward Credits Up" Lv5 or higher | 30% | |
| Restore Pill II | "Get Consumable Items" Lv5 or higher | 50% |
| O-Ampule | "Get Consumable Items" Lv5 or higher | 50% |
| Restore Pill S | "Get Consumable Items" Lv5 or higher | 33% |
| OG: Restore Post | "Get Consumable Items" Lv5 or higher | 33% |
You also get two of your members back.
Team Member Unlocked : Gina

Team Member Unlocked : Brendan
Not to menttion some Control Units.
Control Unit Unlocked : Oracle Recovery Up

Conttrol Unit Unlocked : Ammo Devour Up
Talk to Hibari and take your next mission.
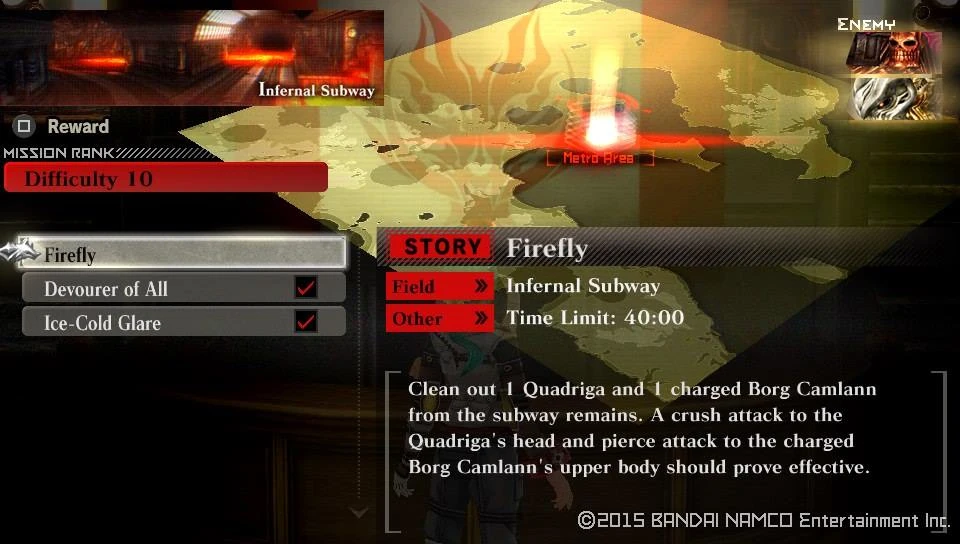

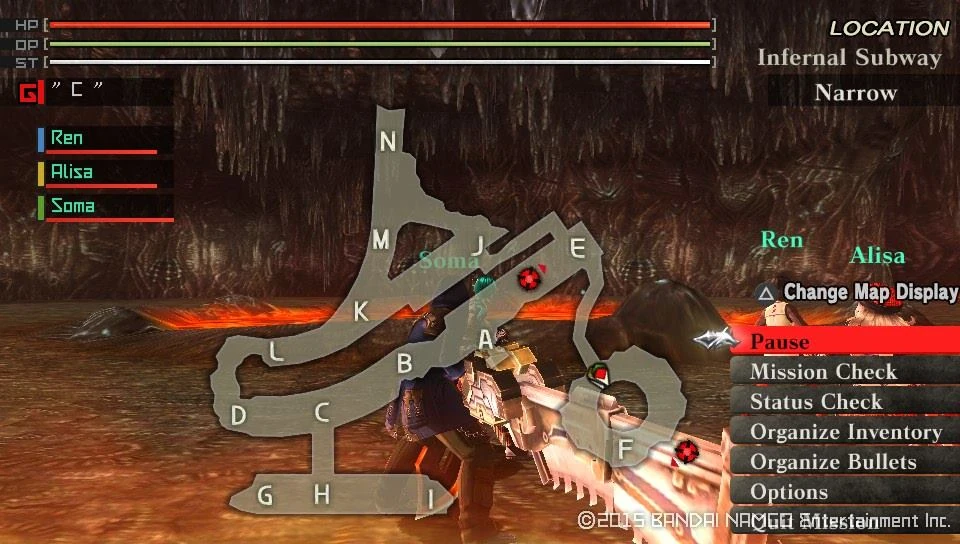

Clearing this mission nets you another increase to your Story counter. |-|
70=
Story 70[]
Walkthrough
You start off with a pair of Free missions.
Free Mission Unlocked : Wing Scales

Free Mission Unlocked : Into Thin Air
| Wing Scales | ||
|---|---|---|
| Information | ||
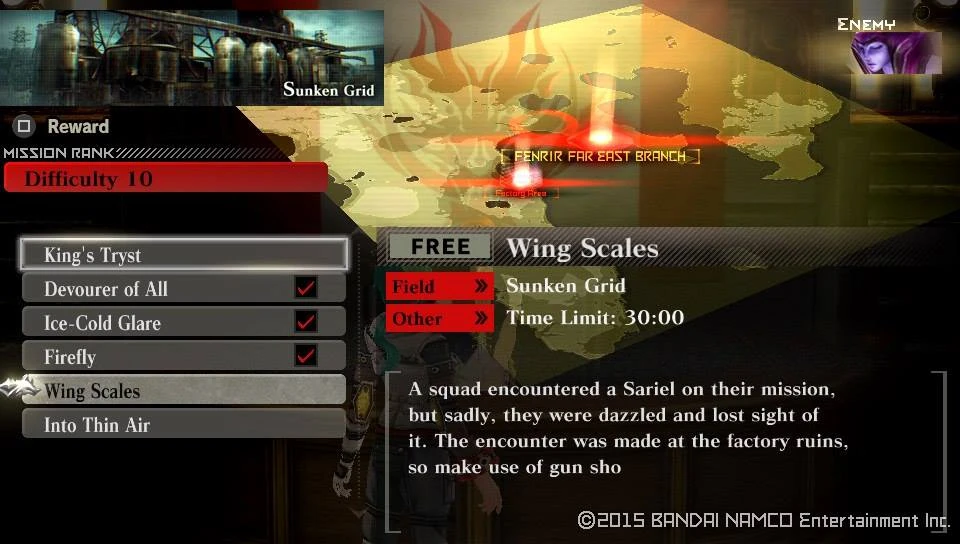  |
 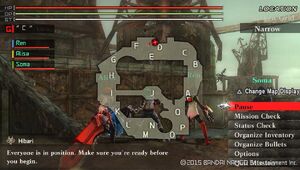 | |
| Target Aragami | Details | |
| ||
| Notes | ||
|
Objective: A sole Sariel species, bring your fly swatter. Recomended loadout: Non-Divine Boost Hammer. | ||
| Into Thin Air | ||
|---|---|---|
| Information | ||
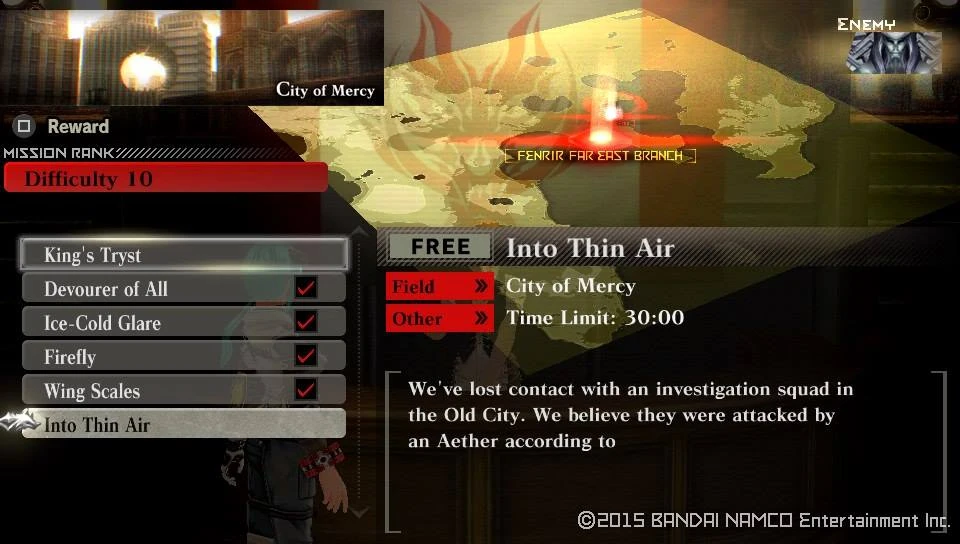  |
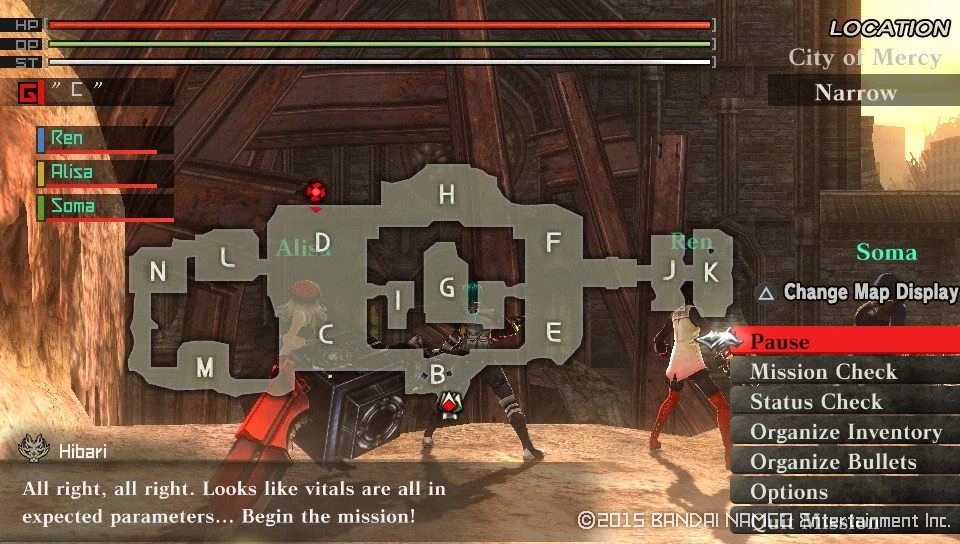  | |
| Target Aragami | Details | |
|
| |
| Notes | ||
|
Objective: Another uncanny flier, strike it down. Recomended loadout: Divine elemental Boost Hammer. | ||
Go to Hibari and take your next quest of exterminating Aragami.
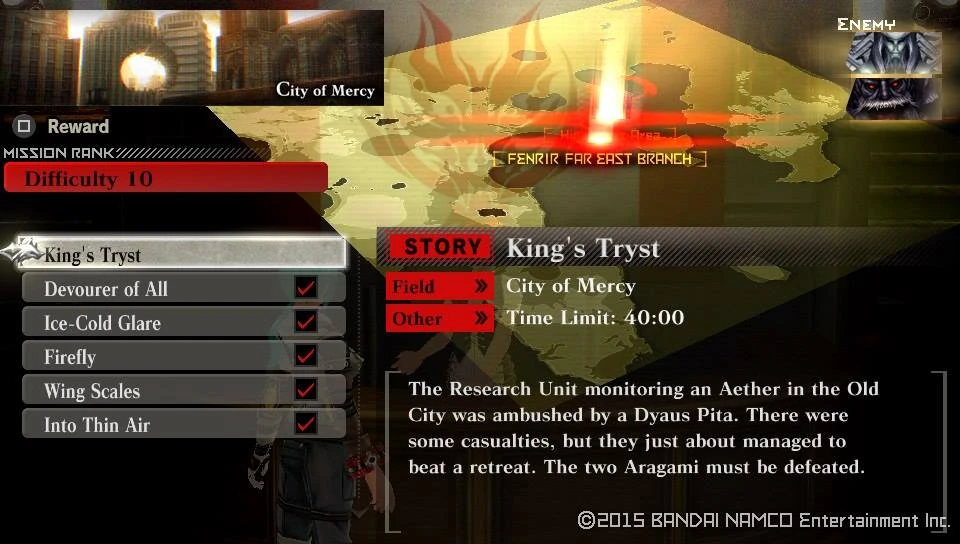
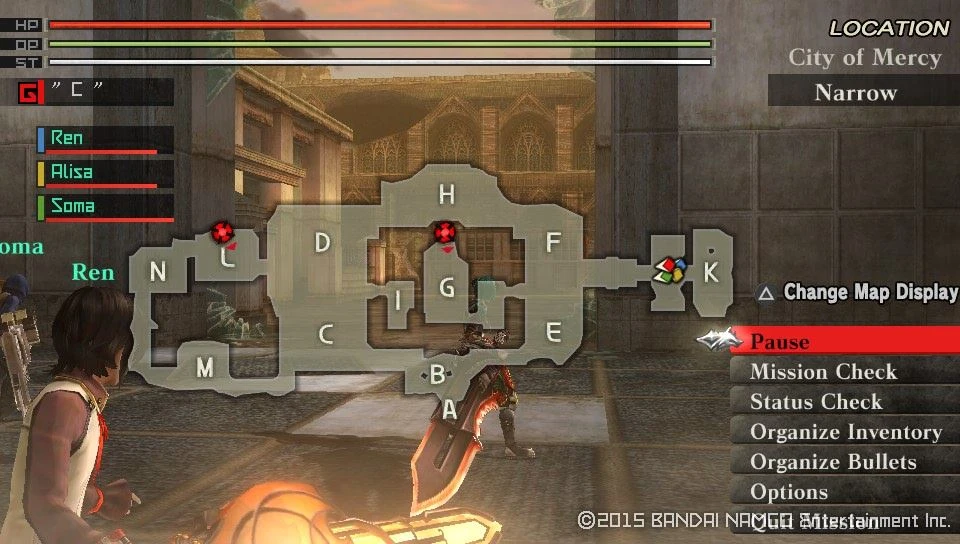

Finishing this mission earns a Cutscene and the customary increase to you counter.
Cutscene Unlocked : Aragami Transformation
|-|
71=
Story 71[]
Walkthrough
You get the rest of your team members back along with an impressive amount of Free missions.
Unlock Team Member : Shun

Unlock Team Member : Karel

Unlock Team Member : Tatsumi
As for the missions, here they are:
Free Mission Unlocked : Ones Who Devour The End

Free Mission Unlocked : Pest Purge

Free Mission Unlocked : Tower of Ivory

Free Mission Unlocked : Death Mask

Free Mission Unlocked : Noble Dining

Free Mission Unlocked : Sea Fire

Free Mission Unlocked : Stt. Elmo's Fire

Free Mission Unlocked : Evil Princess

Free Mission Unlocked : Lady Butterfly

Free Mission Unlocked : Restoration of Myth

Free Mission Unlocked : Road to Idavollr
| Ones Who Devour The End | ||
|---|---|---|
| Information | ||
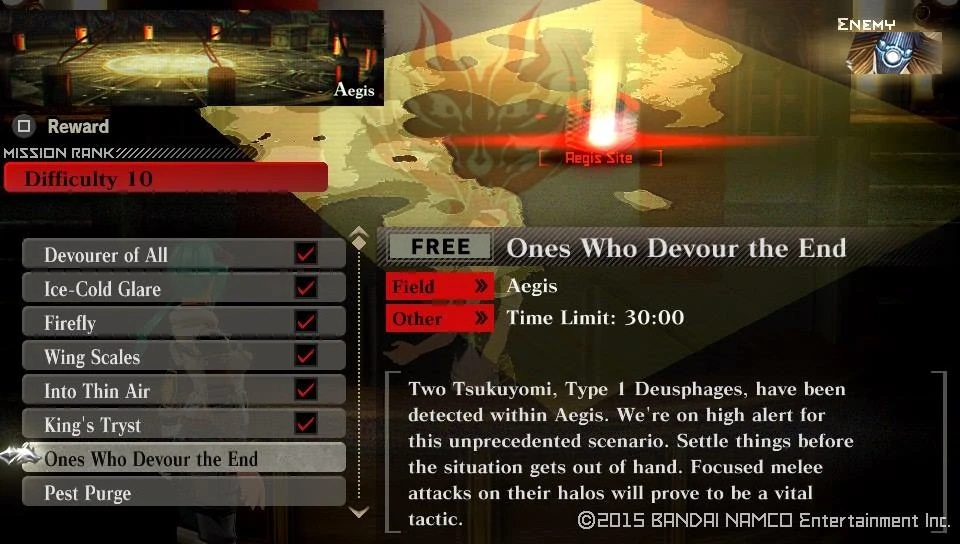  |
  | |
| Target Aragami | Details | |
|
| |
| Notes | ||
|
Objective: What's better than to solo a Tsukuyomi? To solo two at the same time naturally! Recomended loadout: Divine and Poison resistant gear, your best damage dealing weapon and if required plenty of healing for yourself. | ||
| Pest Purge | ||
|---|---|---|
| Information | ||
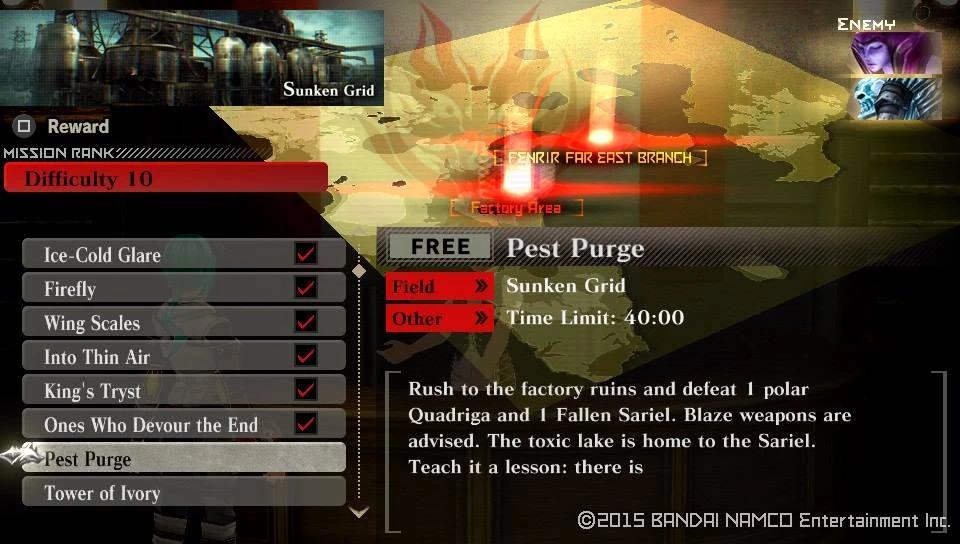  |
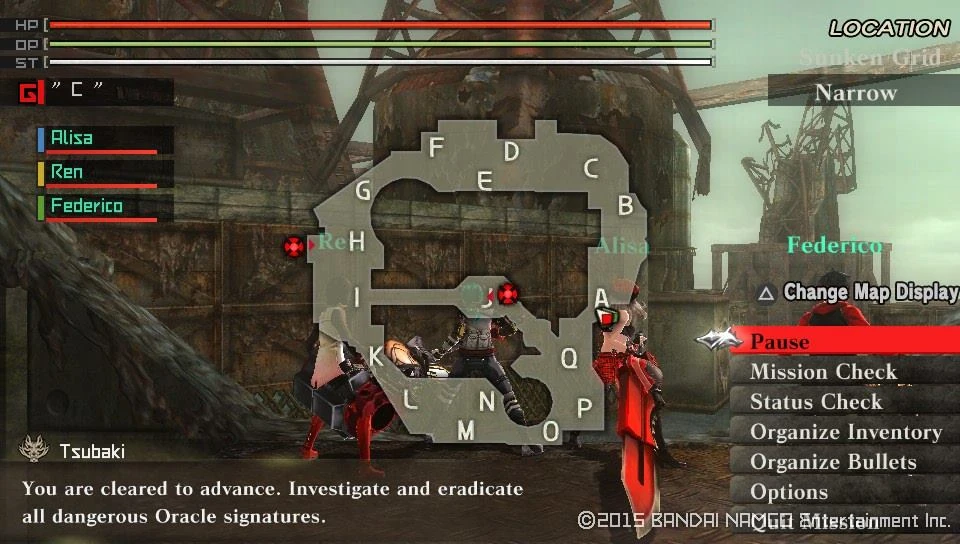  | |
| Target Aragami | Details | |
|
| |
| Notes | ||
|
Objective: Two highly perceptive Aragami at the same time, but the map is large so you can separatet them. Recomended loadout: Blaze elemental Boost Hammer, Piercing bullets | ||
| Tower of Ivory | ||
|---|---|---|
| Information | ||
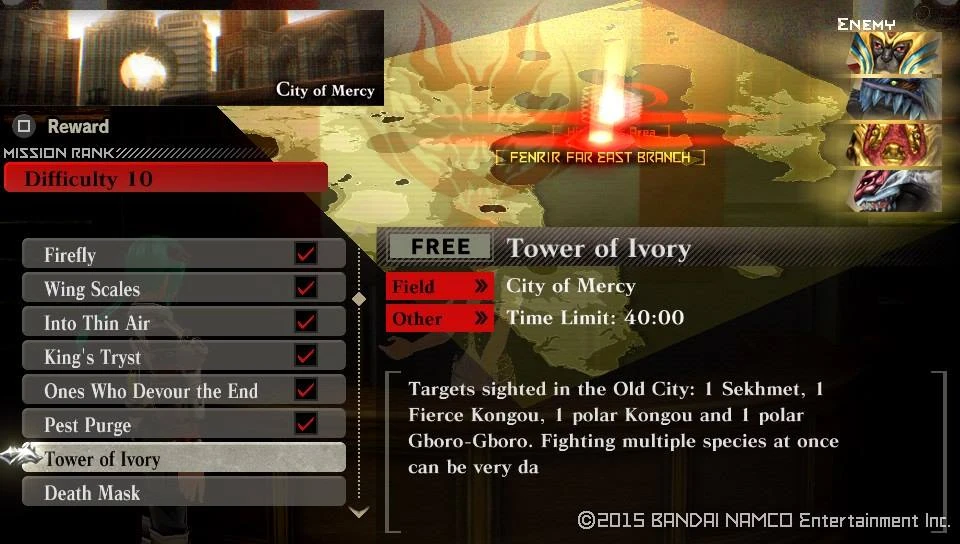  |
  | |
| Target Aragami | Details | |
|
| |
| Notes | ||
|
Objective: 4 Aragami at the same time, two of them are highly perceptive. Fun! Since both Kongou will rush you when you start fighting, lure them away and take them out, starting with the Fallen first. Then just kill the rest one by one. Recomended loadout: Bring your trusty Boost Hammer, Pierce and Crush bullets of Freeze and Blaze elements. | ||
| Death Mask | ||
|---|---|---|
| Information | ||
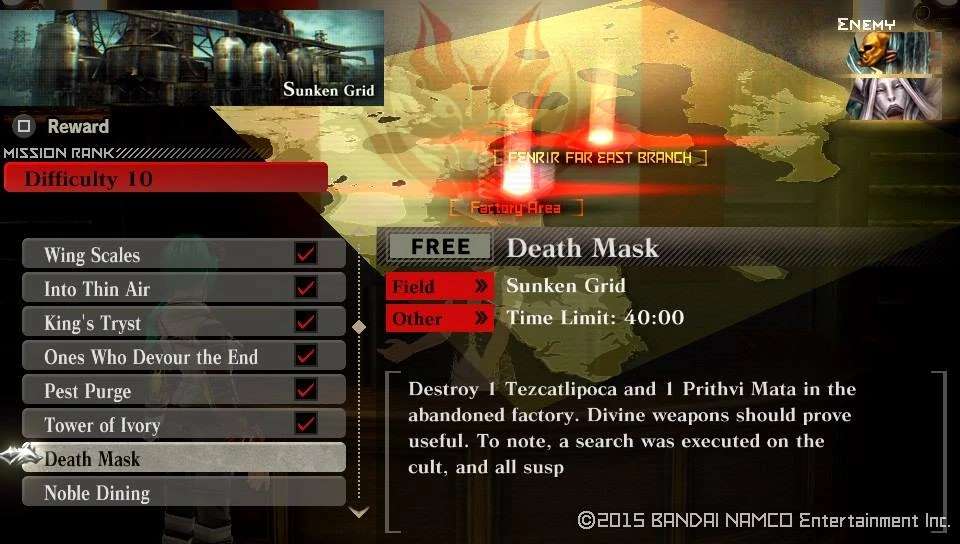  |
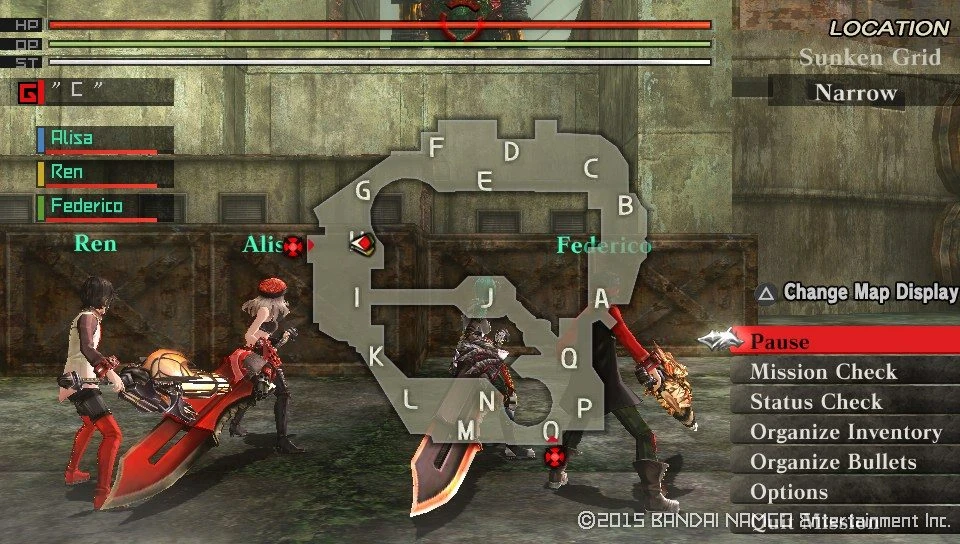  | |
| Target Aragami | Details | |
|
| |
| Notes | ||
|
Objective: Two heavy hitters, time to counter them. Recomended loadout: Get your Divine Boost Hammer, Pierce and Crushing Bullets. | ||
| Noble Dining | ||
|---|---|---|
| Information | ||
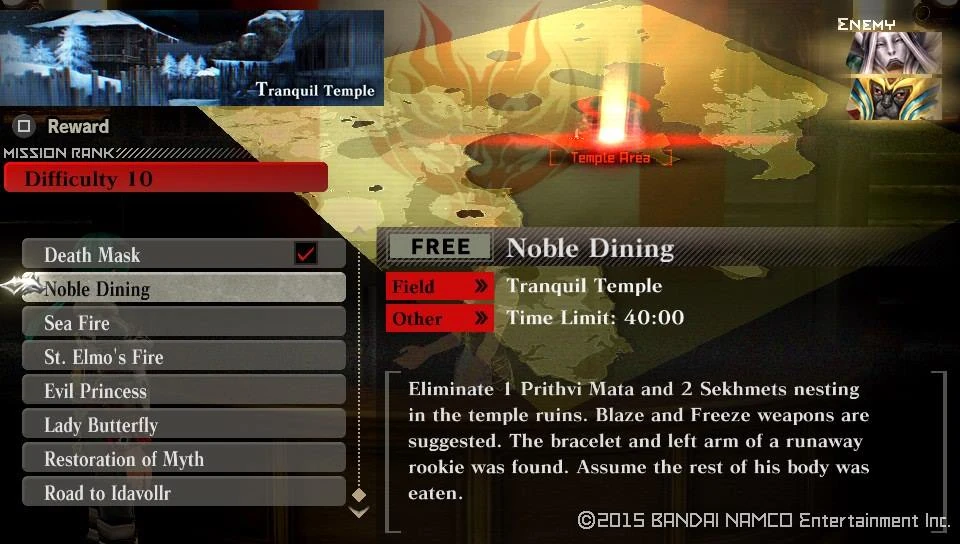  |
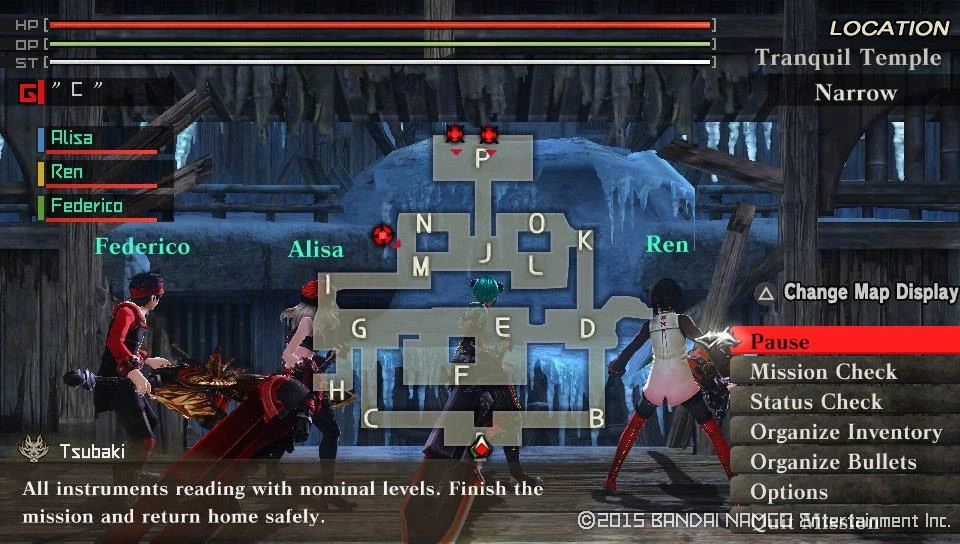  | |
| Target Aragami | Details | |
|
| |
| Notes | ||
|
Objective: Bring the Mata down fast, then get the Sekhmets one by one. Recomended loadout: Stun resistant gear, Freeze elemental Long Blade, Blaze Piercing and Crushing Bullets. | ||
| Sea Fire | ||
|---|---|---|
| Information | ||
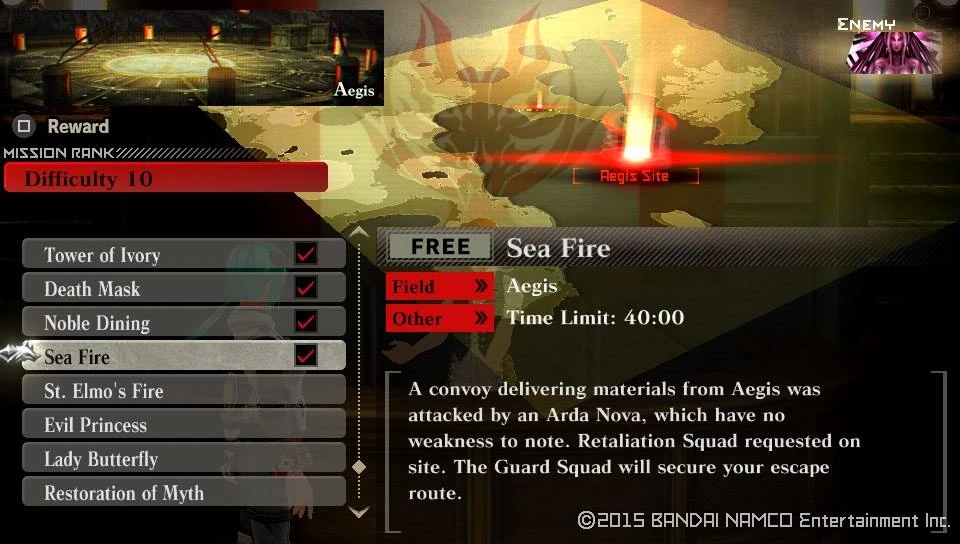  |
  | |
| Target Aragami | Details | |
|
| |
| Notes | ||
|
Objective: 1 Arda Nova, can't be hard right? Recomended loadout: Well since the defense is high anyways, anything you are comfortable with. | ||
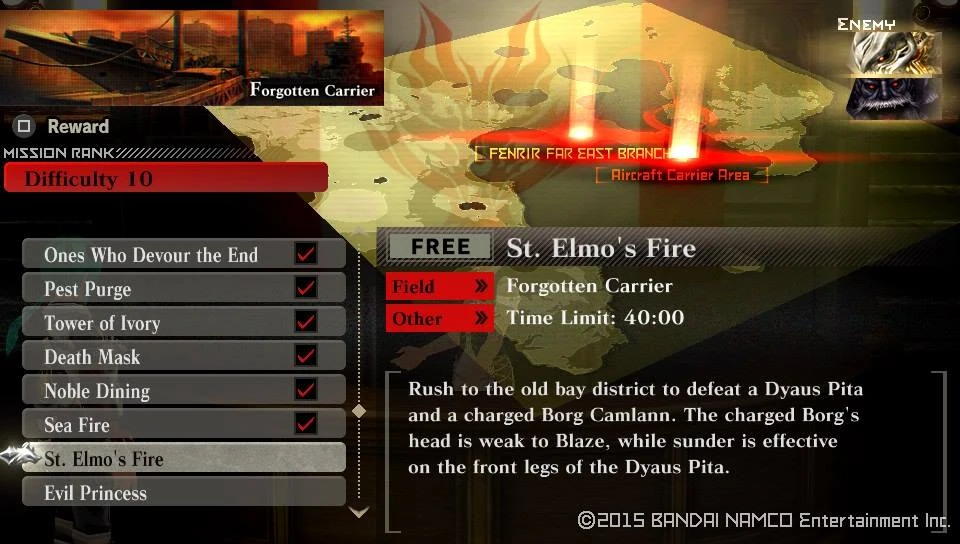

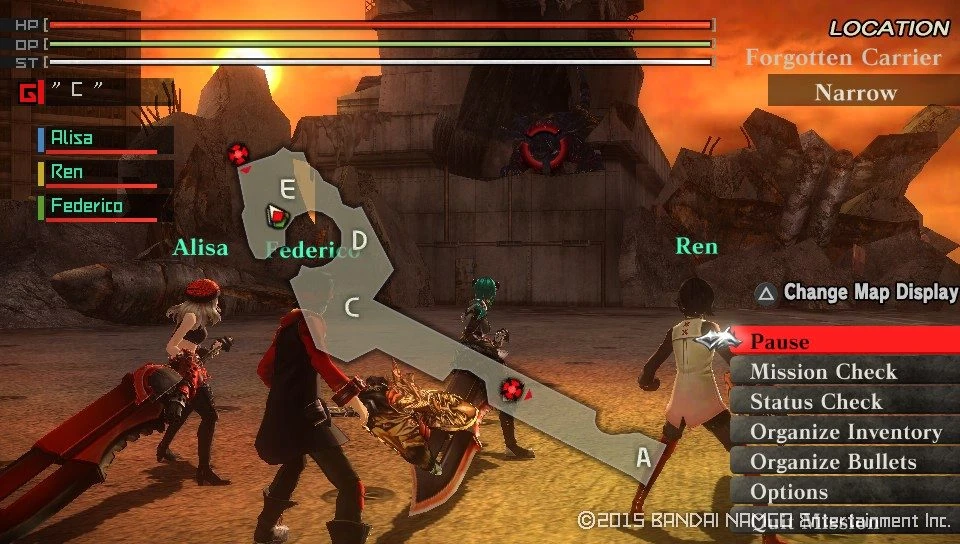

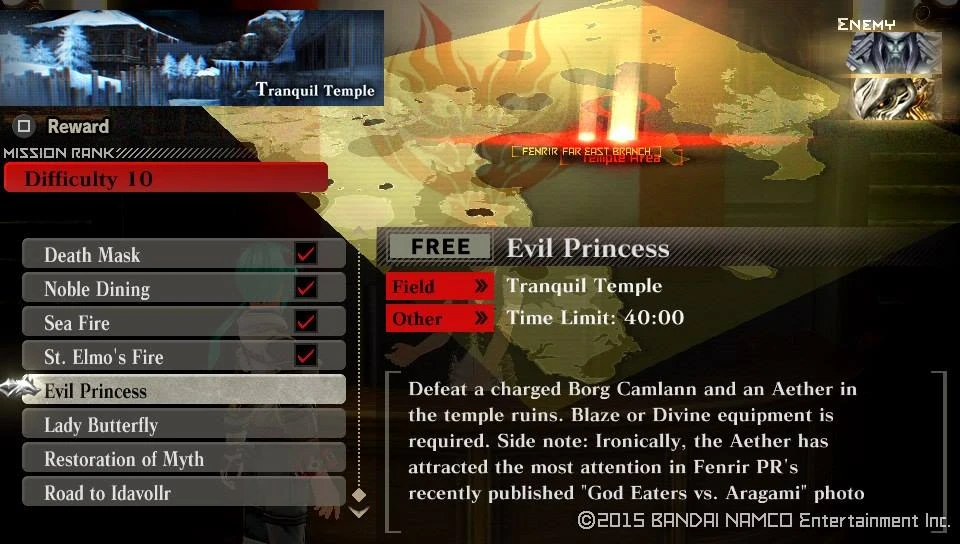

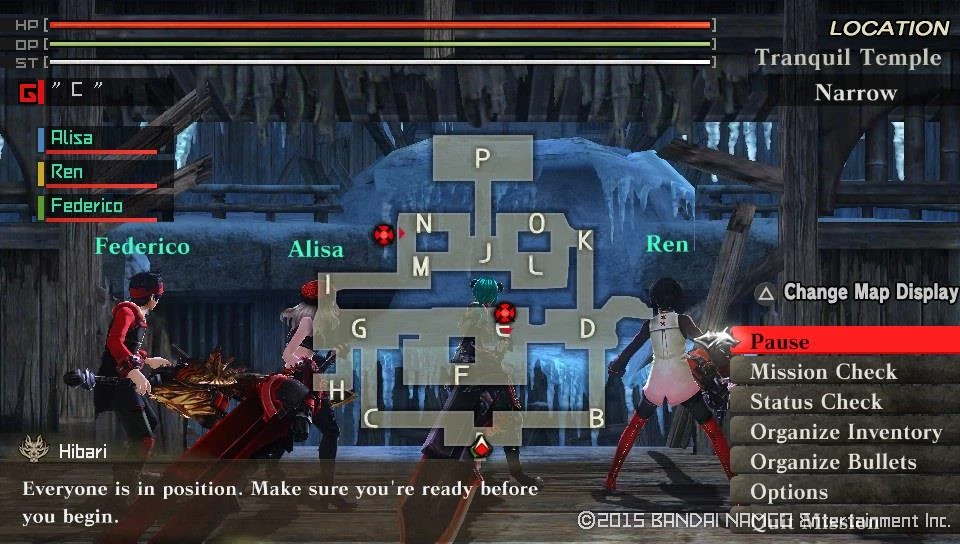

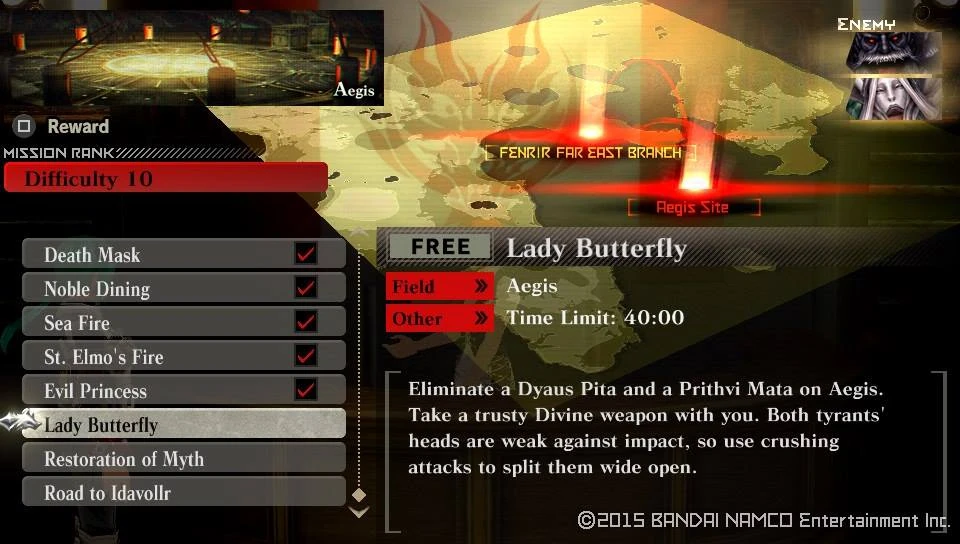

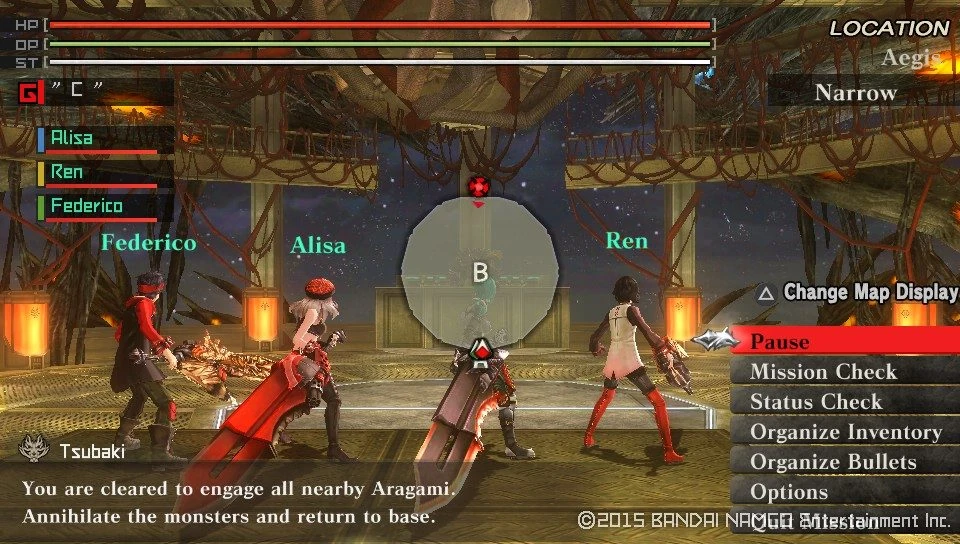
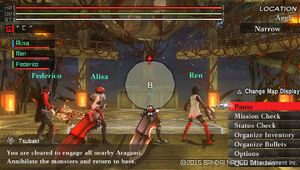

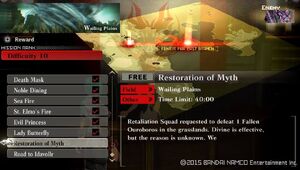
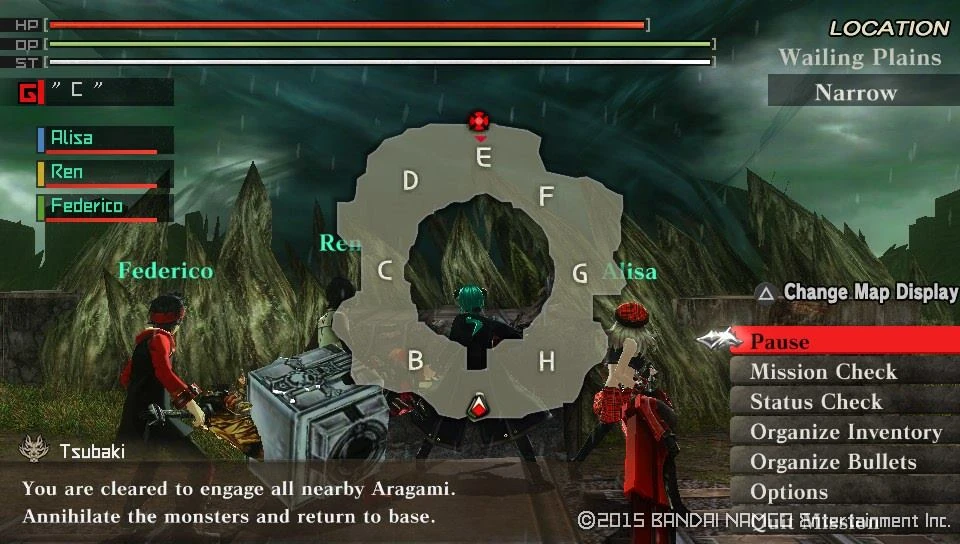

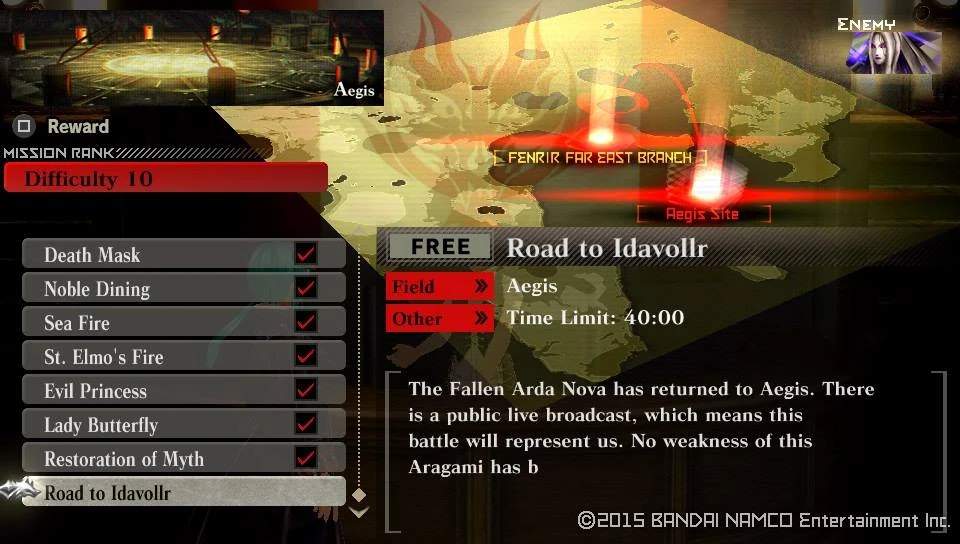

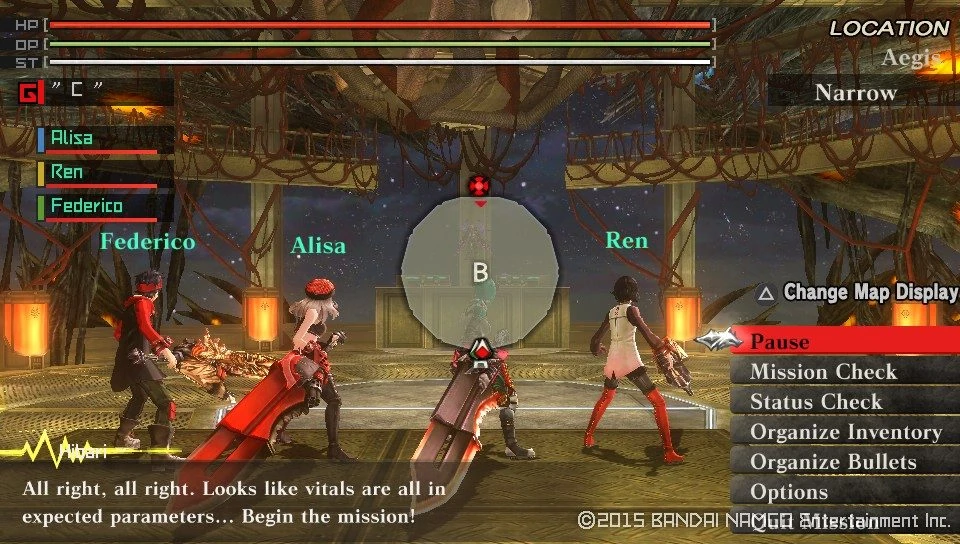

Once you are ready to tackle the next mission, go and talk to Hibari who will inform you that Tsubaki is looking for you. Go and see her in the Directors office, then return to Ren and talk to him to trigger the next story sequence.
Story Mission Unlocked : The Fall of Mankind
You are going to get rewarded with a Cutscene also when starting the mission.
Cutscene Unlocked : Determined at Heart
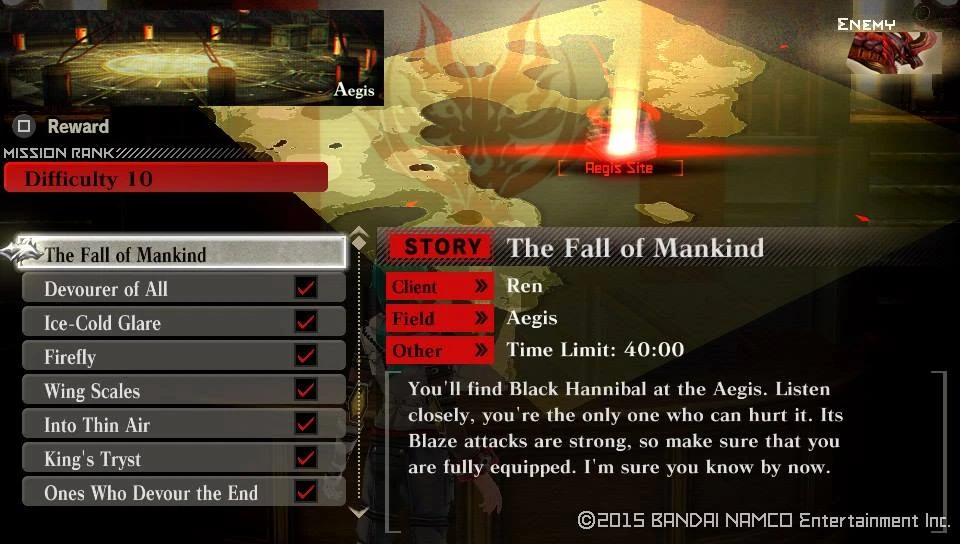

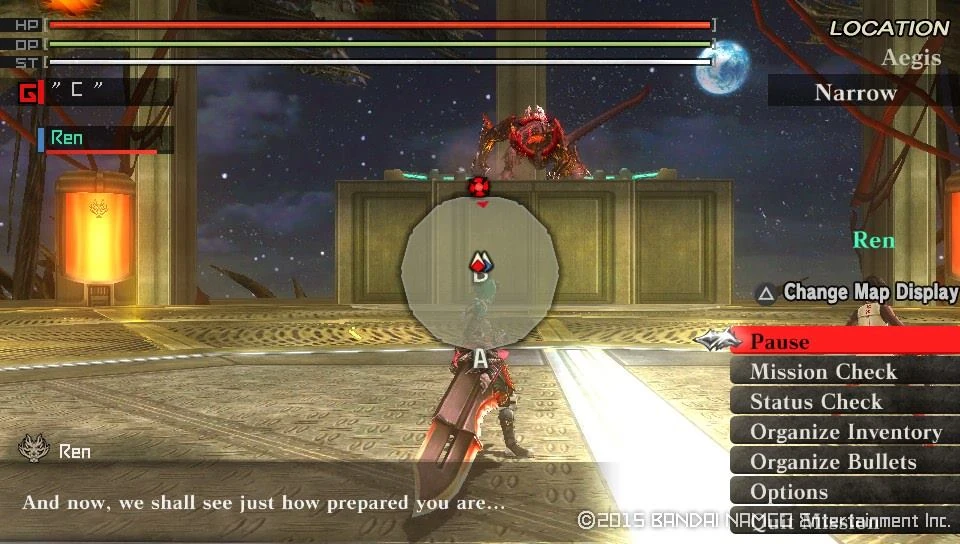
Finishing it ges you a cutscene and the used to increase of story counter.
Cutscene Unlocked : Don't Run Away
|-|
72=
Story 72[]
Walkthrough
Have a small chat with Ren, twice and get issued a mission.
Story Mission Unlocked : Devourer of the Mind
| Devourer of the Mind | ||
|---|---|---|
| Information | ||
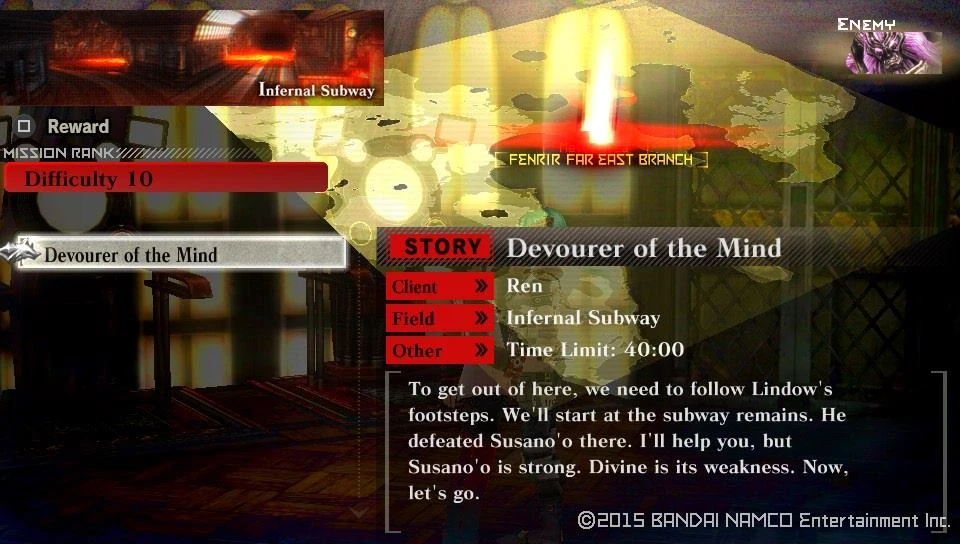  |
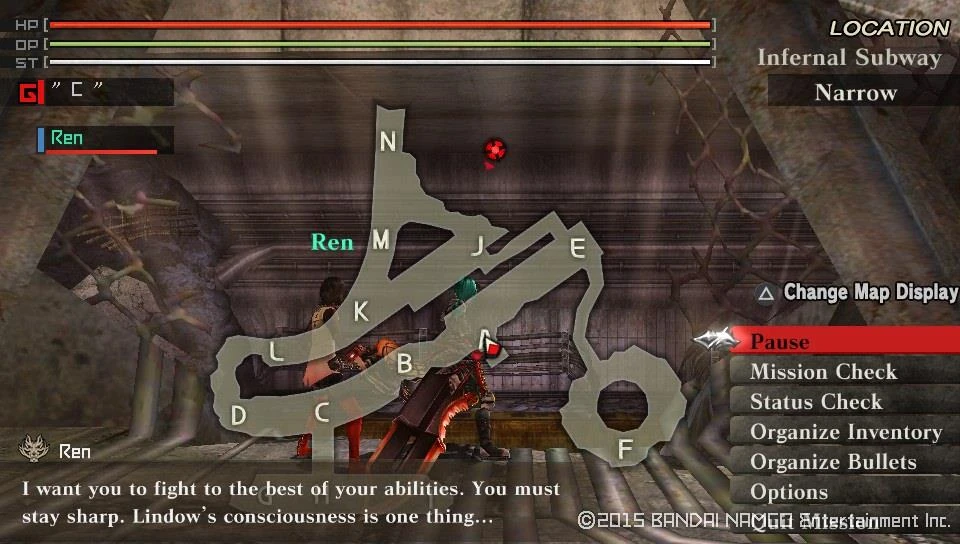  | |
| Target Aragami | Details | |
|
| |
| Notes | ||
|
Objective: Solo Susano'o! Ren isn't much of a help... Only Ren can accompany you. Recomended loadout: Divine Elemental Piercing Shots for the win, seriously. | ||
You get another increase in your story counter.
|-|
73=
Story 73[]
Walkthrough
Go to Lindow's room and talk to Ren twice to trigger your next mission.
Story Mission Unlocked : Spiral of Reminiscence
| Spiral of Reminiscence | ||
|---|---|---|
| Information | ||
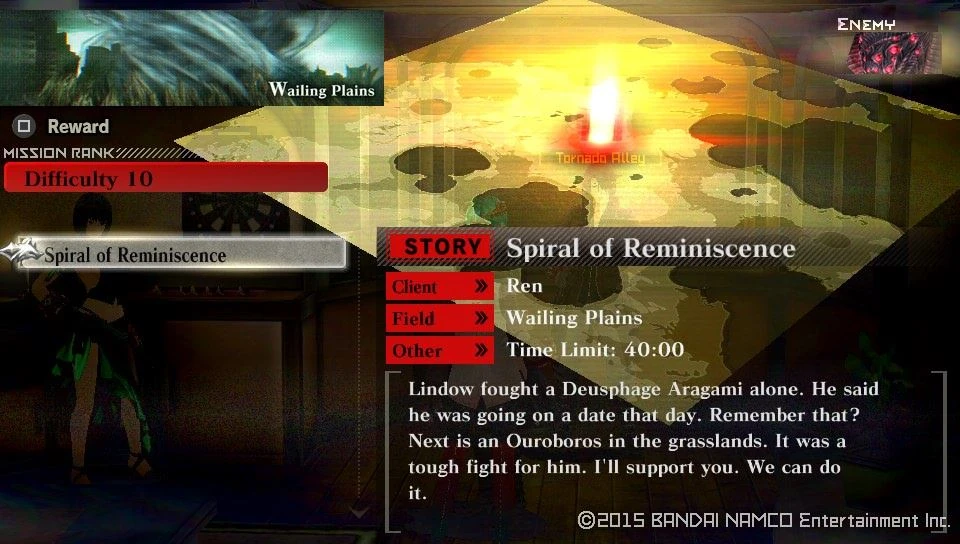  |
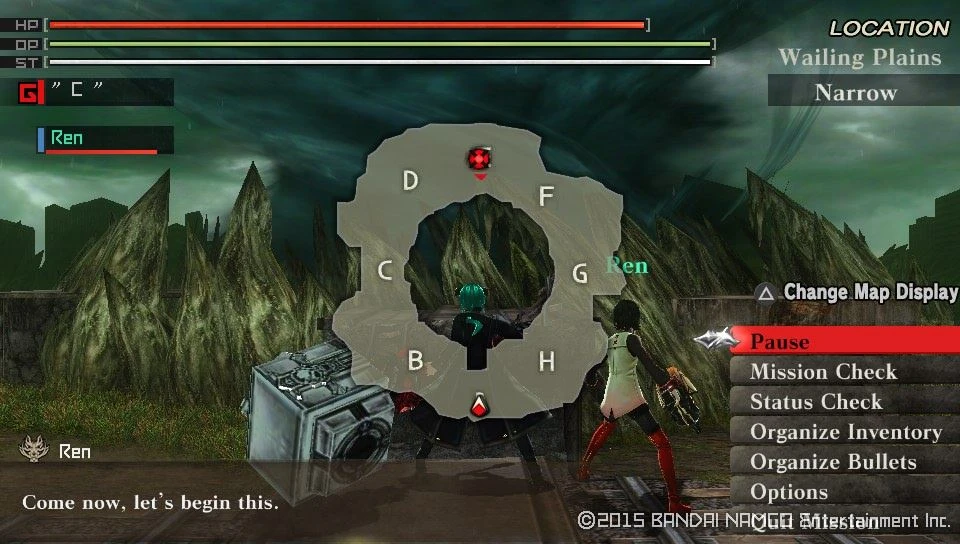  | |
| Target Aragami | Details | |
|
| |
| Notes | ||
|
Objective: Stuck with Ren again, but hey! It's only an Ouro... For the final time, only Ren will accompany you. Recomended loadout: Divine Elemental Boost Hammer recommended and Piercing Bullets. | ||
Another counter rises for this as you proceed with the Story |-|
74=
Story 74[]
Walkthrough
Once more, go to Lindow's room and talk to Ren twice to tackle the final mission in Rank 10 and the Burst Arc.
Story Mission Unlocked : True Moon in the Welkin
Also this unlocks a cutscene when you start the mission
Cutscene unlocked : True Moon in the Welkin
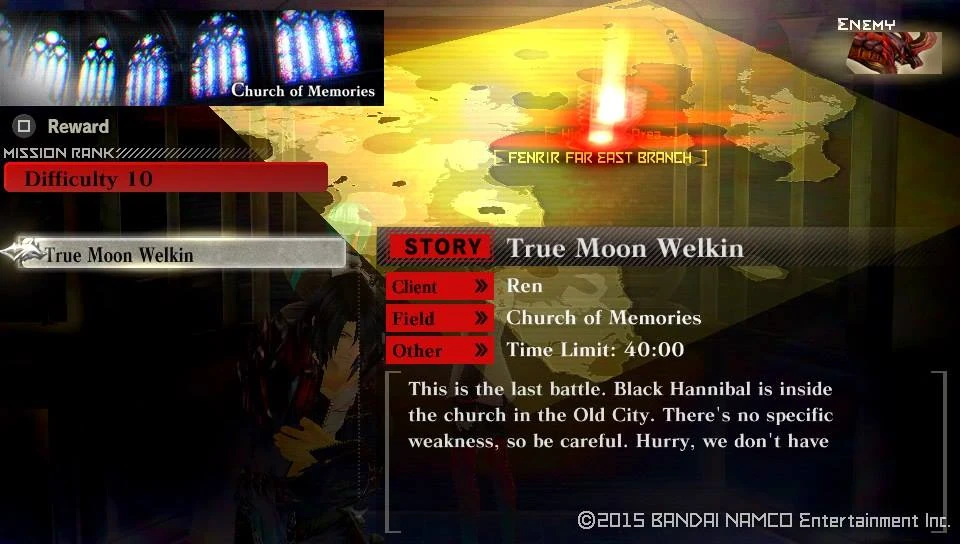


Finishing the mission will net you a cutscene, Increase in story counter and rolling the credits for the Burst Arc. Which is unskippable so, have patience.
Cutscene Unlocked : Order Accomplished

Cutscene Unlocked : Lindow's Rescue Ending
|-|
75=
Story 75[]
Walkthrough
First of all, as starting the Resurrection Arc of God Eater, all team members have the rest of their Personal Abilities unlocked, those who are available for you that is.
Personal Ability Unlocked : For every Team and Back-Up Member
Following that, you get a small change in your team line up.
Team Member Locked : Ren

Team Member Unlocked : Lindow
You also get a number of Control Units to play around
Control Unit Unlocked : Multi-step

Control Unit Unlocked : HP Devour

Control Unit Unlocked : Burst Shift Devour
There is also a free mission to take on too
Free Mission Unlocked : Angel's Ladder
| Angel's Ladder | ||
|---|---|---|
| Information | ||
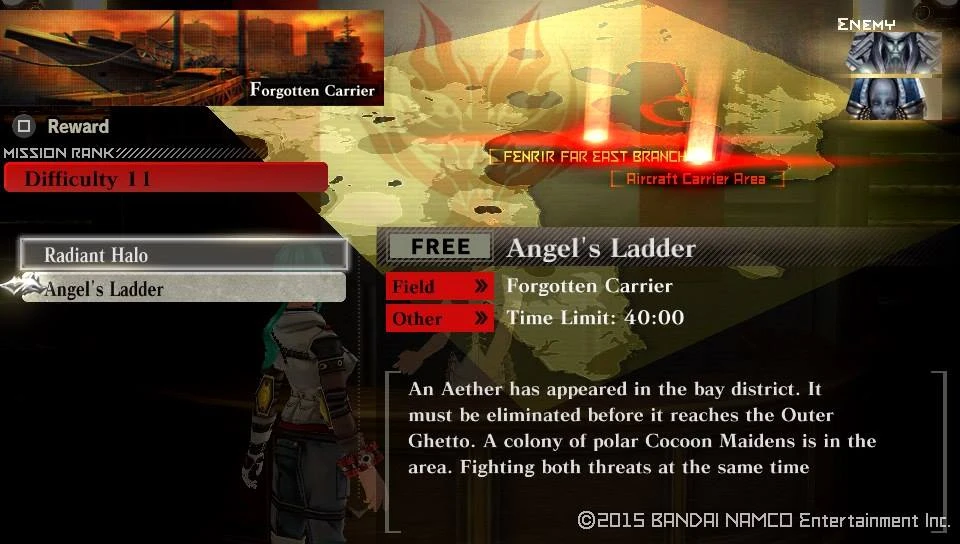  |
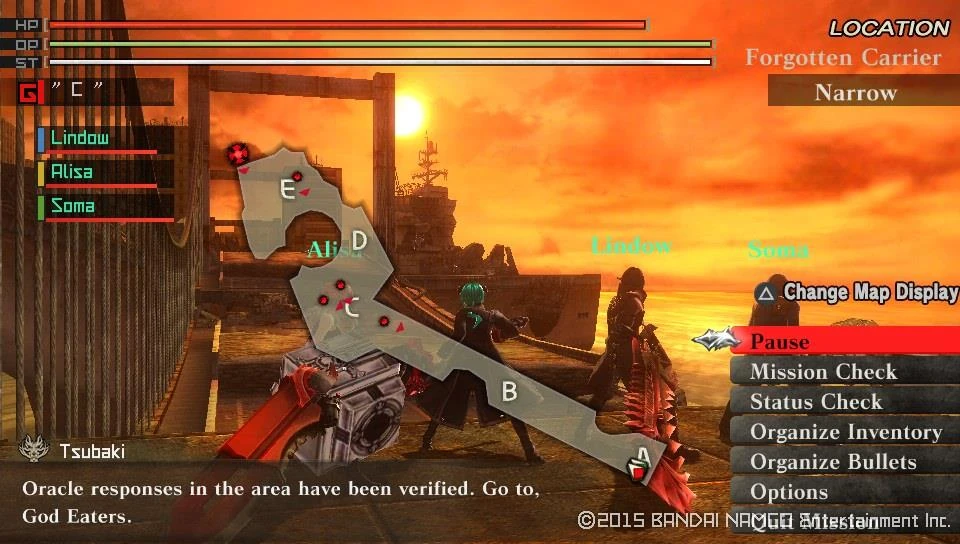  | |
| Target Aragami | Details | |
|
| |
| Notes | ||
|
Objective: Simple punitive mission. Recomended loadout: Divine Elemental Boost Hammer | ||
When you're ready to tackle the story again, head over to Hibari and get the next mission assigned
| Radiant Halo | ||
|---|---|---|
| Information | ||
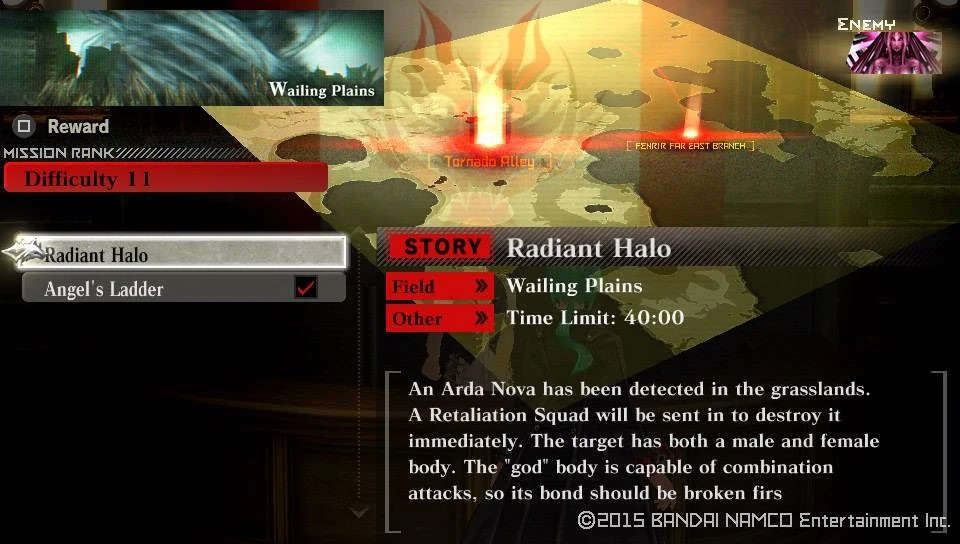  |
  | |
| Target Aragami | Details | |
|
| |
| Notes | ||
|
Objective: Yep, the Arda is back again! You can bring anyone available for this mission. Recomended loadout: Elemental Long Blade, Piercing and Crushing Bullets. | ||
Clearing the mission rewards you with an increase to your story counter.
|-|
76=
Story 76[]
Walkthrough
Clearing Radiant Halo allows you to unlock the Rank 11 Urgent mission, which is a 2 parter.
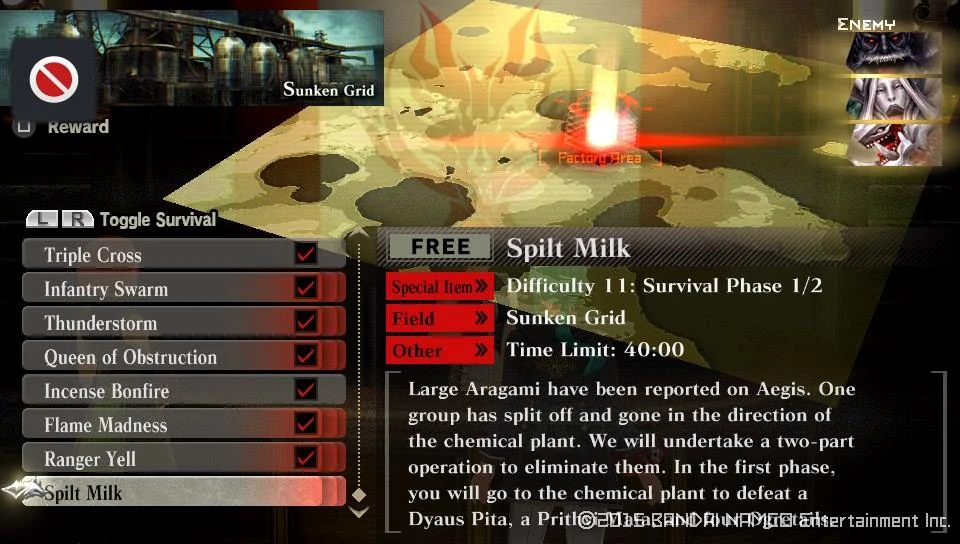


| Reward | Conditions | Probability |
| Automatic | 100% | |
| Automatic | ||
| Automatic | ||
| Automatic | ||
| Automatic | ||
| Automatic | ||
| Automatic | ||
| Automatic | ||
| Automatic | ||
| Automatic | ||
| Automatic | ||
| Automatic | ||
| Automatic | ||
| Automatic | ||
| Automatic | ||
| Automatic | ||
| Automatic | ||
| Clear under 5 Min. | ||
| Clear with 30+ Endurance | ||
| Clear with 30+ Endurance | ||
| Clear with 30+ Endurance | ||
| Clear with 30+ Endurance | ||
| Clear with 30+ Endurance | ||
| Gold F-Ticket | Break 3+ Bonds | 100% |
| Gold A-Ticket | Break 3+ Bonds | 20% |
| "Reward Credits Up" Lv5 or higher | 30% | |
| Restore Pill II | "Get Consumable Items" Lv5 or higher | 50% |
| O-Ampule | "Get Consumable Items" Lv5 or higher | 50% |
| Restore Pill S | "Get Consumable Items" Lv5 or higher | 33% |
| OG: Restore Post | "Get Consumable Items" Lv5 or higher | 33% |
The second part brings you to Aegis
| Spilt Milk | ||
|---|---|---|
| Information | ||
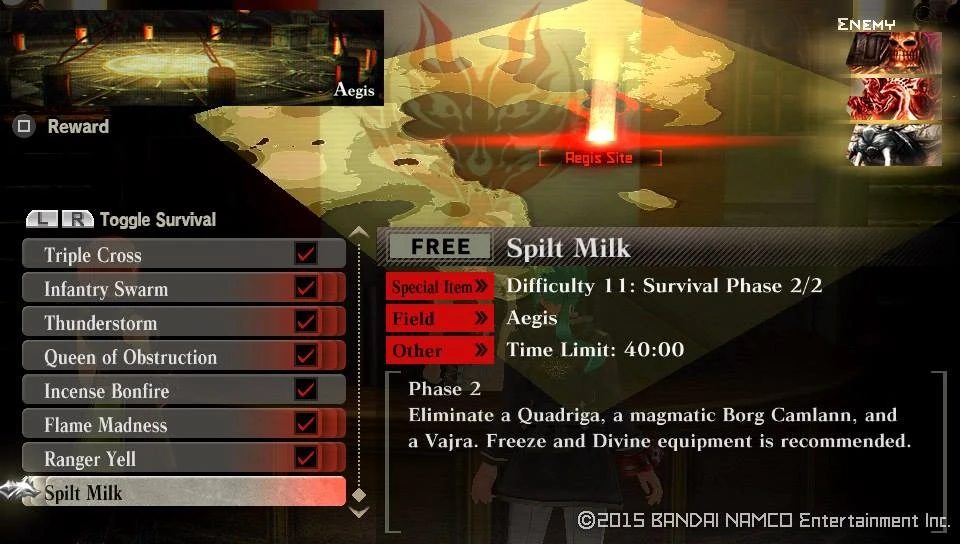  |
  | |
| Target Aragami | Details | |
|
| |
| Notes | ||
|
Objective: Another multi wave battle, all of them weak to Freeze. Recomended loadout: Freeze Elemental Long Blade, Piercing and Crushing Bullets. | ||
| Reward | Conditions | Probability |
| Automatic | 100% | |
| Automatic | ||
| Automatic | ||
| Automatic | ||
| Automatic | ||
| Automatic | ||
| Automatic | ||
| Automatic | ||
| Automatic | ||
| Automatic | ||
| Automatic | ||
| Automatic | ||
| Automatic | ||
| Automatic | ||
| Automatic | ||
| Automatic | ||
| Automatic | ||
| Clear under 5 Min. | ||
| Clear with 30+ Endurance | ||
| Clear with 30+ Endurance | ||
| Clear with 30+ Endurance | ||
| Clear with 30+ Endurance | ||
| Clear with 30+ Endurance | ||
| Gold F-Ticket | Break 3+ Bonds | 100% |
| Gold A-Ticket | Break 3+ Bonds | 20% |
| "Reward Credits Up" Lv5 or higher | 30% | |
| Restore Pill II | "Get Consumable Items" Lv5 or higher | 50% |
| O-Ampule | "Get Consumable Items" Lv5 or higher | 50% |
| Restore Pill S | "Get Consumable Items" Lv5 or higher | 33% |
| OG: Restore Post | "Get Consumable Items" Lv5 or higher | 33% |
Talk to Erina to initiate your new mission.
Story Mission Unlocked : Devil Bear
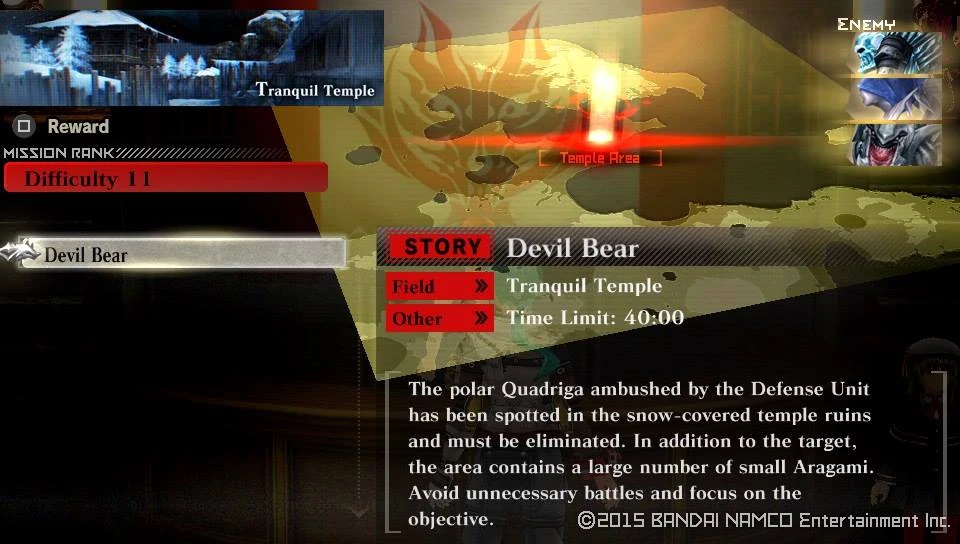

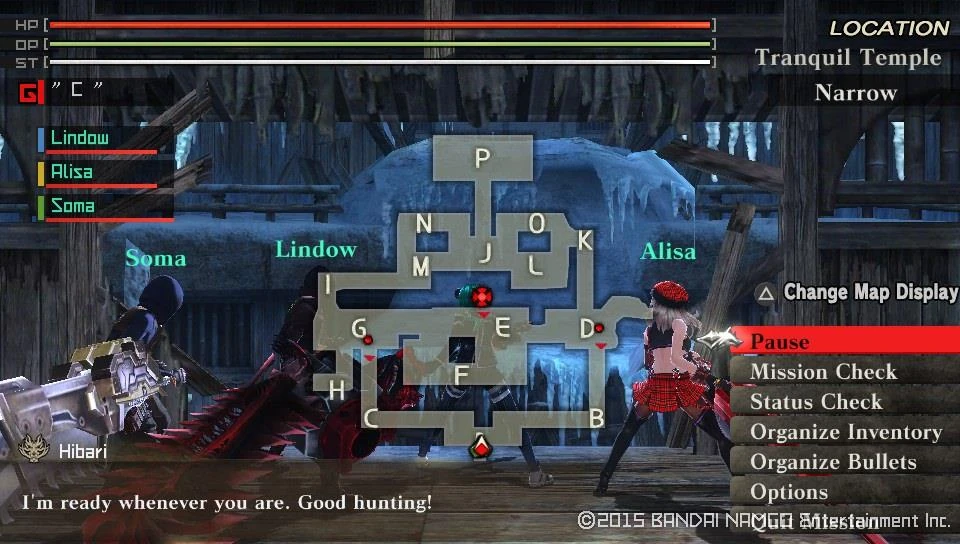
Finishing means another increase to your story Counter. |-|
77=
Story 77[]
Walkthrough
You start off with having Erina joining the team, as a Back-Up.
Back-up Member Unlocked : Erina

Personal Abilities Unlocked : Erina
There are two free mission you can take before continuing your story.
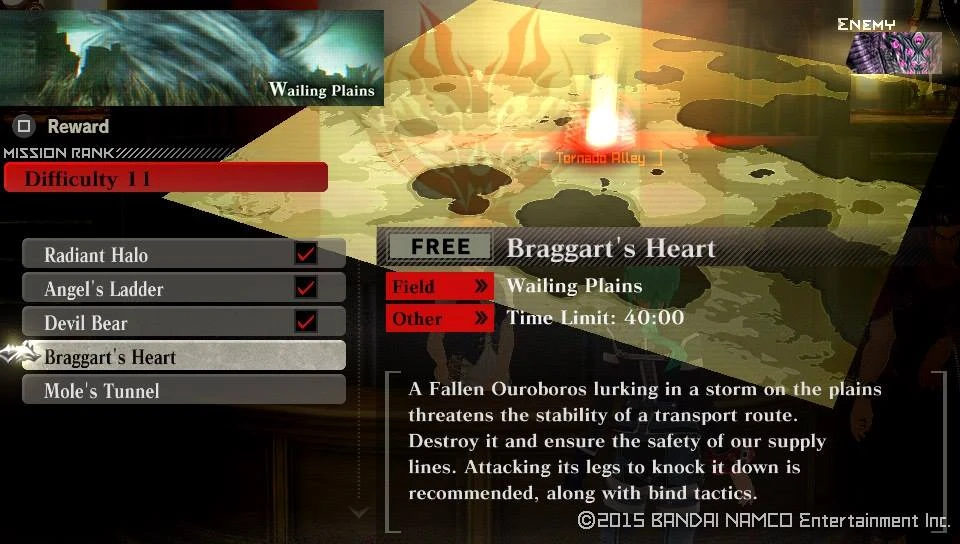

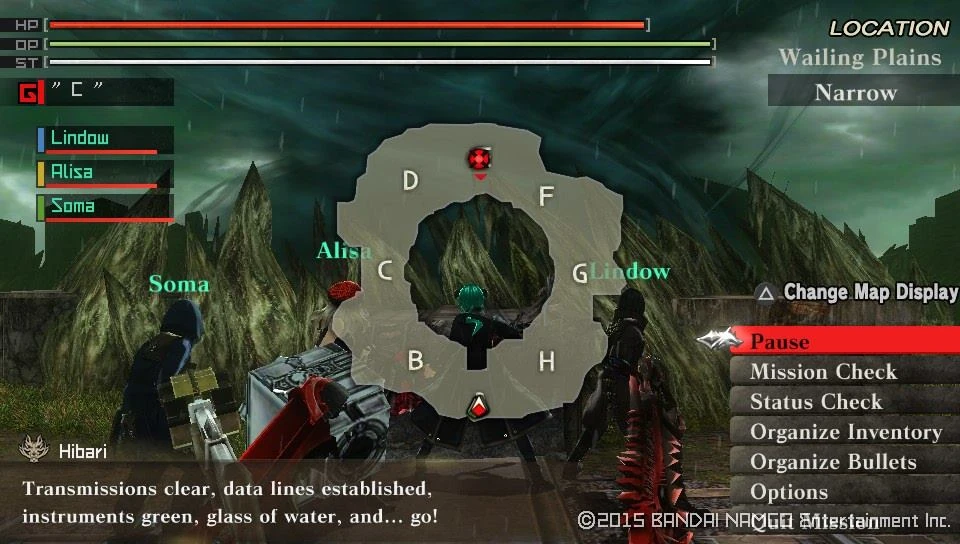
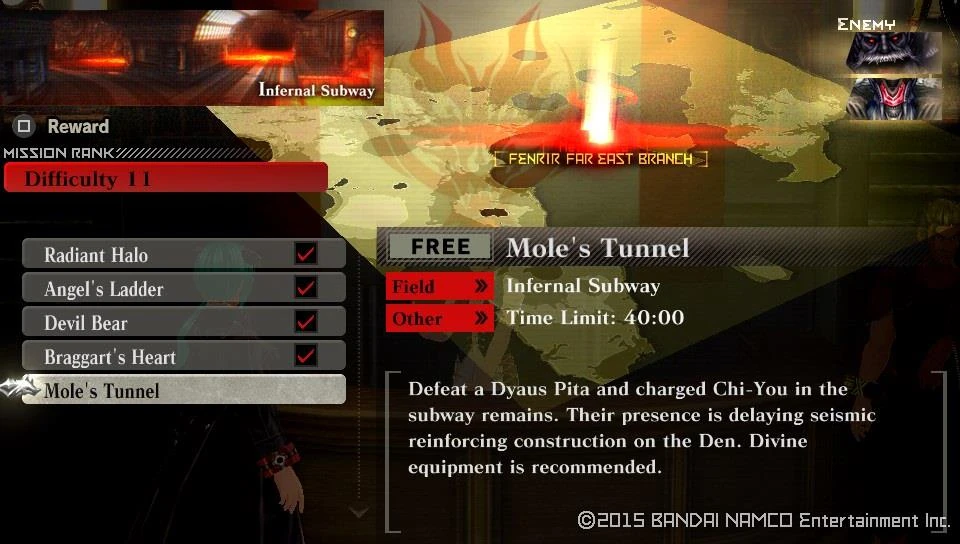


To get the story moving talk with Lindow, who mentions to go and see Dr. Sakaki. He is found in the office of the Director. You'll get a new mission issued after that.
Story Mission Unlocked : Fire Prevention
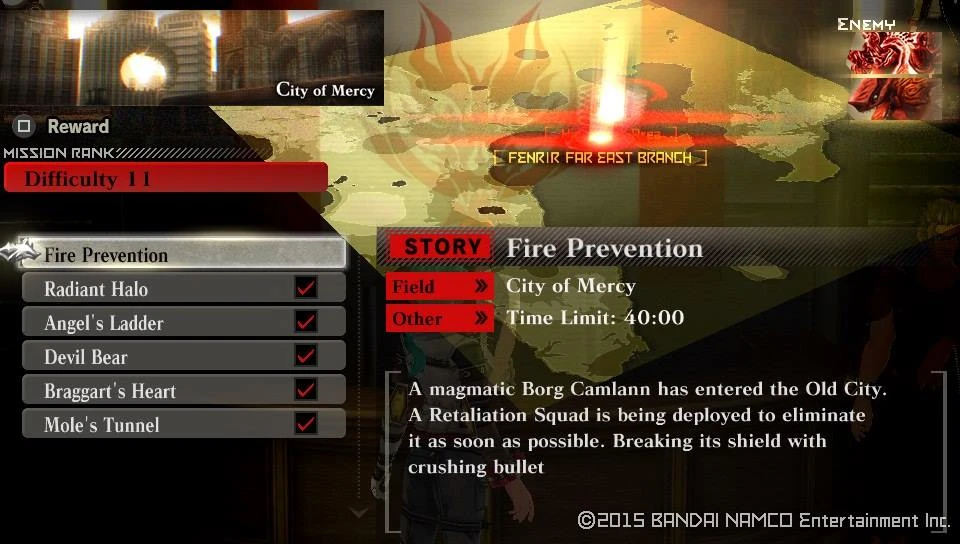

Finishing this earns you an increase to the Story counter.
|-|
78=
Story 78[]
Walkthrough
After the previous mission part of the 1st Unit becomes locked.
Team Member Locked : Sakuya

Team Member Locked : Alisa

Team Member Locked : Lindow
Go and take your next mission
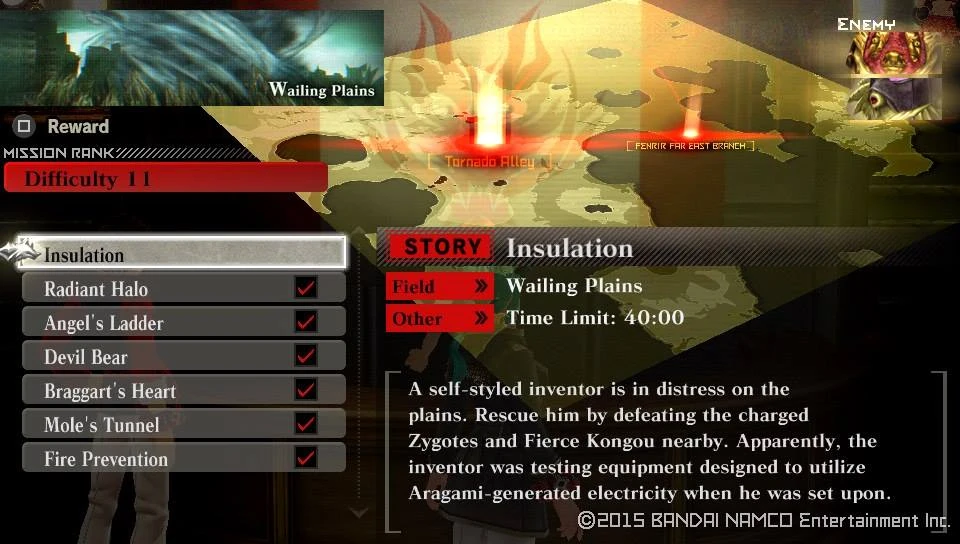


Clearing this mission nets another increase to your story counter. |-|
79=
Story 79[]
Walkthrough
Take your next mission, but be careful as you are only a 2 man team this time, starting the mission also rewards you with a Cutscene.
Cutscene Unlocked : Glowering at the Moon


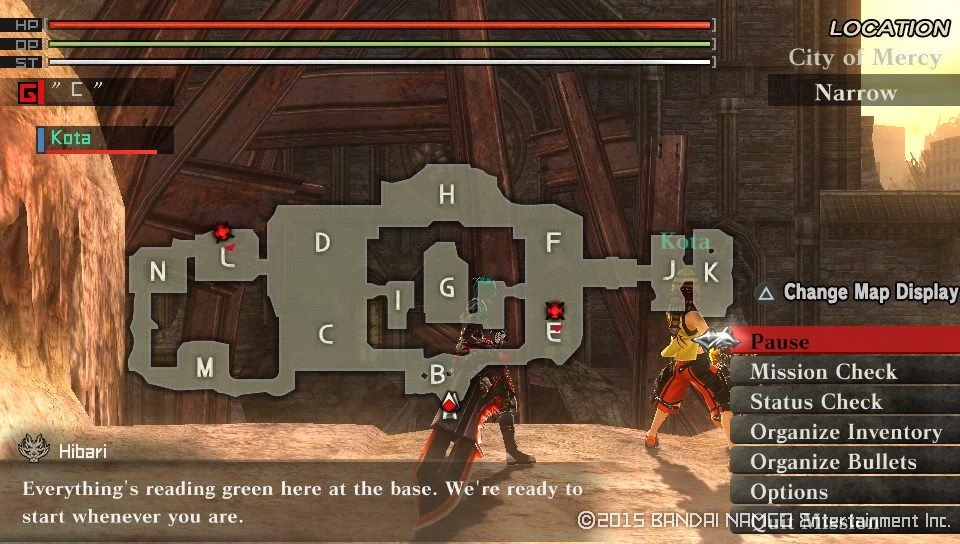

Finishing the story you get to advance your counter.
|-|
80=
Story 80[]
Walkthrough
Moving on with the story, take your next mission.
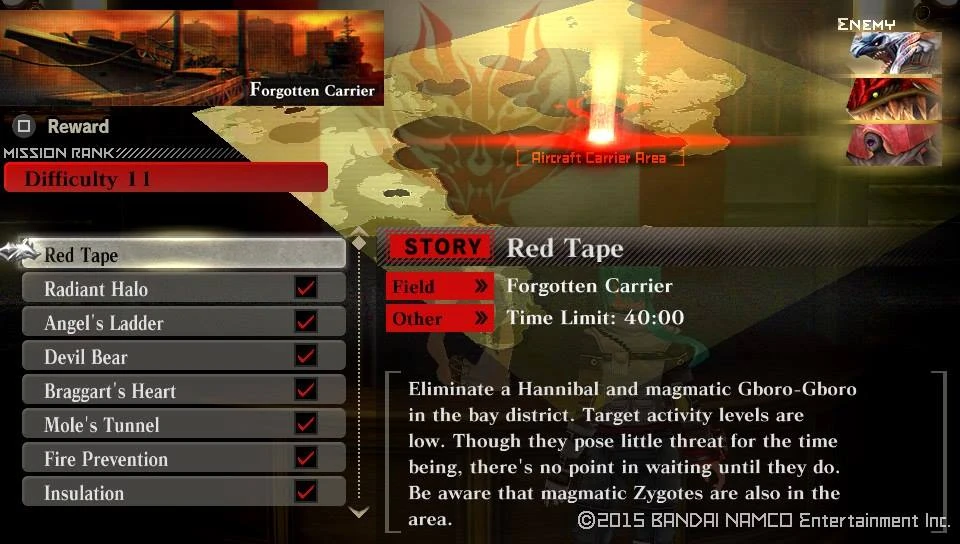

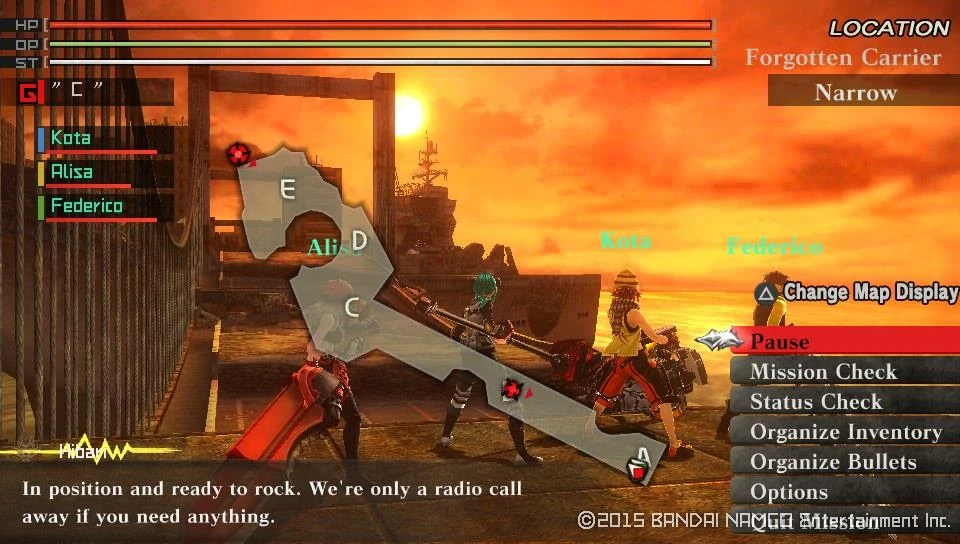

Get another increase to your story counter for finishing.
|-|
81=
Story 81[]
Walkthrough
Go to Hibari and take the next mission.
| Heliamphora | ||
|---|---|---|
| Information | ||
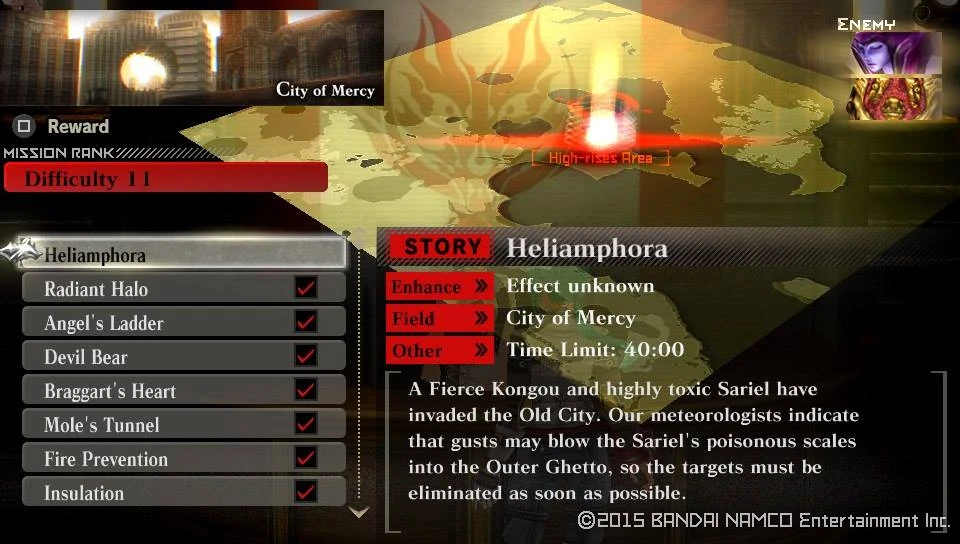  |
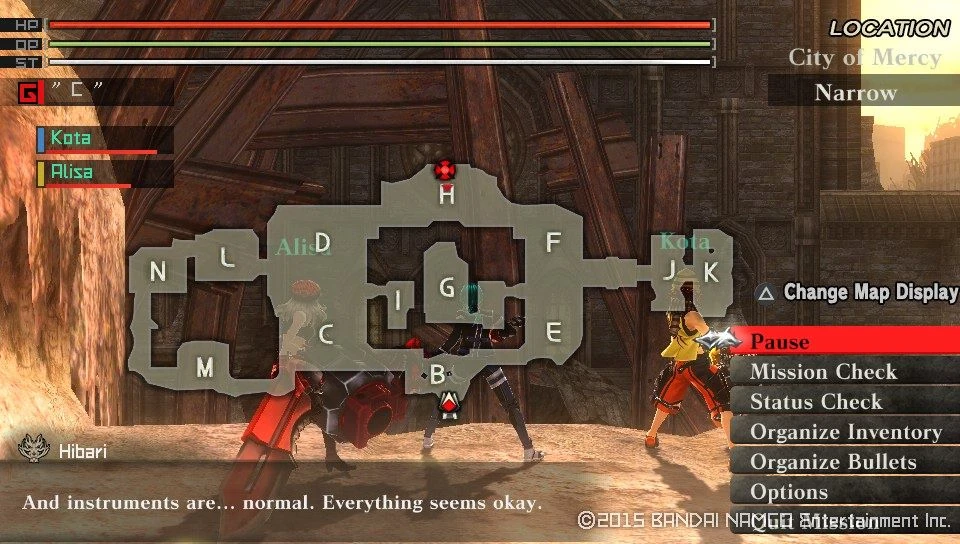  | |
| Target Aragami | Details | |
|
| |
| Notes | ||
|
Objective: Do not engage the Sariel just yet, wait for the Kongou to spawn first and take it out. Only Kota and Alisa will join you on this mission. All God Eaters in this mission will suffer from continous OP drain, Alisa (And on later replays and New-Type non-player team member) are stuck in blade mode and cannot switch to gun form. Recomended loadout: Non-Divine elemental Boost Hammer, Divine elemental Crushing Bullets. | ||
Clearing the mission nets you another increase to your story counter.
|-|
82=
Story 82[]
Walkthrough Take your nextt mission from Hibari.
| Sanghyang Jaran | ||
|---|---|---|
| Information | ||
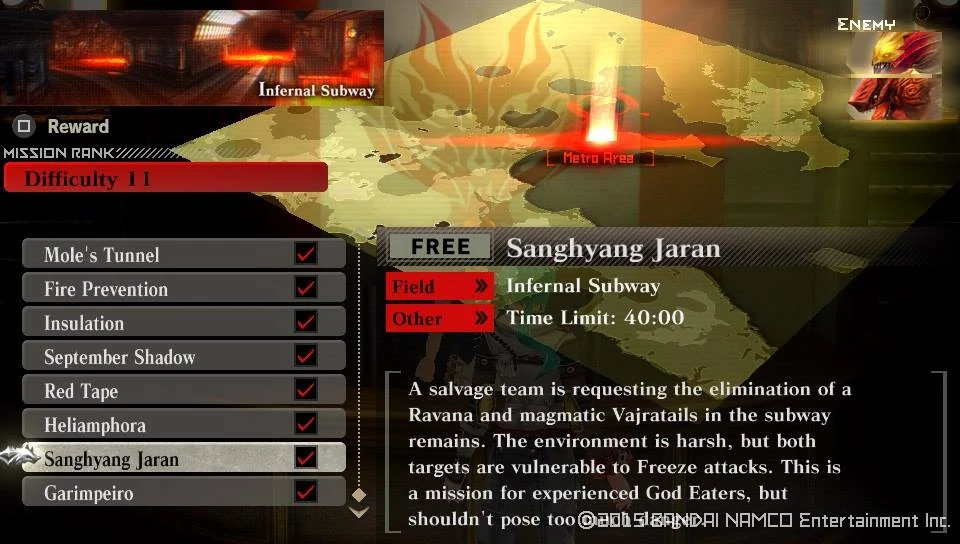  |
  | |
| Target Aragami | Details | |
|
| |
| Notes | ||
|
Objective: Some more Blaze elemental enemies. Recomended loadout: Freeze elemental Long Blade, Piercing Shots. | ||
Before tackling the final mission of Rank 11, you get one of your team members back.
Team Member Unlocked : Soma
After you are prepared to continue the story, talk to Hibari who will send you to the Directors office, and that triggers your next Cutscene.
Cutscene Unlocked : The Second Nova
Now you can return to the Operator and take your mission.
Story Mission Unlocked : Garimpeiro
| Garimpeiro | ||
|---|---|---|
| Information | ||
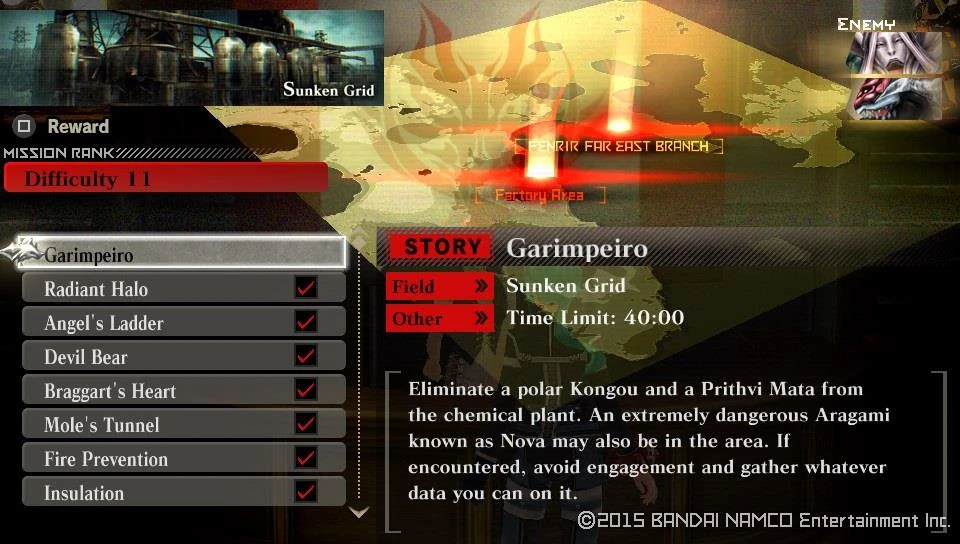  |
  | |
| Target Aragami | Details | |
|
| |
| Notes | ||
|
Objective: Another solo elemental enemies. Recomended loadout: Blaze elemental Long Blade, Piercing Bullets. | ||
Finishing the final mission of Rank 11 nets you an increase of story counter.
|-|
83=
Story 83[]
Walkthrough
The first mission in Rank 12 pits you against a new enemy.
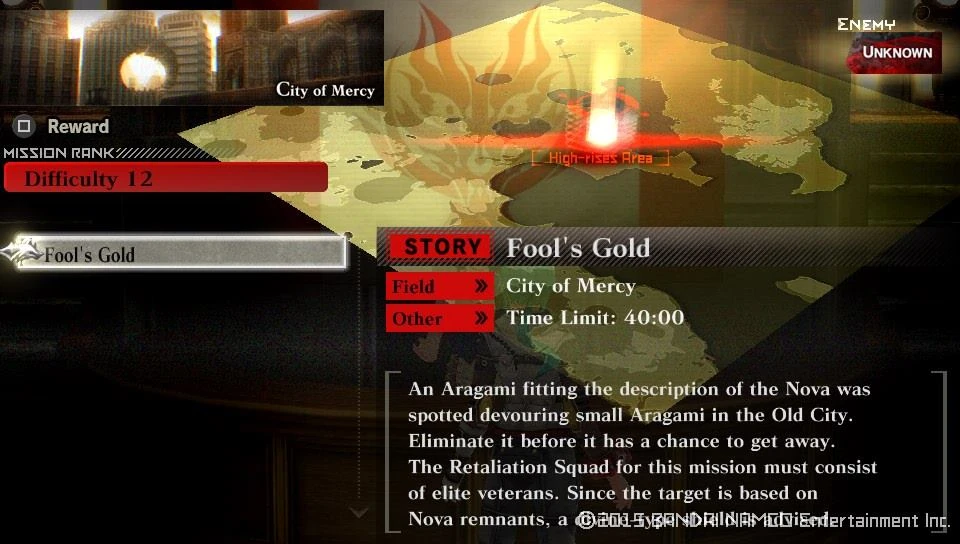

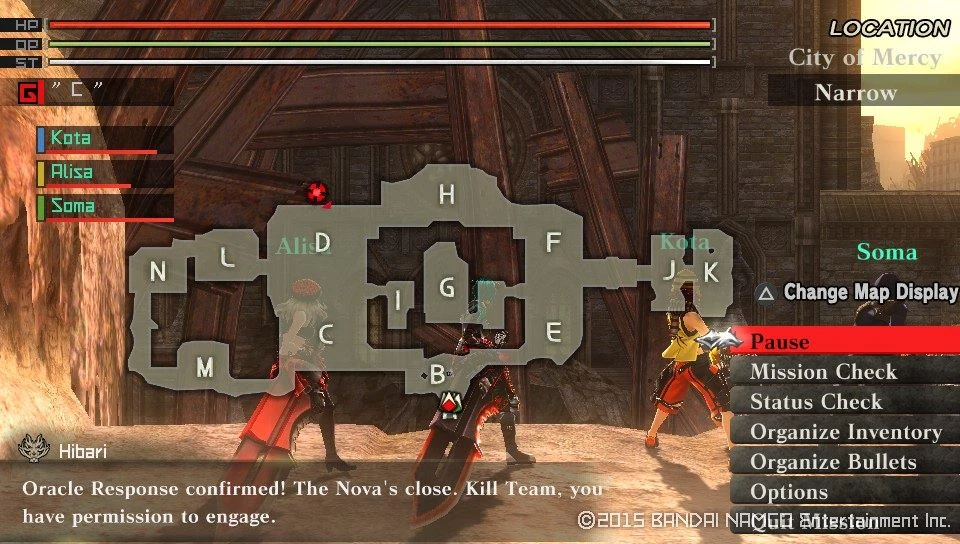

Completing this mission earns you a cutscene and an increment to your story counter.
Cutscene Unlocked : Disquiet
|-|
84=
Story 84[]
Walkthrough
Finishing Fool's Gold means you get another Urgent mission on the current Rank 12, this one a 3 part survival.
Urgent Mission Unlocked : Material Age
| Material Age | ||
|---|---|---|
| Information | ||
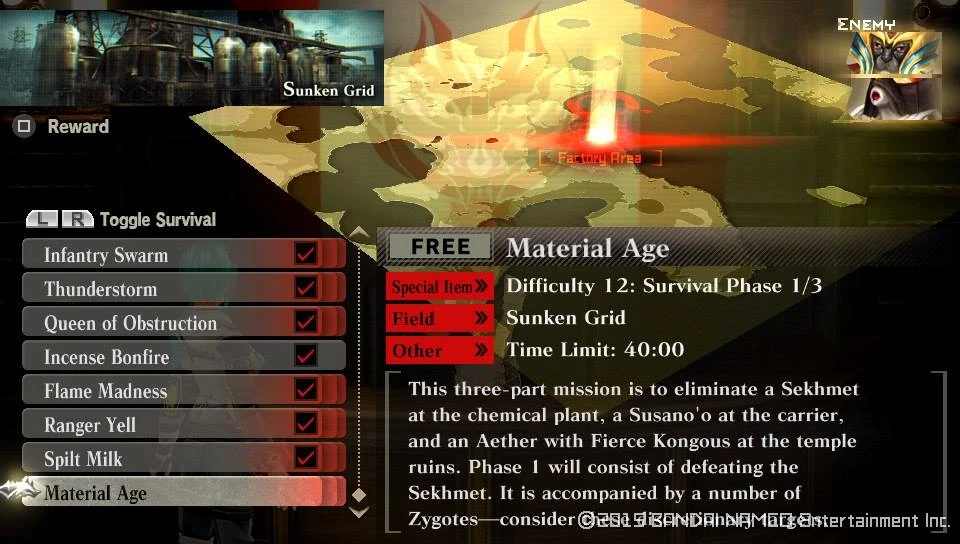  |
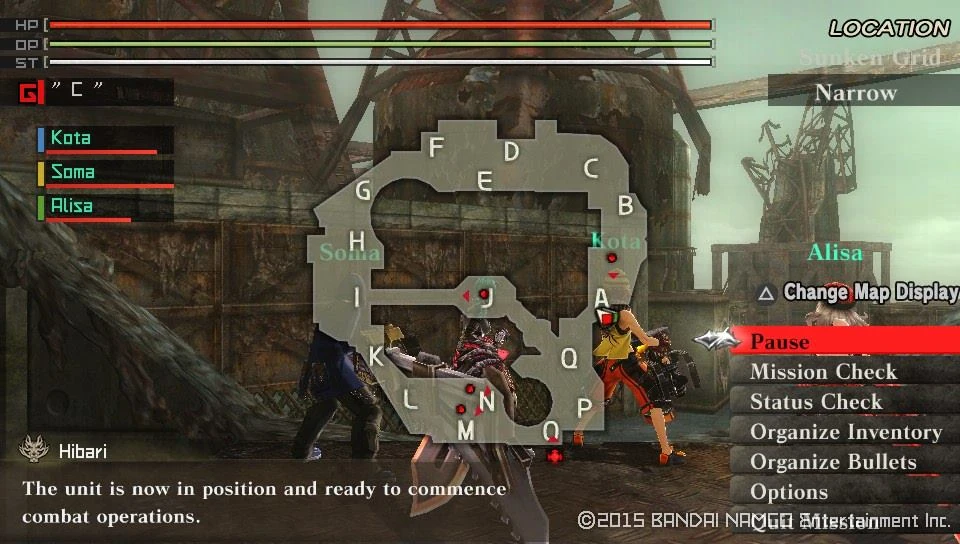  | |
| Target Aragami | Details | |
|
| |
| Notes | ||
|
Objective: Simple punitive mission. Recomended loadout: Freeze Elemental Long Blade, Piercing and Crushing Bullets. | ||
| Reward | Conditions | Probability |
| Automatic | 100% | |
| Automatic | ||
| Automatic | ||
| Automatic | ||
| Automatic | ||
| Automatic | ||
| Automatic | ||
| Automatic | ||
| Automatic | ||
| Automatic | ||
| Automatic | ||
| Automatic | ||
| Automatic | ||
| Automatic | ||
| Automatic | ||
| Automatic | ||
| Automatic | ||
| Clear under 5 Min. | ||
| Clear with 30+ Endurance | ||
| Clear with 30+ Endurance | ||
| Clear with 30+ Endurance | ||
| Clear with 30+ Endurance | ||
| Clear with 30+ Endurance | ||
| Gold F-Ticket | Break 3+ Bonds | 100% |
| Gold A-Ticket | Break 3+ Bonds | 20% |
| "Reward Credits Up" Lv5 or higher | 30% | |
| Restore Pill II | "Get Consumable Items" Lv5 or higher | 50% |
| O-Ampule | "Get Consumable Items" Lv5 or higher | 50% |
| Restore Pill S | "Get Consumable Items" Lv5 or higher | 33% |
| OG: Restore Post | "Get Consumable Items" Lv5 or higher | 33% |
The 2nd part brings you to the Forgotten Carrier.
| Material Age | ||
|---|---|---|
| Information | ||
  |
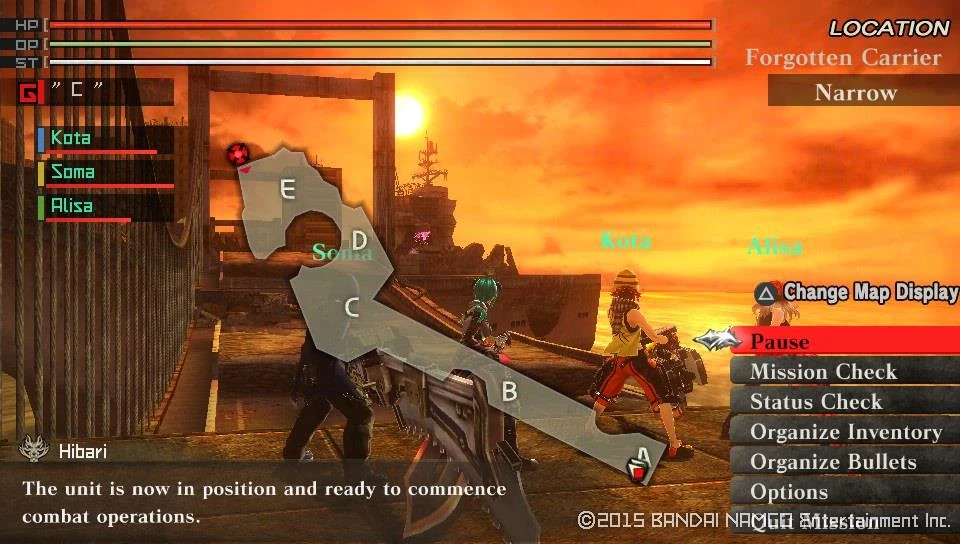  | |
| Target Aragami | Details | |
|
| |
| Notes | ||
|
Objective: Another simple mission. Recomended loadout: Divine elemental Piercing and Crushing bullets. | ||
| Reward | Conditions | Probability |
| Automatic | 100% | |
| Automatic | ||
| Automatic | ||
| Automatic | ||
| Automatic | ||
| Automatic | ||
| Automatic | ||
| Automatic | ||
| Automatic | ||
| Automatic | ||
| Automatic | ||
| Automatic | ||
| Automatic | ||
| Automatic | ||
| Automatic | ||
| Automatic | ||
| Automatic | ||
| Clear under 5 Min. | ||
| Clear with 30+ Endurance | ||
| Clear with 30+ Endurance | ||
| Clear with 30+ Endurance | ||
| Clear with 30+ Endurance | ||
| Clear with 30+ Endurance | ||
| Gold F-Ticket | Break 3+ Bonds | 100% |
| Gold A-Ticket | Break 3+ Bonds | 20% |
| "Reward Credits Up" Lv5 or higher | 30% | |
| Restore Pill II | "Get Consumable Items" Lv5 or higher | 50% |
| O-Ampule | "Get Consumable Items" Lv5 or higher | 50% |
| Restore Pill S | "Get Consumable Items" Lv5 or higher | 33% |
| OG: Restore Post | "Get Consumable Items" Lv5 or higher | 33% |
The final part needs your presence at the Tranquil Temples.
| Material Age | ||
|---|---|---|
| Information | ||
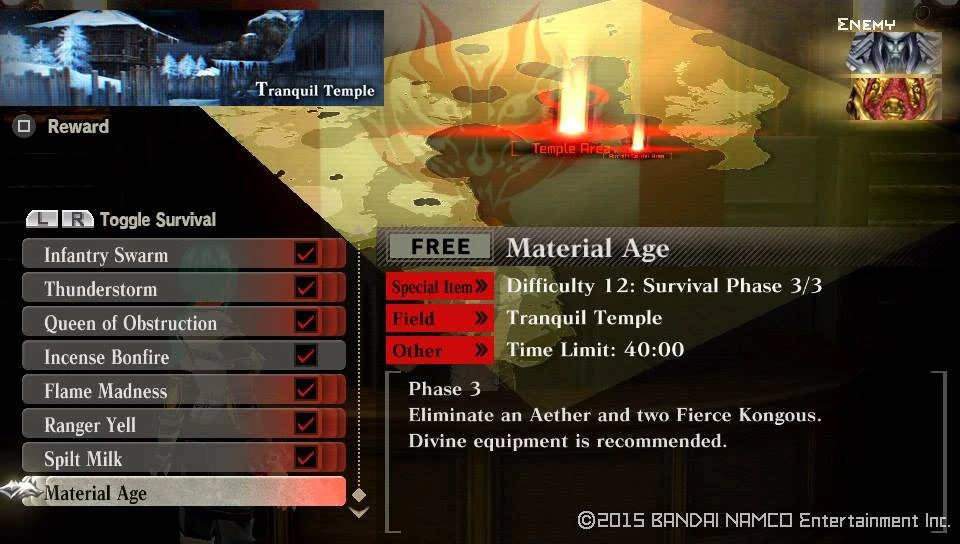  |
  | |
| Target Aragami | Details | |
|
| |
| Notes | ||
|
Objective: 3 sensitive Aragami and your party is thrown right into the middle. This mission might look hard, but just go for the Aether instantly and take it down fast as the Kongou will be sturdier anyways. Recomended loadout: Divine Elemental Boost Hammer, Crushing Bullets. | ||
| Reward | Conditions | Probability |
| Automatic | 100% | |
| Automatic | ||
| Automatic | ||
| Automatic | ||
| Automatic | ||
| Automatic | ||
| Automatic | ||
| Automatic | ||
| Automatic | ||
| Automatic | ||
| Automatic | ||
| Automatic | ||
| Automatic | ||
| Automatic | ||
| Automatic | ||
| Automatic | ||
| Automatic | ||
| Clear under 5 Min. | ||
| Clear with 30+ Endurance | ||
| Clear with 30+ Endurance | ||
| Clear with 30+ Endurance | ||
| Clear with 30+ Endurance | ||
| Clear with 30+ Endurance | ||
| Gold F-Ticket | Break 3+ Bonds | 100% |
| Gold A-Ticket | Break 3+ Bonds | 20% |
| "Reward Credits Up" Lv5 or higher | 30% | |
| Restore Pill II | "Get Consumable Items" Lv5 or higher | 50% |
| O-Ampule | "Get Consumable Items" Lv5 or higher | 50% |
| Restore Pill S | "Get Consumable Items" Lv5 or higher | 33% |
| OG: Restore Post | "Get Consumable Items" Lv5 or higher | 33% |
Talk to Hibari, who will tell you to seek out Licca. As you approach her, that will trigger a cutscene.
Cutscene Unlocked : Omnivore's Flesh
Now get back to Hibari and take the next mission.
Story Mission Unlocked : Corn Snow
| Corn Snow | ||
|---|---|---|
| Information | ||
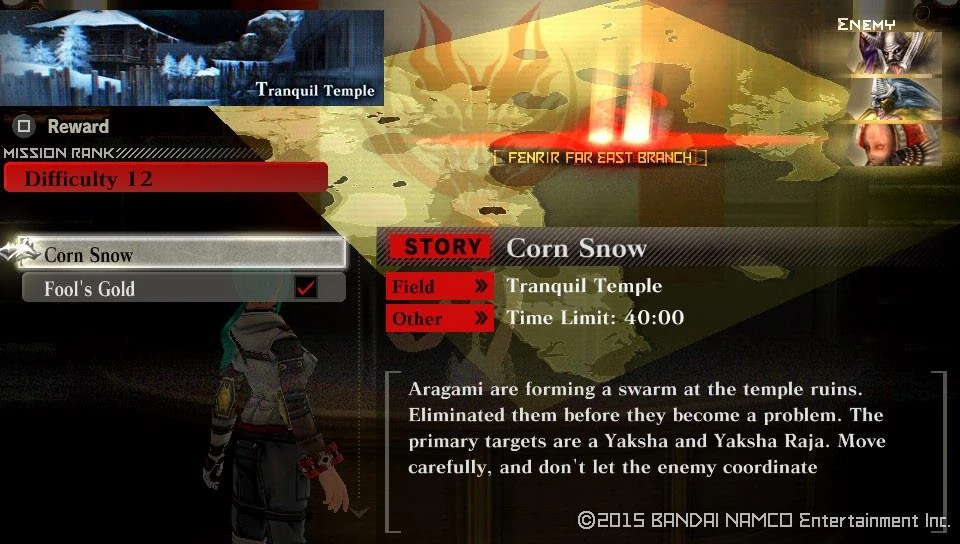  |
 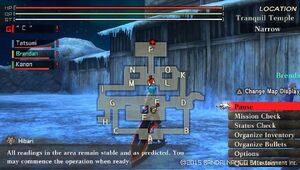 | |
| Target Aragami | Details | |
|
| |
| Notes | ||
|
Objective: Simple multi-waved mission. Tatsumi, Brendan and Kanon are mandatory to participate. Recomended loadout: Practically anything will do. | ||
Finish this for an increased story counter. |-|
85=
Story 85[]
Walkthrough
For your efforts you gain 2 Control Units to use.
Control Unit Unlocked : Burst Drain Attack

Control Unit Unlocked : Debuff Up
Also you'll get the following 2 Free Missions to tackle
| Ink Clouds | ||
|---|---|---|
| Information | ||
 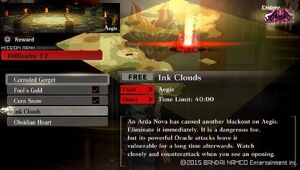 |
  | |
| Target Aragami | Details | |
|
| |
| Notes | ||
|
Objective: Another Arda Nova, it just won't stay down... Recomended loadout: Elemental Long Blade, Piercing and Crushing Bullets | ||
| Obsidian Heart | ||
|---|---|---|
| Information | ||
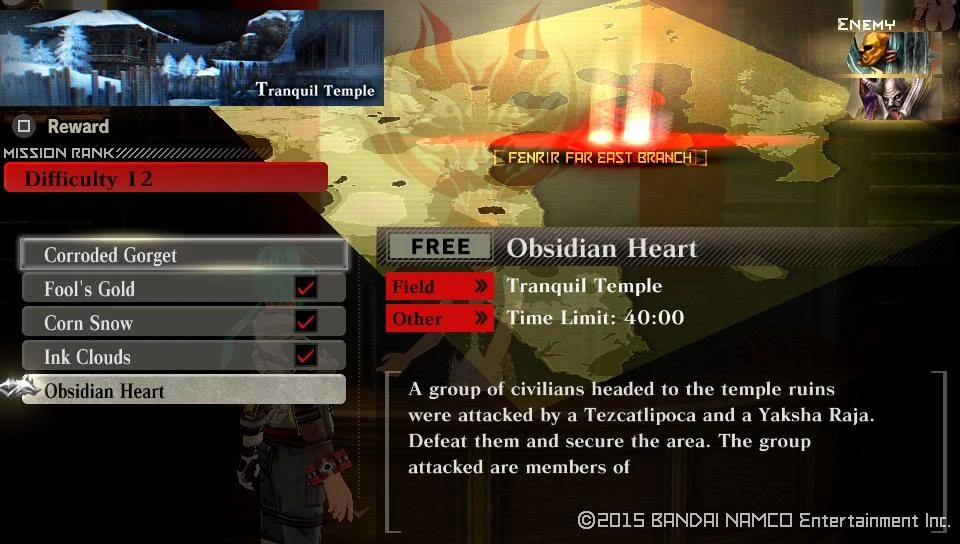  |
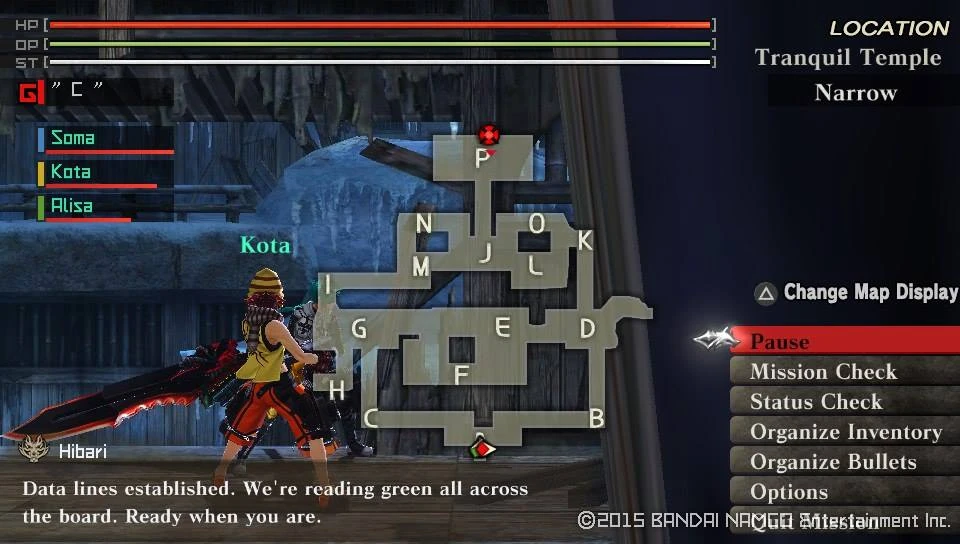  | |
| Target Aragami | Details | |
|
| |
| Notes | ||
|
Objective: Since the Raja can track you, just rush at the Tezca and bring it down. Recomended loadout: Divine Elemental Boost Hammer, Piercing and Crushing Bullets. | ||
When you are done, tackle the next story mission
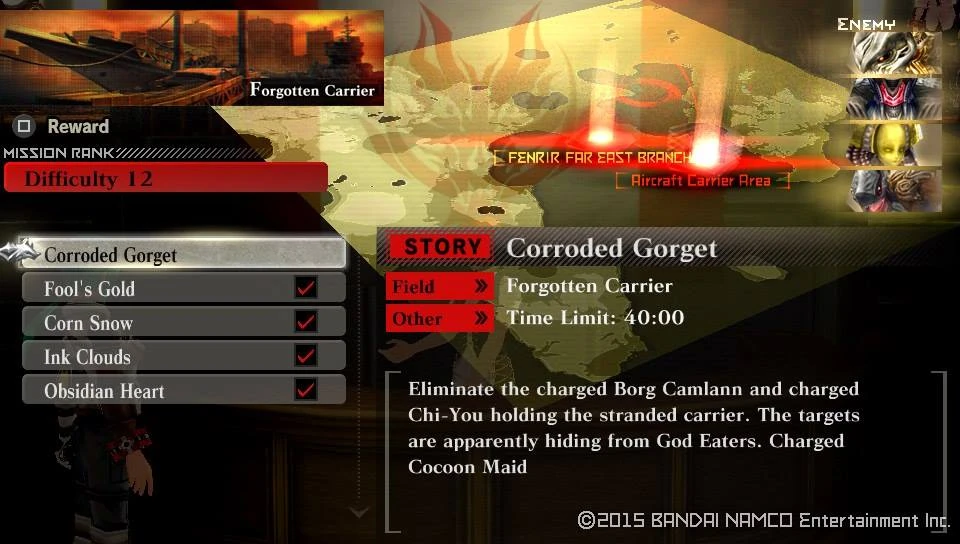


Finish the mission to earn a cutscene and an increase to your story counter.
Cutscene Unlocked : An Anxious Ally
|-|
86=
Story 86[]
Walkthrough
You get someone back from your roster, so say hello to your medic.
Team Member Unlocked : Sakuya
Once you are ready to go, talk with Soma, twice to initiate your next mission.
Story Mission Unlocked : Grimsvotn
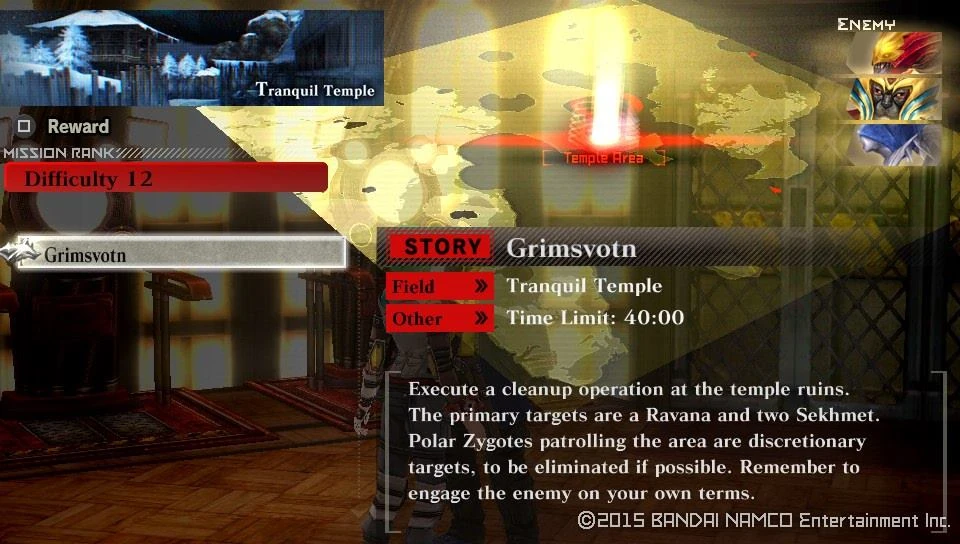


Finishing this mission earns you a Cutscene and an increased Story counter.
Cutscene Unlocked : 1st Unit, Defeated
|-|
87=
Story 87[]
Walkthrough
There is going to be a change in your roster line up, since 3 of them will be taken out of the picture for a while.
Team Member Locked : Alisa

Team Member Locked : Kota

Team Member Locked : Soma
However you are going to get back someone else in return.
Team Member Unlocked : Lindow
Go and see Hibari, she will inform you that Dr. Sakaki wants to talk with you, so head to the Directors office and trigger a cutscene by doing so.
Cutscene Unlocked : Miscalculation
Return to Hibari and take you next story mission
Story Mission Unlocked : Bog Offering
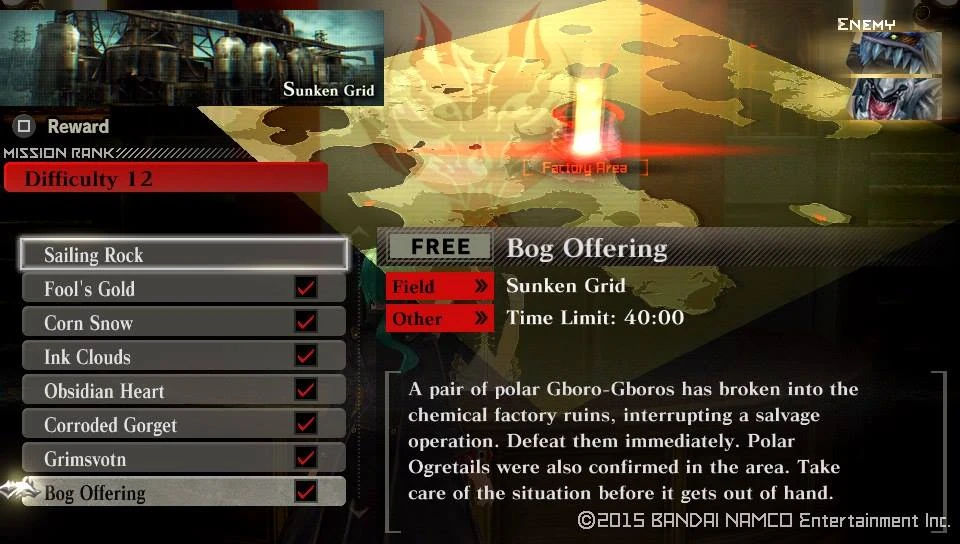

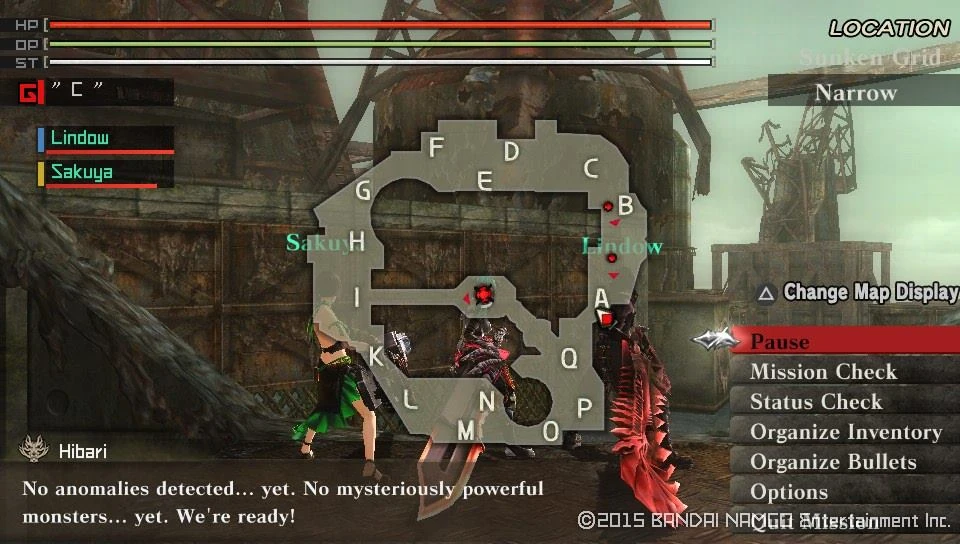

Finishing this mission nets you another Cutscene along with the raised story counter.
Cutscene Unlocked : Captain's Encouragement
|-|
88=
Story 88[]
Walkthrough
Talk to Hibari and engage your next target.
| Sailing Rock | ||
|---|---|---|
| Information | ||
 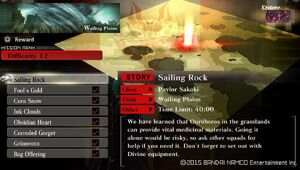 |
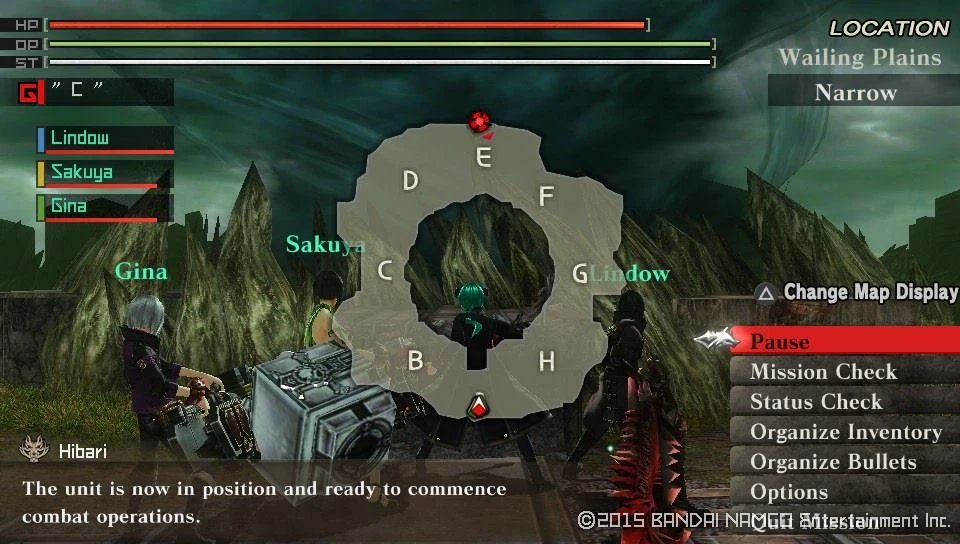  | |
| Target Aragami | Details | |
|
| |
| Notes | ||
|
Objective: One Ouro coming up! On this mission anyone can join you who is available. Recomended loadout: Divine elemental Boost Hammer, Piercing Bullets. | ||
Finishing the mission rewards you another Story counter raise.
|-|
89=
Story 89[]
Walkthrough
If you talk to Hibari, she will inform you that Soma wants to talk with you. You can find him inside the infirmary so go and talk to him, this triggers a cutscene to watch.
Cutscene Unlocked : Redemption
Return to Hibari and tackle the next targets.
| Wispy Clouds | ||
|---|---|---|
| Information | ||
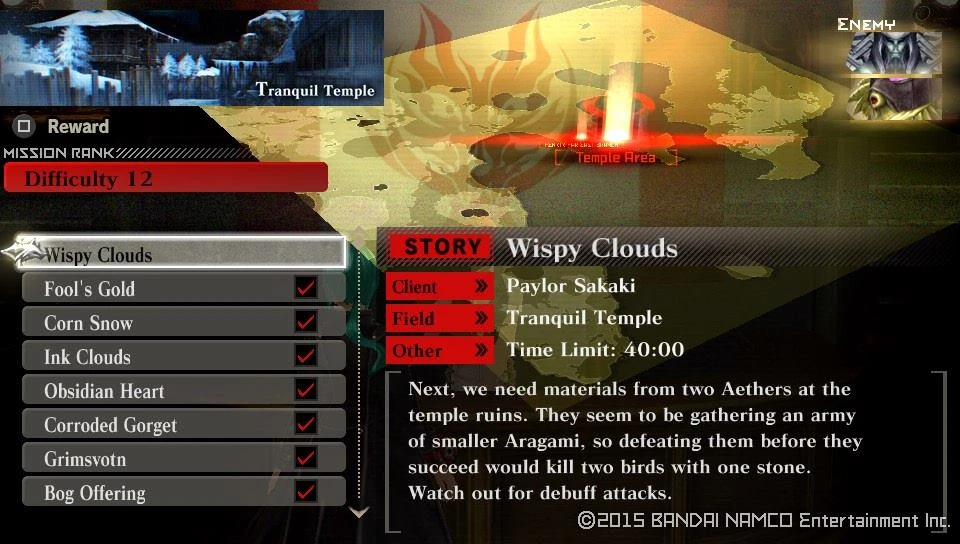 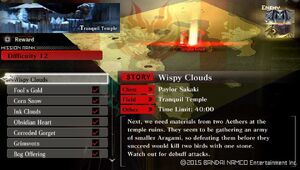 |
  | |
| Target Aragami | Details | |
|
| |
| Notes | ||
|
Objective: Another straightforward one. You can bring any 3 available members with you. Recomended loadout: Divine elemental Boost Hammer. | ||
Finishing means you get another increased Story Counter.
|-|
90=
Story 90[]
Walkthrough
You're going to have to talk to Hibari, who redirects you to Dr. Sakaki, you can find him inside his lab. You'll then be given your next mission, to hunt down a new Aragami.
| Water Lilly | ||
|---|---|---|
| Information | ||
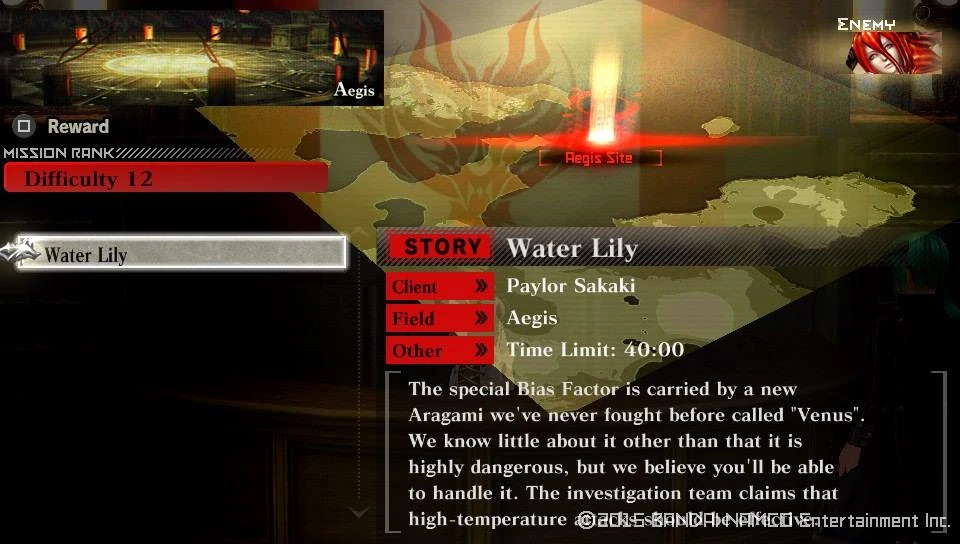 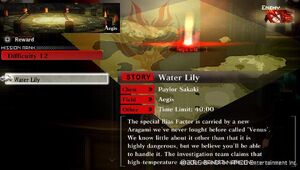 |
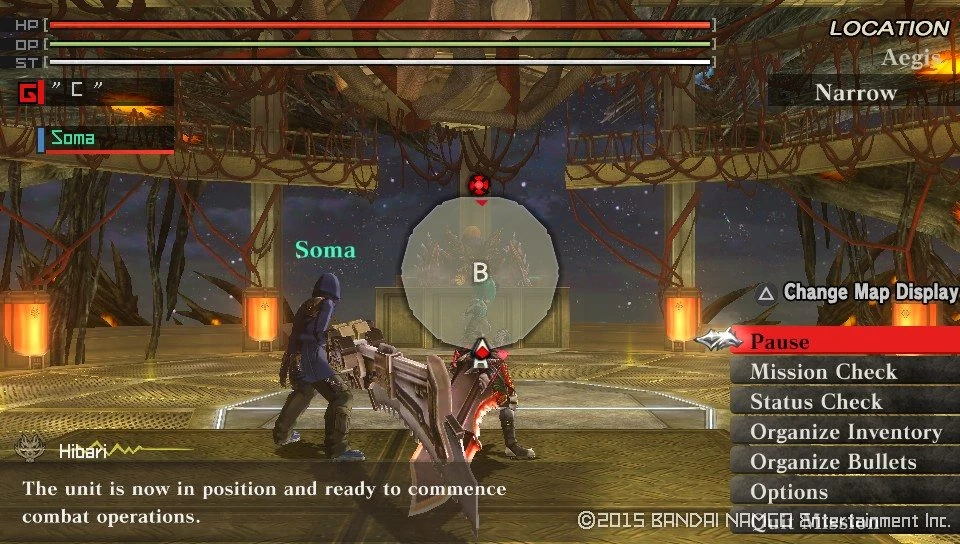  | |
| Target Aragami | Details | |
|
| |
| Notes | ||
|
Objective: Another new target, the Venus. Only Soma will join you. The Venus, is an Aragami that can summon parts of other Aragami from the jellies on it's back, both side and rear. Unbinding those parts will make the Venus unable to call forth those attacks, but in turn it will become much more aggressive and easily enrageable. The breakable bonds are as the following:
Recomended loadout: Blaze elemental Long Blade, Piercing Bullets. | ||
You get another increase to your story counter here.
|-|
91=
Story 91[]
Walkthrough
Well, Soma's back in action for real now.
Team Member Unlocked : Soma
However now Lindow and Sakuya are removed from your team for a while
Team Member Locked : Lindow

Team Member Locked : Sakuya
Hibari calls for you to go see Soma once more, so head over to the Infirmary. Once you are done go back to the Operator and tackle the final mission for Rank 12.
Story Mission Unlocked : Archvillain
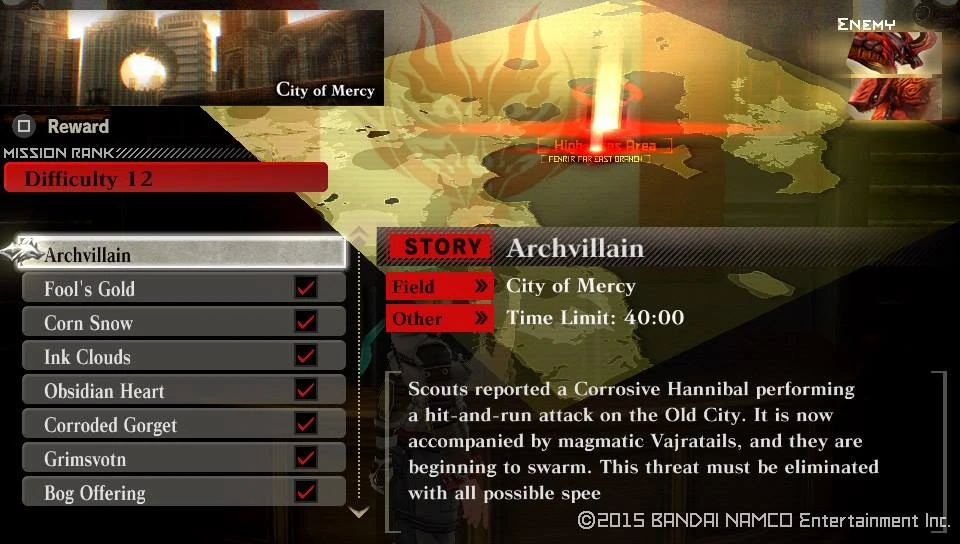

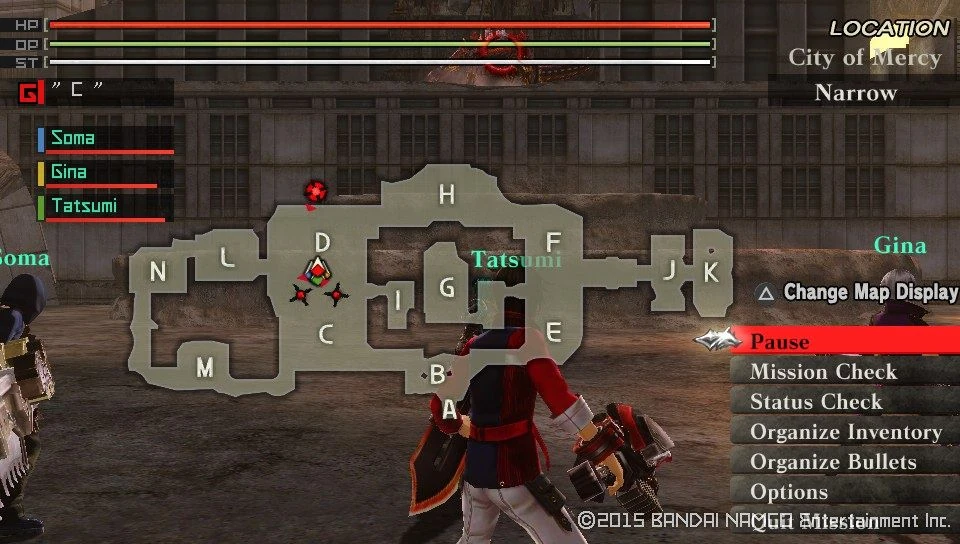

Finishing this mission gets you a Cutscene and another counter to add to the rest.
Cutscene Unlocked : Reinitialization
|-|
92=
Story 92[]
Walkthrough
|-|
</tabber>